|
Raise Car and Remove Front Wheels
|
|
|
|
|
|
Standard procedure - just like you've done many other times...
|
|
|
|
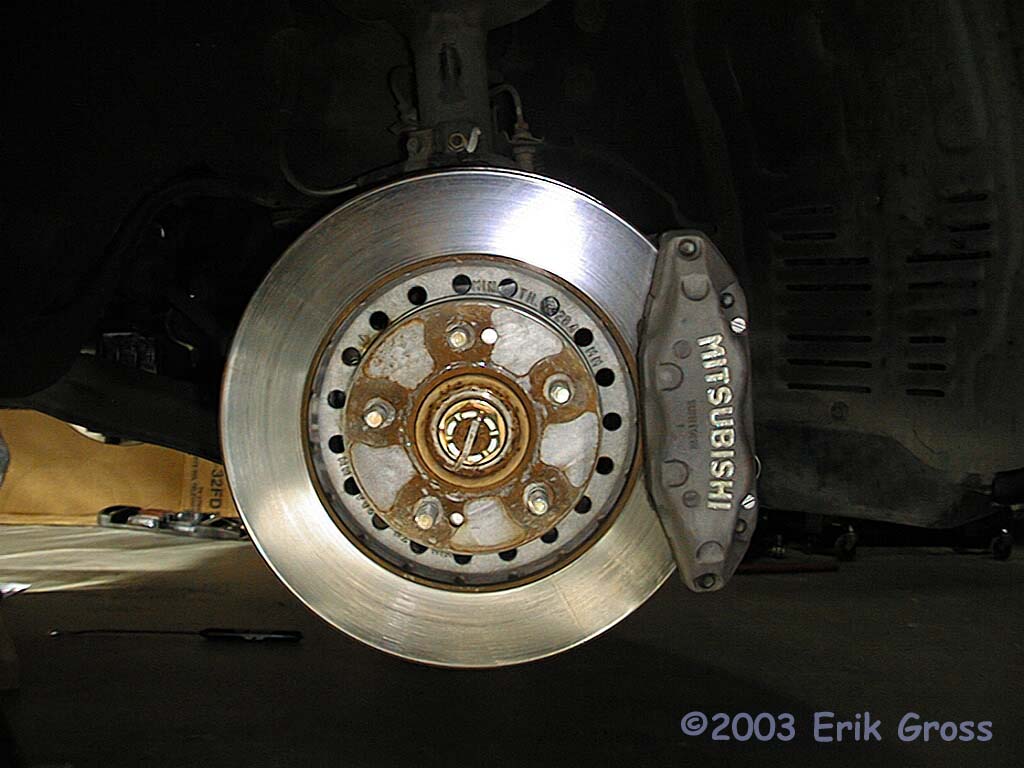
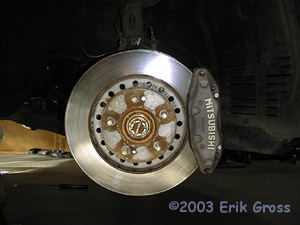
Examine Your Brakes
|
|
|

|
|
|
Make sure everything looks cool and there is no evidence of fluid leaking.
|
|
|
|
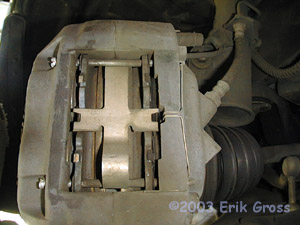
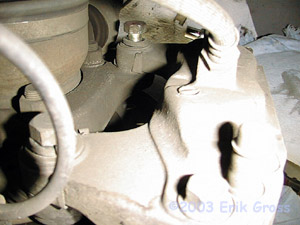
Remove Clips
|
|
|
|
|
|
Remove the little metal spring clip that holds the pins
that go through the pads. It's on the right side in
the picture, and it just pops off
Now remove the larger, cross-shaped spring clip in the
center of the caliper opening.
|
|
|
|
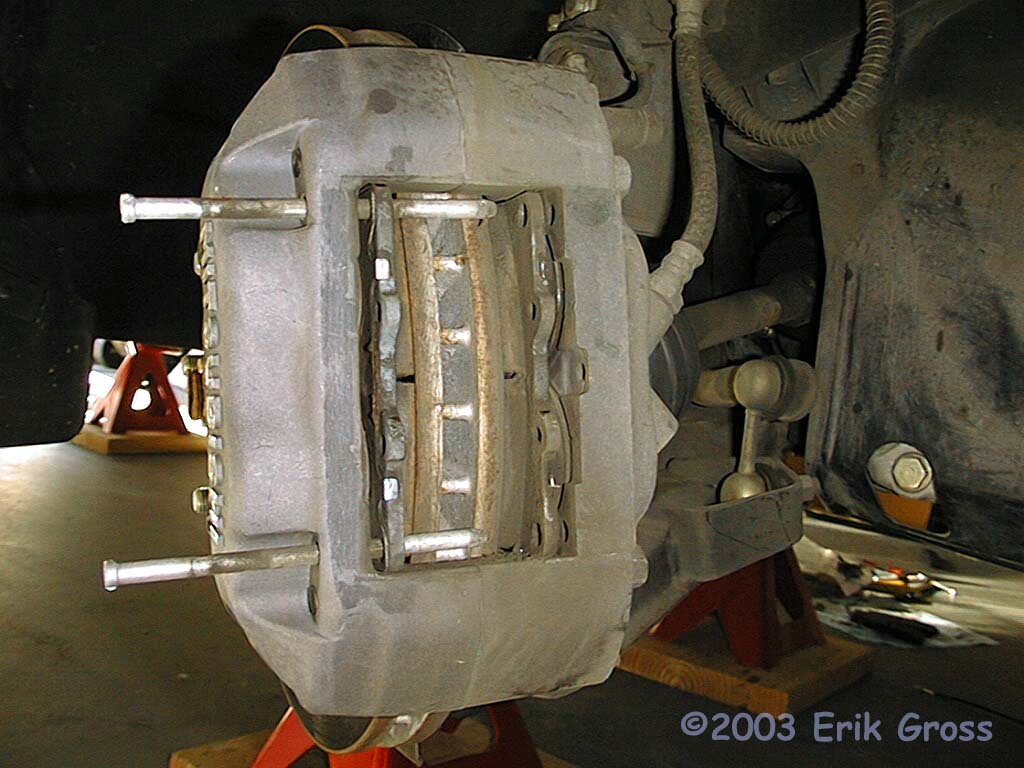
Remove Pins
|
|
|
|
|
|
Now you should be able to slide the two pins that go through the
pads' backing plates out like in the picture.
|
|
|
|
Remove Brake Pads
|
|
|
|
|
|
Remove both the inner and outer pads by simply pulling them
out of the hole in the caliper. Really easy...
|
|
|
|
Unbolt Caliper
|
|
|
|
|
|
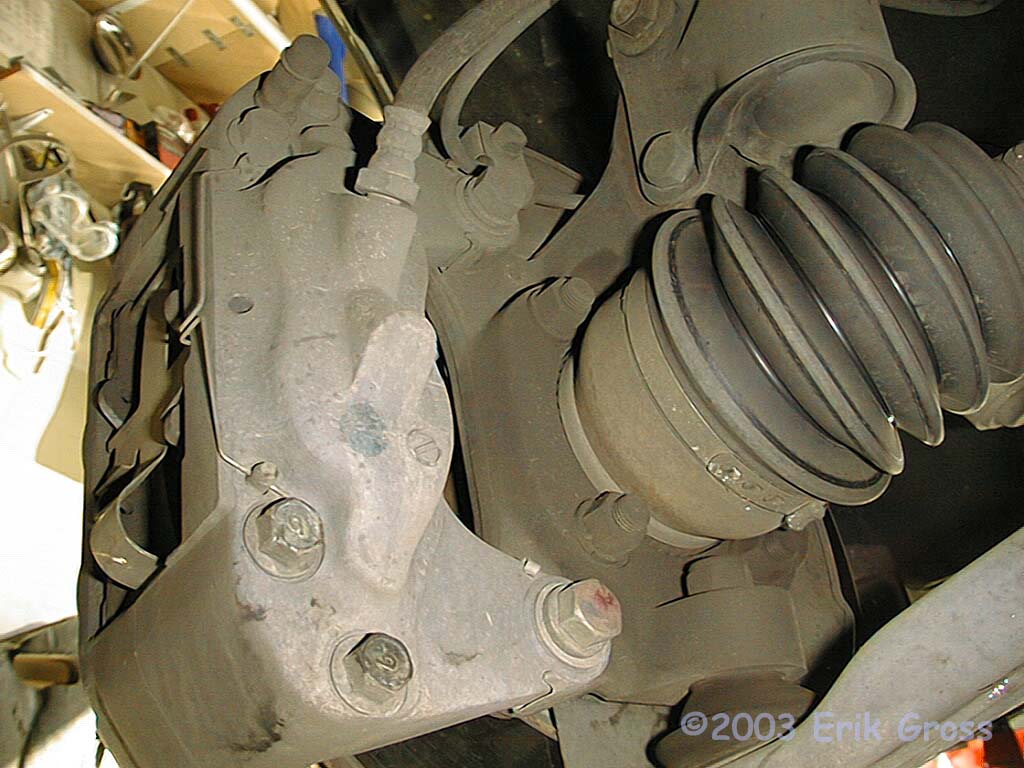
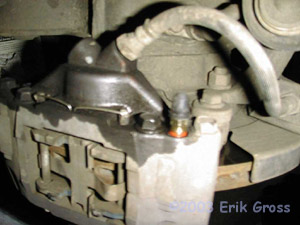
Remove the two 17-mm bolts that hold the caliper on the knuckle. Picture
shows both bolts loosened.
|
|
|
|
Support Caliper
|
|
|

|
|
|
At this point, the only thing holding the caliper on the car is
the brake line, which should not be stressed by the weight of
a hanging caliper. Use string or a bungee cord or something like
that to support the caliper so it doesn't strain the brake line.
|
|
|
|
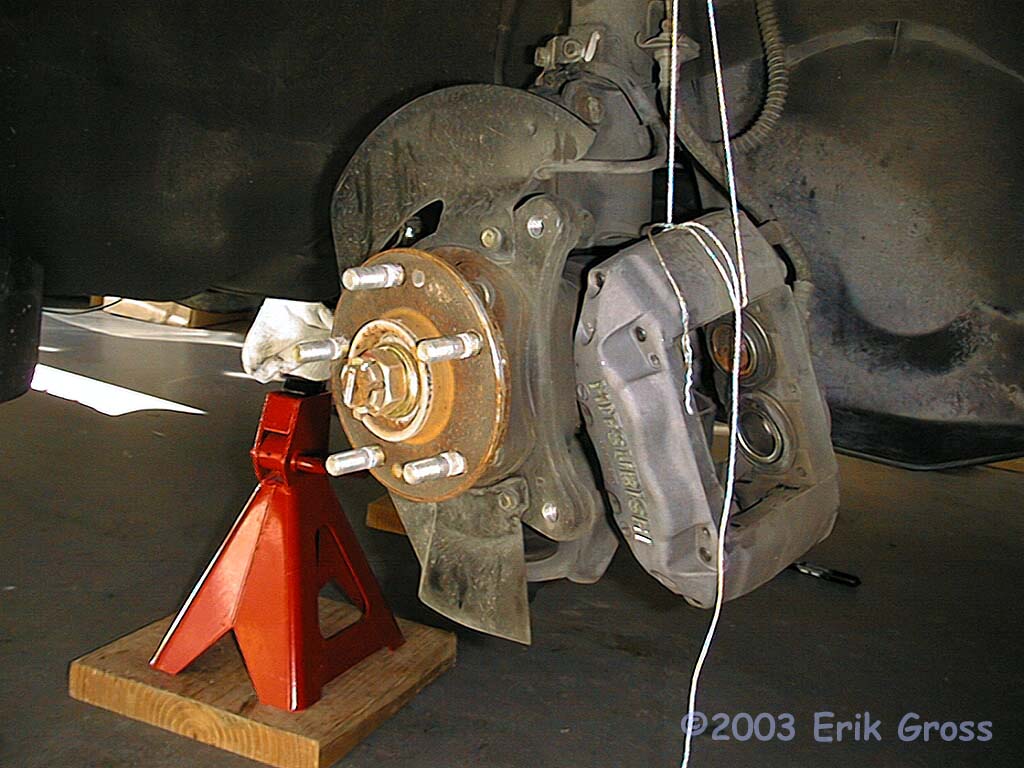
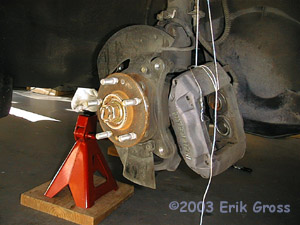
Remove Rotor
|
|
|
|
|
|
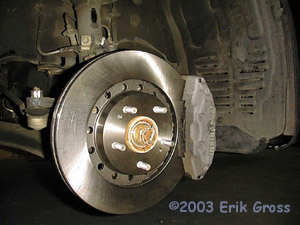
Remove the brake rotor by sliding it off of the studs. Maybe you'll
be lucky and it'll just come off. If not, try tapping it with
a rubber mallet. If that doesn't work, there are two threaded holes
in the rotor hat (between the holes for the studs) that you can thread
a bolt into. Find 2 spare bolts in your junk box, and carefully thread
them into the holes in the rotor. Alternately tighten the bolts a turn
at a time, and hopefully the rotor will break free.
|
|
|
|
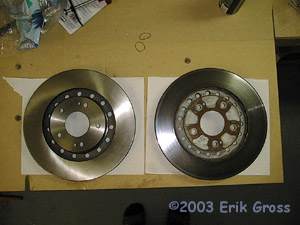
Compare Old and New Rotor
|
|
|
|
|
|
Make sure they're the same size/thickness and all that. Porterfield
on the left, 35,000 mile OEM on the right.
|
|
|
|
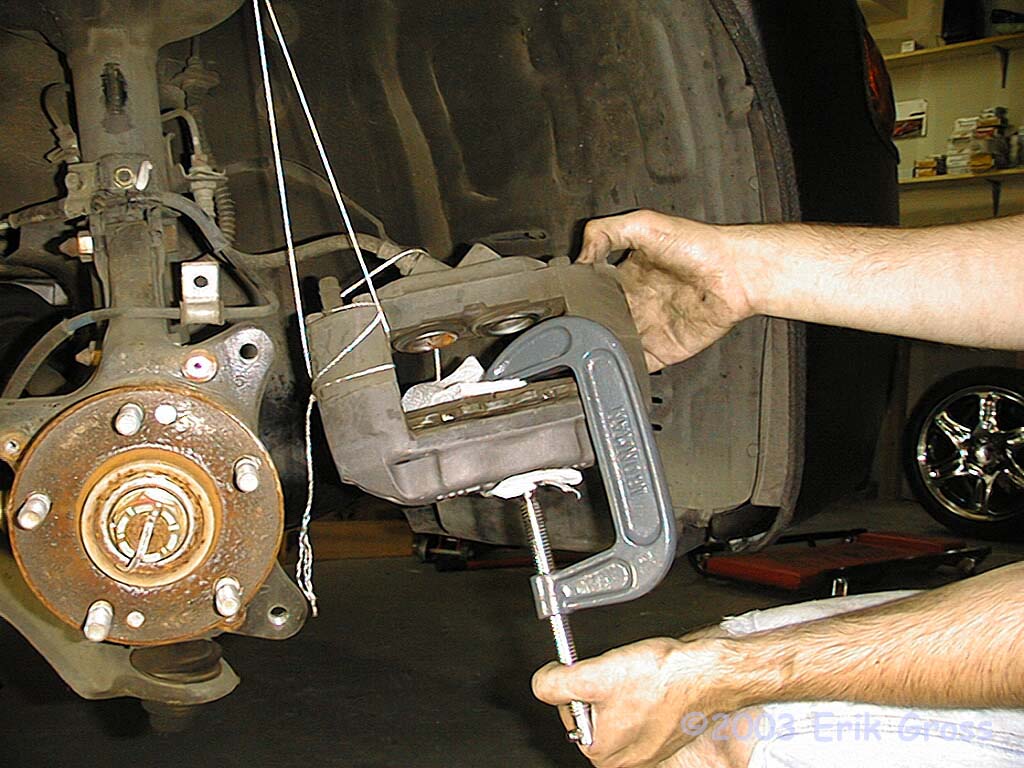
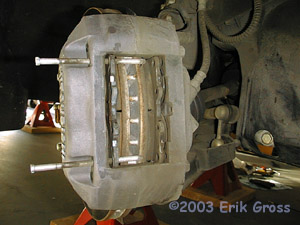
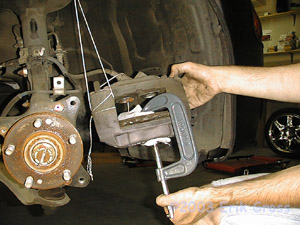
Compress Brake Caliper Pistons
|
|
|
|
|
|
Since the new pads will likely be thicker than the old pads
(and the new rotor possibly thicker, too), you'll need to
compress the pistons to make room. There are many ways to do
this, but I usually use a C-clamp and an old brake pad. Whatever
you do, you want to compress the pistons straight back into the
caliper and it shouldn't require too much force. It's probably
a good idea to loosen the cap on the brake fluid reservoir
before you start compressing the pistons.
|
|
|
Install New Rotor
|
|
|
|
|
|
The new rotor should just slide over the studs and sit there
nicely..
|
|
|
|
Attach Caliper
|
|
|
|
|
|
Put those 17mm bolts back in the caliper and secure it to the
knuckle. Tighten the bolts to 65 ft*lbs. If you want to make the
job easier in the future, put some anti-sieze lubricant on the threads
of the bolts before you install them.
|
|
|
|
Install New Brake Pads
|
|
|
|
|
|
Remove the clips and shims from the back of the old
pads and put them on the new pads. You may want to
put of brake pad lubricant between the shim and the
back of the pad (backing plate) to help thwart brake
squealing.
Slide the new pads in on either side of the rotor.
|
|
|
|
Install Brake Pad Pins
|
|
|
|
|
|
Slide them in the holes and make sure they pass through
the holes in the pads, too.
|
|
|
|
Install Brake Pad Clips
|
|
|
|
|
|
Install them in the positions they were in when
then came off.
|
|
|
|
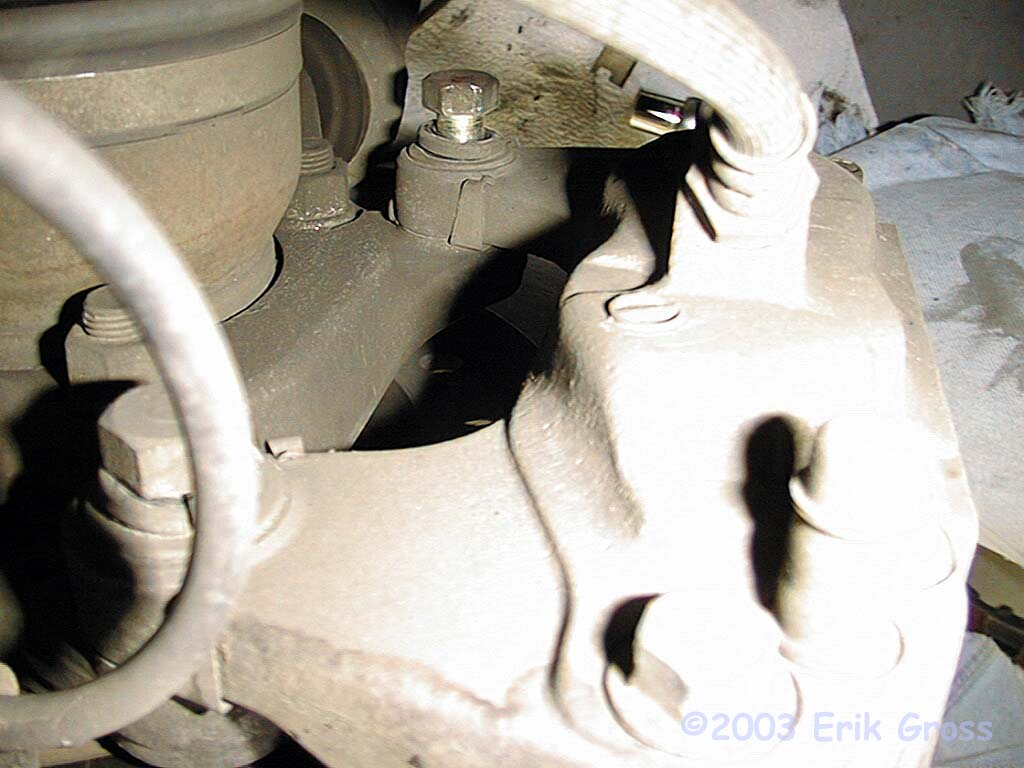
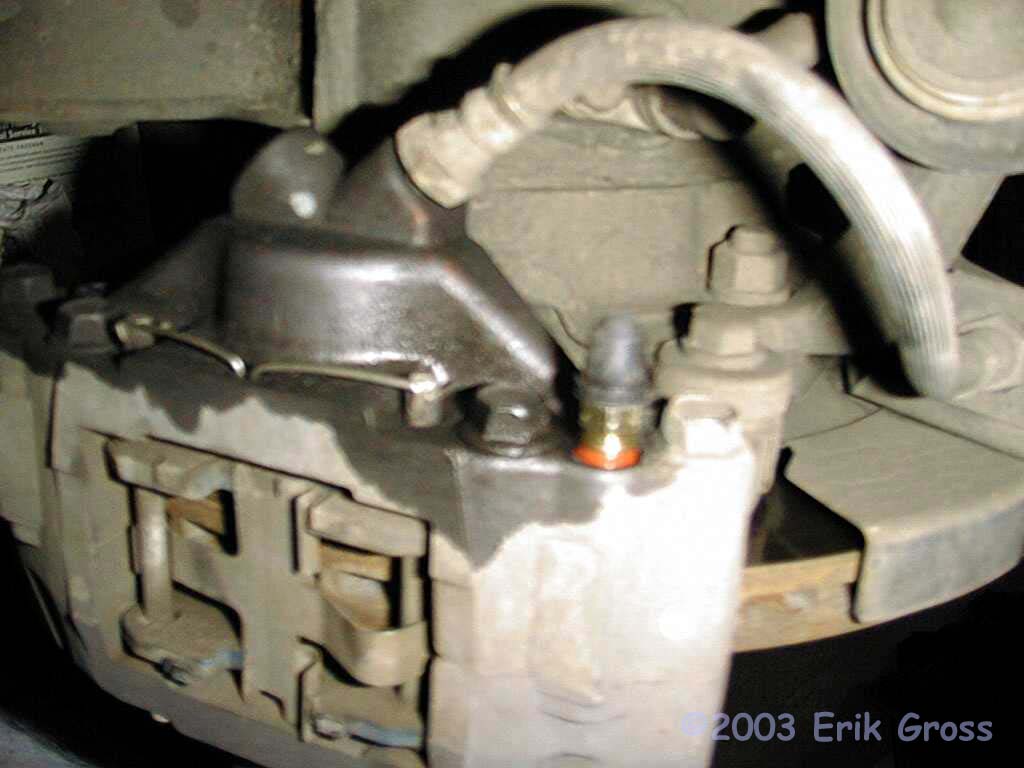
Install Speed Bleeder
|
|
|
|
|
|
Remove the old 10mm bleeder screw and thread in the speed bleeder.
Use a 3/8" wrench to tighten the Speed Bleeder until it's snug, then
back it off 1/4 to 1/2 a turn. You're gonna lose a little bit of brake
fluid here, so put a shop towel on the floor to catch it.
|
|
|
|
Bleed Brake Lines
|
|
|
Attach a small clear hose to the nipple on the bleeder screw after removing the
rubber cap. Put the other end of the hose in a disposable jar or container.
Bleed your brakes by filling the master cylinder reservoir and then pumping
the brake pedal up and down until you see clean fluid in the tubing and
no air bubbles. Make sure the master cylinder reservoir doesn't run dry or
you get to start all over.
That's a LOT easier than the "Up? UP! Down? DOWN!" method
you have to use with normal bleeder screws!
|
|
|
|
Tighten Speed Bleeder
|
|
|

|
|
|
Tighten the speed bleeder to 32-40 inch-pounds (not FOOT POUNDS!) and then
press the brake pedal hard a few times to check for fluid leaks. If you have
no leaks, then put the rubber cap back on the Speed Bleeder.
|
|
|
|
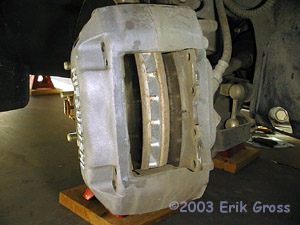
Admire Your New Brakes
|
|
|
|
|
|
Aren't they pretty? :-)
|
|
|
|
Repeat for Other Side
|
|
|
|
Rear Brakes [optional]
|
|
|
Basically the same procedure for the rear brakes...
|
|
|
|
Install Wheels and Lower Car
|
|