|

|
Take Your Car Out For A Drive
|
|
|
Oil drains much more quickly and thoroughly if it is warm.
Take your car for a spin around the block and get it up
to operating temp. You don't need to go drive the snot out
of it, because then you'll have to wait for it to cool a bit
to avoid burning yourself. A short drive around the block
should be sufficient.
|
|
|
|
Jack Up the Front End of the Car [optional]
|
|
|
|
|
|
Especially if this is your first time, you'll probably want to
raise up the front end of the car. Also, if your car is lowered,
you may need to do this. On a stock-height 3000GT or Stealth,
I don't need to jack the car up as I know where everything is
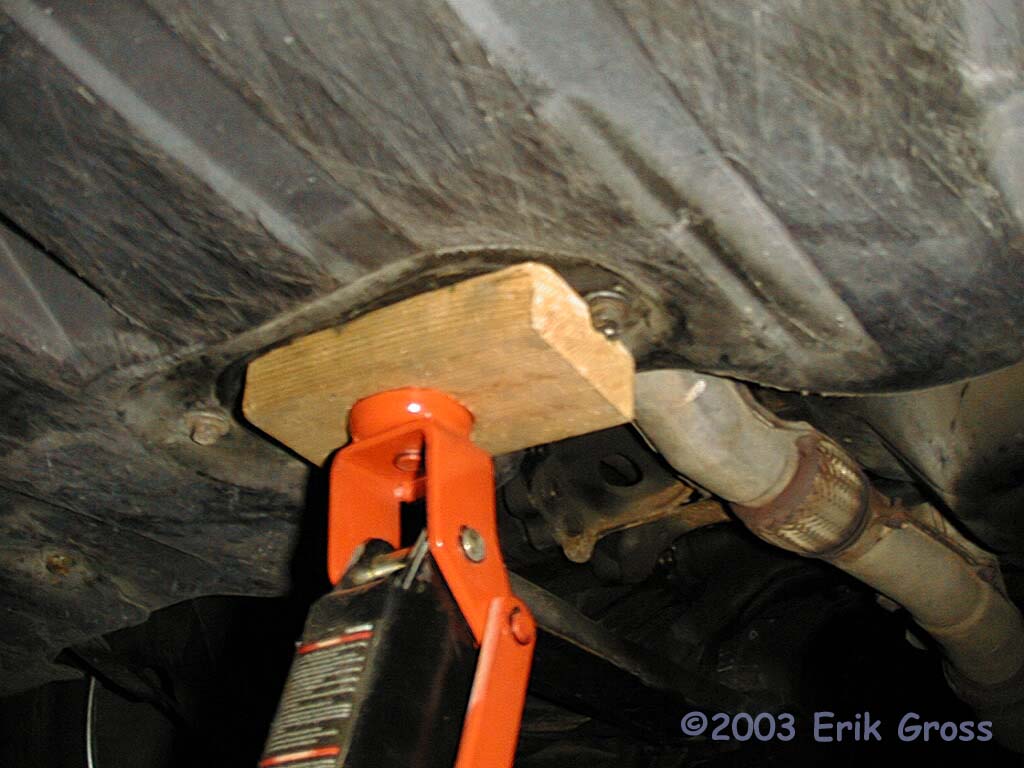
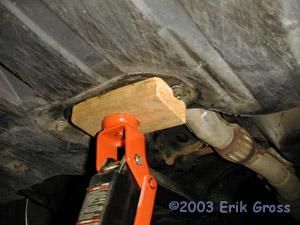
by touch. If you are jacking up the front of the car, use the
central jacking point on the front cross-member and make sure you
support the car with jack stands after lifting it. NEVER, NEVER
get under a car that is only supported with a floor jack. No, really,
don't do that.
|
|
|
|
Locate and Remove Your Oil Drainplug
|
|
|
|
|
|
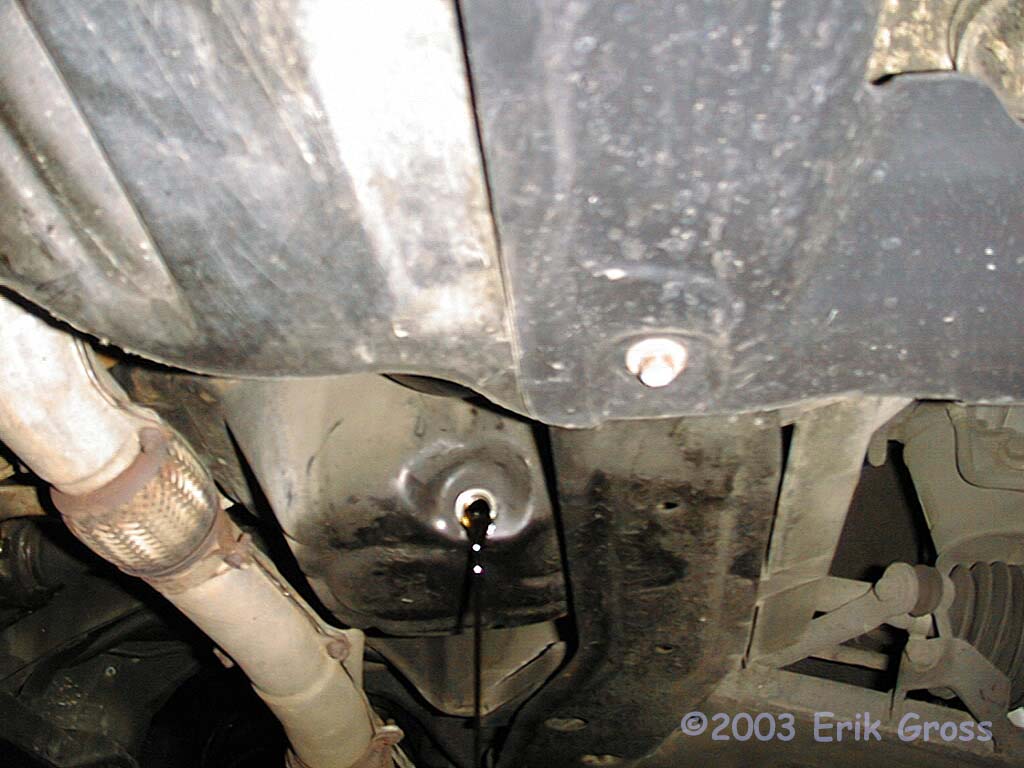
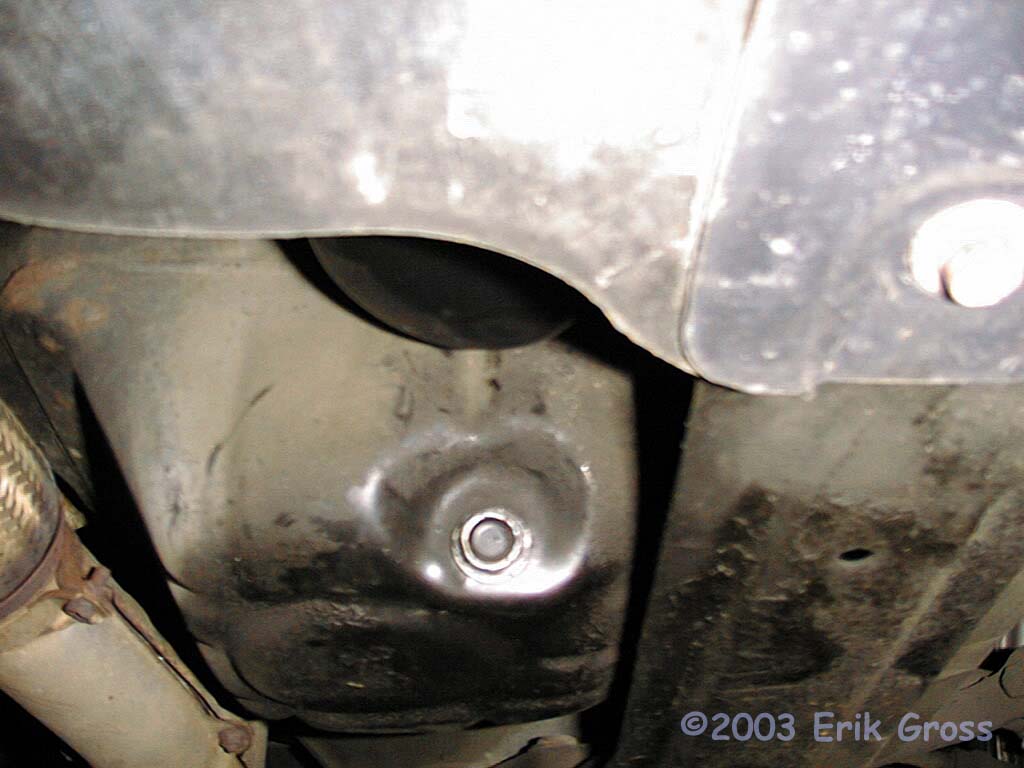
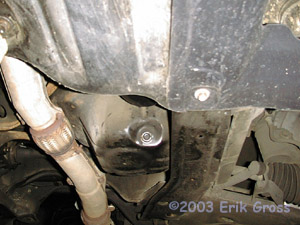
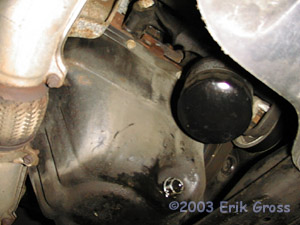
Position your oil drain pan below the drain plug, noting that
the oil will come out in an arc, and not straight down. Remove
the oil drain plug. It's the 17mm bolt sticking out of your oil pan toward the
front of the car. You may want to wear your gloves at this
point, especially if you tend to be a klutz (like me). Take note that
the oil may be HOT and you probably don't want to have it
pour all over your hands or splash into your face. Be careful.
|
|
|
|
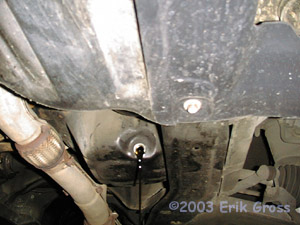
Allow the Old Oil To Drain
|
|
|
|
|
|
Make sure the pan catches it; otherwise, have the kitty
litter and paper towels handy.
|
|
|
|
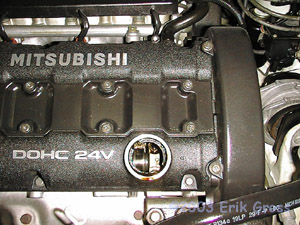
Remove the Oil Filler Cap
|
|
|
|
|
|
Removing the cap will allow the oil to drain faster. Don't
let anything fall in there! Go have a beer or something
while you wait for the oil to completely drain. Once it's
only coming out a drop at a time, it's time to move on.
|
|
|
|
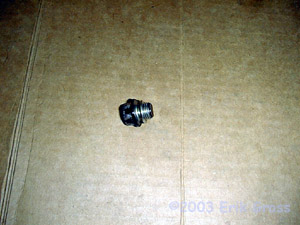
Clean Off Drain Plug and Install Gasket
|
|
|
|
|
|
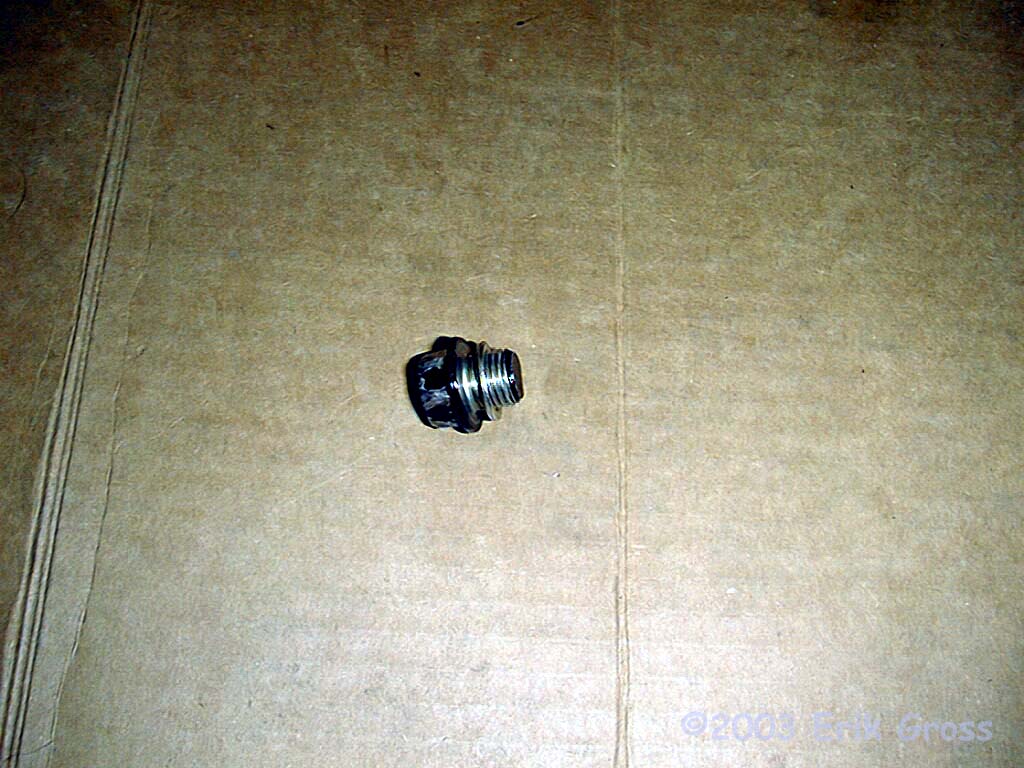
Wipe the oil off of your drainplug (you dropped it into the pan,
didn't you? Yep, I thought so) and remove the old gasket. Install
the new gasket onto the drainplug.
|
|
|
|
Loosen the Oil Filter
|
|
|
|
|
|
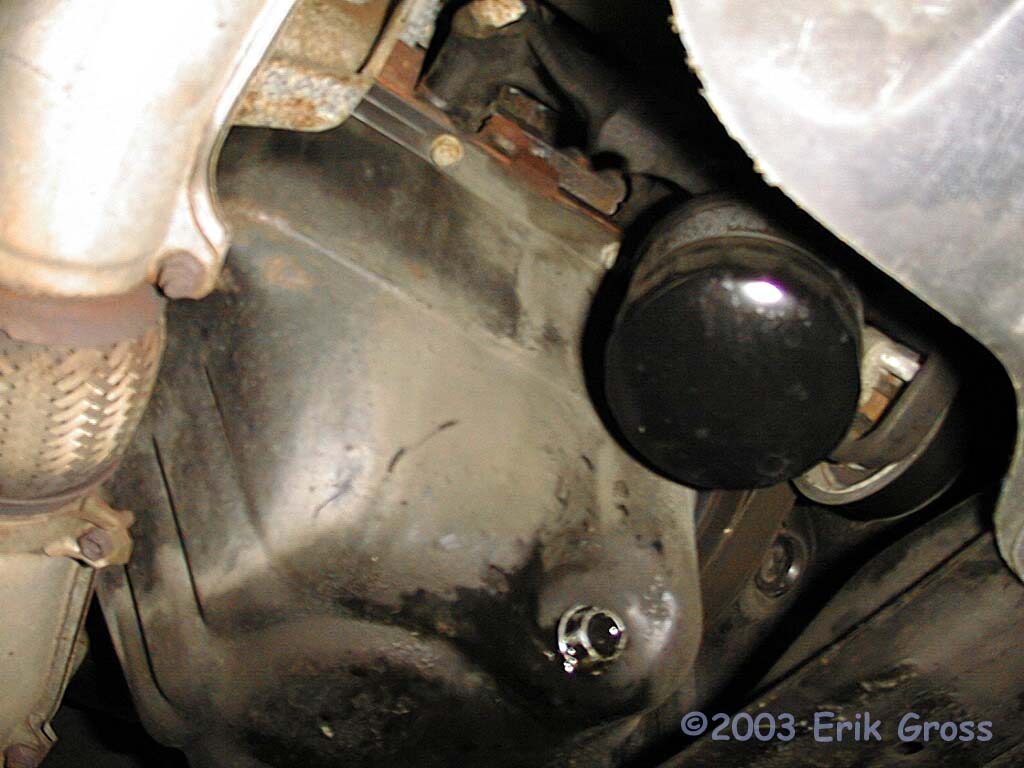
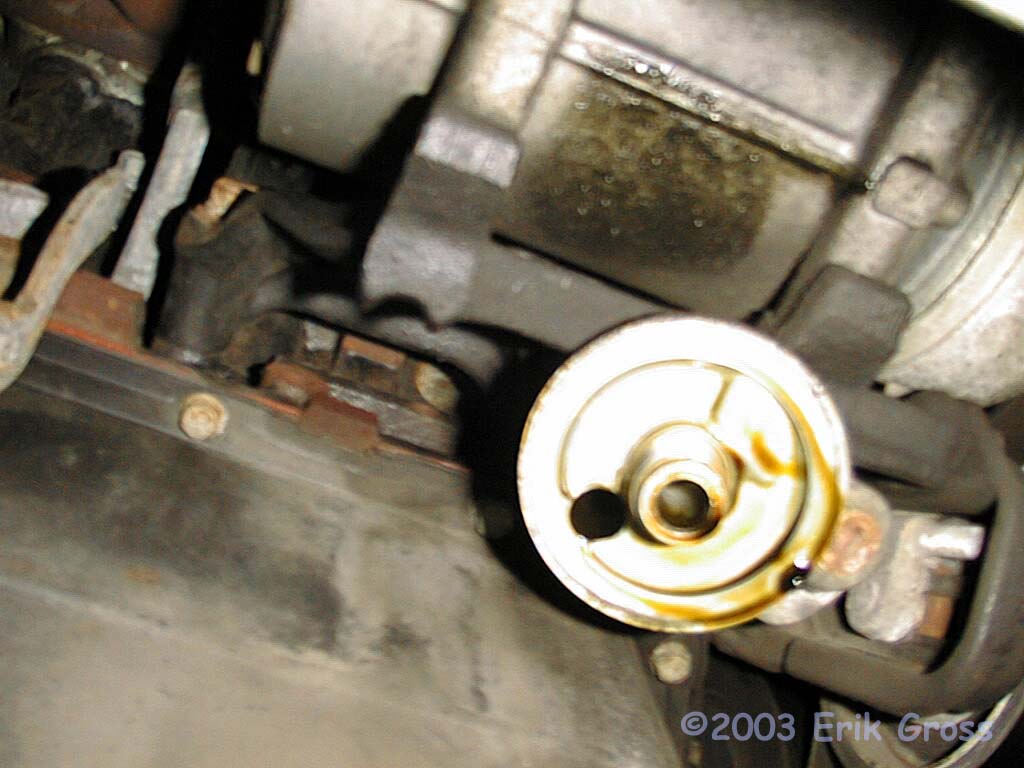
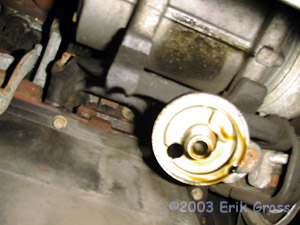
Now that the oil has basically stopped coming out of the drain
plug hole, it's time to pull off the old filter. The filter
is located above and in front of the oil drain plug, and is
loosened by turning it counter-clockwise. Some people use a
special oil filter wrench (available at most auto parts stores),
especially if some quick-lube place installed the current filter
with an impact wrench. If you did not overtighten your filter
the last time you installed it, then it should come off
by hand. In any case, I usually get it loose and then slowly
turn it until a little oil seeps down the side (there's oil
trapped above it). Then I give it a quick twist (about one
full turn) and get my hand out of there so all the oil drips
down into the pan.
|
|
|
|
Remove the Old Oil Filter
|
|
|
|
|
|
Now we wait... again. That is, until the
oil stops dripping off of the filter. At that point, go ahead
and remove the filter completely and dump the oil inside it
into your drain pan.
|
|
|
|
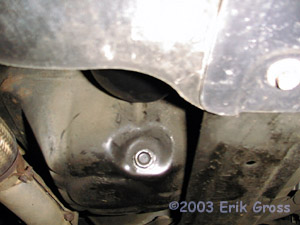
Reinstall the Oil Drain Plug
|
|
|
|
|
|
Thread the plug into the hole and tighten it to 29 ft*lbs (40N*m).
If you're confident in your ability to not overtorque this
plug, you can skip the torque wrench and just use a normal wrench.
|
|
|
|
Install New Oil Filter
|
|
|

|
|
|
Dip your finger into one of the bottles of new oil and spread
a thin layer of oil on the black rubber gasket that goes around
the top surface of the filter. This is just to lubricate it and
help ensure a good seal against the oil filter housing. Also,
you may want to slowly pour oil into the filter - enough to
fill it about halfway. Now,
thread the filter back onto the housing and tighten it 3/4 of
a turn AFTER the rubber seal makes contact. You can tell when
the seal has made contact by the increased resistance to turning
the filter. The "3/4 turn" is a rule of thumb that generally
gets it tight enough to make a good seal, but not so tight
that you'll be swearing when you next take it off. Also, 3/4 of
a turn corresponds to approximately 11 ft*lbs (14N*m).
|
|
|
|
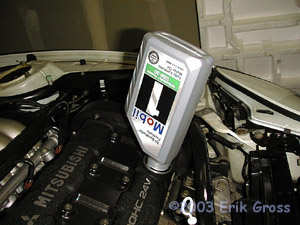
Put in 4 Quarts Of New Oil
|
|
|
|
|
|
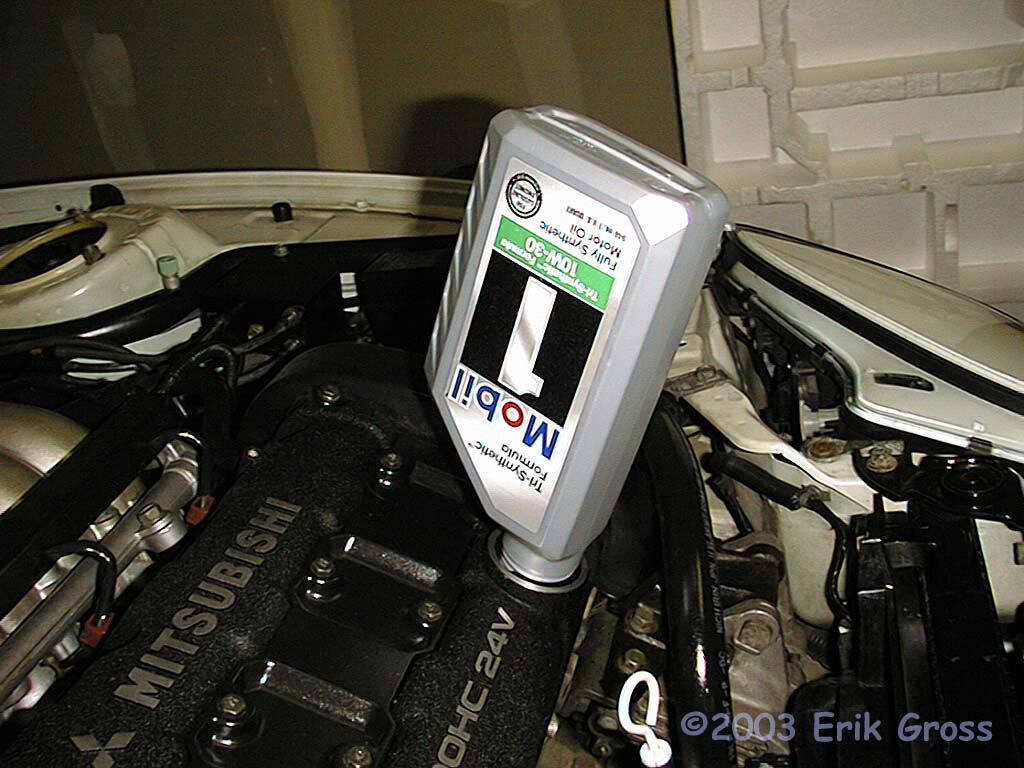
Pour the oil into the filler hole, being careful not
to slop it all over your engine and make huge mess.
|
|
|
|
Start the Engine and Allow It To Idle
|
|
|
30 seconds or so should be enough - you just want
to circulate the oil through the whole system and
then let it drain back to the pan. Check for any leaks
near the filter or the drain plug.
|
|
|
|
Add Oil As Necessary
|
|
|
|
|
|
Allow the car to sit for 10 minutes or so. Then, check the
oil level via the dipstick and see what it reads. There
is about 1qt difference between the "Low" and the "Full" marks,
so add enough oil to get it to register close to the "Full"
mark without overfilling it.
|
|
|
|
Clean Up Your Mess
|
|
|
Clean up any oil that spilled during the process and dispose of
the oil containers. Take the used oil to your local parts store
or HazMat disposal site
and properly recycle it. Don't pour it in a hole in your
mother-in-law's back yard or the EPA
will become intimate with your bank account. Further, make
sure you take your old filter to the HazMat site and don't wrap
it in paper towels and hide it in your trash like your neighbor
does. Do the responsible thing and properly dispose of your used
oil and filters! And put your catalytic convertors back on, too :-)
|