|
Read the SRS Section of the Factory Service Manual
|
|
|
Before attempting this procedure, you must thoroughly read and understand the
Supplemental Restraing System chapter in the factory service manual. This is
section 52B. In it you will find an explanation of exactly how the SRS works
in your car and what safety precautions you must take to properly disconnect and
remove the airbag. Failure to heed the cautions regarding the airbags in your car
can result in great personal injury or death, both to yourself and to others. If you
choose to continue reading these instructions or to refer to them while servicing
your car, you agree that you have read and understood the SRS chapter of the factory
service manual and that you will heed all recommended cautions. Further, you agree
that you have read and agree with my
disclaimer, a copy of which is present at the
bottom of all RDR web pages. I am not responsible for any injury or property damage
that results from reading the instructions on this page. Assume everything written here
is wrong unless you personally read information elsewhere saying it is correct.
|
|
|
|
Disconnect Negative Terminal of Battery
|
|
|
|
|
|
Remove electrical power from your car by disconnecting the negative terminal of the battery.
This is necessary to ensure that there is no electrical current available to trigger the
igniter on the airbag(s) in your car. While there are many safety precautions present in
the SRS components to prevent accidental discharge, it can still happen if electricity is
available. Disconnecting the battery is one more safety step to help make sure that the chances
of the airbag discharging accidentally are minimized. Further, you MUST wait 30 or more
seconds after disconnecting the battery to move, adjust, disconnect, poke, prod, or otherwise disturb
the airbags. The SRS chapter of the service manual indicates that the reason for waiting
30 seconds is that there is a small capacitor in the car that provides power to the SRS ciruits
for 30 seconds after the battery is disconnected. During this period, the SRS is still active
and the airbags could still discharge if the appropriate wires are energized.
|
|
|
|
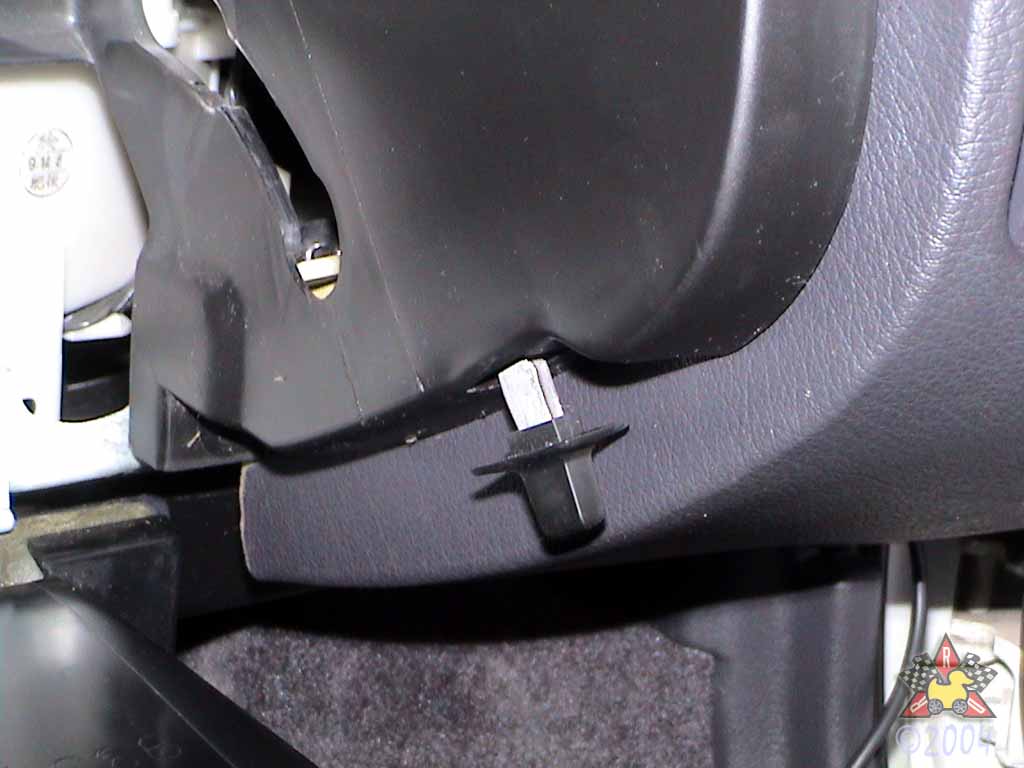
Remove Glovebox Stops
|
|
|
|
|
|
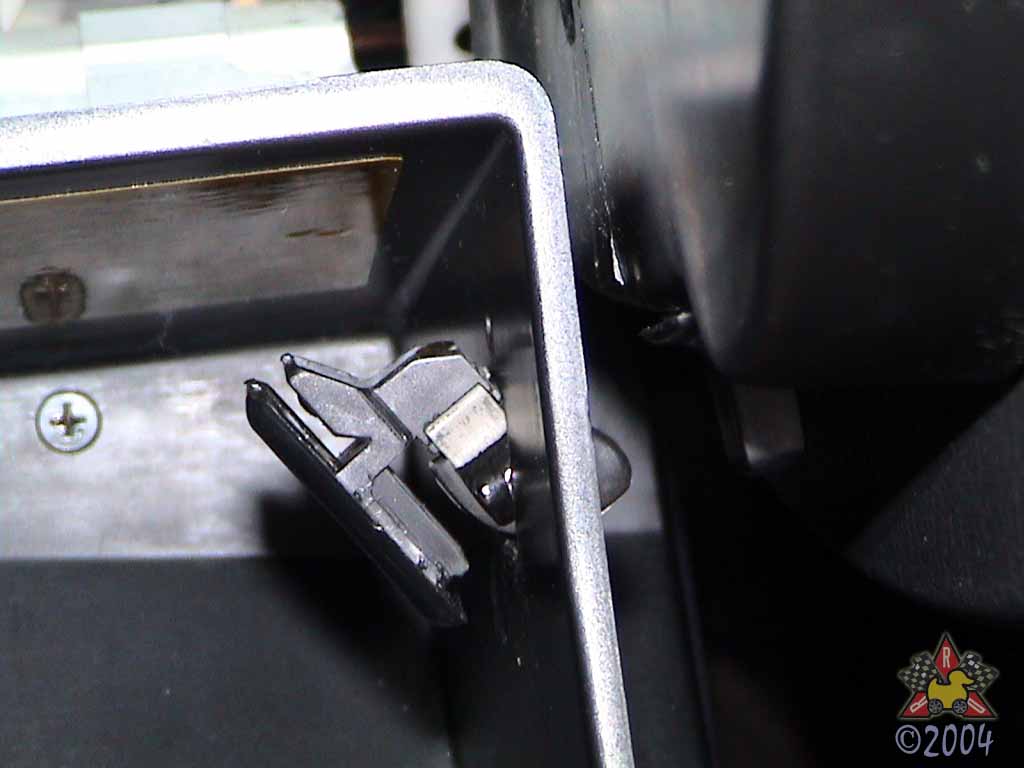
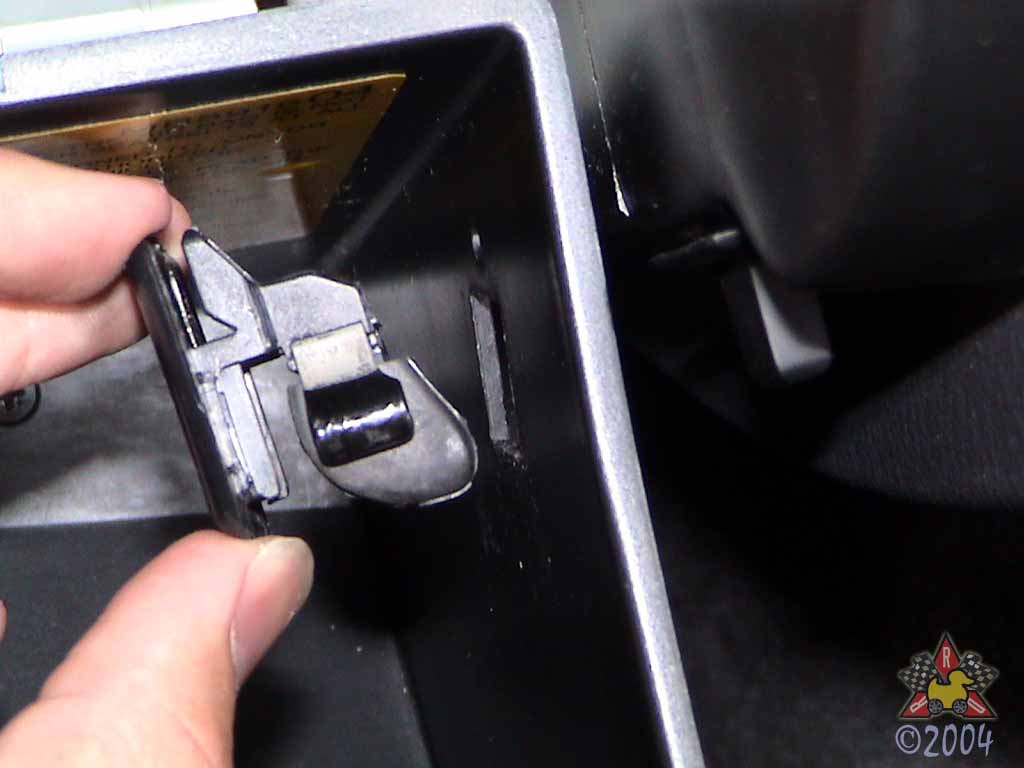
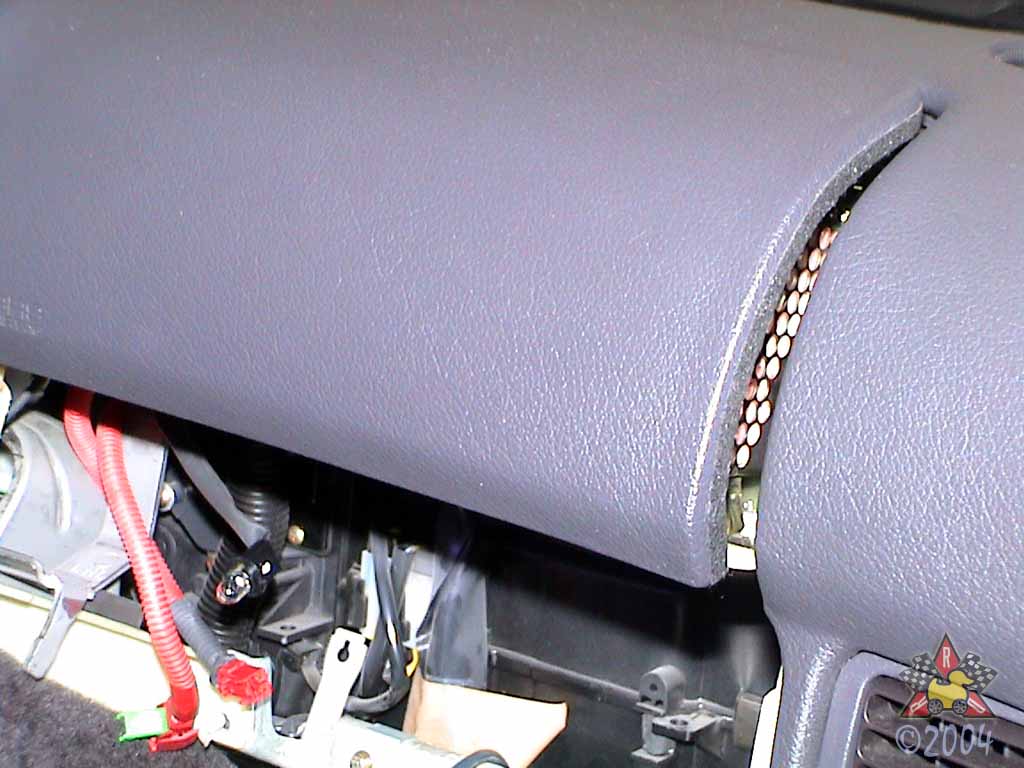
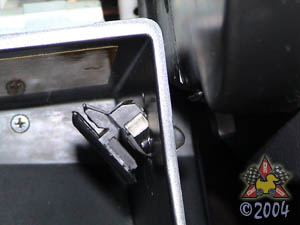
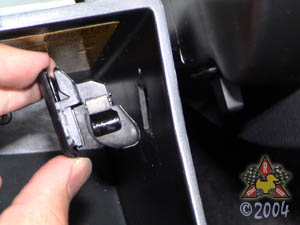
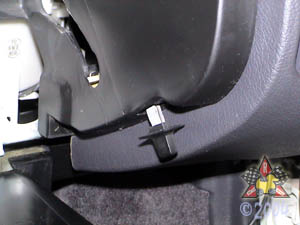
You'll need to lower the glovebox lid sufficiently to gain access to the airbag.
To do this, you need to remove the stops that hold the glovebox door at its lower
position when opened. Once you get one out, you'll see exactly how they are attached -
you need to pull them toward the rear of the car slightly to clear the rear tab, and then
the part of the stop closest to the front of the car will lift out slightly. From there,
wiggle the stop around a bit and it should come free. Repeat for the other side.
|
|
|
|
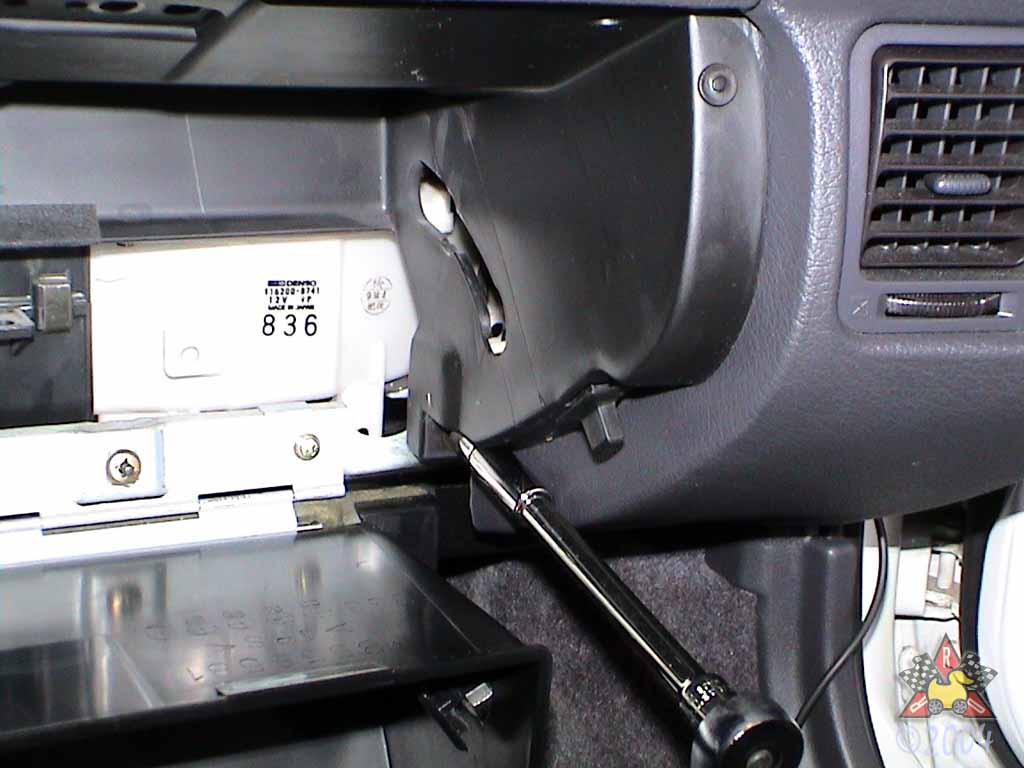
Remove Glovebox Striker
|
|
|
|
|
|
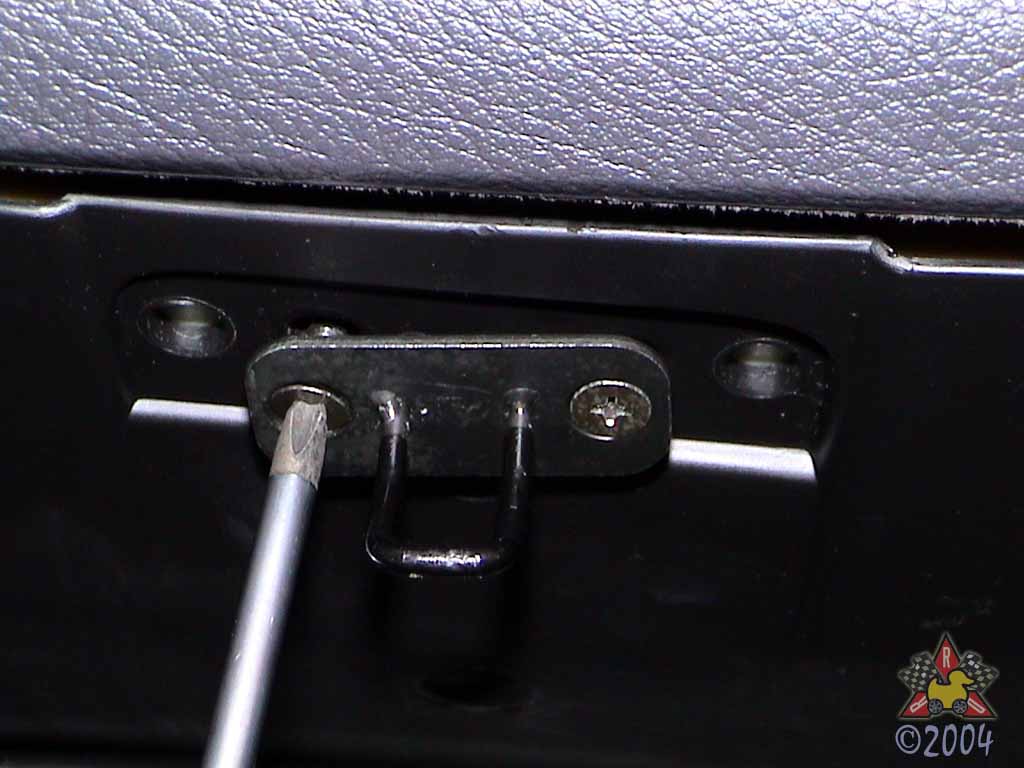
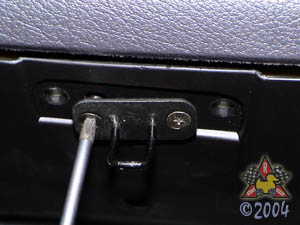
Disconnect the striker by removing the two #3 philips screws.
|
|
|
|
Remove Inner Trim Bolts
|
|
|
|
|
|
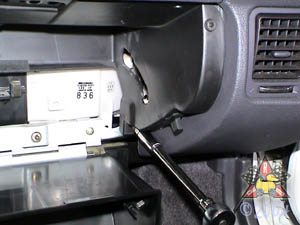
Carefully allow glovebox door to lower completely. This gives you access to the
10mm bolts near the bottom of the glovebox. Remove the bolts.
|
|
|
|
Remove Rubber Glovebox Stops
|
|
|
|
|
|
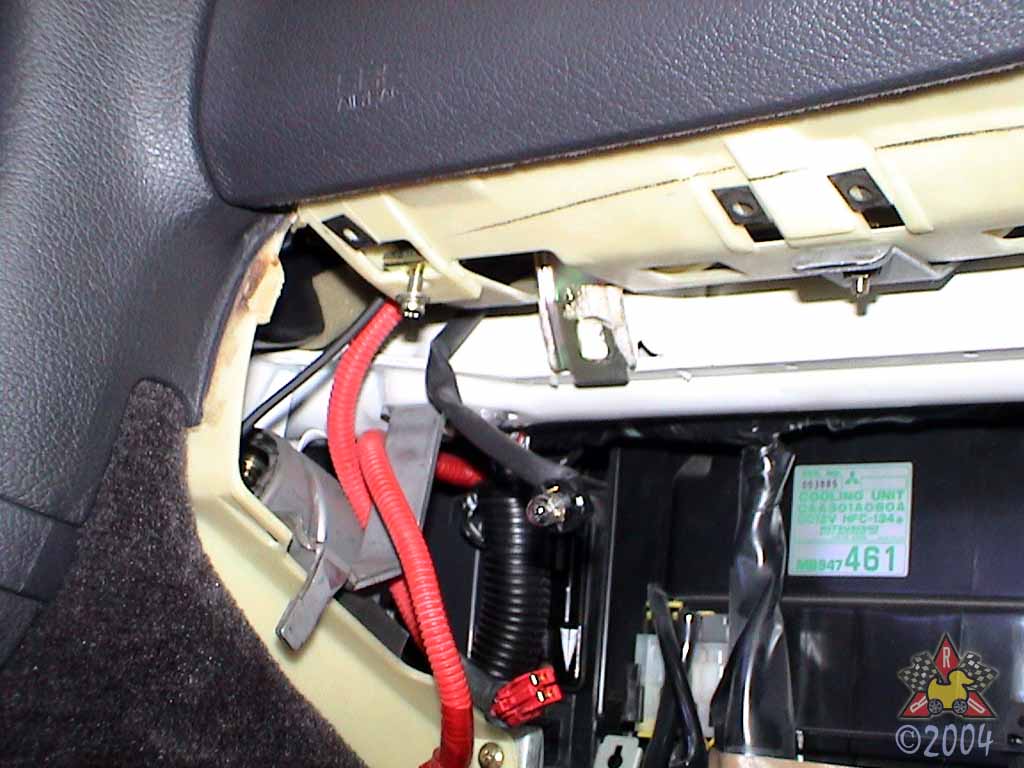
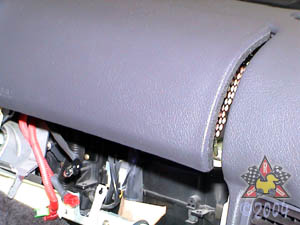
There are two rubber stops that protect the metal tabs that postition the
glovebox when closed. Remove them so you can remove the inner glovebox cover.
|
|
|
|
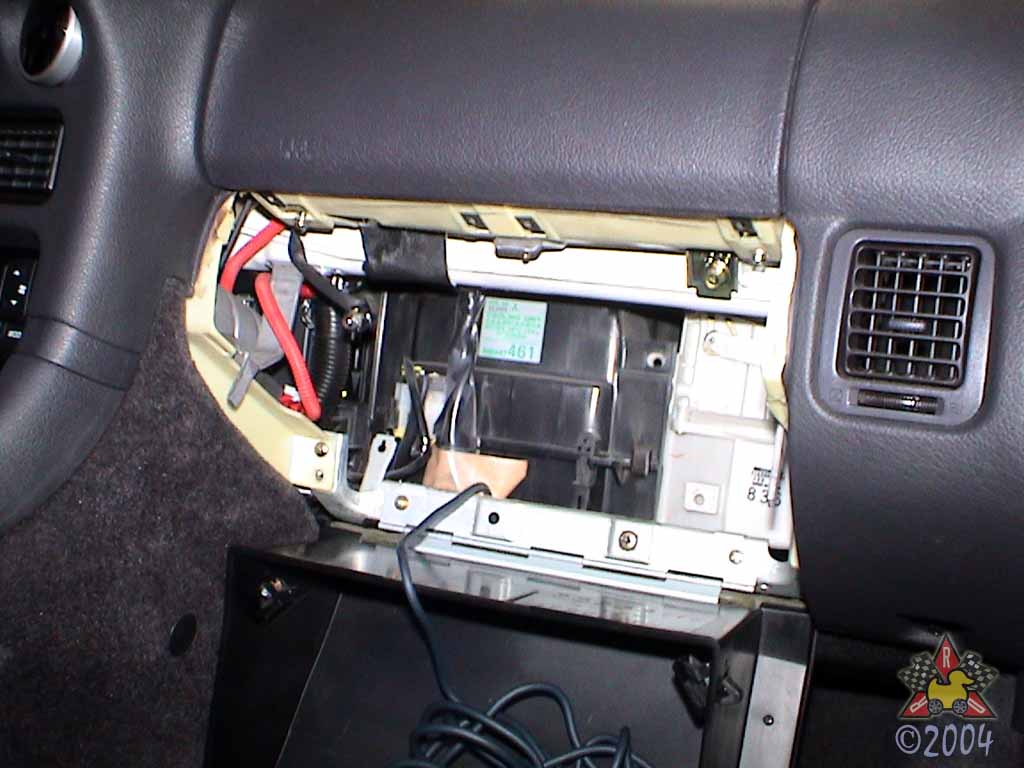
Remove Inner Glovebox Trim
|
|
|
|
|
|
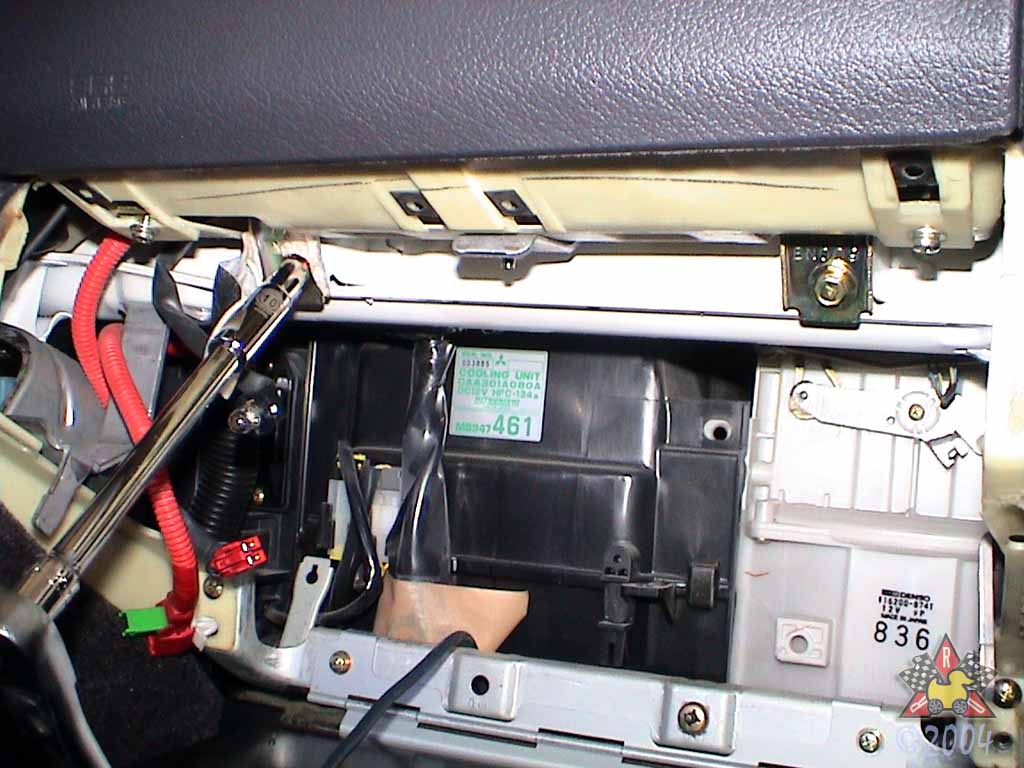
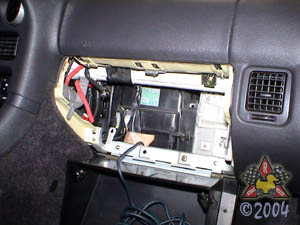
At this point, you should have removed everything that holds the inner glovebox
trim on. Remove the trim.
|
|
|
|
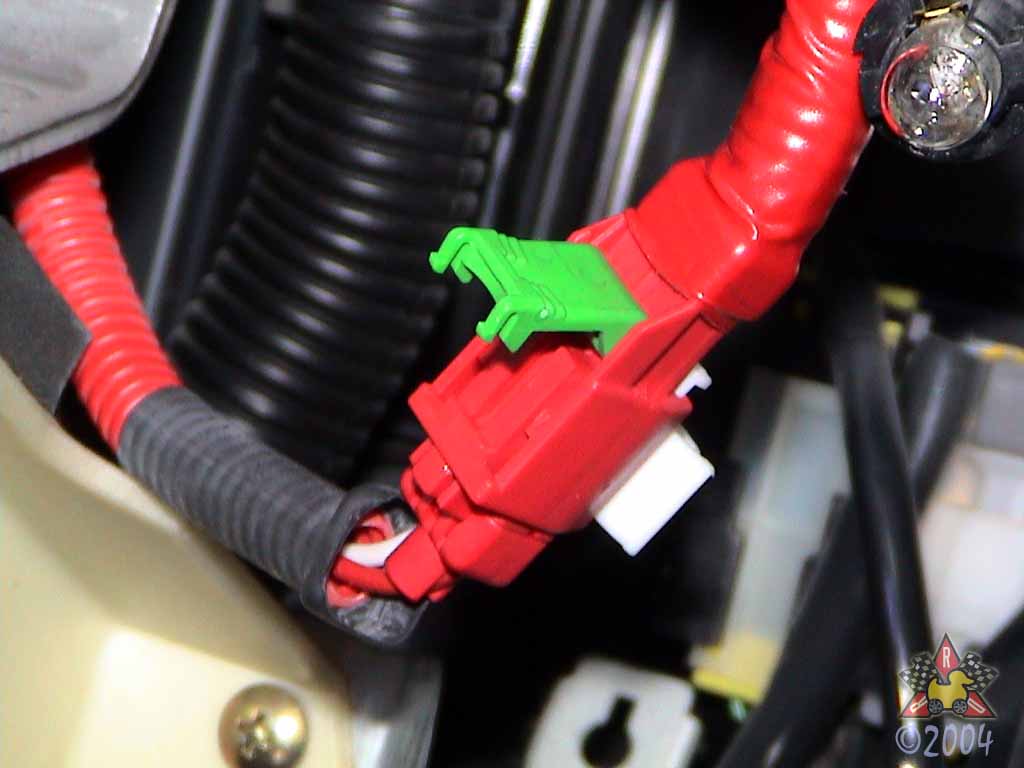
Disconnect Safety Tab Of Airbag Harness
|
|
|
|
|
|
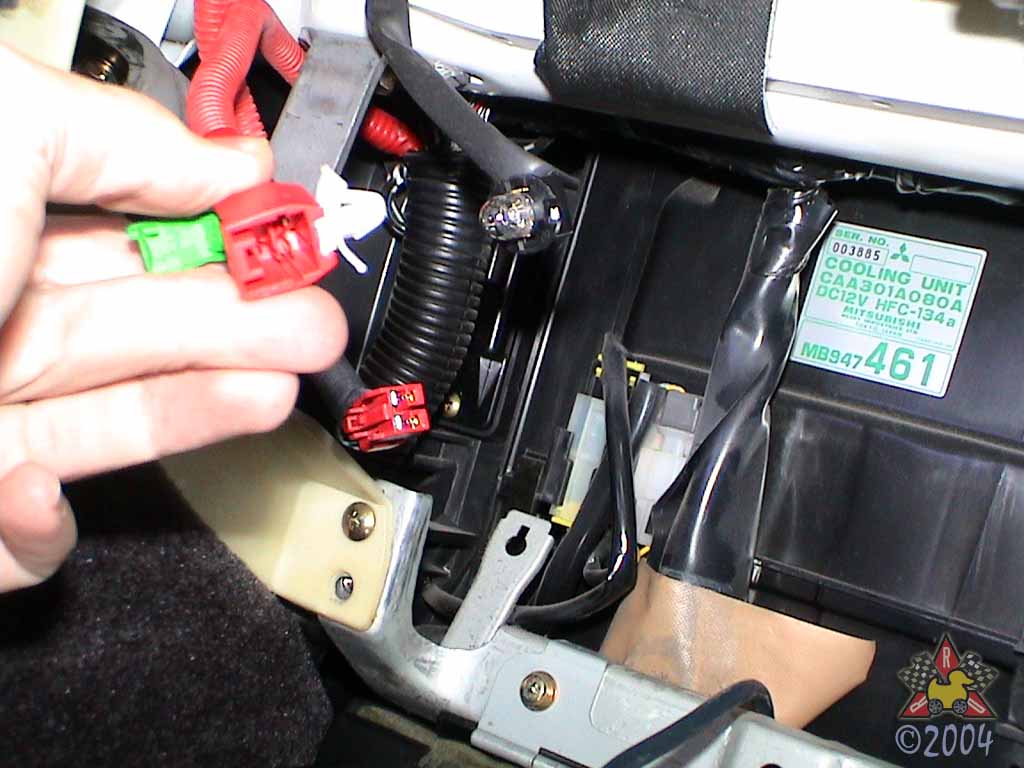
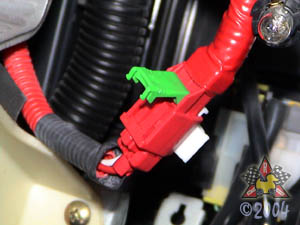
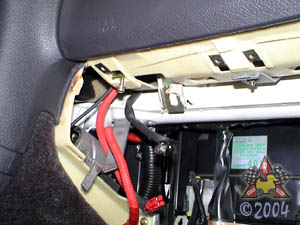
There is a green tab on the red airbag harness. Lift the tab
as shown in the picture so that the saftey-short wire protects
the airbag from accidental discharge.
|
|
|
|
Disconnect Airbag Harness
|
|
|
|
|
|
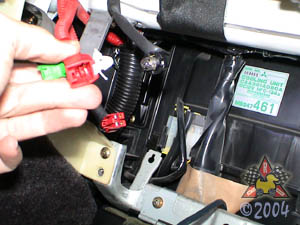
With the green safety tab lifted, the harness disconnects like most other harnesses.
Push the red tab in and pull the harness apart.
|
|
|
|
Remove Lower Airbag Bolts
|
|
|

|
|
|
There are two 10mm bolts that secure the metal tabs of the lower
airbag structure. Remove them.
|
|
|
|
Remove Airbag Screws
|
|
|
|
|
|
Remove the two #2 philips screws on the underside of the airbag assembly.
|
|
|
|
Remove Airbag
|
|
|
|
|
|
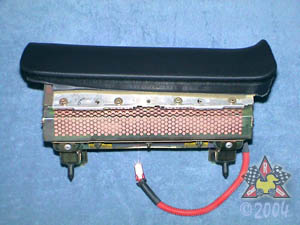
At this point, the airbag should be free from its attachment points, so you
should be able to lift the front end of it and then lift it out of the car.
Be careful with is as you do this. It should not be able to discharge
in this condition, but treat it and handle it as though it could.
|
|
|
|
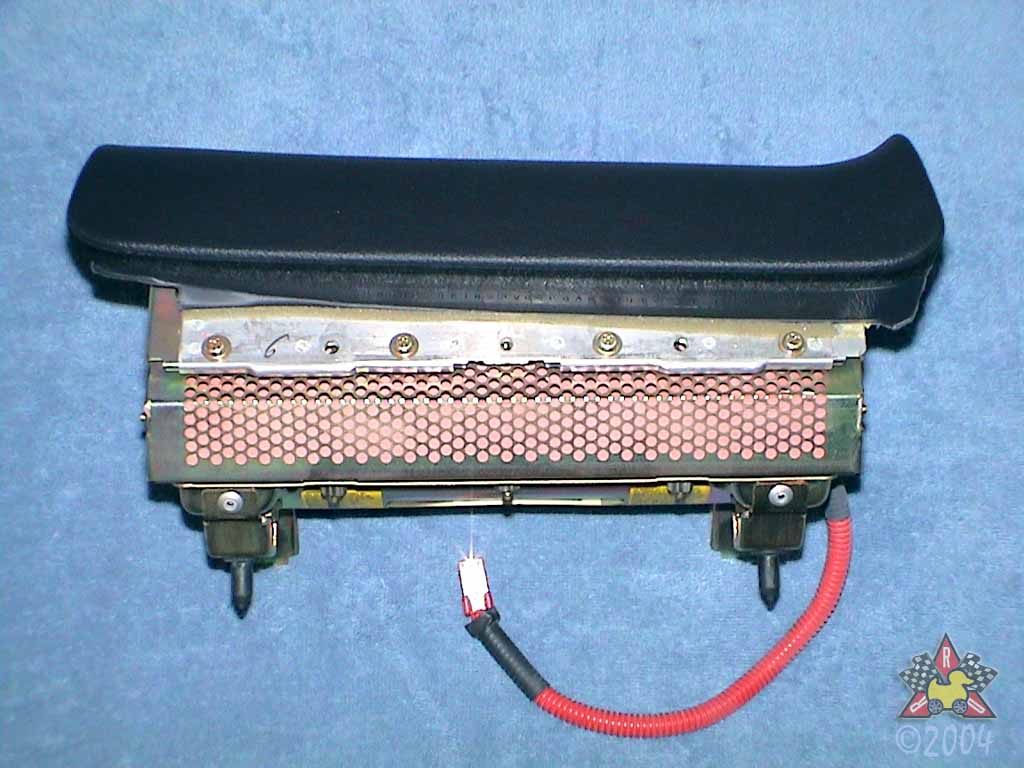
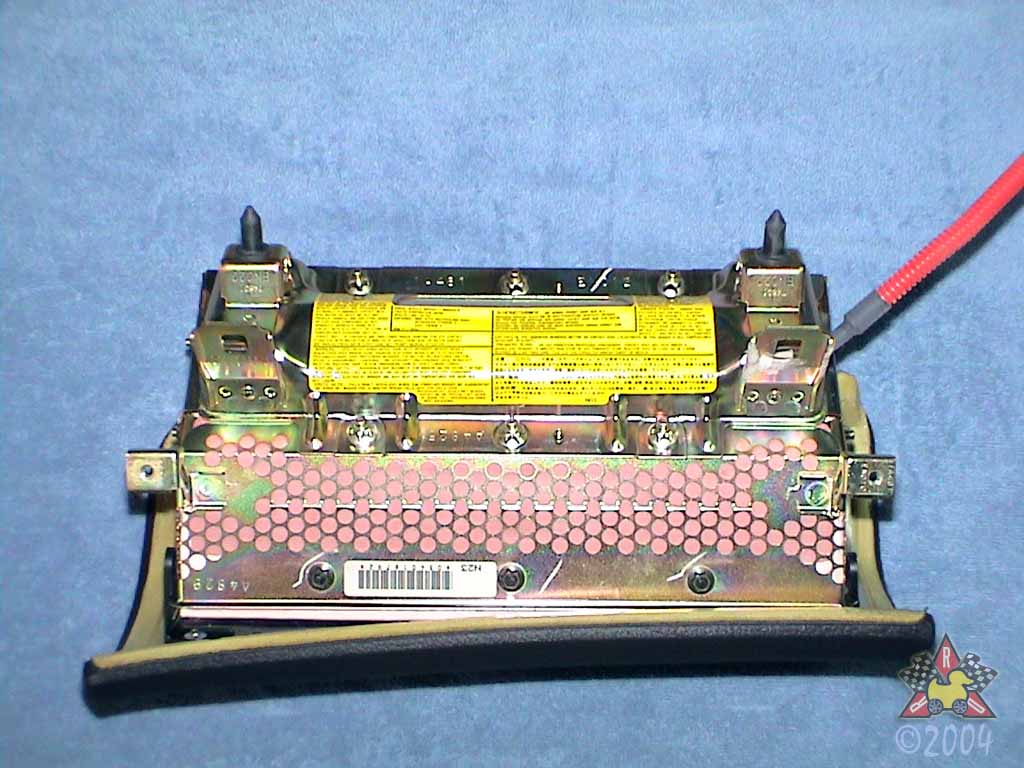
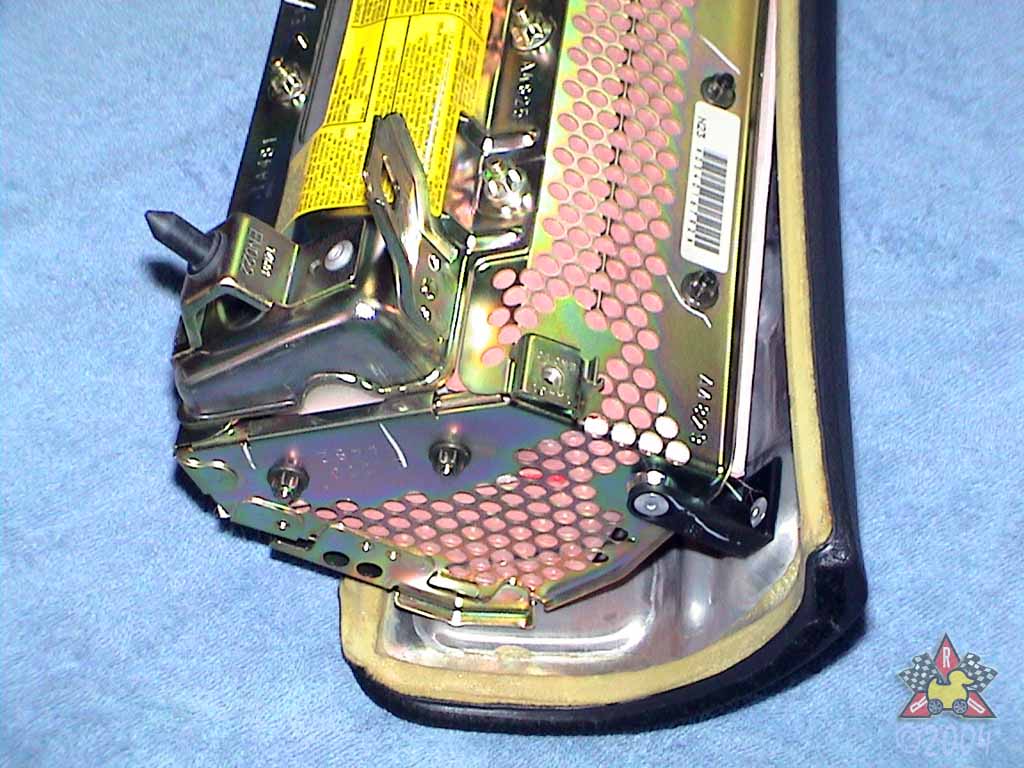
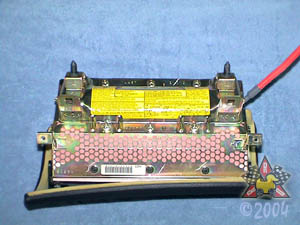
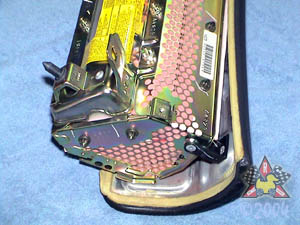
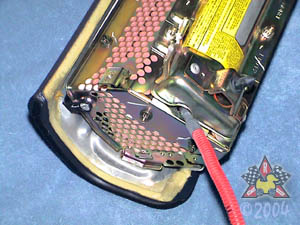
Airbag Pictures
|
|
|
|
|
|
|
|