Why Do I Want To Do This?
- If your car doesn't start reliably (or at all), then your starter could be the culprit. You probably want to check simpler, cheaper things first, like the battery, battery terminals, ignition switch, and clutch interlock switch. If you know all those things are ok, you may have a bad starter. If you have a bad starter, you can either rebuild/repair the one you have or buy a new one. I chose to buy a new one because I'd ruled out everything else as a cause of the problem and I wanted a guaranteed good part so I didn't have to mess with it anymore.
How Often Should I Do This?
- This is not "regular maintenance," so you only need to replace your starter if it goes bad. I replaced mine at 76,000 miles.
How Long Will It Take Me To Do This?
- If you don't have any problems with rusted bolts or other issues that complicate things, you should be able to pull this off in under an hour if you have the right tools.
Anything I Should Do Prior To Attempting This Procedure?
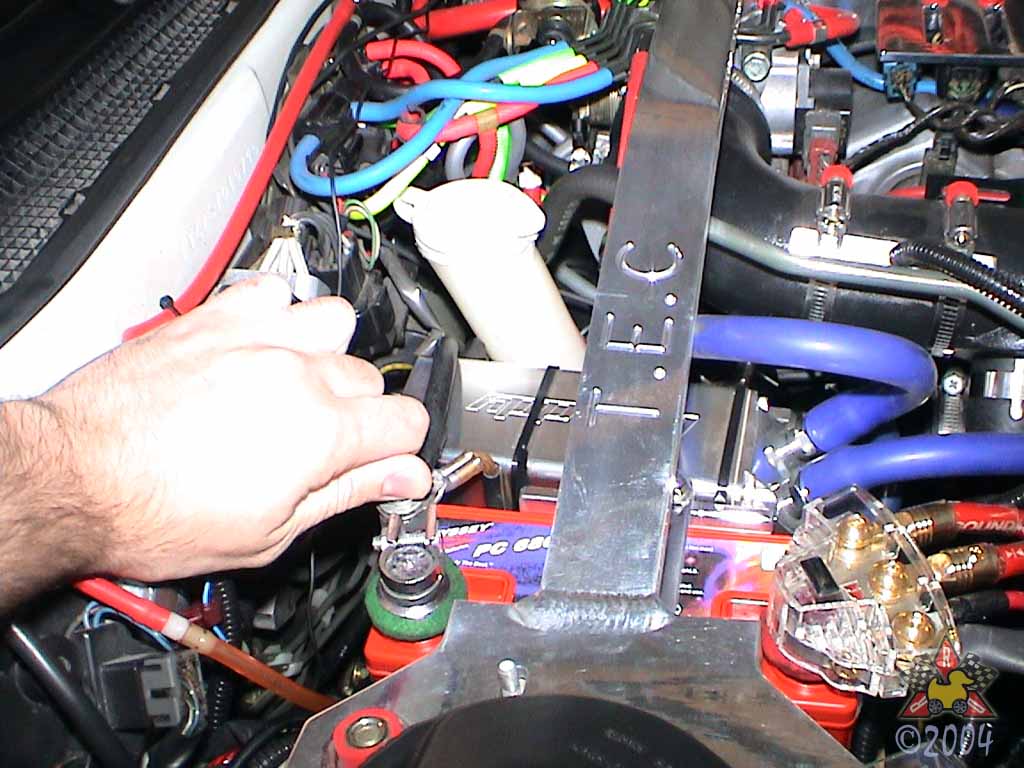
- Raise the front end of your car and safely support it. I used jack stands to support the car, but you could also use a lift or ramps. Whatever you do, BE SAFE! If the car falls off of its supports while you're under it, you probably won't live to tell the tale.
What Mitsubishi Parts Will I Need?
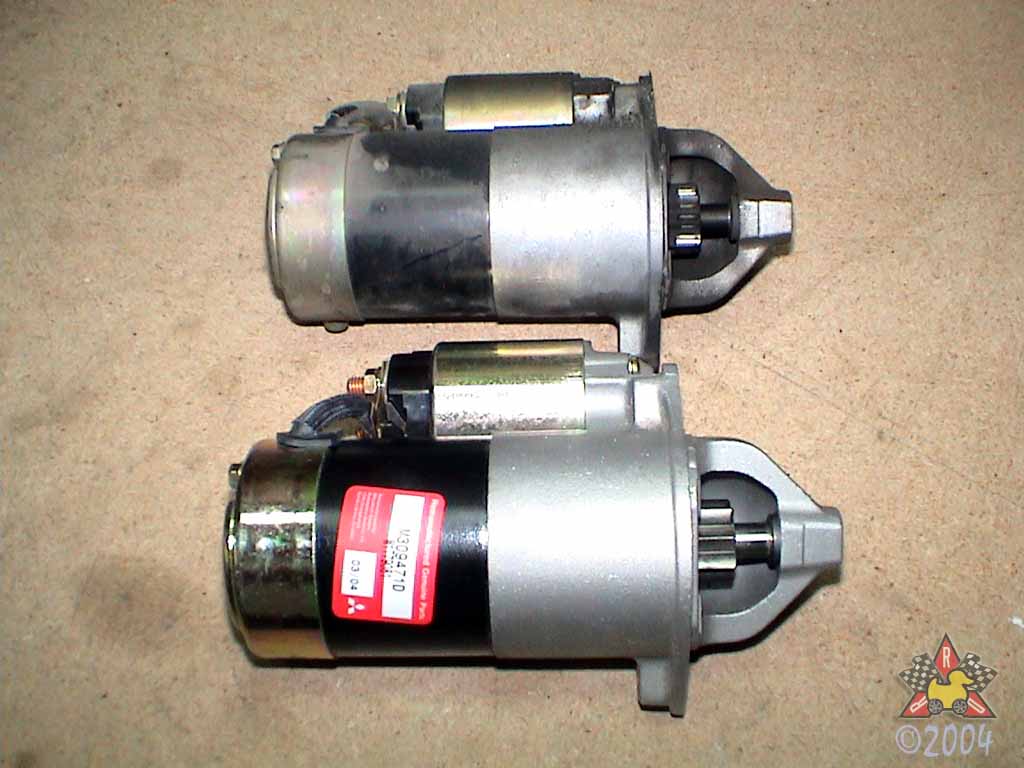
- (1) M309471D ($147.00 ea) Starter (Rebuilt)
- (1) [optional] MB687002 ($5.50ea) Downpipe to Front Oxygen Sensor Housing Gasket
- (1) [optional] MR323619 ($3.00ea) Downpipe to Rear Oxygen Sensor Housing Gasket
- (1) [optional] MB687004 ($3.00ea) Downpipe to Catalytic Convertor Gasket
What Other Parts Will I Need?
- Anti-Sieze Compound
Where Can I Get the Stuff To Do This?
| Part | Company/Contact | Part Number | |
|---|---|---|---|
|
|
Downpipe to Front Oxygen Sensor Housing Gasket |
Mike Deal at Rockville Mitsubishi |
MB687002 |
|
|
Downpipe to Rear Oxygen Sensor Housing Gasket |
Mike Deal at Rockville Mitsubishi |
MR323619 |
|
|
Downpipe to Catalytic Convertor Gasket |
Mike Deal at Rockville Mitsubishi |
MB687004 |
|
|
Starter (Rebuilt) |
Mike Deal at Rockville Mitsubishi |
M309471D |
|
|
Anti-Sieze Compound | Local Auto Parts Store | P/N |
What Tools May/Will I Need?
- 10mm Wrench
- 17mm Wrench
- 12mm 3/8" Drive Socket
- 12mm 3/8" Drive Deep Socket
- 14mm 3/8" Drive Socket
- 17mm 3/8" Drive Socket
- 19mm 1/2" Drive Socket
- 3" 3/8" Drive Extension
- 9" 1/2" Drive Extension
- 3/8" Drive Socket Wrench
- 1/2" Drive Socket Wrench
- 3/8" Drive Universal Joint