|
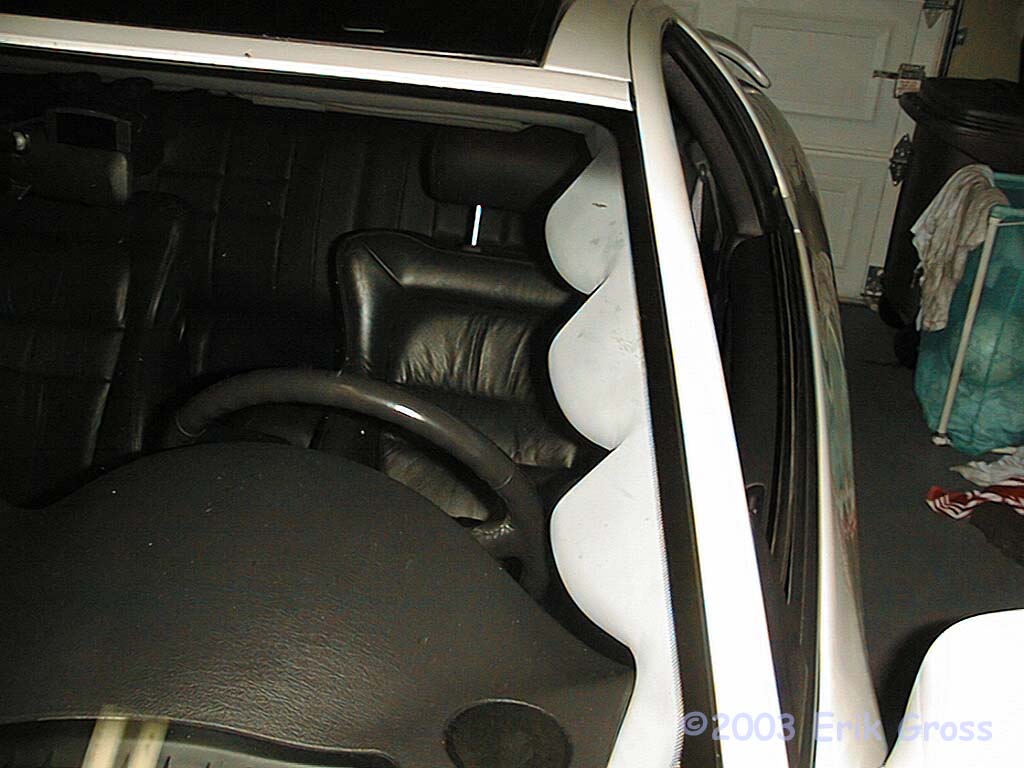
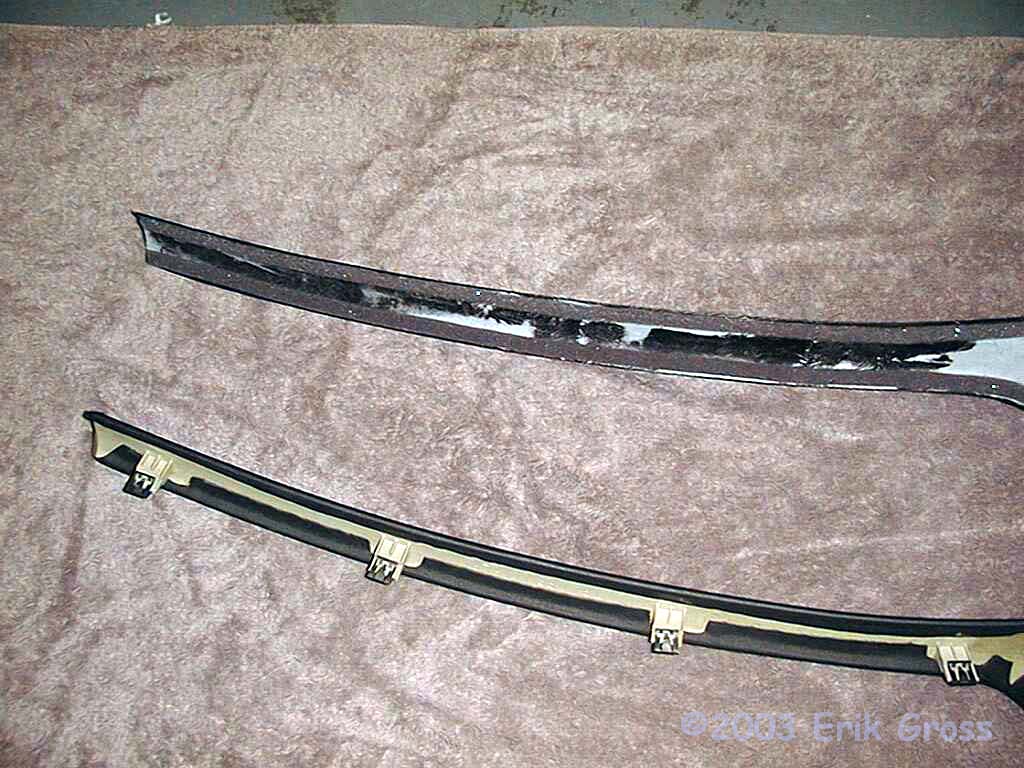
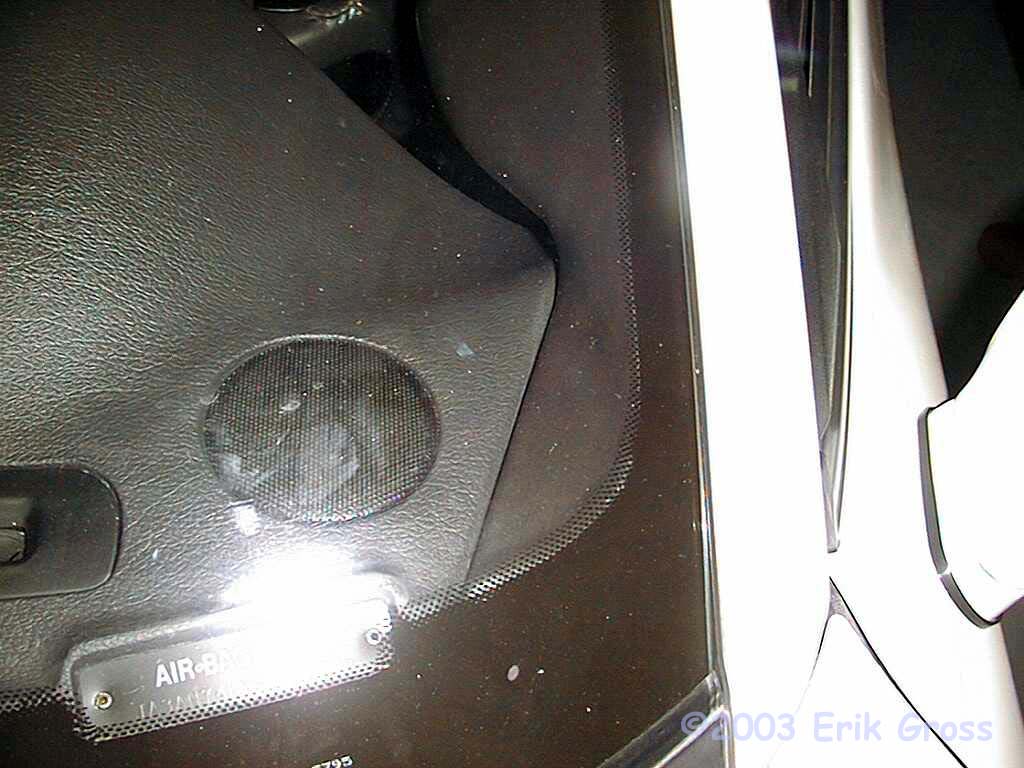
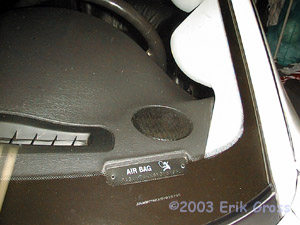
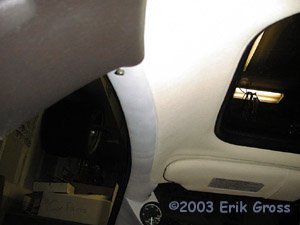
Remove Stock Interior A-pillar Trim
|
|
|
It's not too hard - just carefully stick your fingers under the edges and pull
it off. You can see the clip locations in some of the pictures to come.
|
|
|
|
|
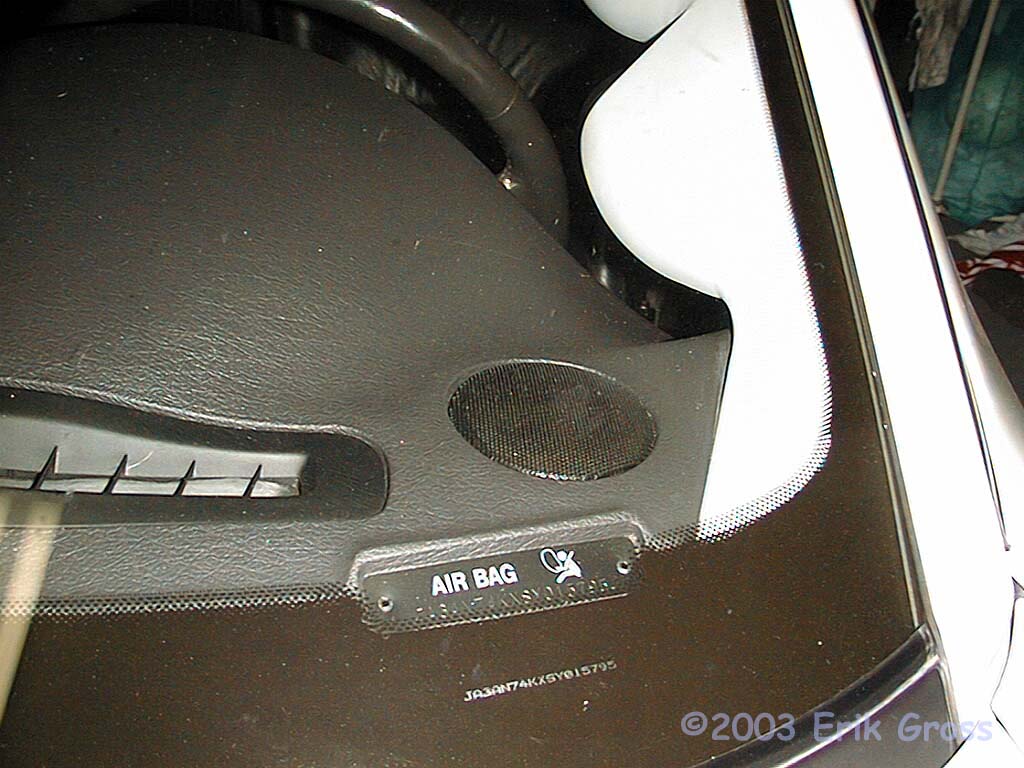
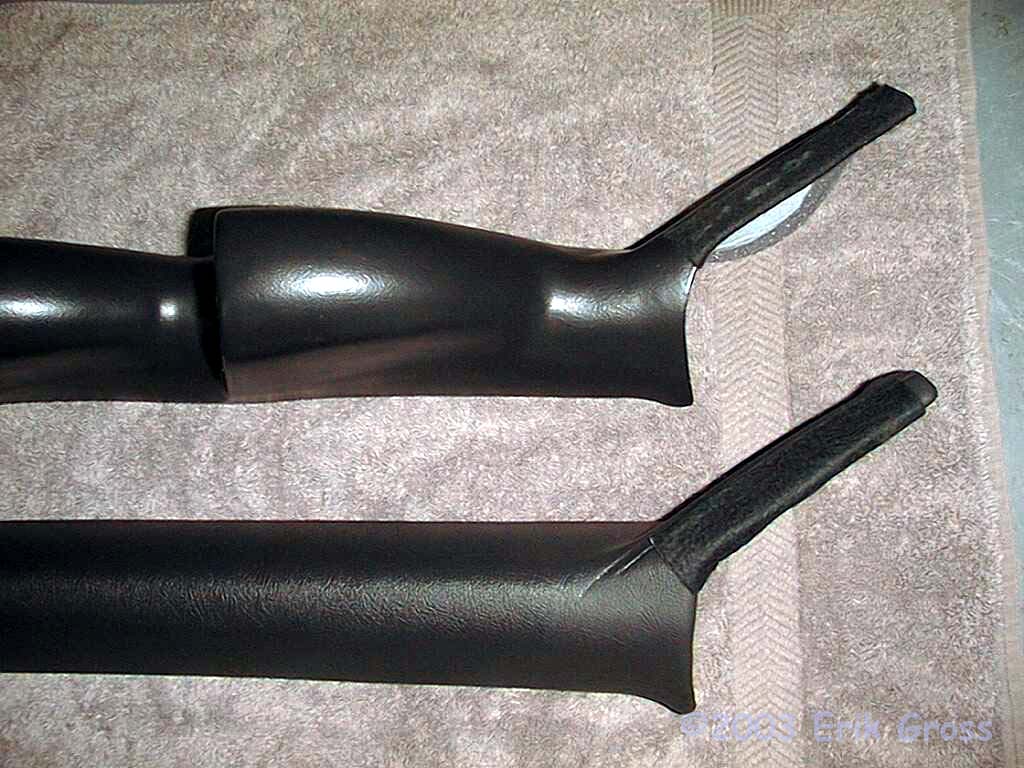
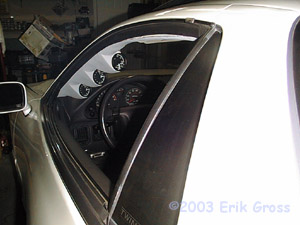
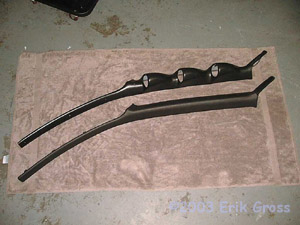
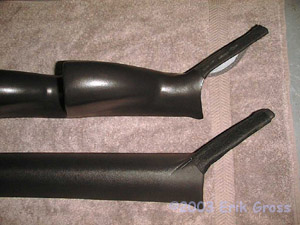
Test-Fit JAC Pillar
|
|
|
|
|
|
Shown primed and unpainted, as sold. Note the excellent fit at the base of the A-pillar.
|
|
|
|
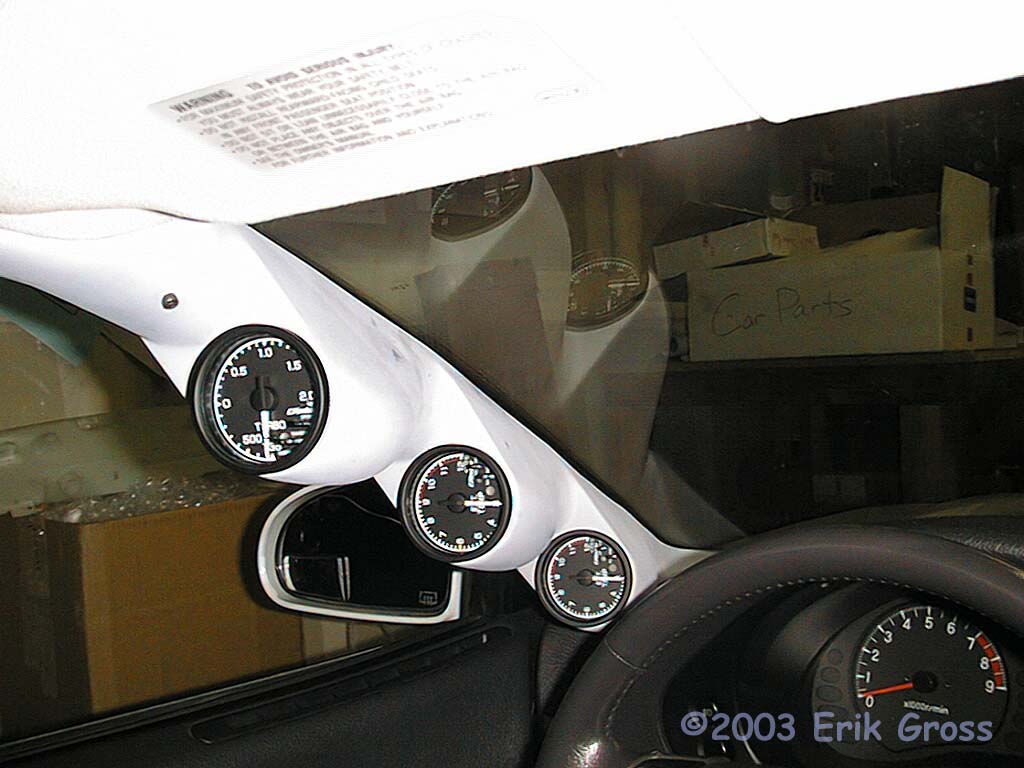
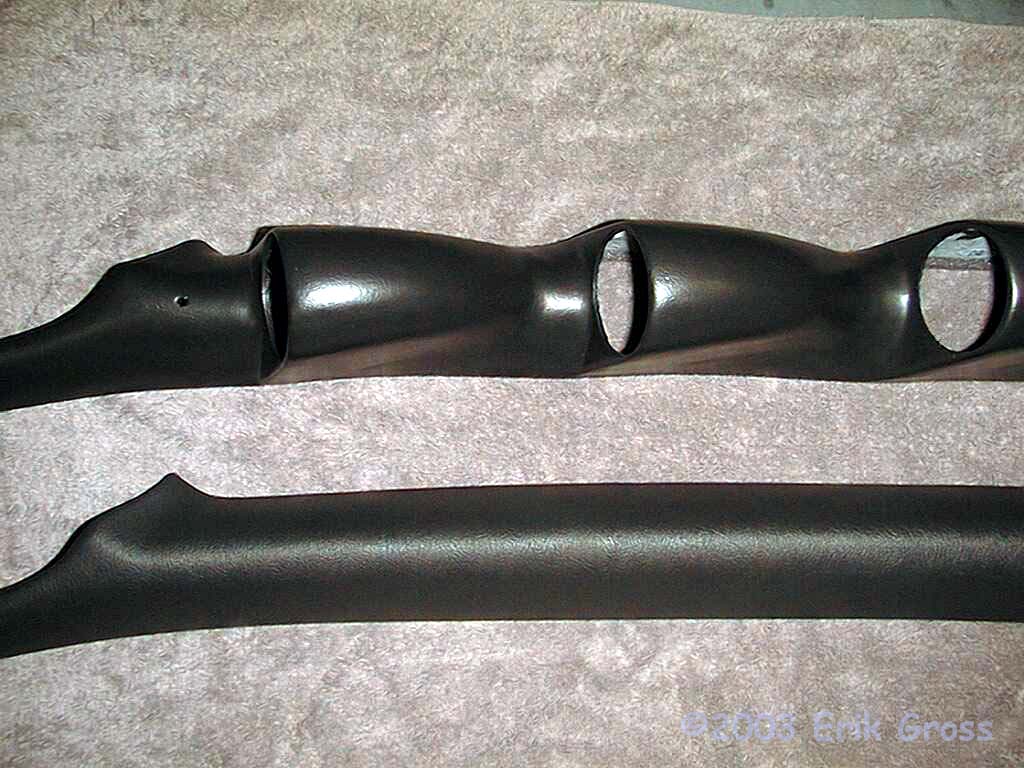
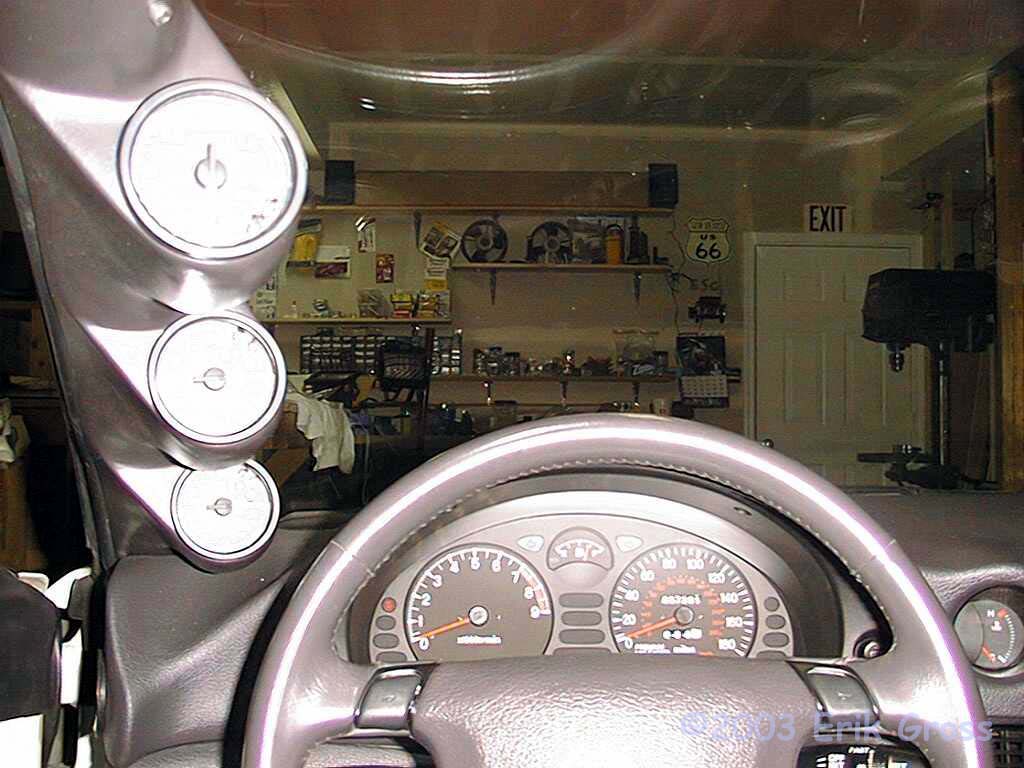
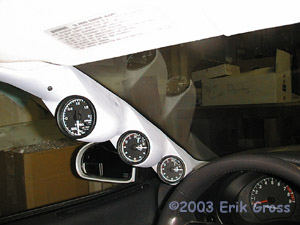
Test-Fit Gauges
|
|
|
|
|
|
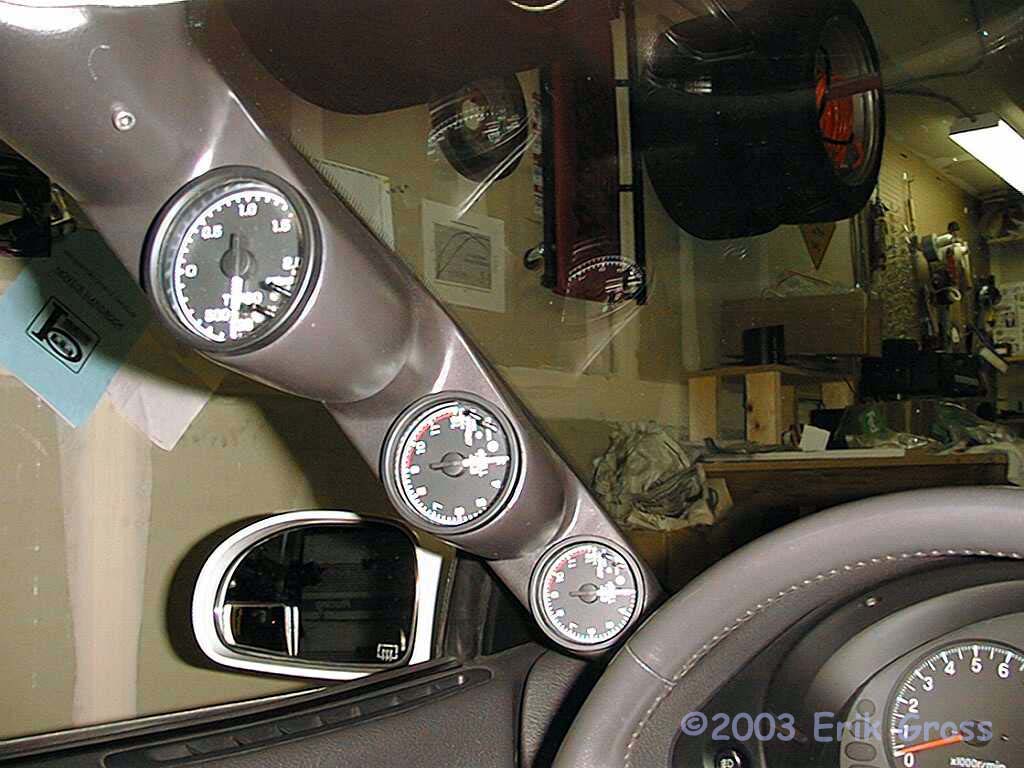
Three 60mm GReddy Peak/Hold gauges temporarily installed. I had to
sand the edges of the pods slightly to get them to fit - that's good,
because you want a nice tight fit.
|
|
|
|
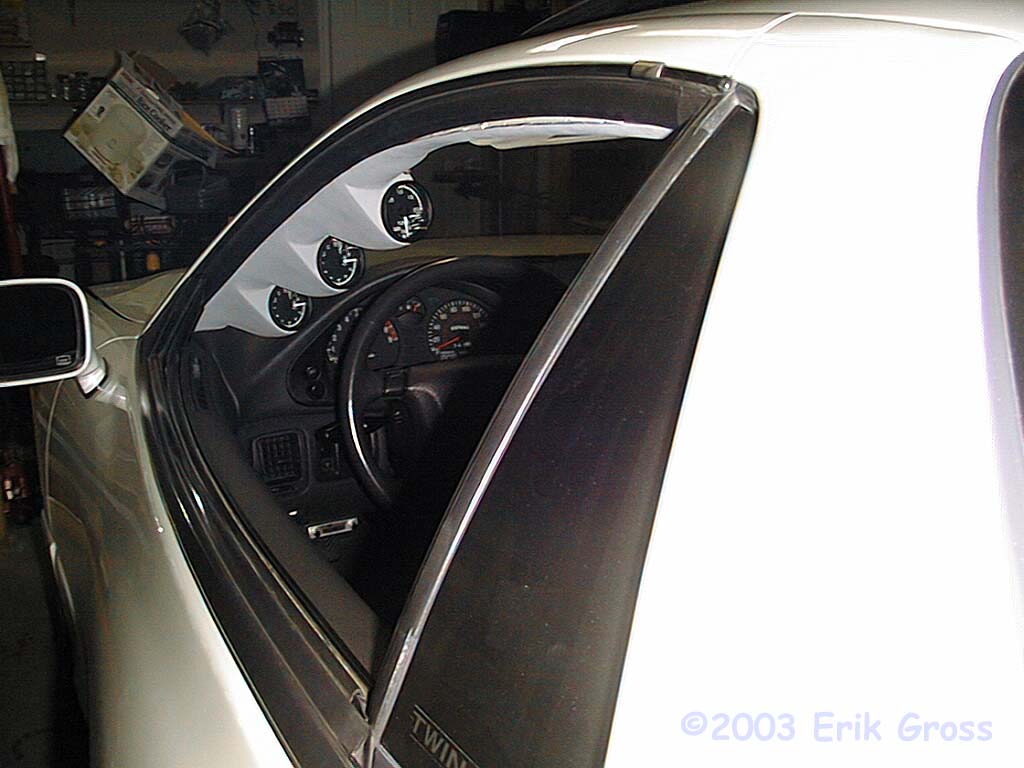
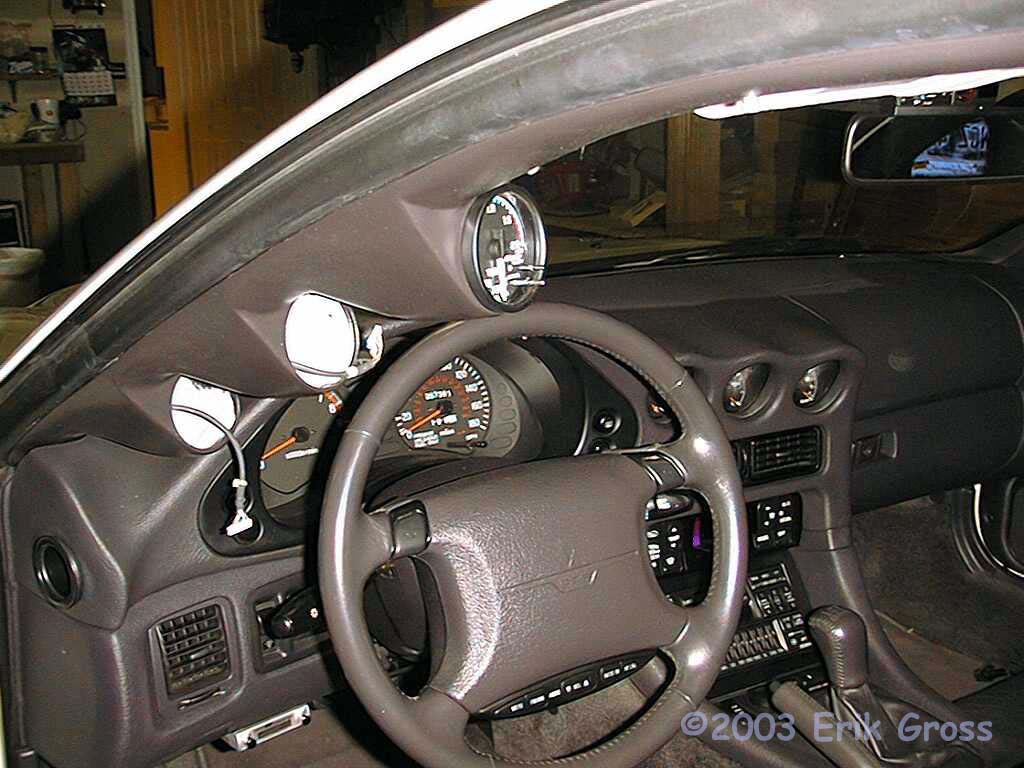
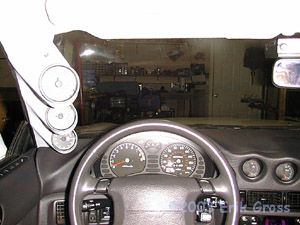
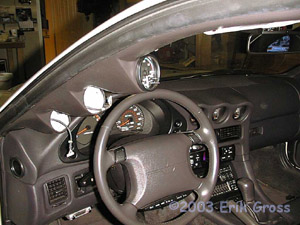
Check Gauge Visisbility
|
|
|

|
|
|
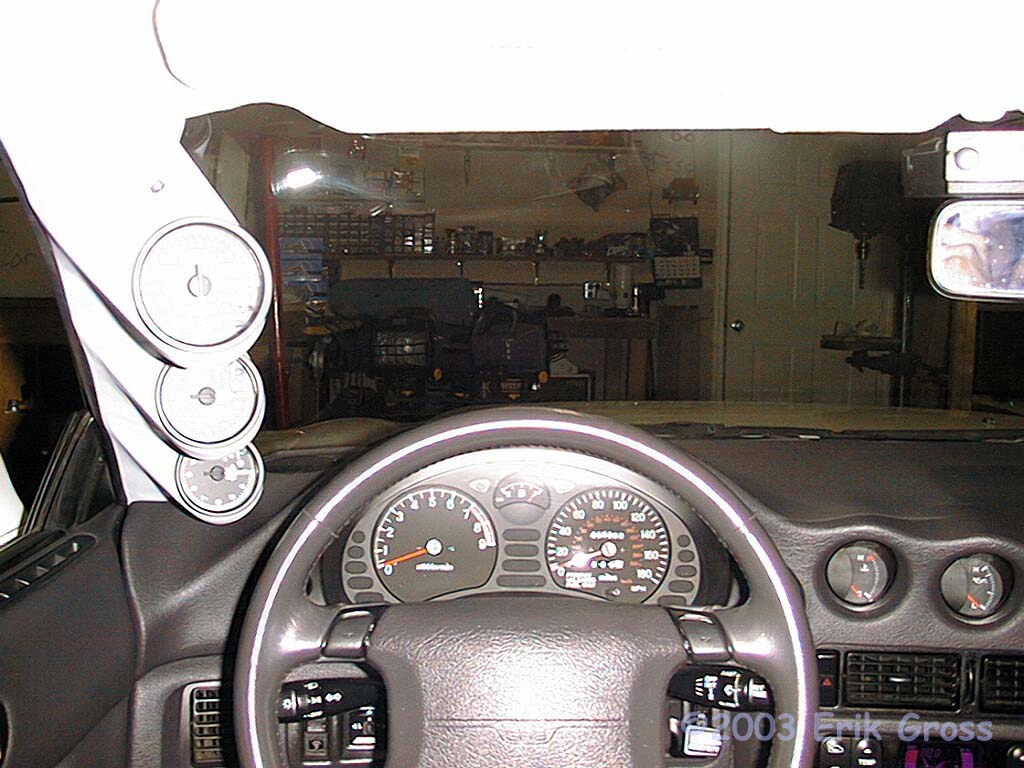
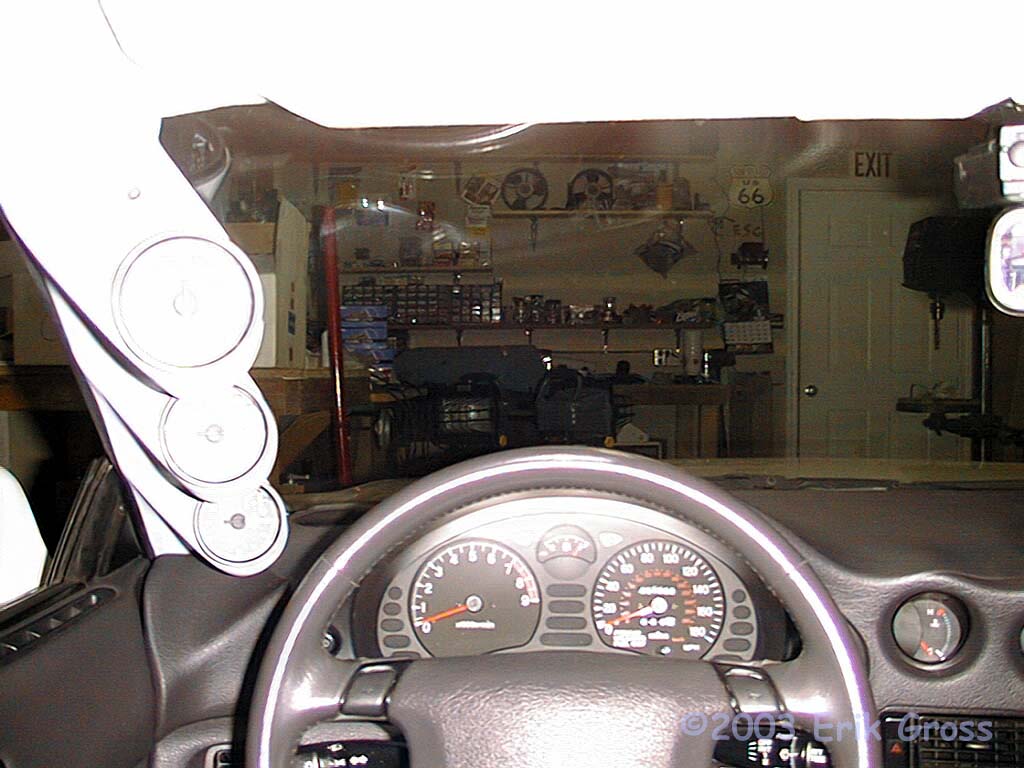
Sorry about the glare... I had to use the flash and I wanted to get it from
the driver's perspective.
The left picture would be close to what you'd see if you're
tall (over 6'1" and sit close).
The right picture is from the driver's perspective if you're a little shorter (5'11"ish?)
or sit a little reclined. I'm between 6'1" and 6'2" and this is about how I
see the gauges when I sit one notch reclined from the position I use at the
road courses and autocrosses.
|
|
|
|
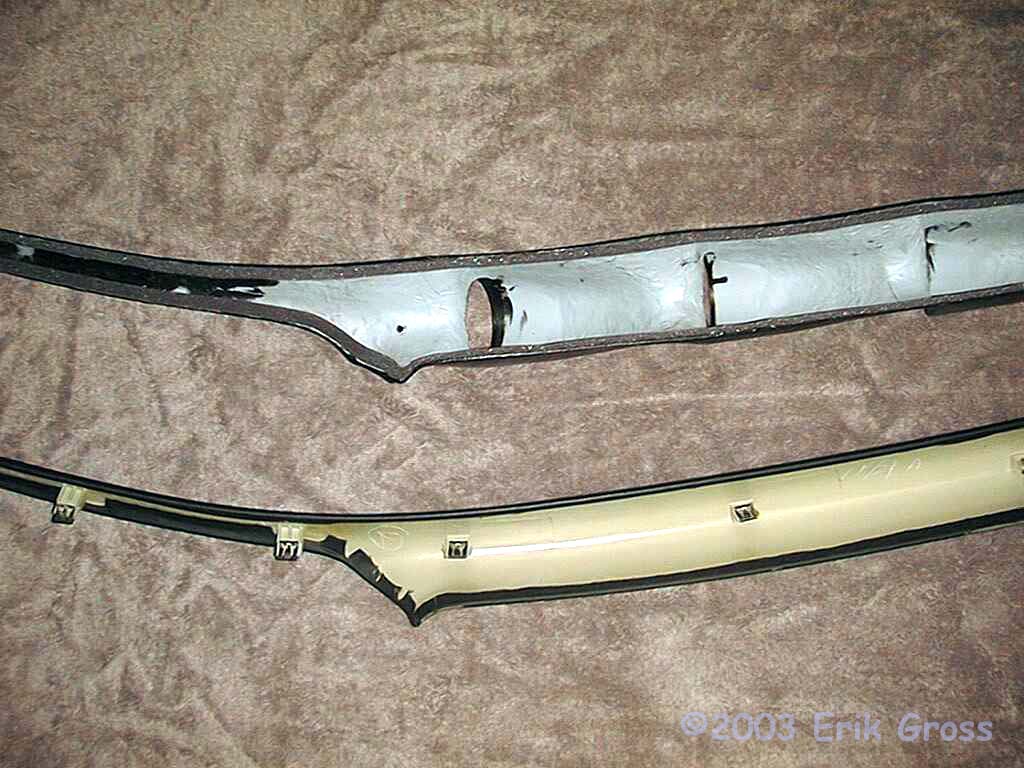
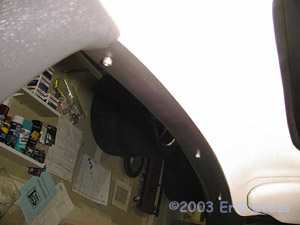
Drill Holes and Check Fitment
|
|
|
|
|
|
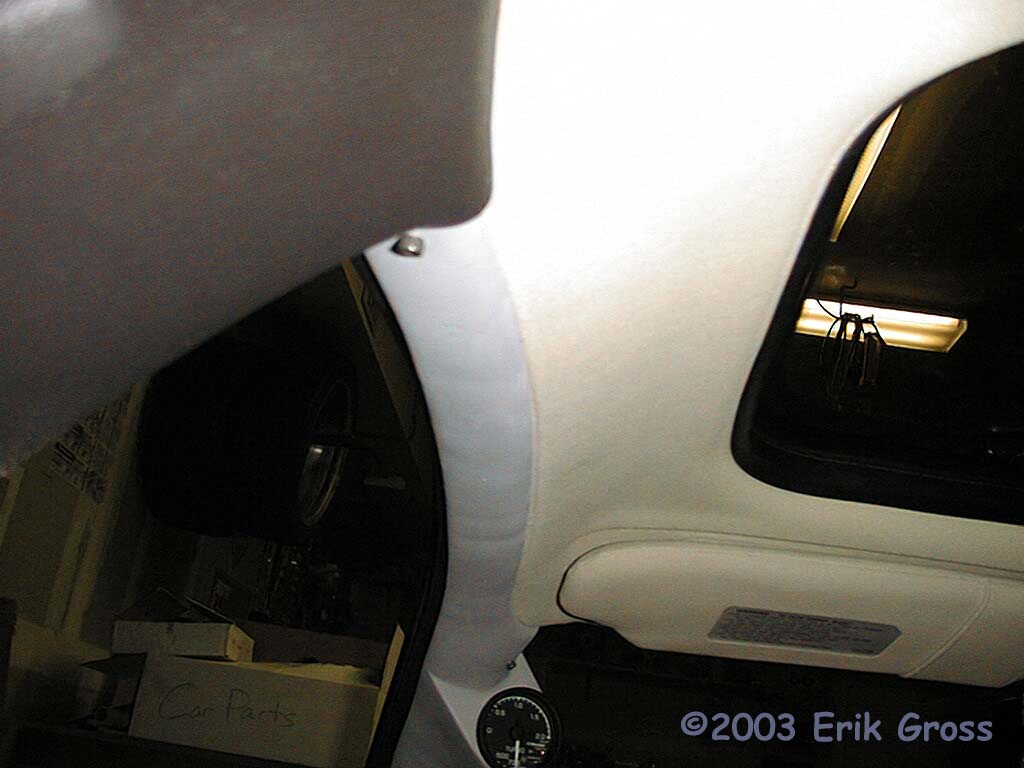
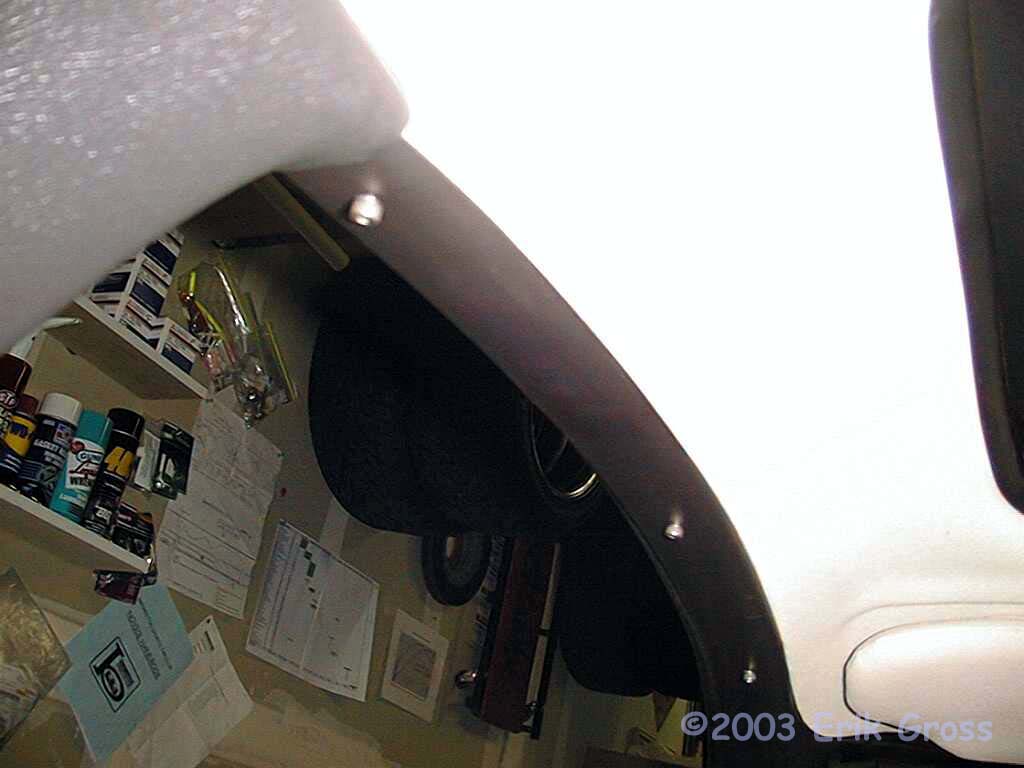
The pillar replacement runs all the way back to the B-pillar trim, just like
the stock a-pillar trim piece. It fits beautifully.
Drill the holes for the screws that will secure the pillar and test-thread
the screws into the holes. Use a drill bit that's slightly smaller than
the screw threads and it will self-tap itself into the sheet metal.
|
|
|
|
Paint and Clearcoat the Pillar
|
|
|
|
|
|
I went to Home Depot and had them color-match a quart of paint
to my A-pillar. Then, I used a small smooth-foam roller to
apply the paint. I found that if you paint on reasonbly thick
and continue to run the roller lightly over the paint as it dries,
it adds a little texture to the surface that helps it blend in
with the stock vinyl texture. It's not perfect, but it's better
than completely smooth. I put on two color coats.
Then three coats of
SEM clear satin spraypaint for protection and matching the
luster of the dash panels. In some lights, it looks a little
darker than the stock color, and in other lights it looks perfect.
Also, I put a piece of felt on the bottom of the A-pillar, just like the stock
trim piece. I'm silly like that.
|
|
|
|
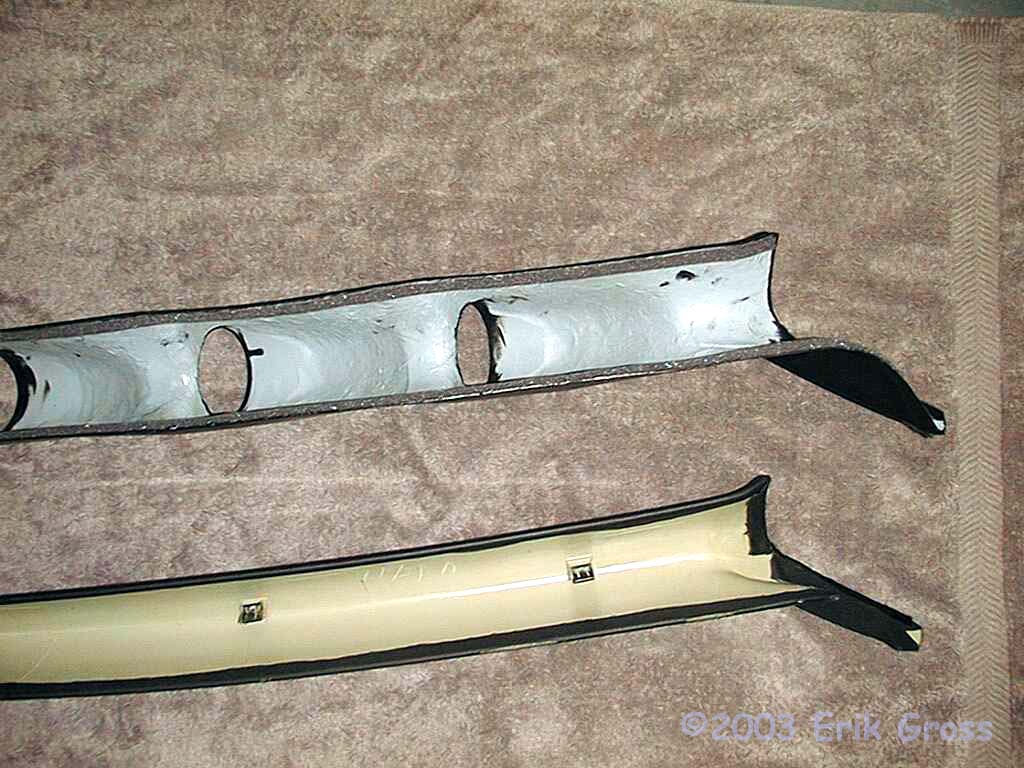
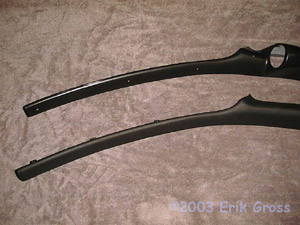
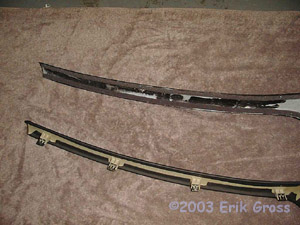
Painted and Clearcoated
|
|
|
|
|
|
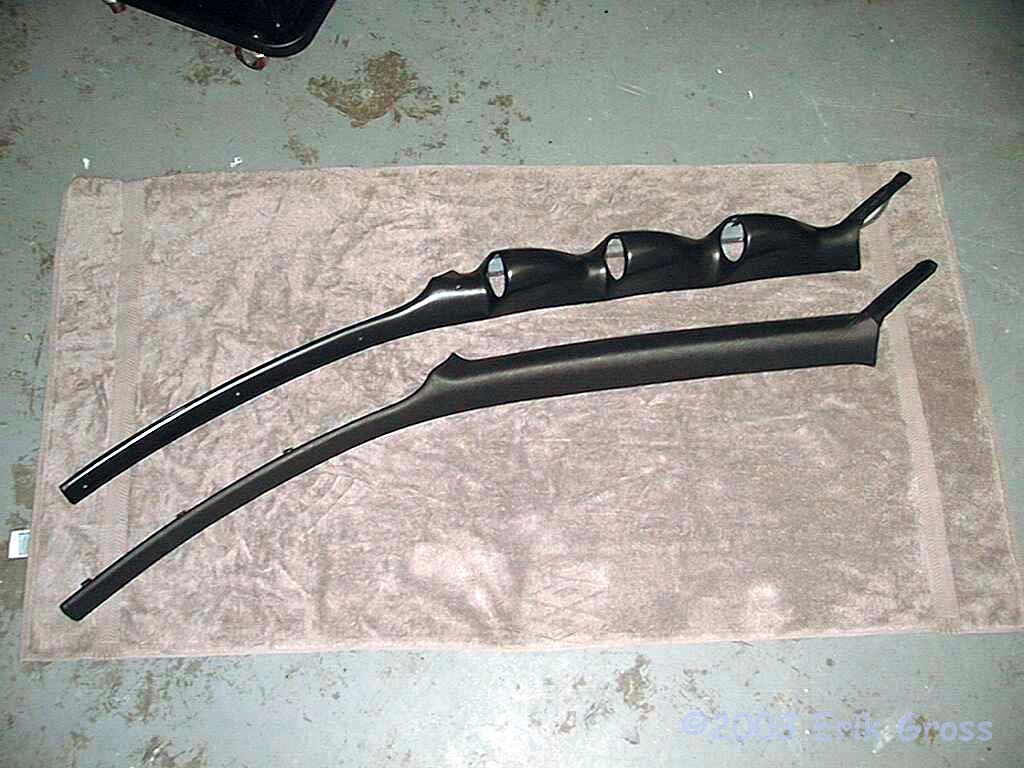
The stock pillar is shown on the bottom for reference.
|
|
|
|
Title
|
|
|

|
|
|
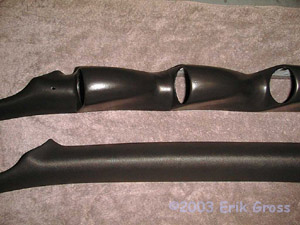
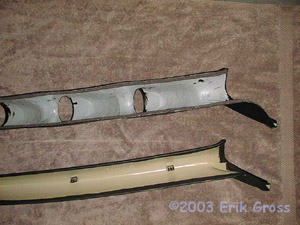
I also put some open-cell foam tape (Home Depot again) along the edges
of the back side to provide some padding, make rattles unlikely, and
make the fit more like stock. You don't have to do this, but it
takes all of 10 minutes and $2.
The stock pillar is shown on the bottom for reference.
|
|
|
|
Title
|
|
|
|
|
|
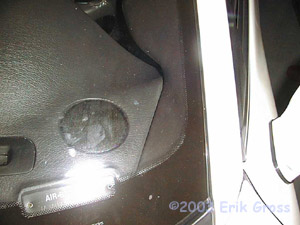
Here it is installed. The camera's flash makes the piller look
a tad darker than it is.
One gauge installed. Wires for the others hanging out of the pods.
|
|
|
|
Title
|
|
|


|
|
|
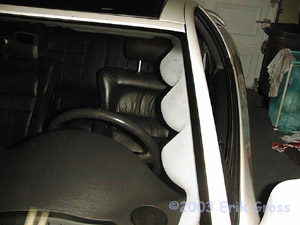
Left is driver's seat view. Right is non-glare angle shot from more toward the center
of the car.
|
|
|
Title
|
|
|
|
|
|
I could have used screws that have a lower profile, but I wanted
something other than a Phillips or Slotted head for security reasons.
If I'm motivated, I may look for a torx or allen head in a lower-
profile head, but this is good enough for now.
|
|
|
|
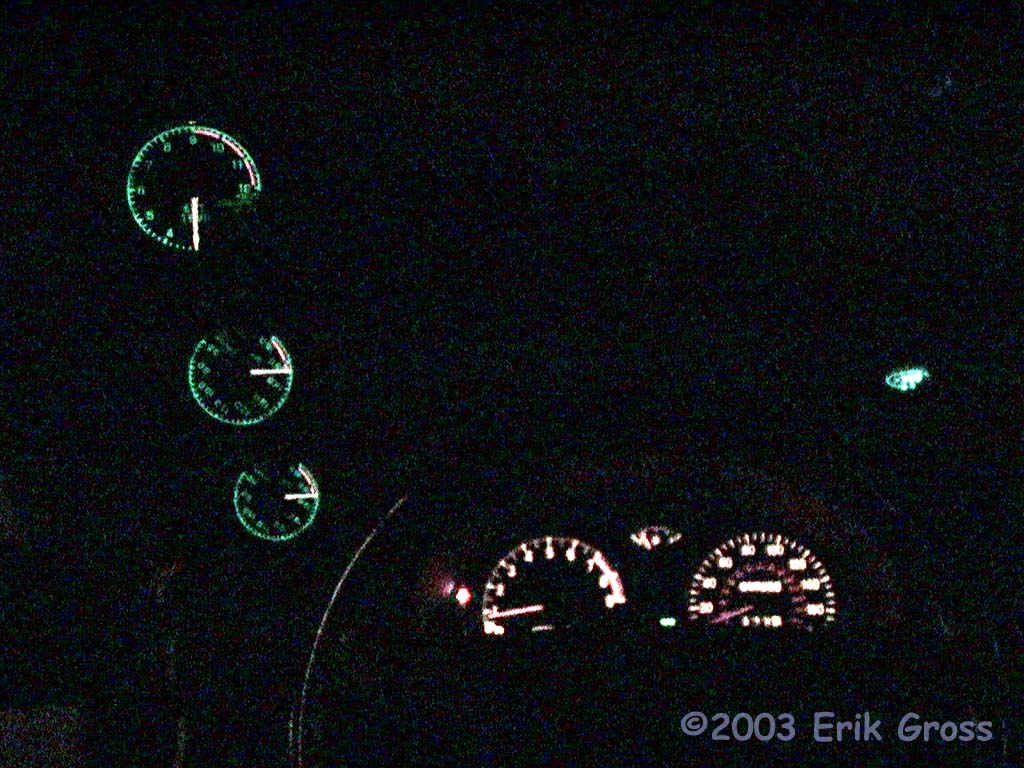
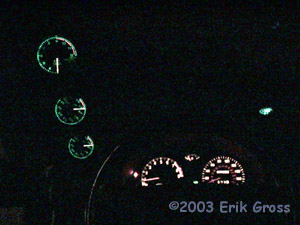
Night Shot
|
|
|
|
|
|
|