|
Find or Create Location To Route Wires
|
|
|
|
|
|
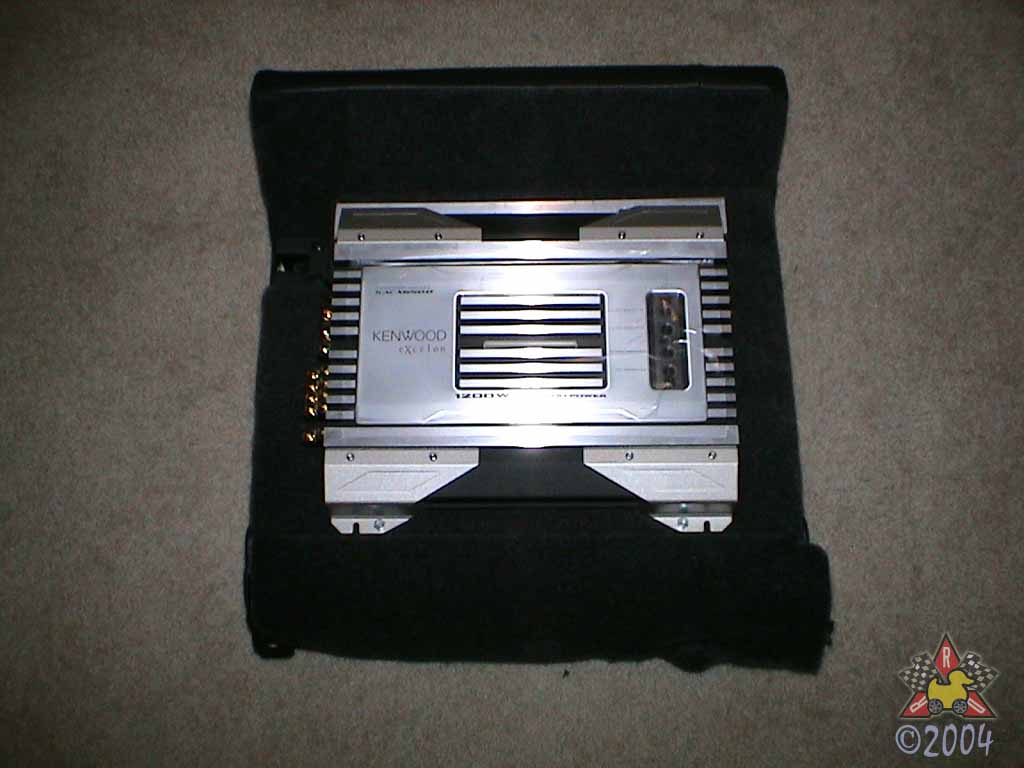
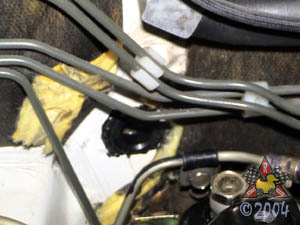
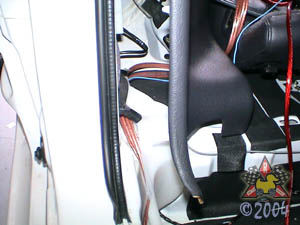
For most amplifiers, particularly multi-channel amps like the one I chose, you'll
need to run a large-gauge wire (4ga) from the battery back to the amplifier. I've
had pretty good success with eliminating ground loop noise (a.k.a. alternator whine)
by running both a power and ground cable directly from the battery to the amp. Thus
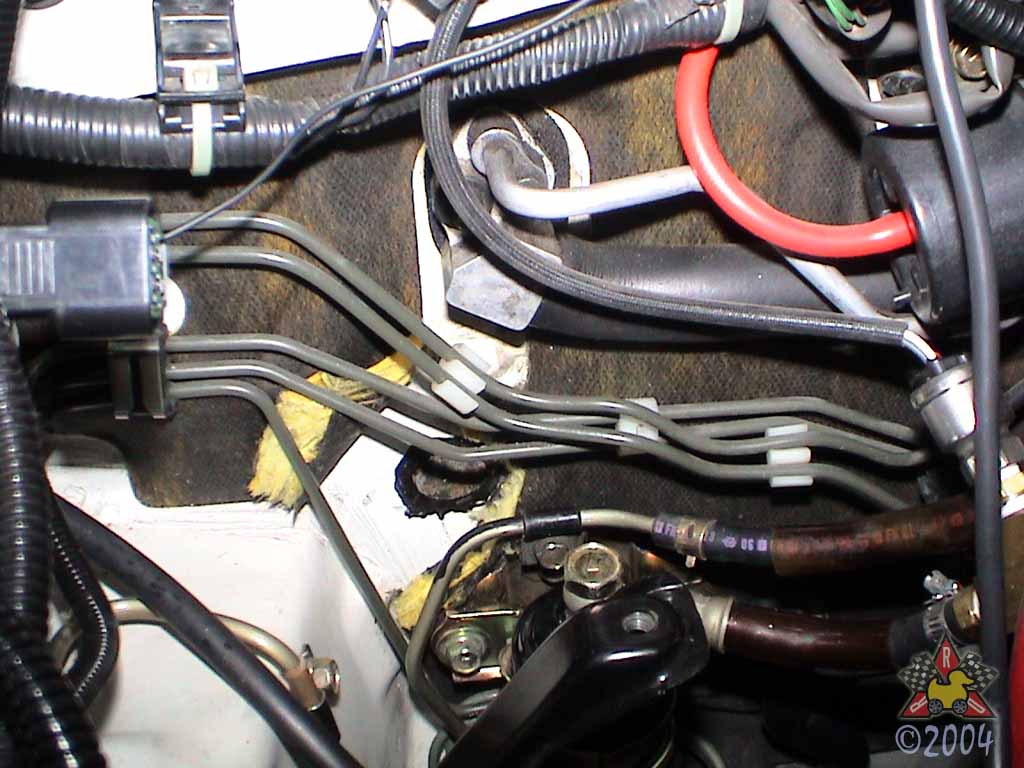
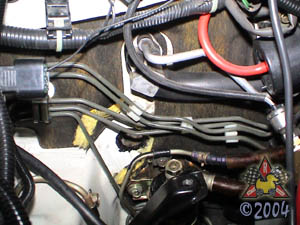
I needed a significant hole in the firewall to route the wires. The two commonly-used
holes for wire-routing (near the brake master cylinder and the main wiring bundle behind
the battery) in my 3000GT were already occupied by wires for other equipment, so
I chose to drill a new hole. I drilled it near the brake lines behind the battery
directly below the A/C connections. I used a large 3/4" drill bit, and then finished
off the hole by painting black primer around the hole (to prevent rust) and using a
rubber grommet purchased at Home Depot.
|
|
|
|
Route Wires Through Firewall
|
|
|
|
|
|
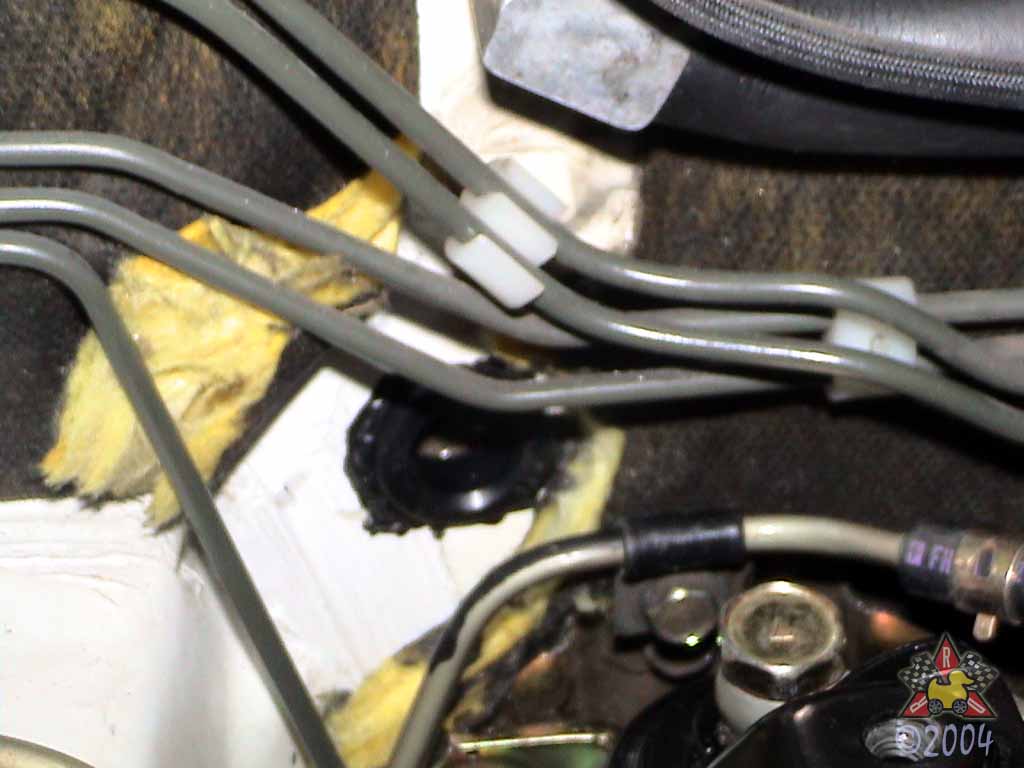
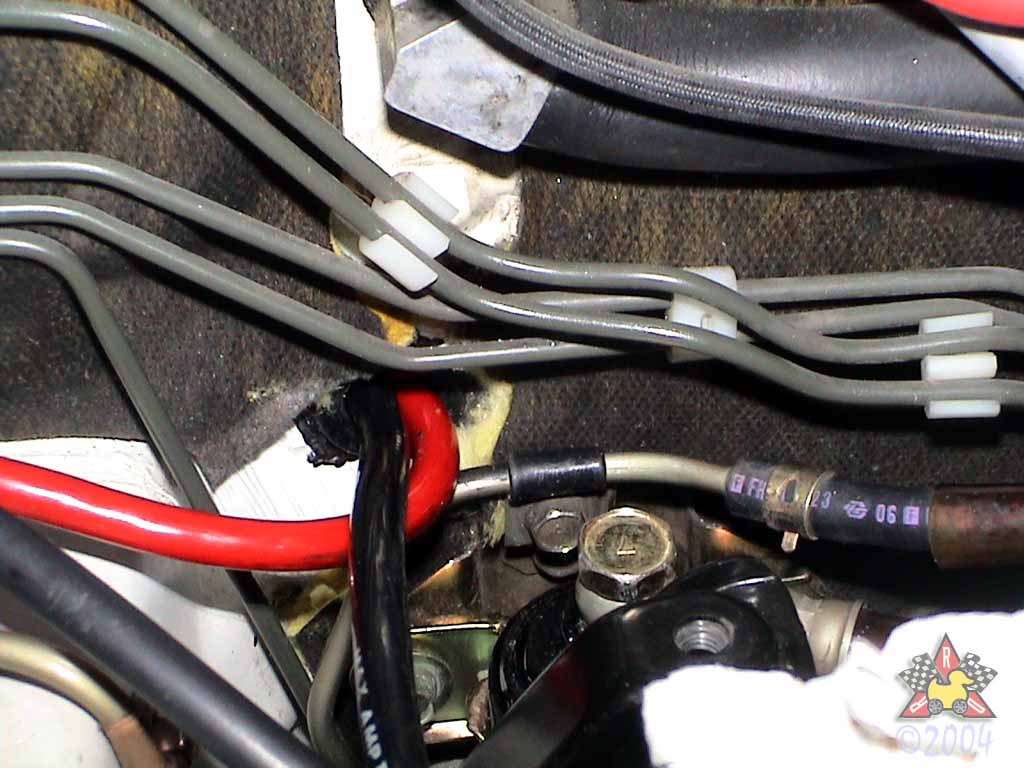
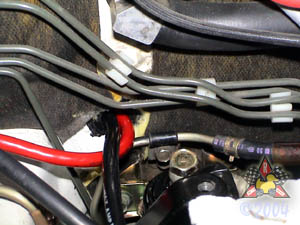
Run the wires through the hole you found or created. Allow enough slack on the
engine bay side so that you can connect the wires to the battery.
You'll also want to attach a fuse holder to the power wire and install an appropriately-sized
fuse for your amplifer. Do not install the fuse until everything
is connected and ready to go, as you don't want to short out the power wire while you're
routing it through the interior of the car.
The ground wire (if you use one) should connect directly to the
negative terminal of the battery.
|
|
|
|
Route Wires Through Interior
|
|
|
|
|
|
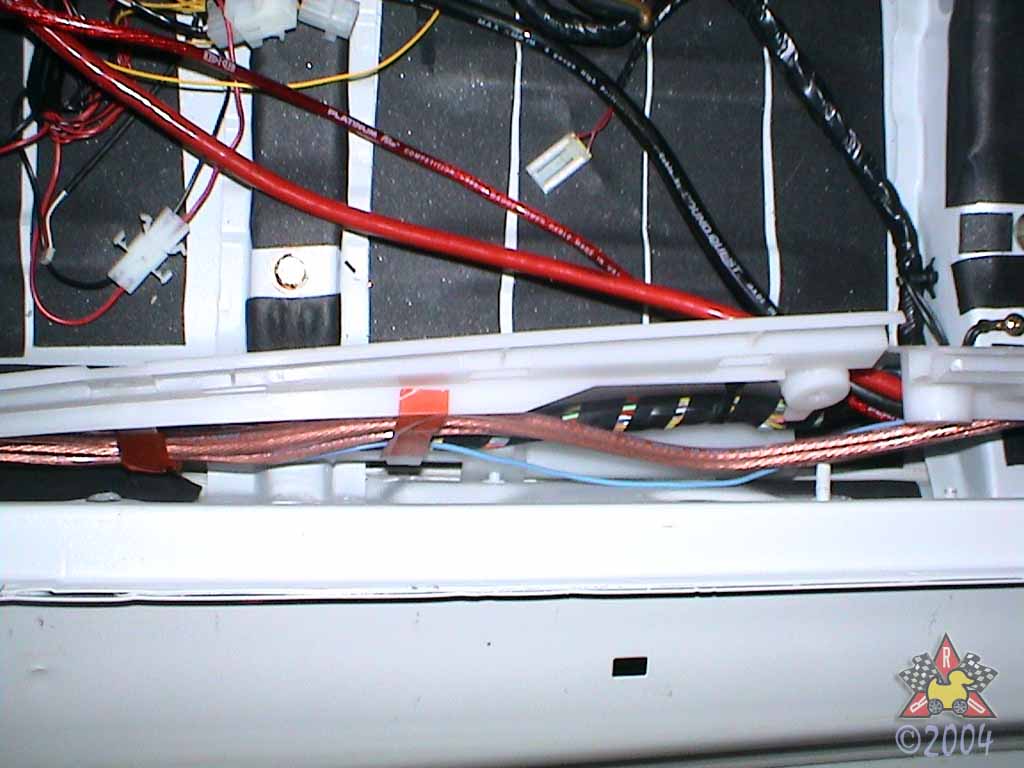
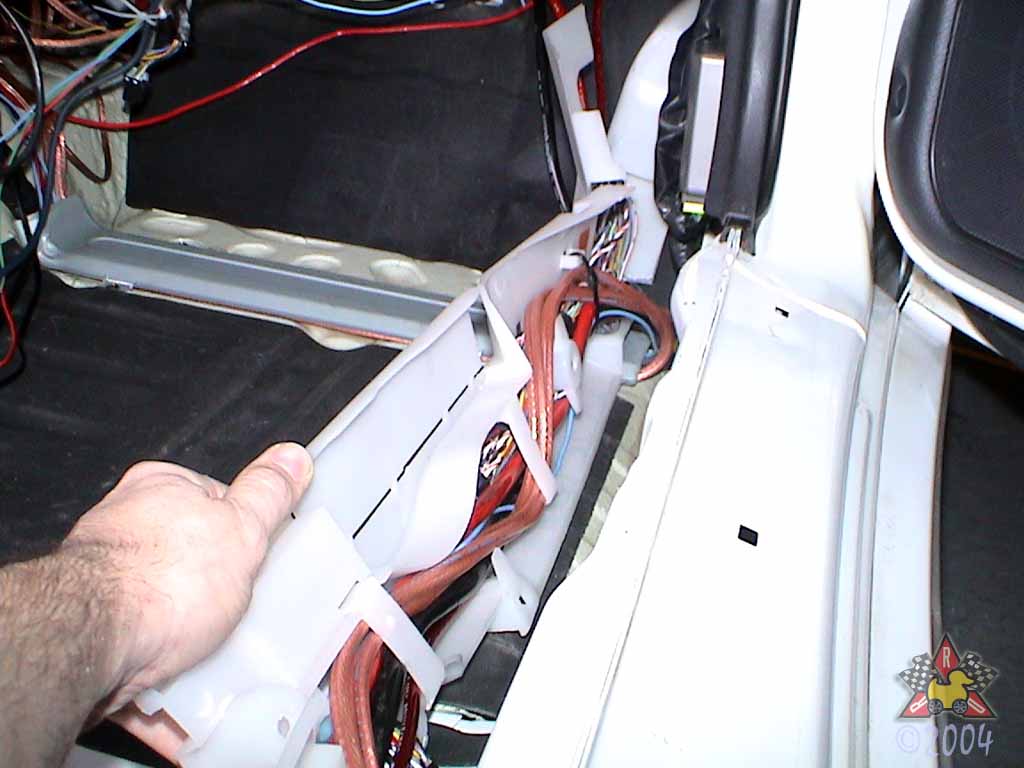
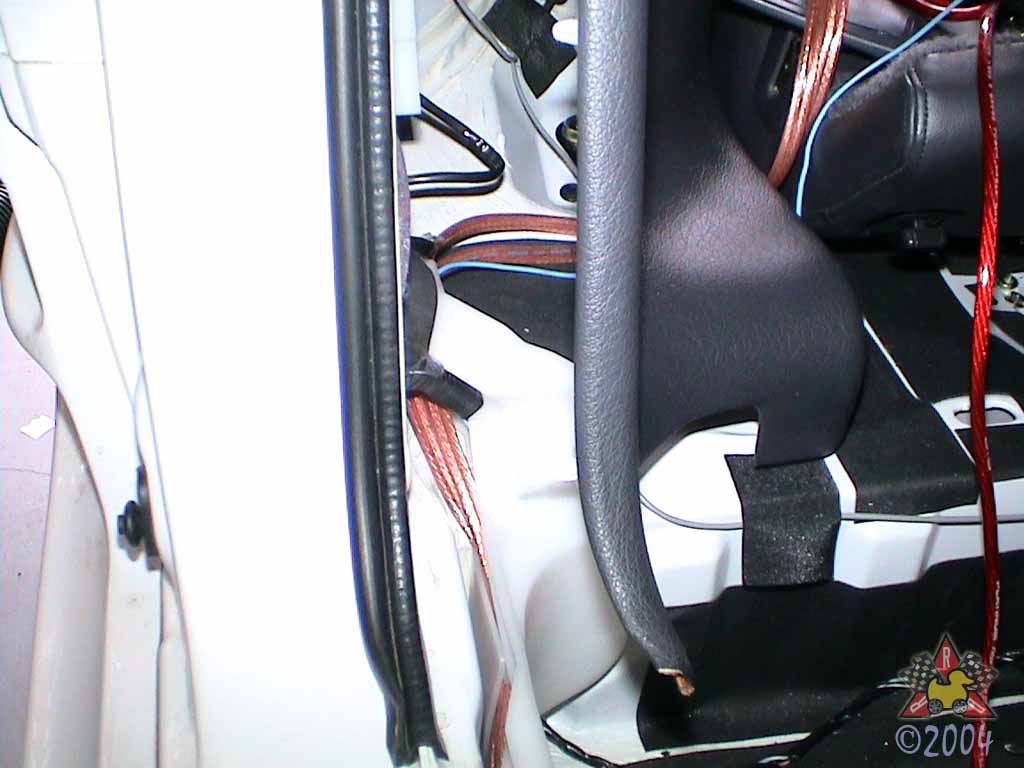
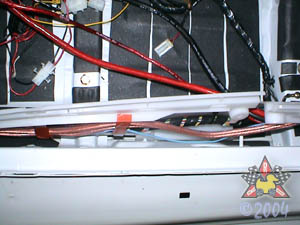
I chose to run my wires through the OEM wiring ducts at the sides of the floorpans.
If you're in a hurry or don't want to disassemble everything, you can just run them near the edge
of the floorpan where they're not likely to be stepped on. At this time,
I also ran the wires for the front speakers, since they will connect the amplifer
(in the rear of the car) to the speakers (in the front of the car). The rear speakers
can be connected pretty much any time since they are very close to the amplifier. Also
(not shown), you'll want to run the RCA (low-level signal) wires from the head unit
to the amplifier. I ran these on the driver's side of the car to reduce the likelihood
of ground loop noise.
|
|
|
|
Design Mounting Bracket For Amplifier
|
|
|
|
|
|
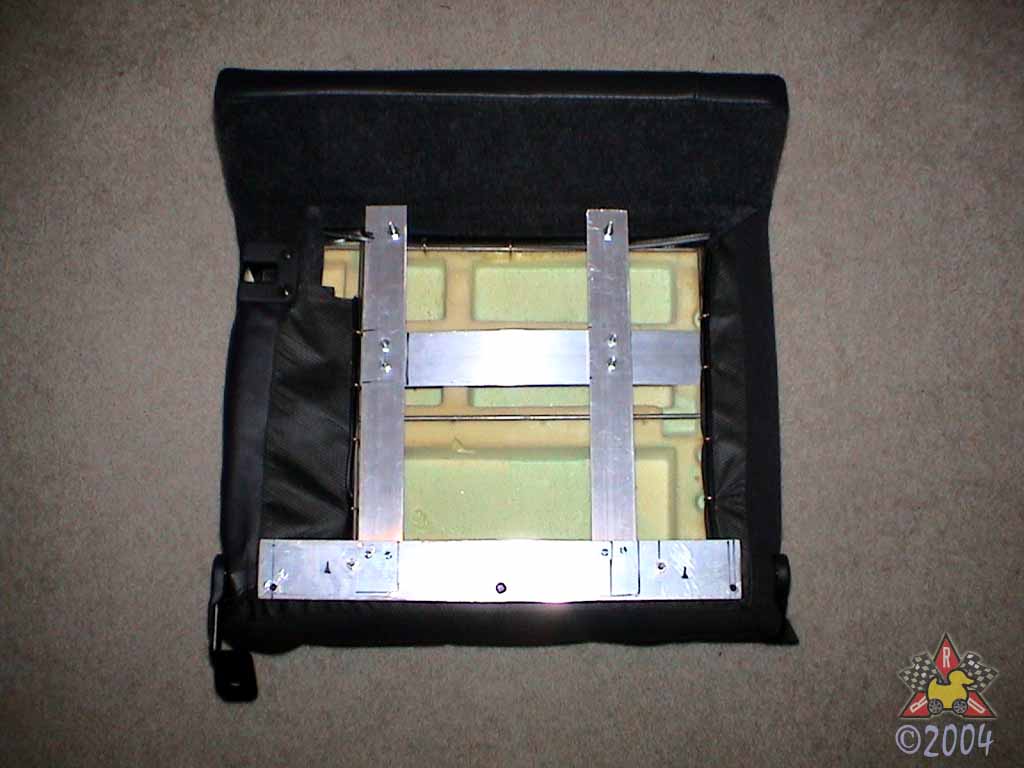
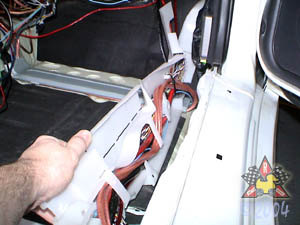
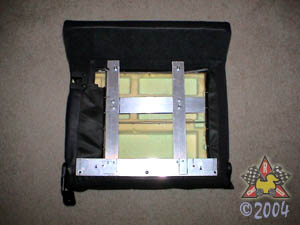
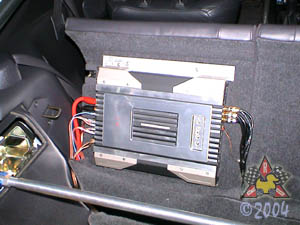
I wanted to design an amplifier bracket that was both sturdy and
aesthetically pleasing. As you can see from some of the other pages on
this site, I take my VR-4 to autocrosses and road course events, so
a secure mount for the amplifier is absolutely necessary. I don't want it
flying off while I'm in the middle of a high-corner! What I chose to do
was to fabricate a rectangular-shaped bracket that attaches to the 1/2" steel
bars at the top and bottom of the internal seat structure. The bracket was
made from 1/8" thick aluminum stock, available at Home Depot. I used a bunch
of miscellaneous nuts and bolts to assemble it and bolt it to the seat, once
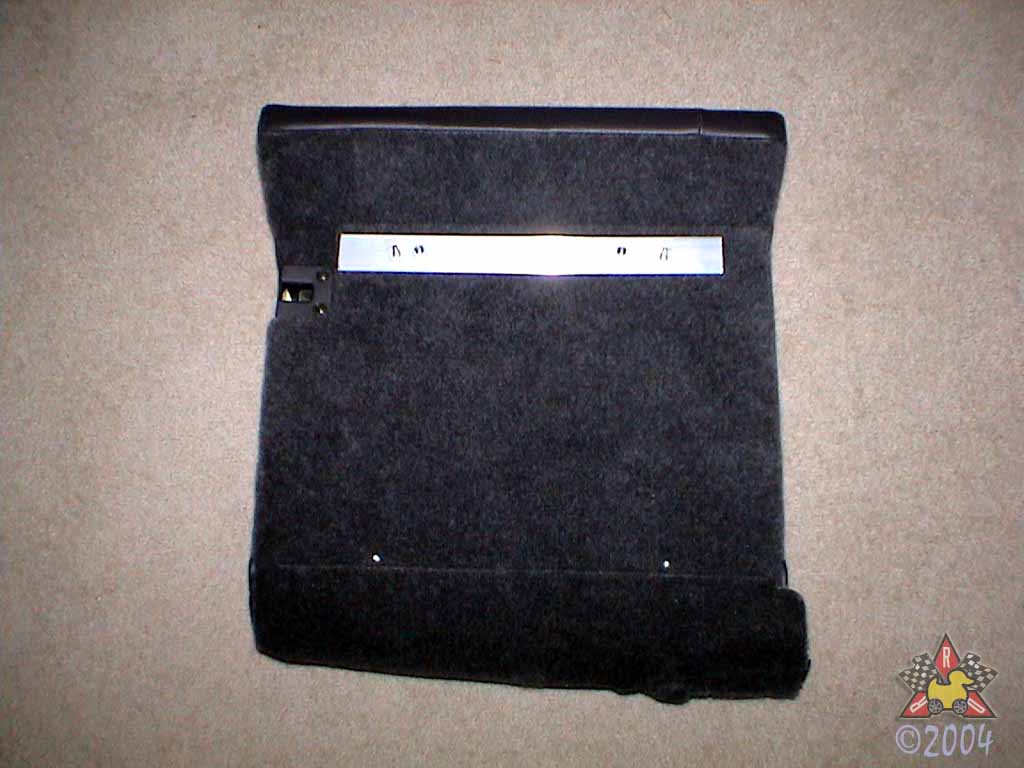
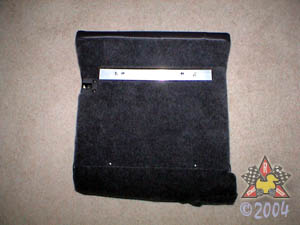
I removed the rear carpeted trim from the seat back. Built into the custom
bracket, I incorporated 4 studs, which line up with the 4 mounting holes
of the amplifier. These studs stick through the carpeted trim panel and
allow the amplifier to bolt directly to the back of the seat with only the
upper aluminum bar visisble.
|
|
|
|
Attach Amplifier To Seat
|
|
|
|
|
|
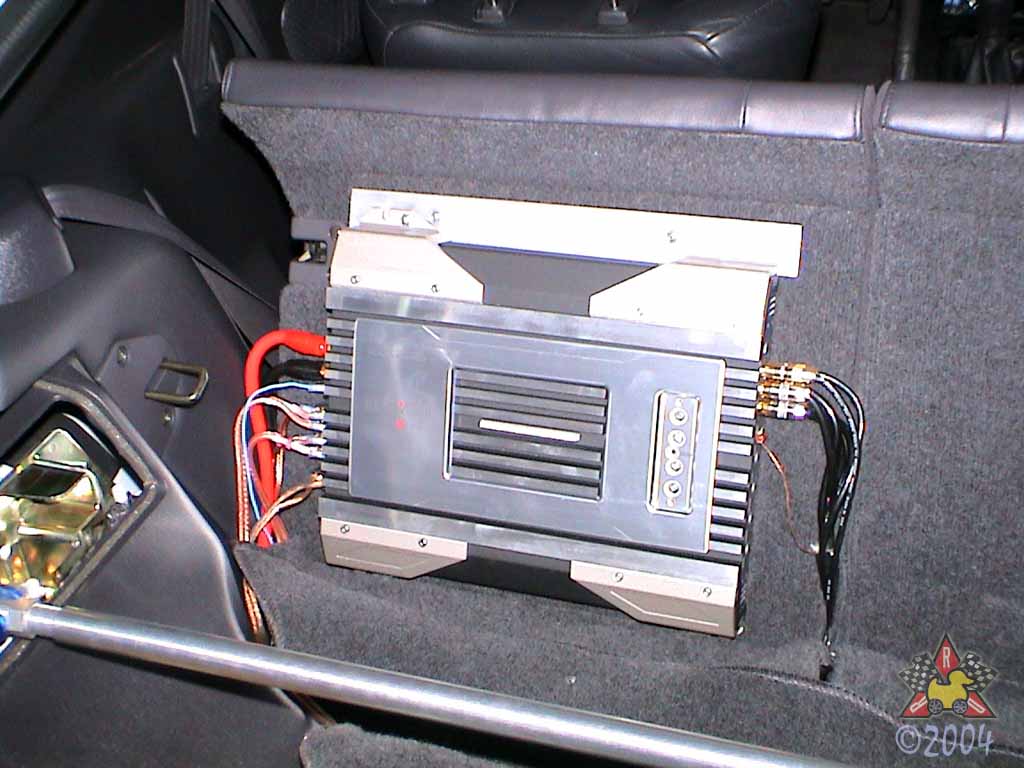
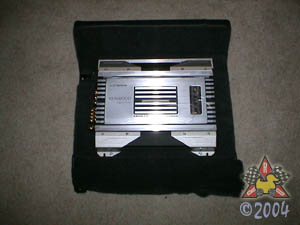
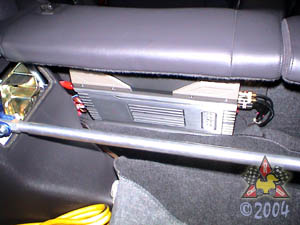
Here's what it looks like with the amplifier attached to the studs.
|
|
|
|
Complete Installation
|
|
|
|
|
|
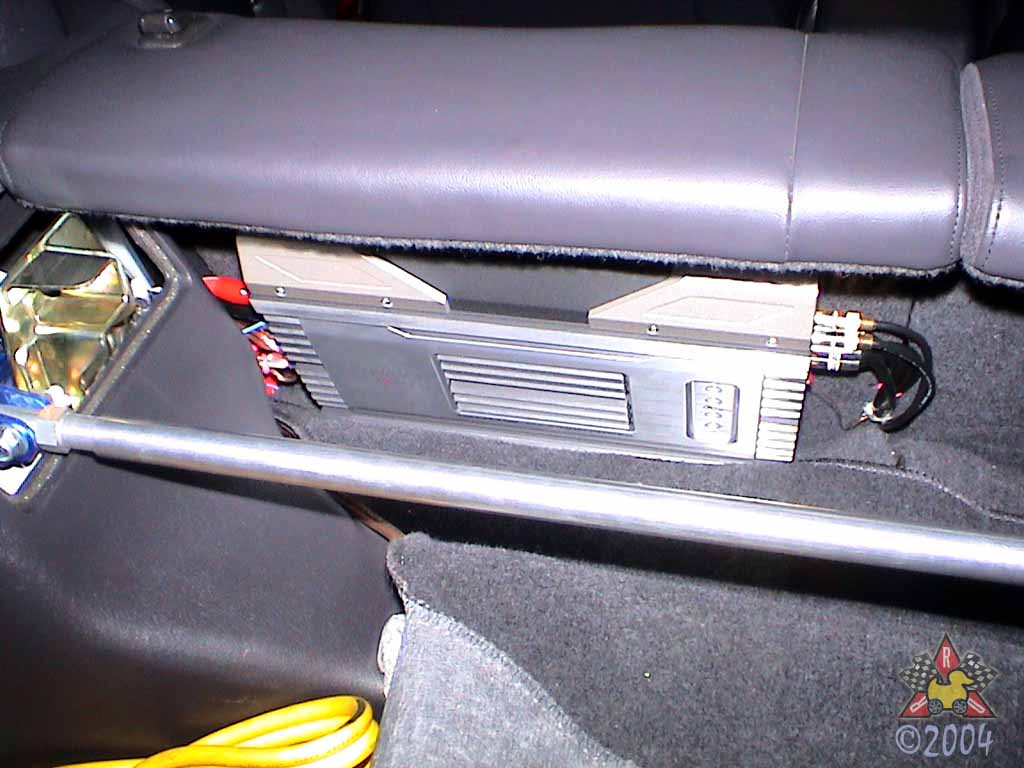
Re-install the seat if you removed it, and connect all the wires to your amplifier.
|
|