|
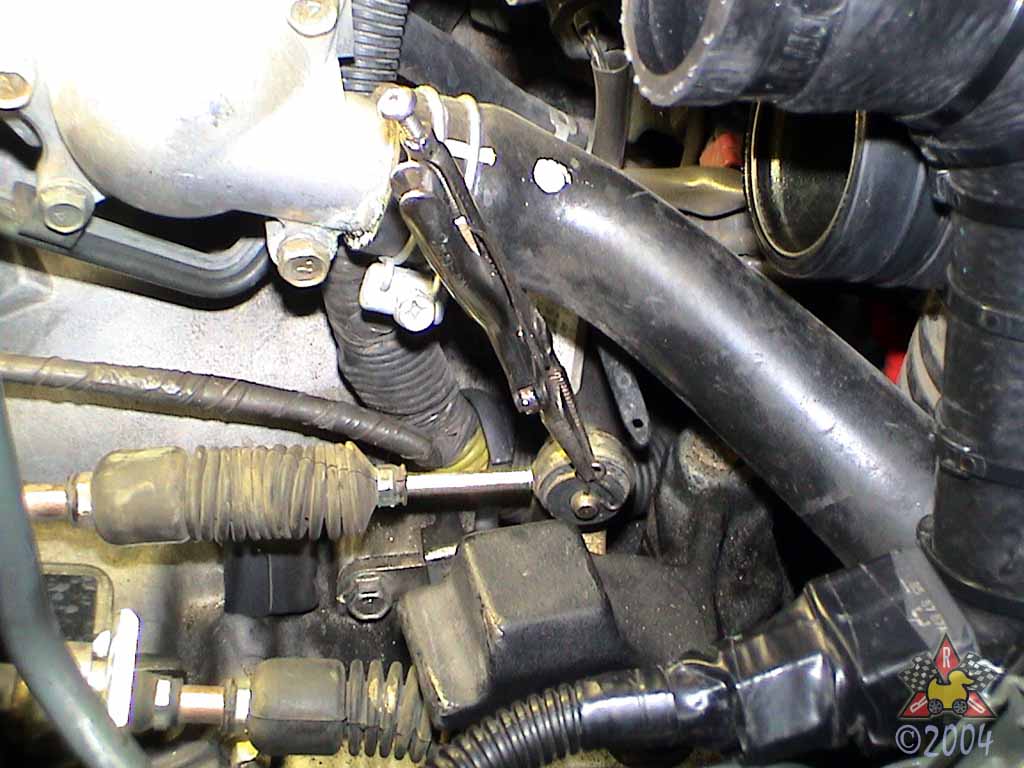
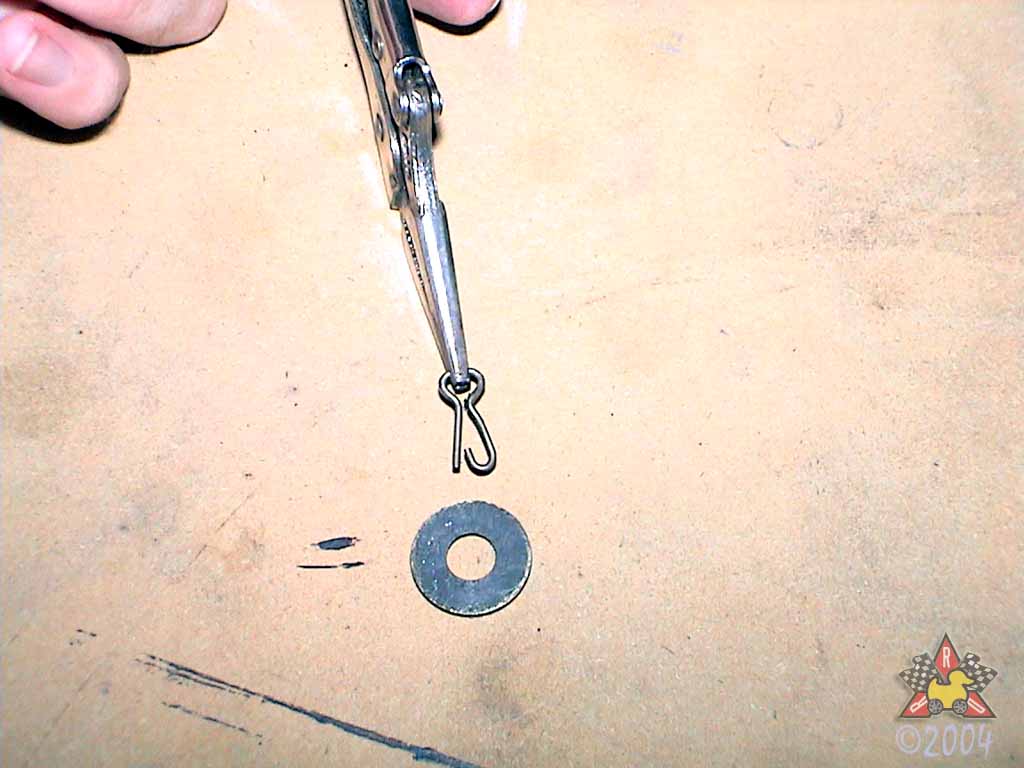
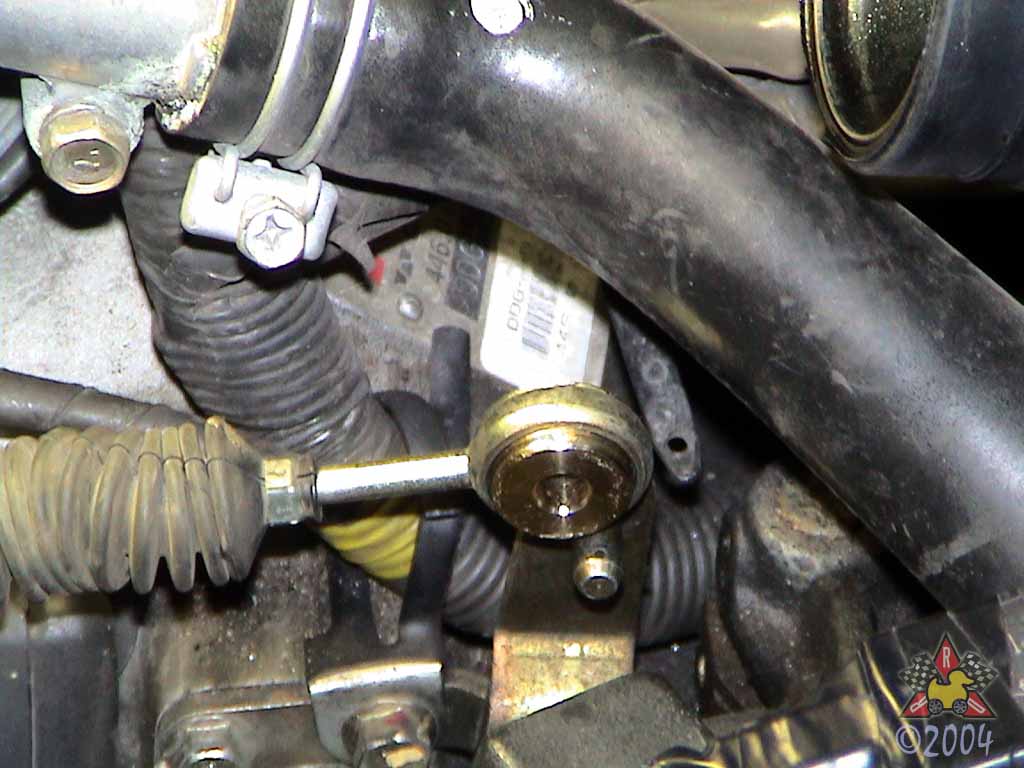
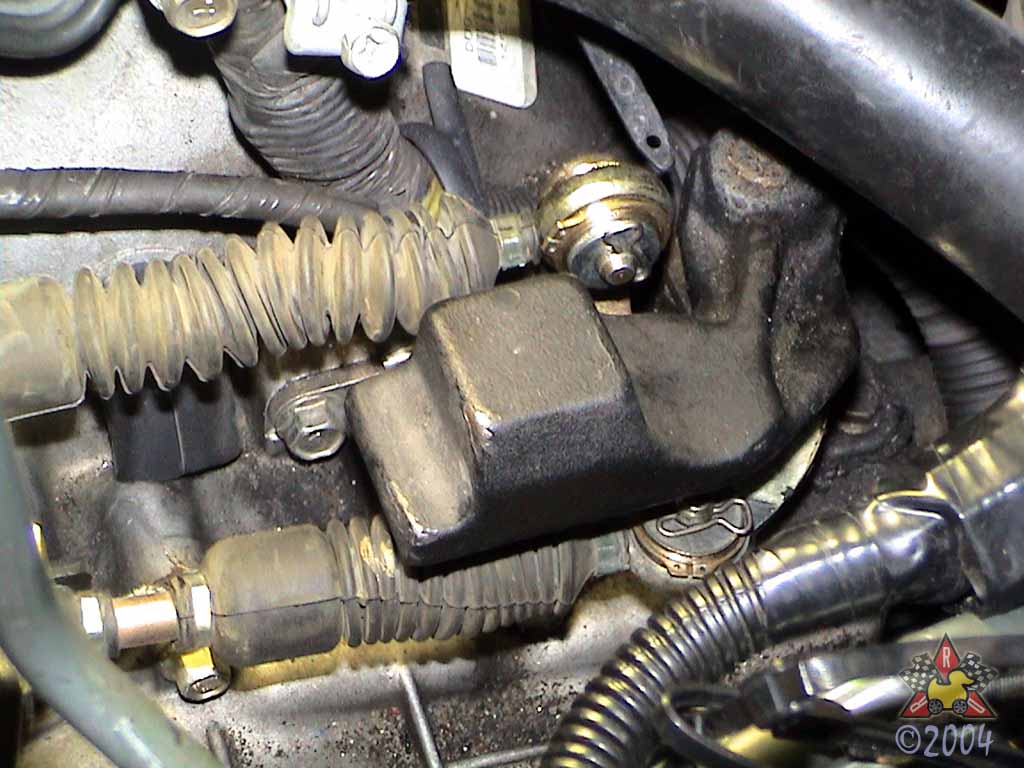
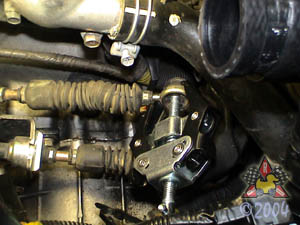
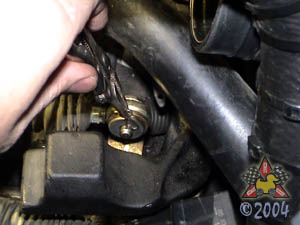
Remove Cotter Pin from Shifter Cable
|
|
|
|
|
|
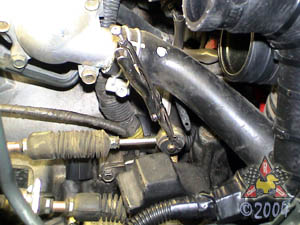
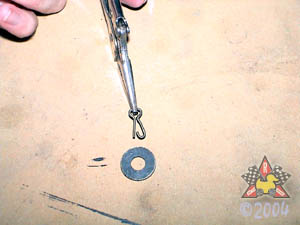
I found it easiest to clamp a pair of small vise-grip pliers onto the cotter pin, and then use them
to pull the pin out while pulling the clip-part of the cotter pin outward with some
needle-nose pliers. The vise grip keeps the pin from flying off once it comes free. Take care
not to lose the washer that's held on the shaft by the cotter pin.
|
|
|
|
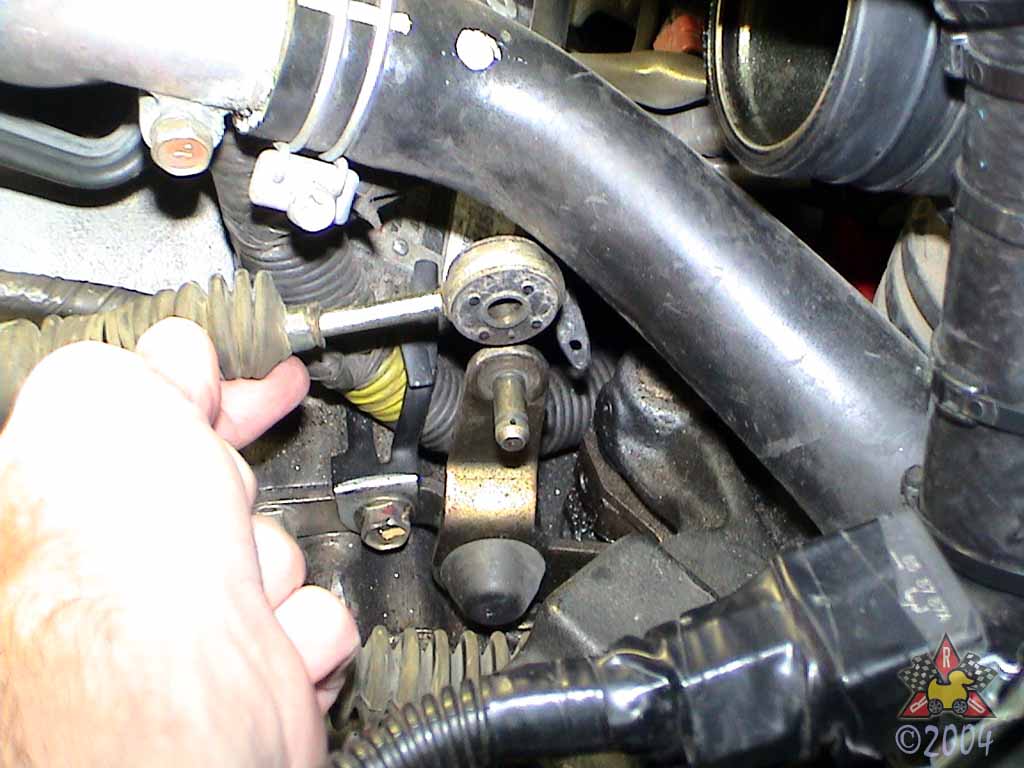
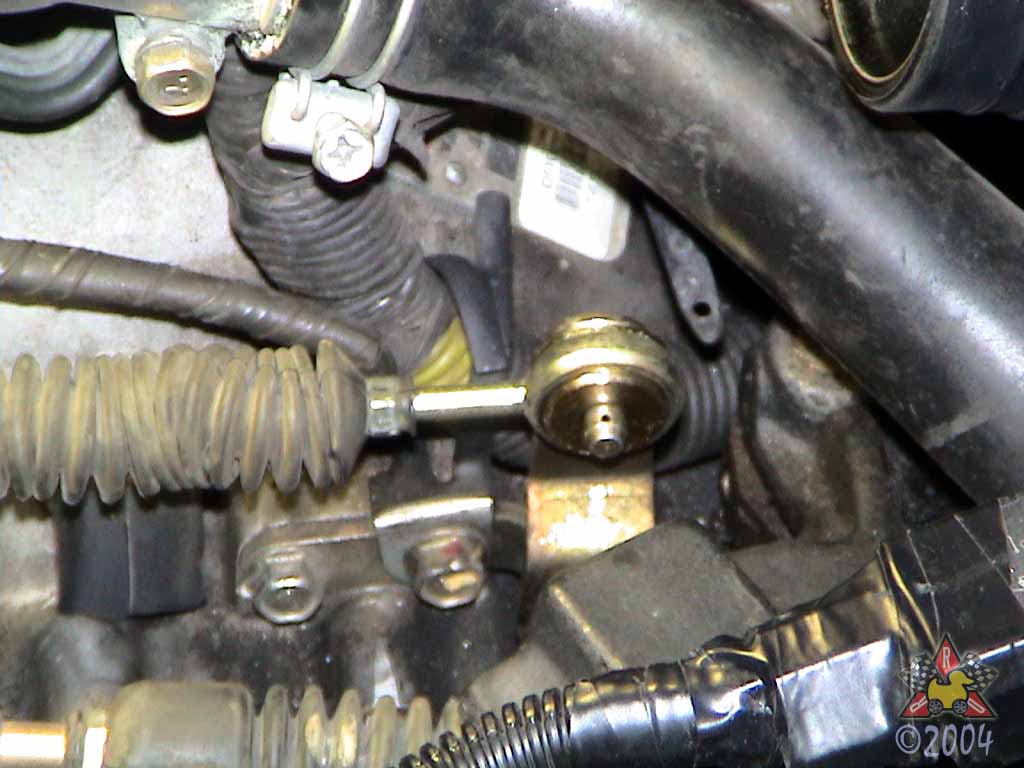
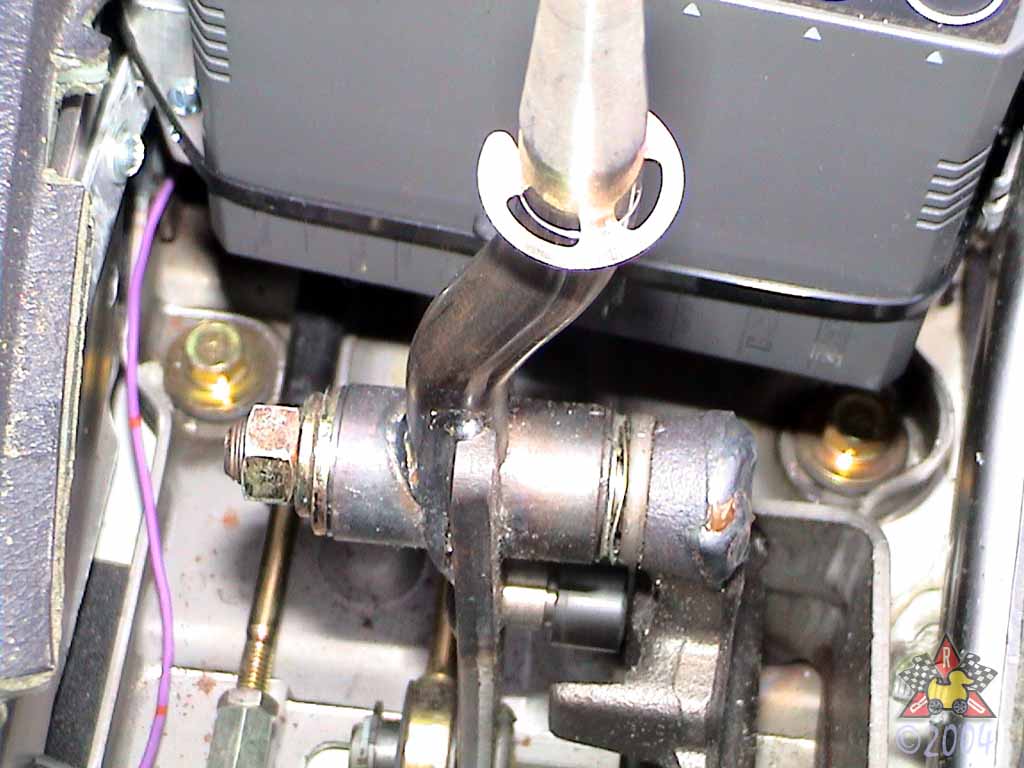
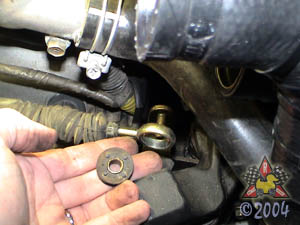
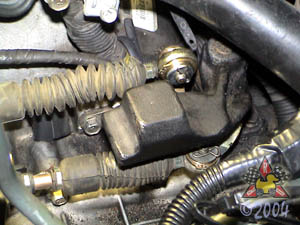
Slide Cable Off of Shifter Shaft
|
|
|
|
|
|
With the cotter pin and washer removed, the cable end should just slide
off of the shaft.
|
|
|
|
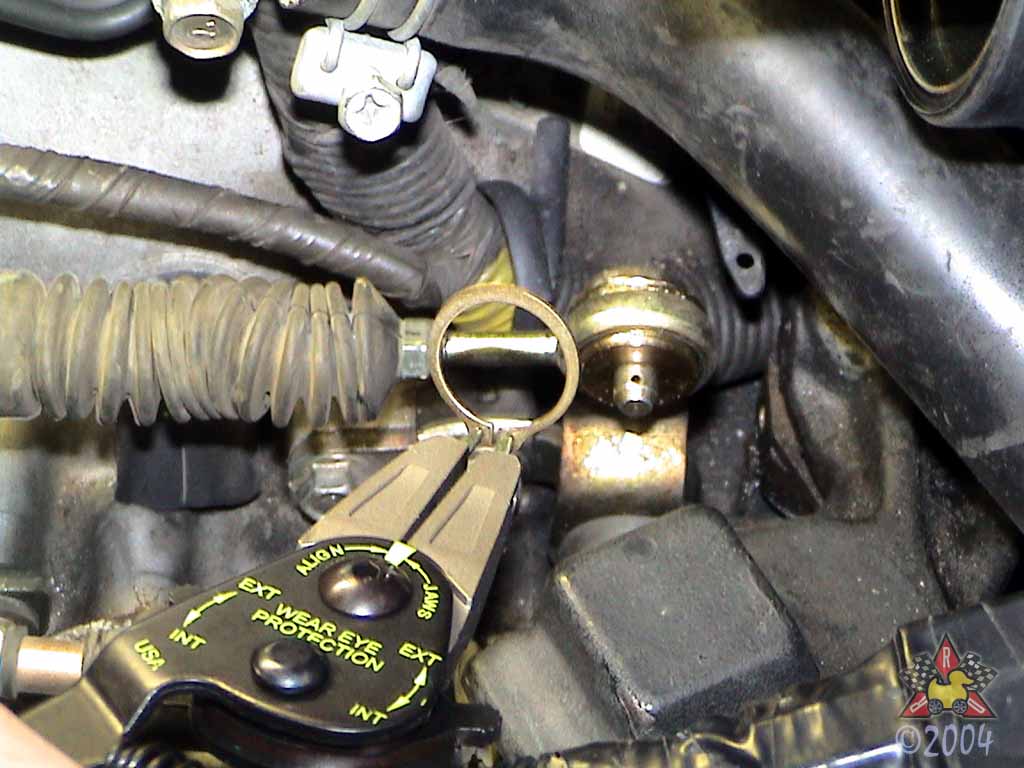
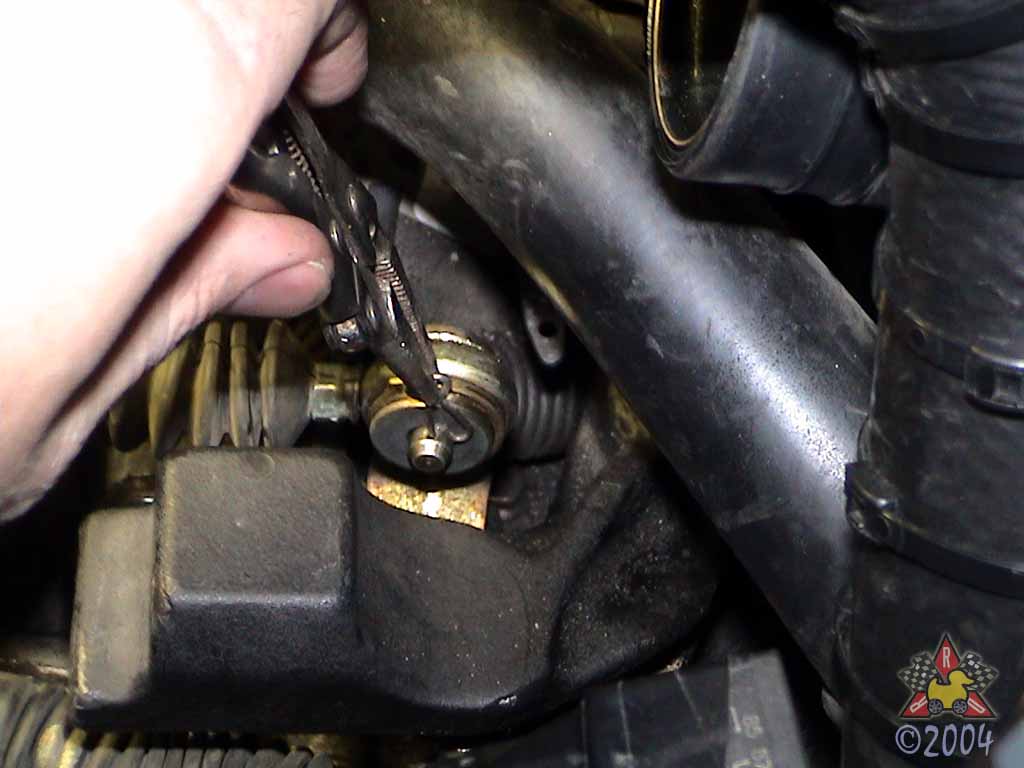
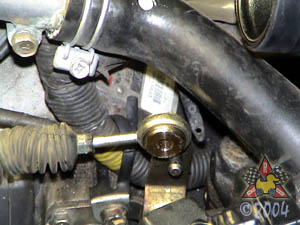
Remove OEM Rubber Bushing
|
|
|
|
|
|
If your rubber is still relatively soft, this may be really easy - as in press the bushing
out with your fingers. I tried that, and then I tried pliers, screwdrivers, and a bunch
of other stuff. My OEM rubber bushings were hard as rocks, and they just weren't coming
out. Then I decided to work smarter, not harder. I grabbed my battery terminal pullers
(similar to a small gear puller), and within a few seconds the bushing came right out.
Sometimes having the right tool means a whole lot less swearing and less blood in your engine bay.
|
|
|
|
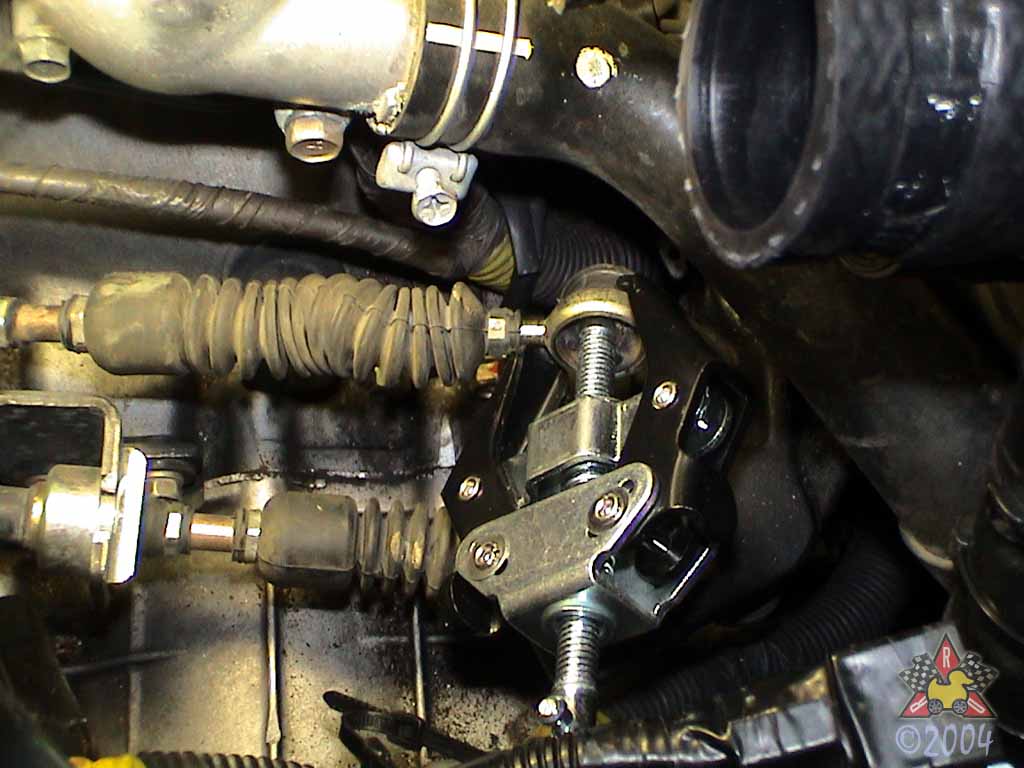
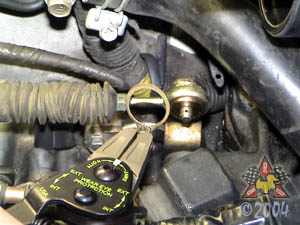
Insert New Bushing
|
|
|

|
|
|
Slide the new bushing into the hole in the end of the shifter cable, and then
slide the cable end onto the shifter shaft.
|
|
|
|
Install Cotter Pin
|
|
|
|
|
|
Get out your snap ring pliers and set the jaws to the external-type if applicable.
Get the snap ring ready to install onto the bushing. Now go get the washer that goes on
before the snap ring. Yeah, the little black one that you left on your workbench with
the OEM bushing and forgot about. That one. Good thing you remembered, or you'd
have to take the snap ring back off and then put the washer on. I wouldn't have done
that or anything :-) If you find that there's excessive play in the cable end with the
new bushing and snap ring in place, you may want to put an extra washer on before
reinstalling the cotter pin. I had some extra 1/4" washers lying around that did the
trick.
|
|
|
|
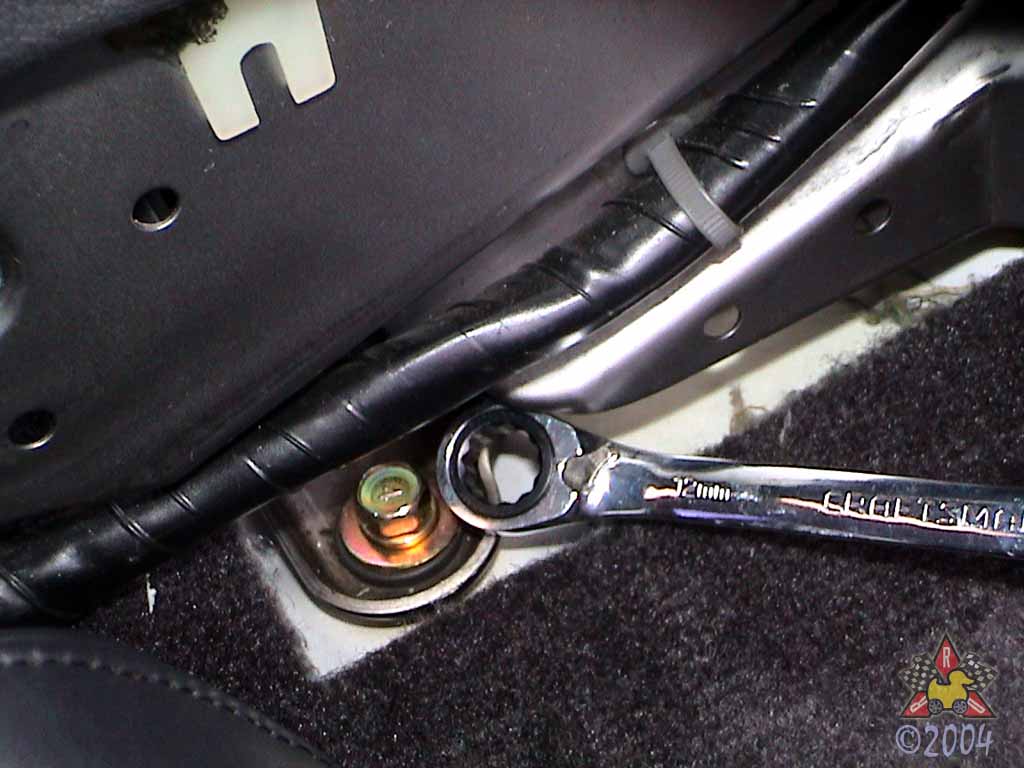
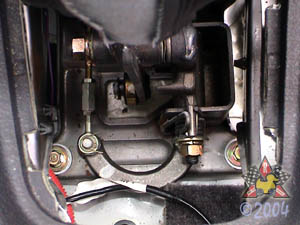
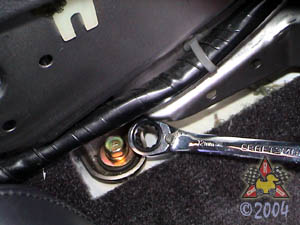
Locate and Remove Shifter Assembly Bolts
|
|
|

|
|
|
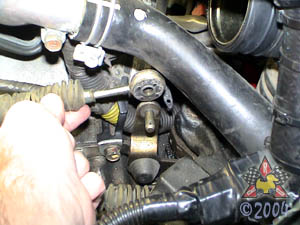
There are four 12mm bolts that secure the shifter assembly to the chassis. Locate
and remove them. This will probably require a bit of creativity with
your wrench or ratchet. You may find it easier to get at some of them from the sides.
|
|
|
|
|
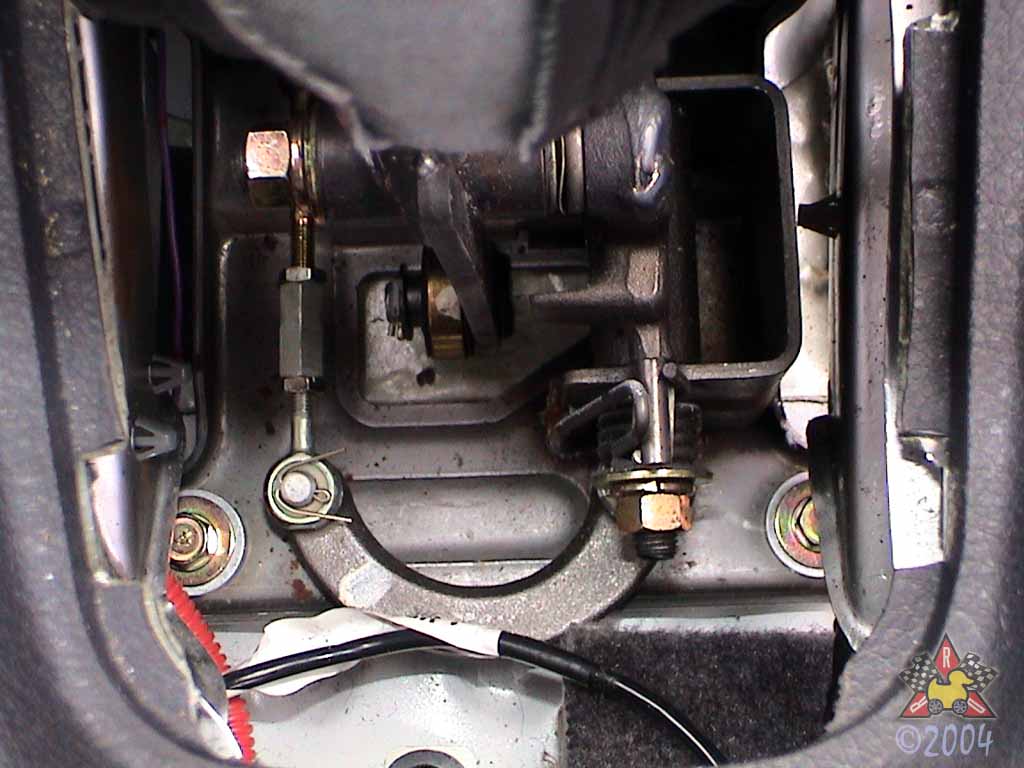
Remove and Replace Shifter Plate Bushings
|
|
|
|
|
|
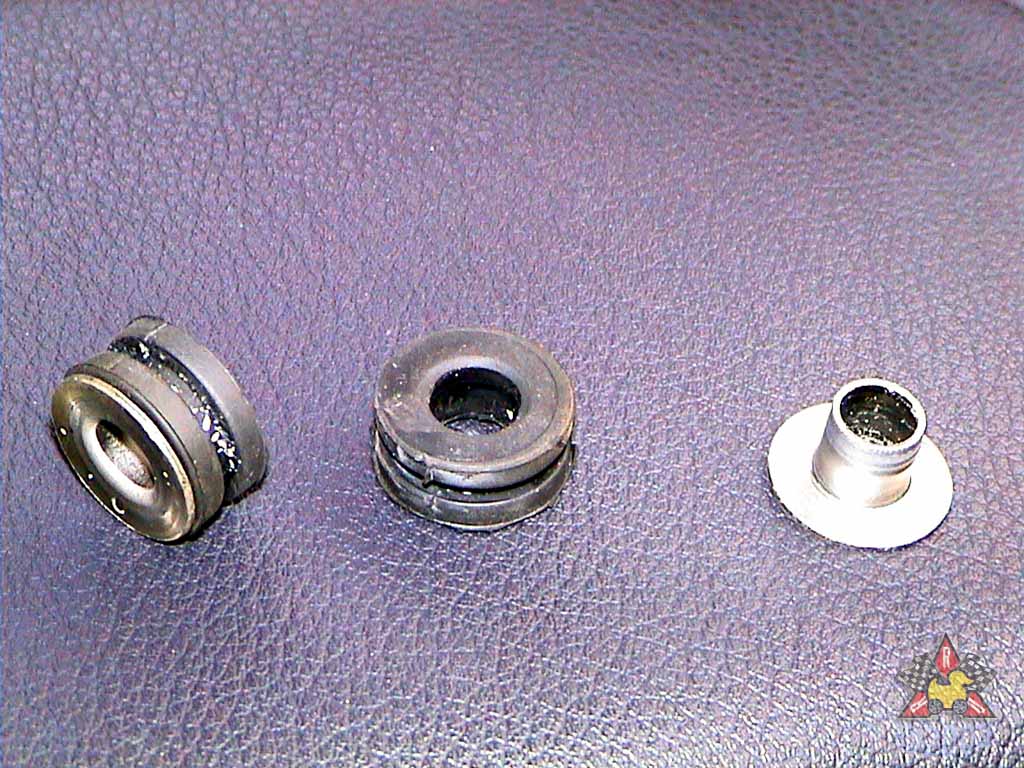
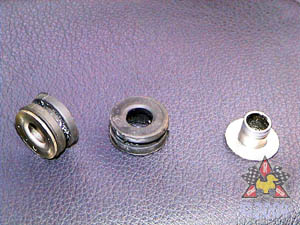
After the bolts are out, just push the metal insert (far right of picture)
out of the OEM rubber bushing, and then the bushings should just come out
of the plate when you push with your fingers. Unlike my hard-as-a-rock bushings
in the engine bay, these bushings were still very soft and pliable. After removing
the OEM bushings, position the two halves of the new metal bushing on either side of the
holes in the shifter plate. Align the holes in the plate with the holes in the chassis
and insert the bolts back into the holes. You may find you need to thread in all four
bolts a few turns before tightening any of them down fully. That's it - put everything
back together and you're done!
|
|