|
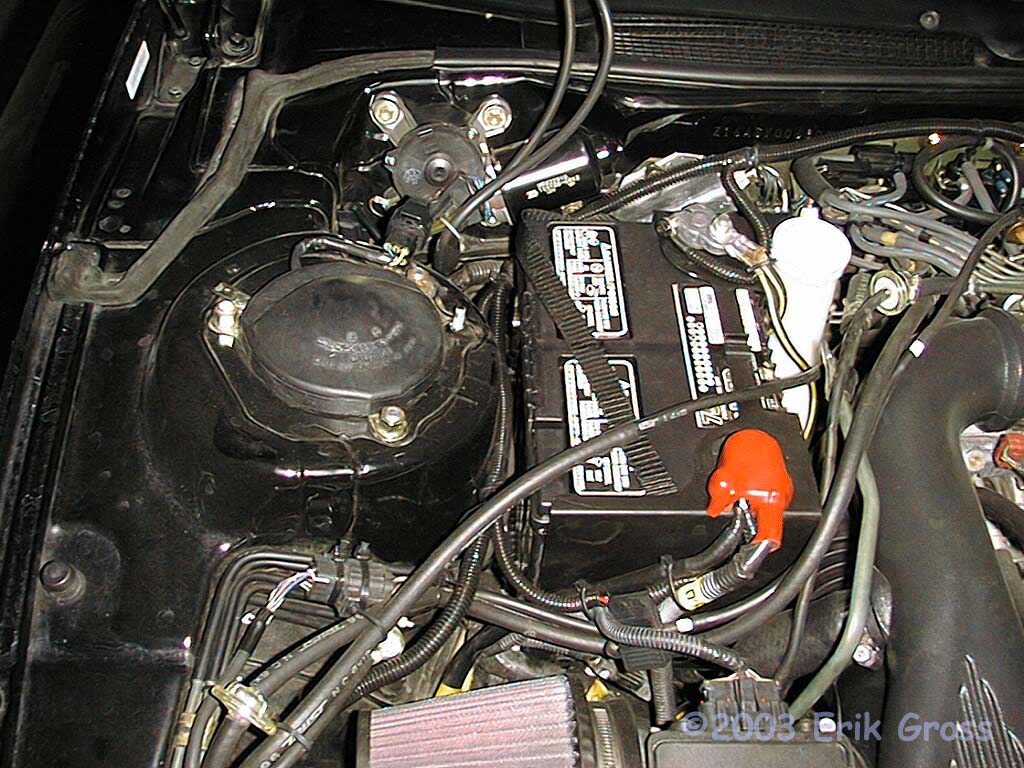
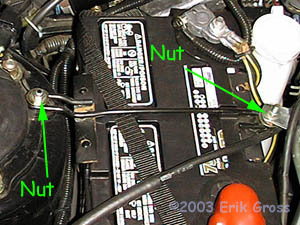
Remove the Left Battery Hold Down Bar Nut
|
|
|
|
|
|
A 10mm socket will do the trick. Also remove the nut that holds the
hard vacuum line stay (TT cars only).
|
|
|
|
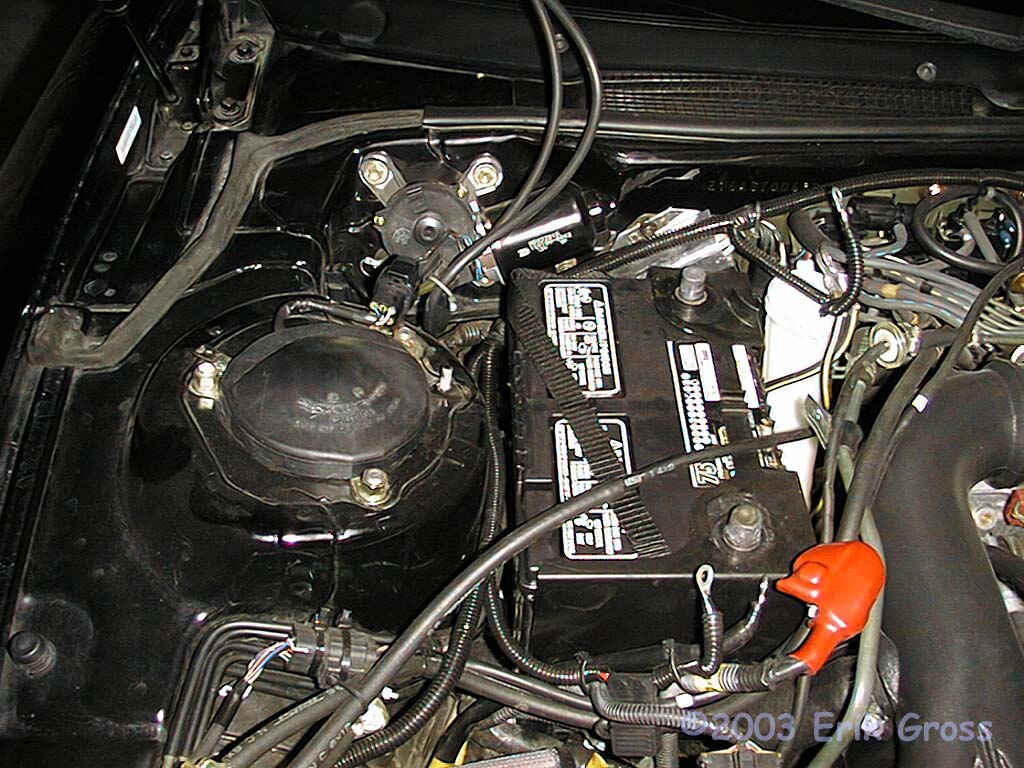
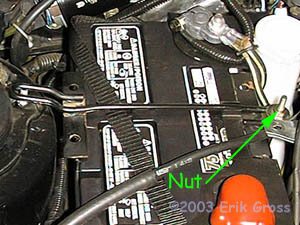
Remove the Right Battery Hold Down Bar Nut
|
|
|
|
|
|
A 10mm socket or wrench will do the trick. The battery hold down bracket
is now free, so remove it from the engine bay.
|
|
|
|
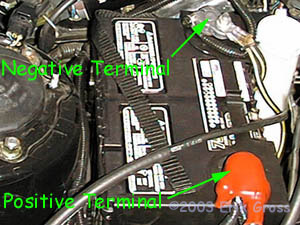
[Optional] Remove Battery Terminals
|
|
|
|
|
|
You'll need to do this if you're replacing your stock battery
with a smaller one. I needed a 10mm and 12mm wrench to remove the terminals.
Always disconnect the negative terminal
before the positive terminal. If you're not replacing your battery,
just be sure the positive terminal is
covered with a towel or something non-conductive, lest you drop
a wrench onto it and weld your wrench to your frame. I, of course, have
had no personal experience with this situation, specifically not with
a 1985 Toyota Tercel. :-)
|
|
|
|
[Optional] Remove Battery and Swap for New One
|
|
|
|
|
|
|
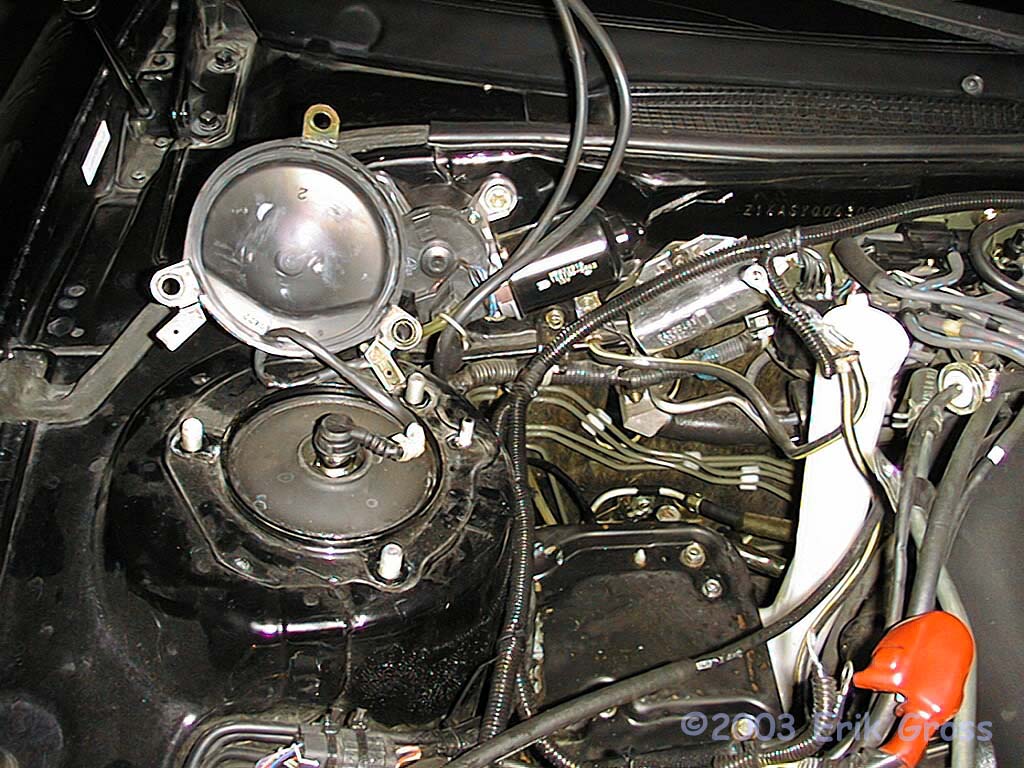
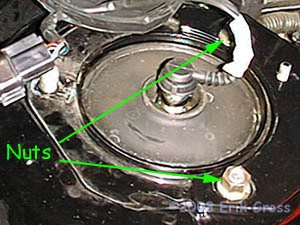
Remove Nuts on the Upper Strut Mount.
|
|
|

|
|
|
Use a 14mm socket or wrench to remove the three nuts holding the upper
strut mount. Be sure the car is on the ground at this point, as you
don't want your strut to fall off the car. After this, you will be able to lift
up the dust cover (ECS cars only). Be careful of the ECS wire running through
the dust cover, and you may want to slide the ECS wiring harness connector
off of the metal stay attached to the rear nut. Repeat for other side.
|
|
|
|
Remove the Bracket that the ECS Wiring Harness Attaches To
|
|
|

|
|
|
You need to remove the metal bracket from the rubber dust cover.
Just pull and wiggle. It'll come out. Repeat for other side.
|
|
|
|
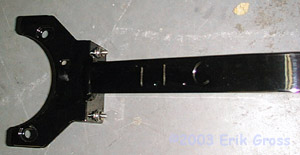
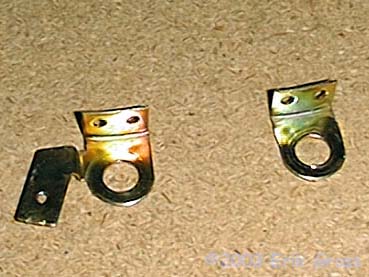
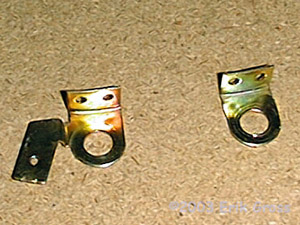
Modify the Rear Bracket on the Dust Cover
|
|
|
|
|
|
Using a Dremel tool (or something similar), cut off the straight part of
the bracket as shown in the picture. This allows the brace to mount
to the strut tower without interfering with the bracket.
Repeat for other side.
|
|
|
|
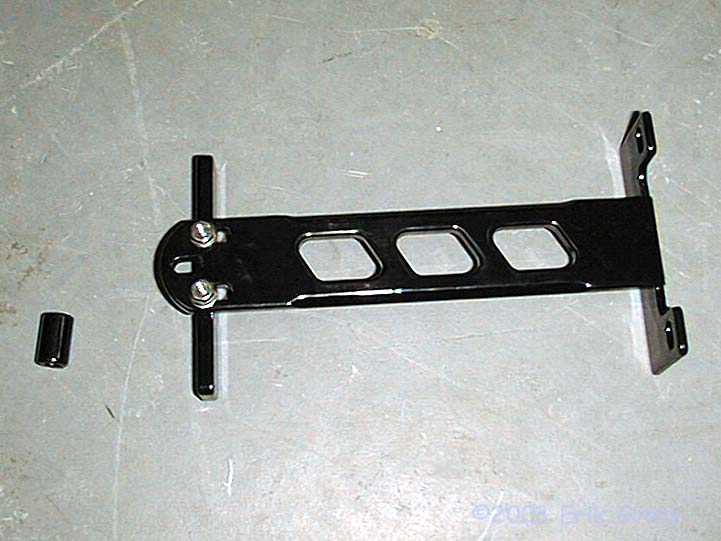
Attach the New Battery Bracket To the Strut Tower Brace
|
|
|
|
|
|
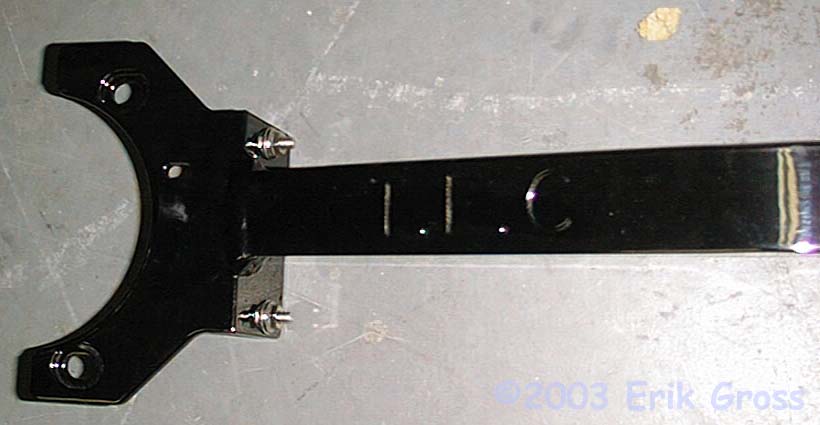
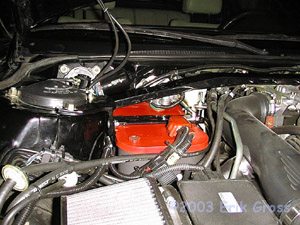
Assemble the new battery bracket as shown in the picture using the supplied
hardware. Attach it to the brace with the 11mm nuts and place the brace
into the car, aligning it with the studs on the upper strut mount.
The smaller nuts on the battery brace are 11/32". Once the brace is settled,
adjust the battery
bracket so that it securely holds the battery in place. You'll also
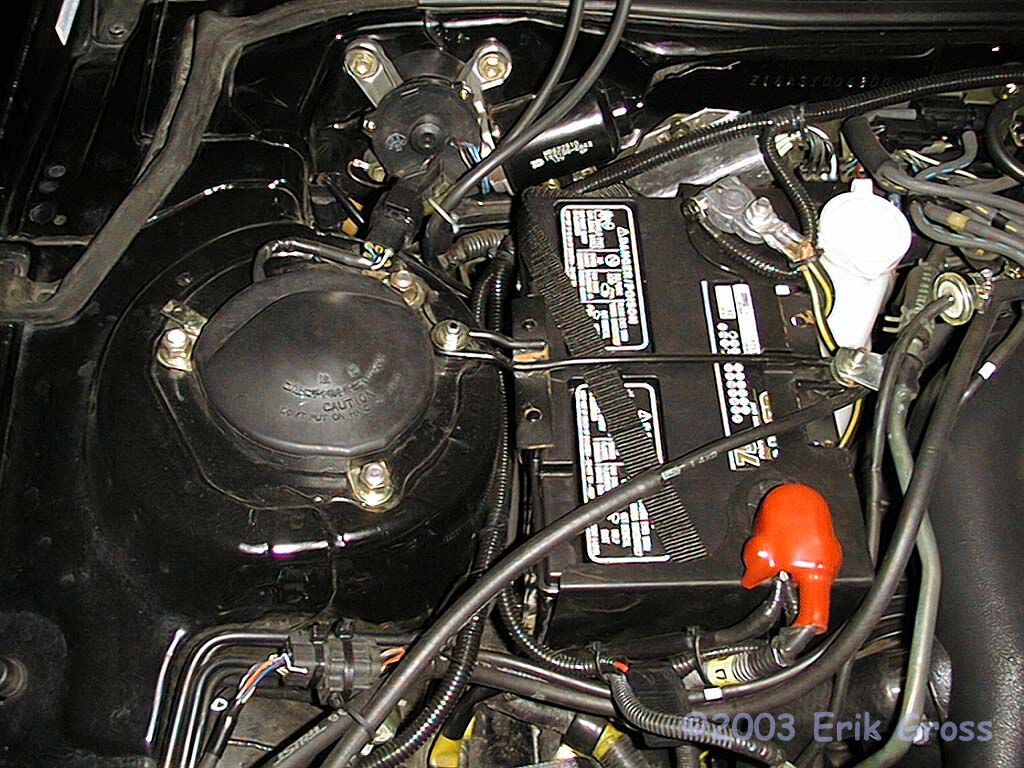
need to put the stock rod that goes alongside the battery (on the
driver's side) into the hole in the new battery bracket and attach the
"hook" end to the battery tray. Then, put the spacer on the rod and use
the stock washer and nut to secure it. Then attach the bracket for the
hard vacuum line as it is in the stock configuration. I forgot to do
the rod/washer/nut/bracket thing at this point,
so I ended up doing it later (harder). You'll see it in the final picture.
|
|
|
|
Reattach the Upper Strut Nuts.
|
|
|
|
|
|
Use a 14mm socket or wrench reinstall the nuts over the strut tower
brace. Tighten them to 33 ft-lbs. Theoretically, you should have the dust
cover reinstalled at
this point, but I was unable to get the brace to fit with the dust cover
in place. Thus I removed the two brackets that usually go under the
nuts to hold down the dust cover. My dust covers are now only anchored
with the outer nut/bracket and fit snugly between the strut tower and the
brace. Repeat for other side.
Update July, 2003
I've found that by removing the metal brackets from the front and side
parts of the ECS dust cover, securing the nuts with the brackets installed
under them, and then feeding the dust cap onto the brackets, I can
securely attach the dust covers with the brace installed.
|
|
|
|
Finish with the Battery Bracket and Dust Cover.
|
|
|
|
|
|
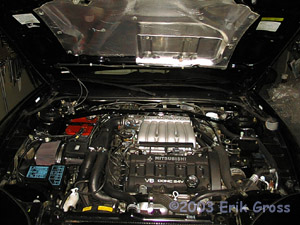
Finish tightening down the battery bracket to securely hold the battery
in place. Tighten the third 14mm nut on the strut mount stud after
attaching the dust cover (if you haven't already done this). This nut
also needs to be tightened to 33ft-lbs.
|
|
|
|
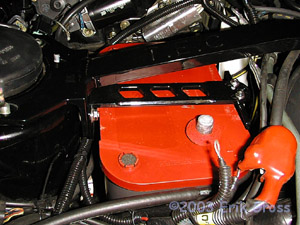
Admire Your Finished Work
|
|
|
|
|
|
|
|