Why Do I Want To Do This?
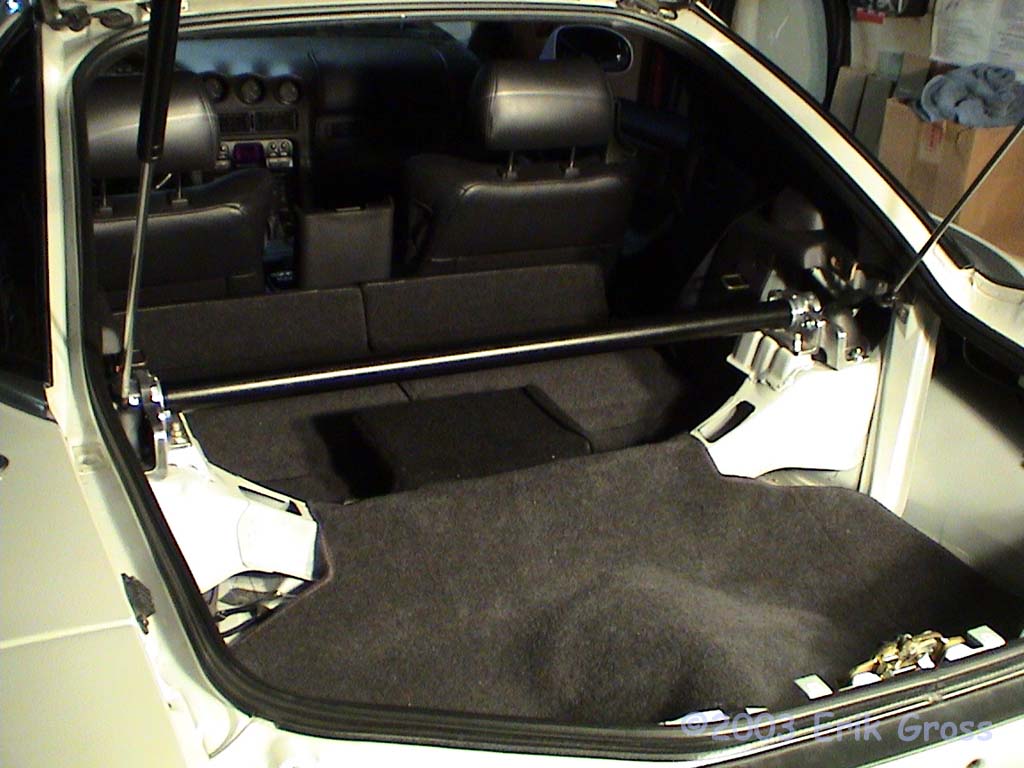
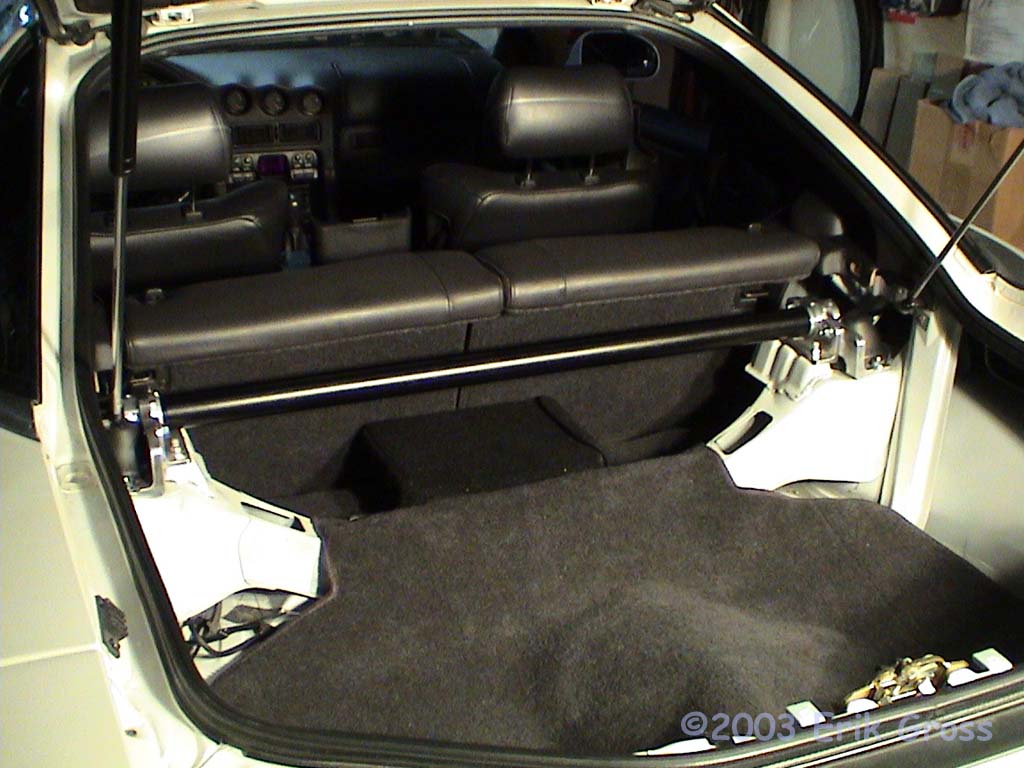
- Bracing the strut towers increases chassis stiffness, which in general, yields better handling. Bracing the rear strut towers also helps the rear tires maintain proper alignment with the road during cornering.
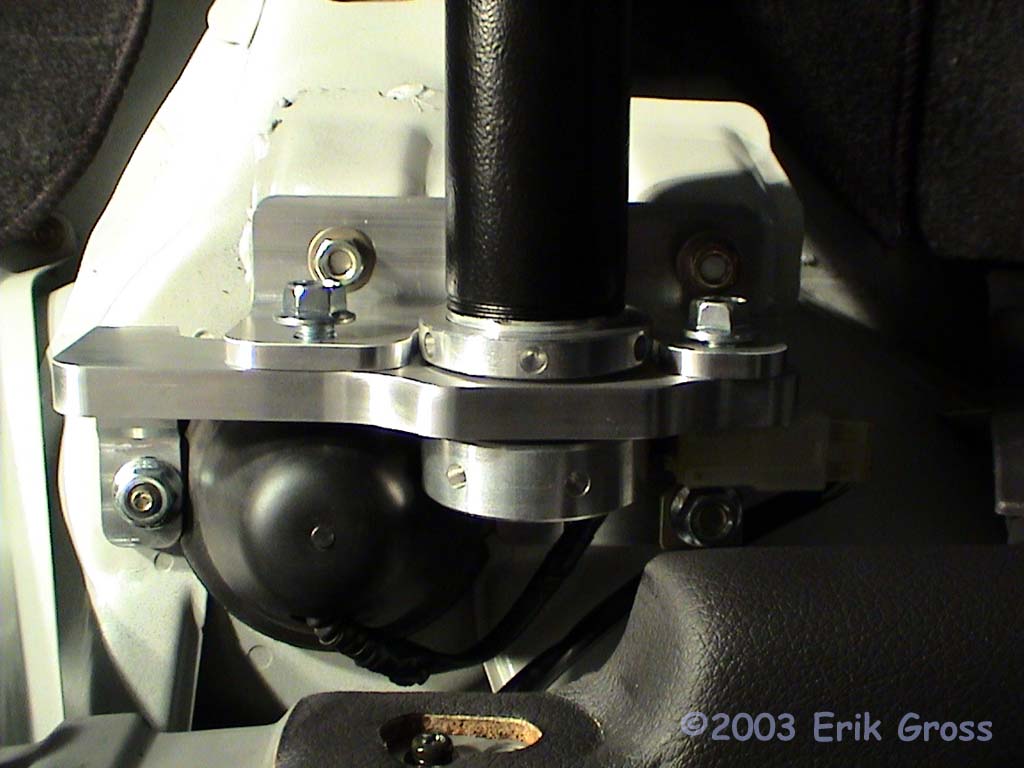
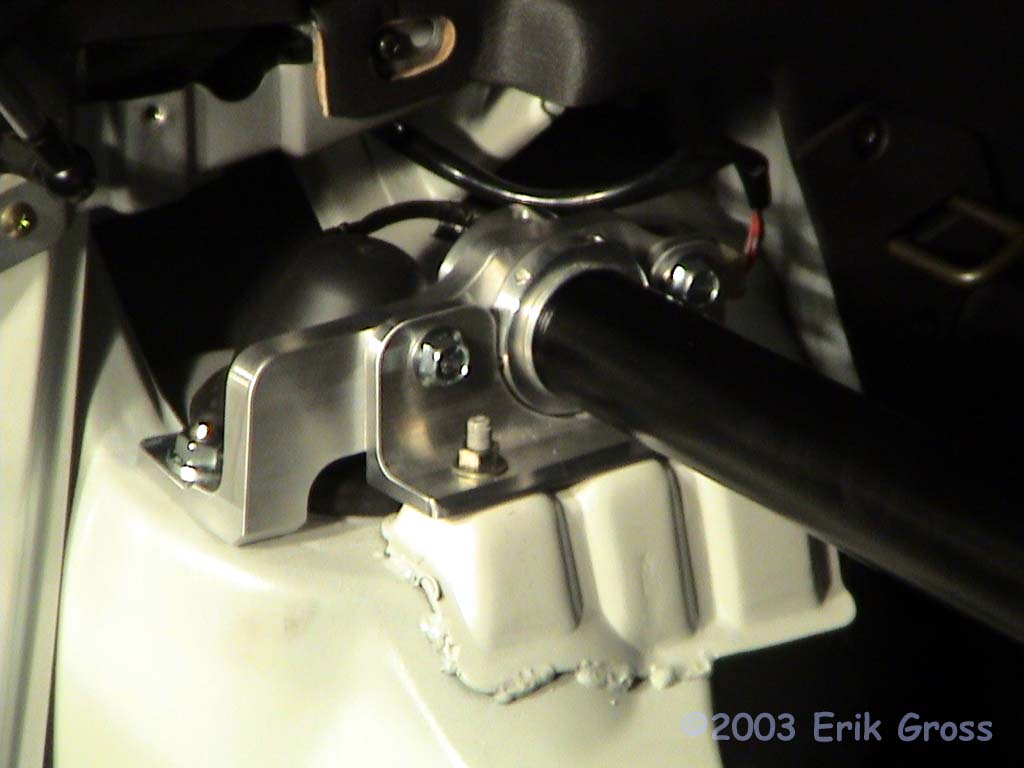
- This particular strut tower brace is beefy enough to be used as a video camera mounting location and (with optional M10 studs and an extra brace installed) a harness bar.
How Long Will It Take Me To Do This?
- To install the brace, you'll need about 30-45 minutes in addition to whatever time it takes you to remove the interior panels in your cargo area. Plan on a couple hours so you can take breaks to drink your beer and admire your work.
Anything I Should Do Prior To Attempting This Procedure?
- Remove the 3 large plastic interior panels in your cargo area.
What Mitsubishi Parts Will I Need?
- None.
What Other Parts Will I Need?
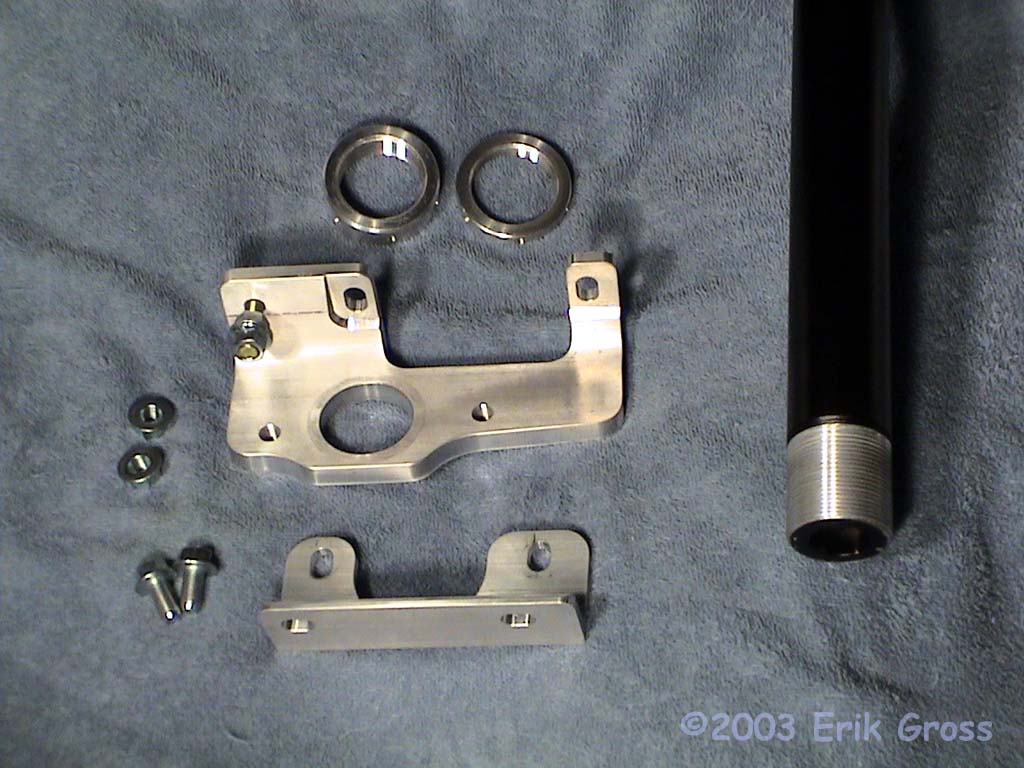
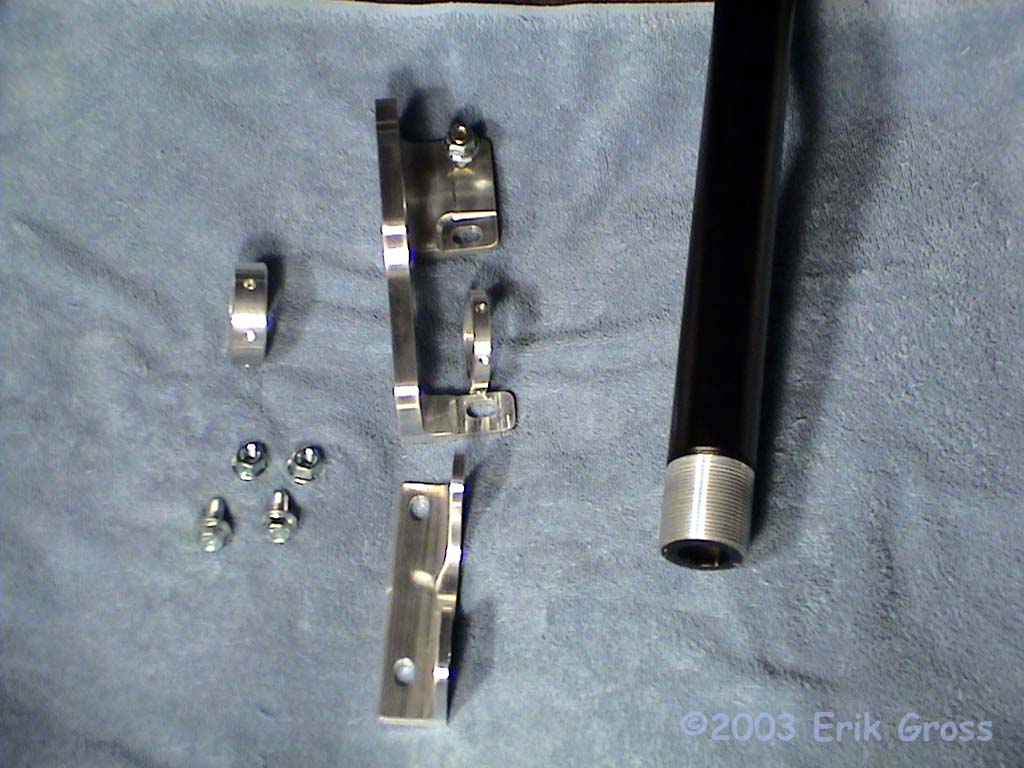
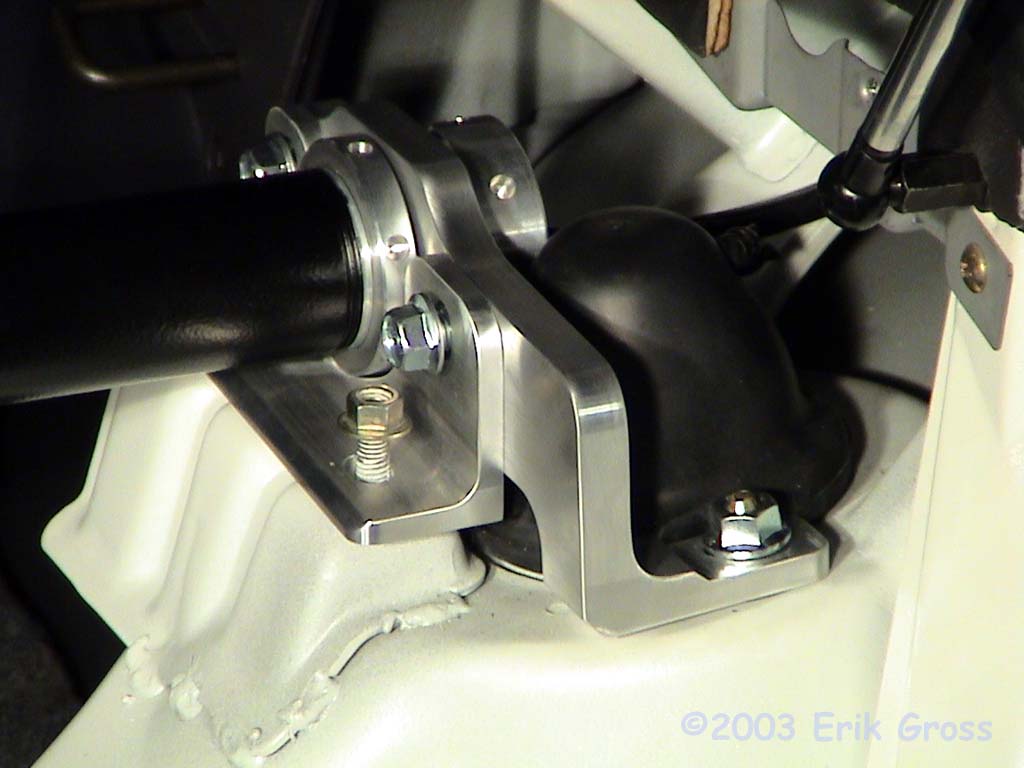
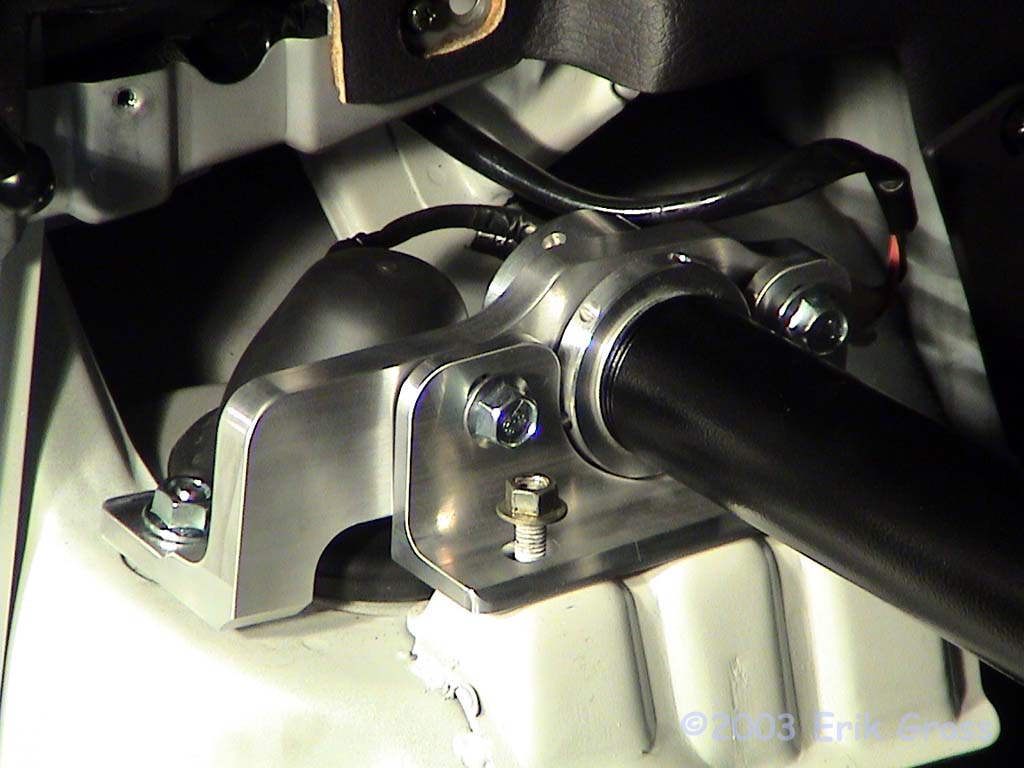
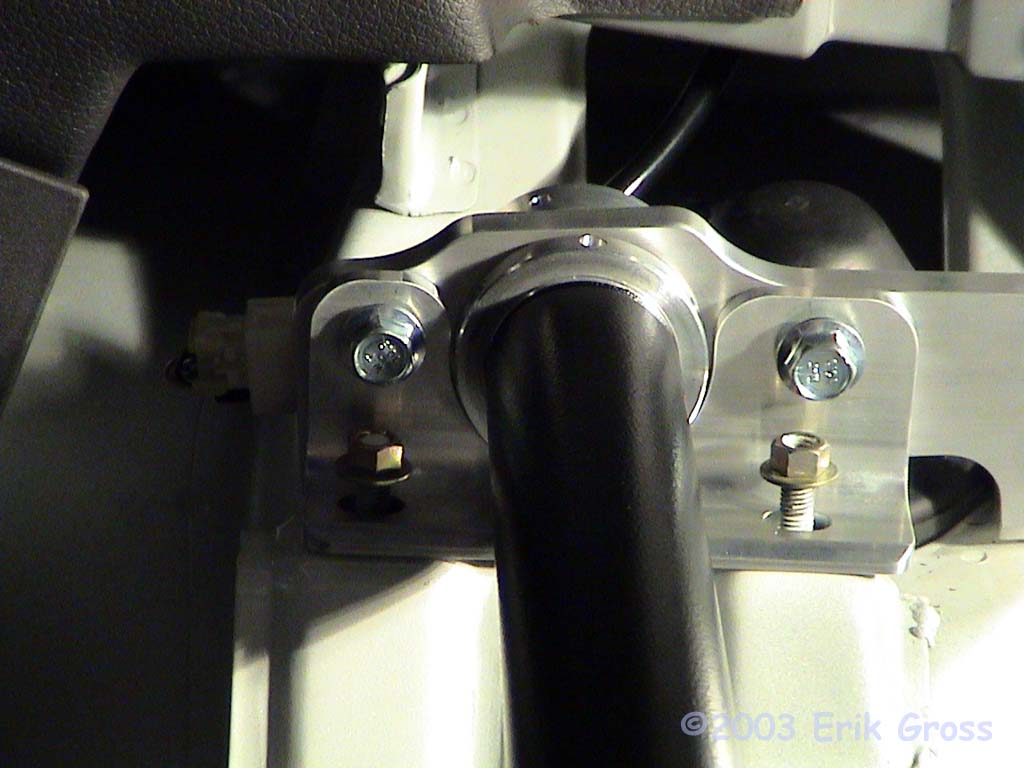
- TEC Rear Strut Tower Brace
Where Can I Get the Stuff To Do This?
| Part | Company/Contact | Part Number | |
|---|---|---|---|
|
|
TEC Rear Strut Tower Brace |
Chris Thorne at TEC Performance |
N/A |
What Tools May/Will I Need?
- Phillips Screwdriver (#2)
- 14mm Socket (Deep Socket preferable)
- 15mm Socket (Deep Socket preferable)
- 10mm Socket Deep Socket (cars with glass sunroof only)
- U-joint for Socket Wrench (optional)
- 14mm open-ended wrench
- Socket Wrench
- Some kind of metal cylinder of 1/4" diameter (rod, punch, drill bit, etc,)
Erik's Review
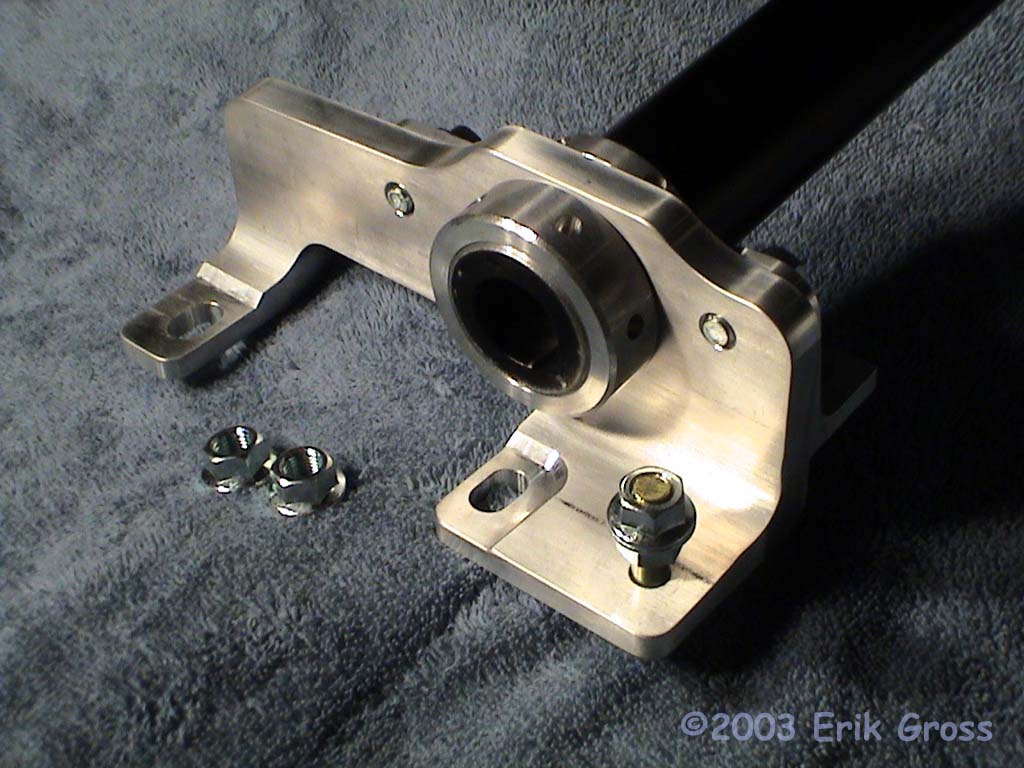
- This bar is amazingly solid. It doesn't flex. Ever.
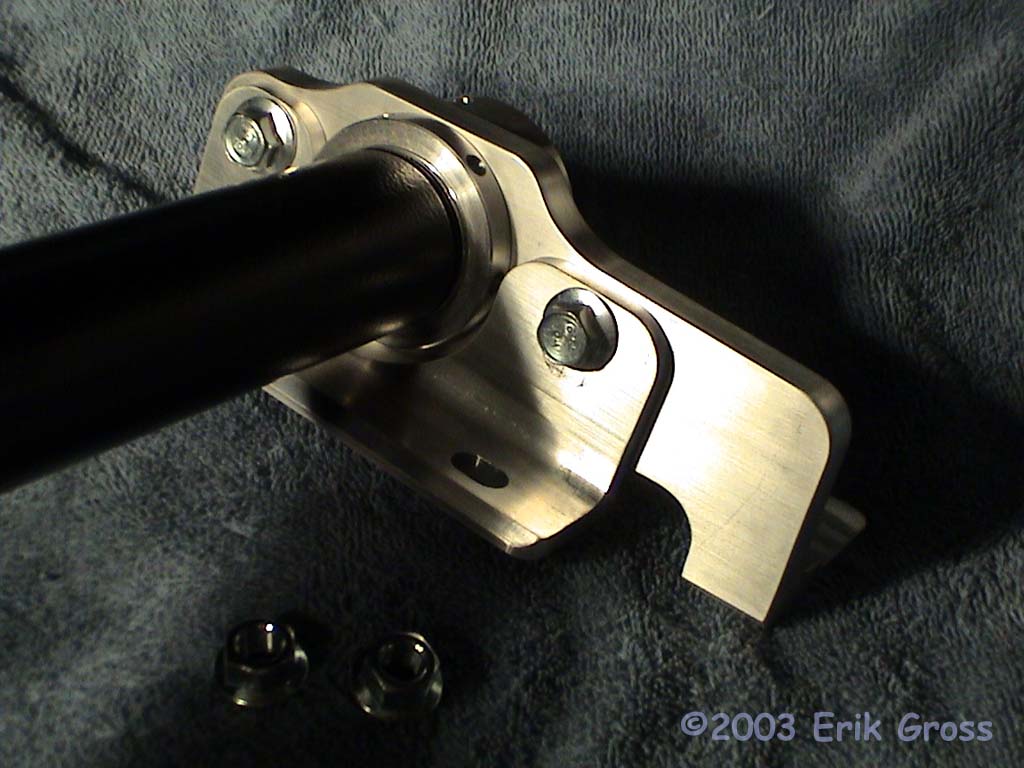
- Installation was really easy and the adjustable preloading is a really nice feature.
- If I had a dime for every time someone has said "@#$%, that's the nicest-looking strut tower brace I've ever seen!" I'd be a rich man. It's functional, and it'd go very well in a show car.
- After installation, I noticed a little shift in the handling toward oversteer, especially at lower (under 50mph) speeds. This brace, coupled with a front brace and front and rear upgraded sway bars, has dramatically changed my car's handling for the better.
- When used as a video camera mounting location, this bar provides a rock-solid base for the video camera. Much of the in-car video on this site has been shot from a mount on this bar.