|
Make Sure You Have All Required Parts
|
|
|
|
|
|
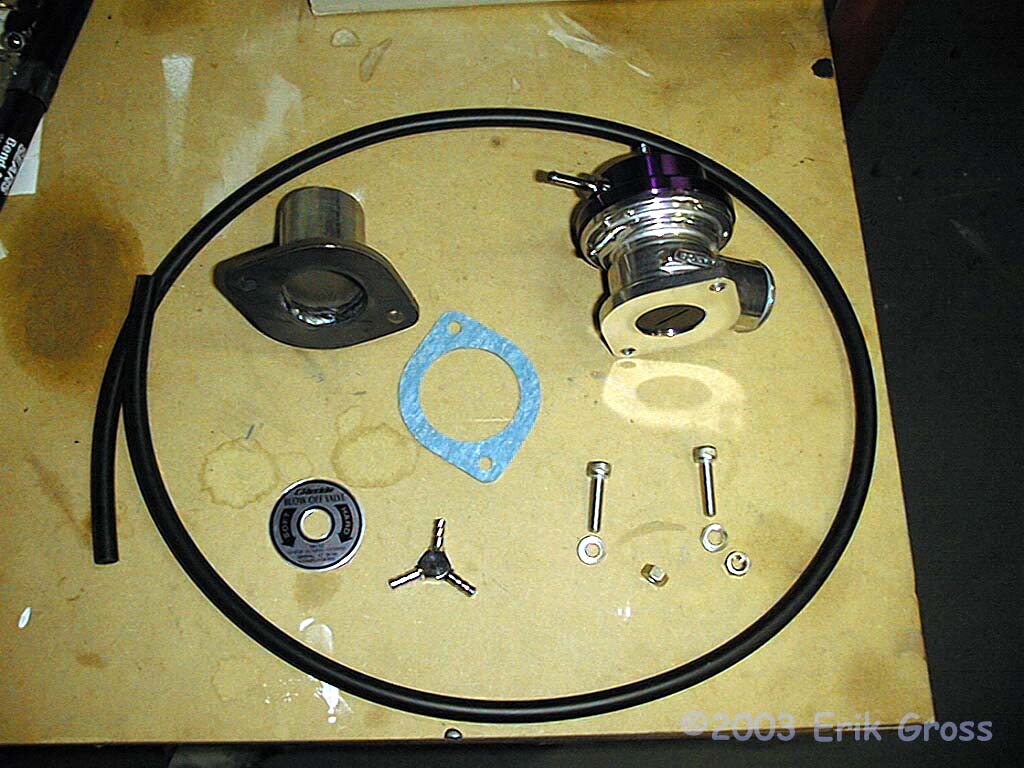
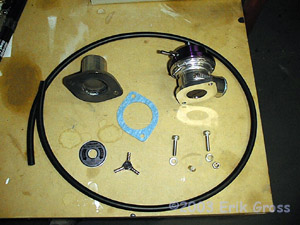
This is what you should receive with your 3/S-specific kit: The BPV,
a flange adapter, a gasket, 2 bolts, 2 lock washers, 2 nuts, a hose "tee",
a sticker for the top of the BPV, and a length of vacuum hose.
|
|
|
|
Remove Airbox or Air Filter
|
|
|
|
|
|
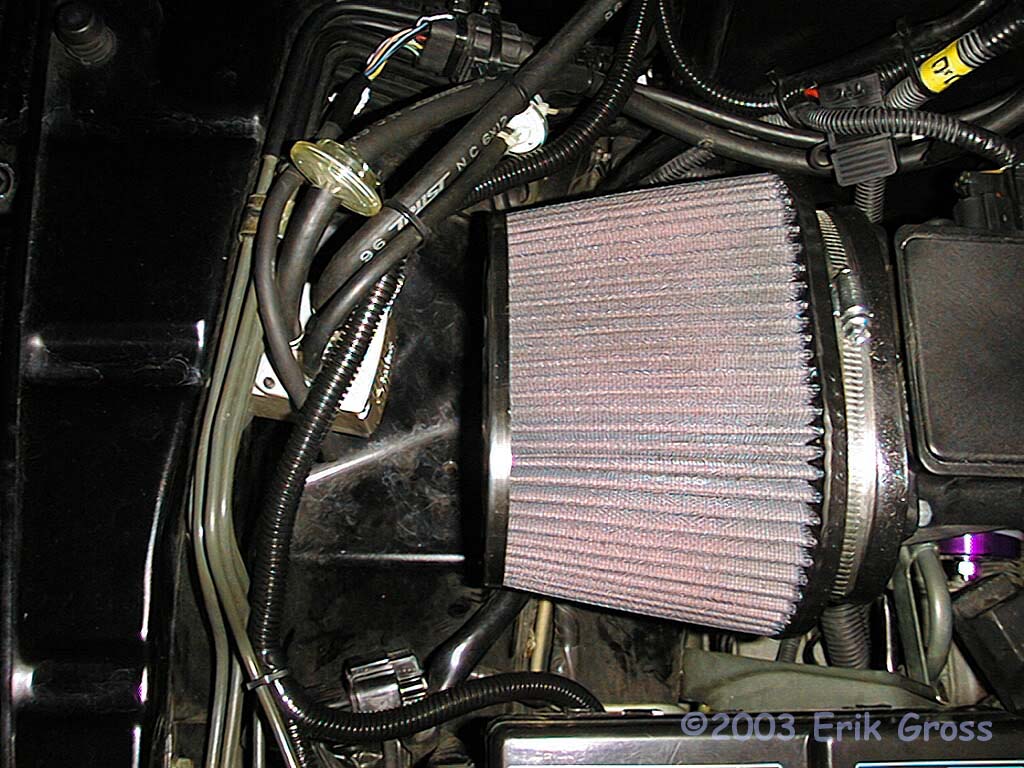
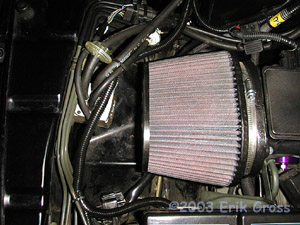
Remove your factory airbox, or if you've already installed a
K&N filter, then remove that. You'll need a 10mm socket
and/or a 10mm wrench for the stock airbox, and my K&N
filter clamp uses an 8mm bolt.
|
|
|
|
Remove the Mass Airflow Sensor (MAS)
|
|
|

|
|
|
All you have to do is loosen the hose clamp that secures it to the "T" pipe.
|
|
|
|
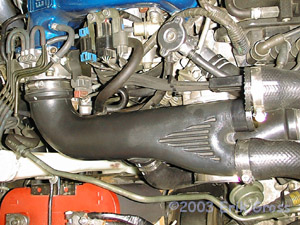
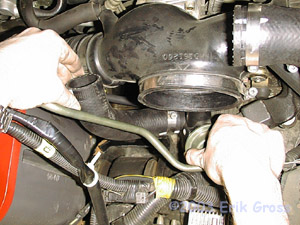
Remove Y-Pipe (optional)
|
|
|
|
|
|
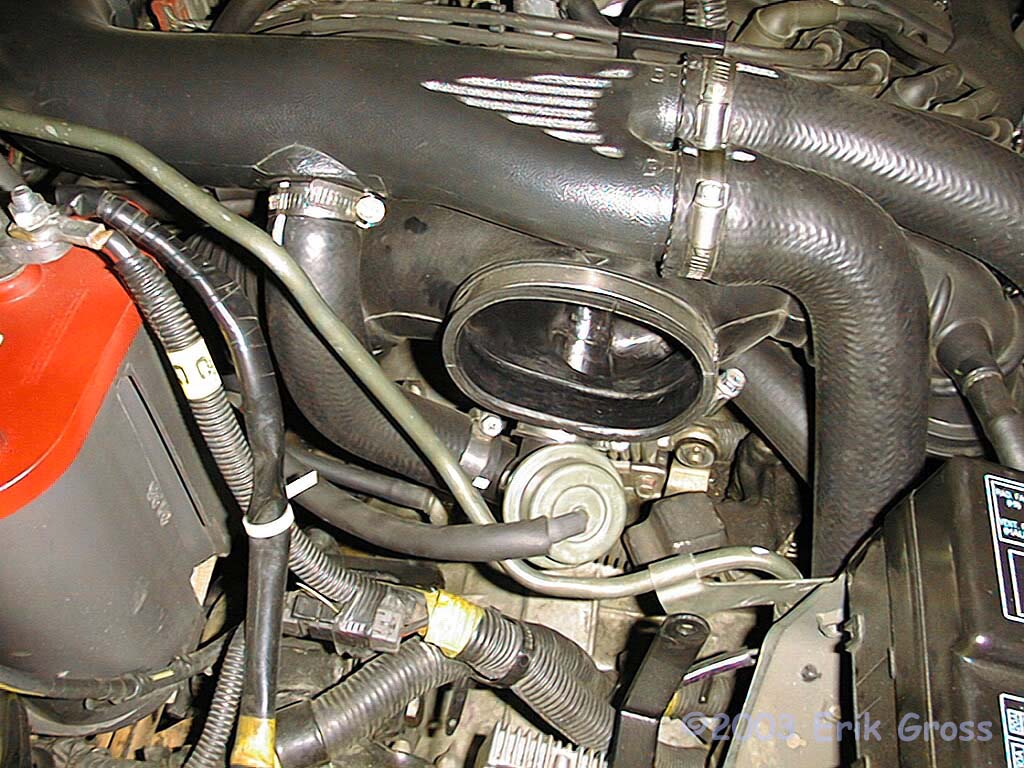
You don't technically have to do this, but it makes picture-taking easier :-)
The y-pipe is removed by loosening the clamps on the two intercooler hoses and
the throttle body clamp. Ther BPV inlet hose also attaches to the underside
of the y-pipe.
|
|
|
|
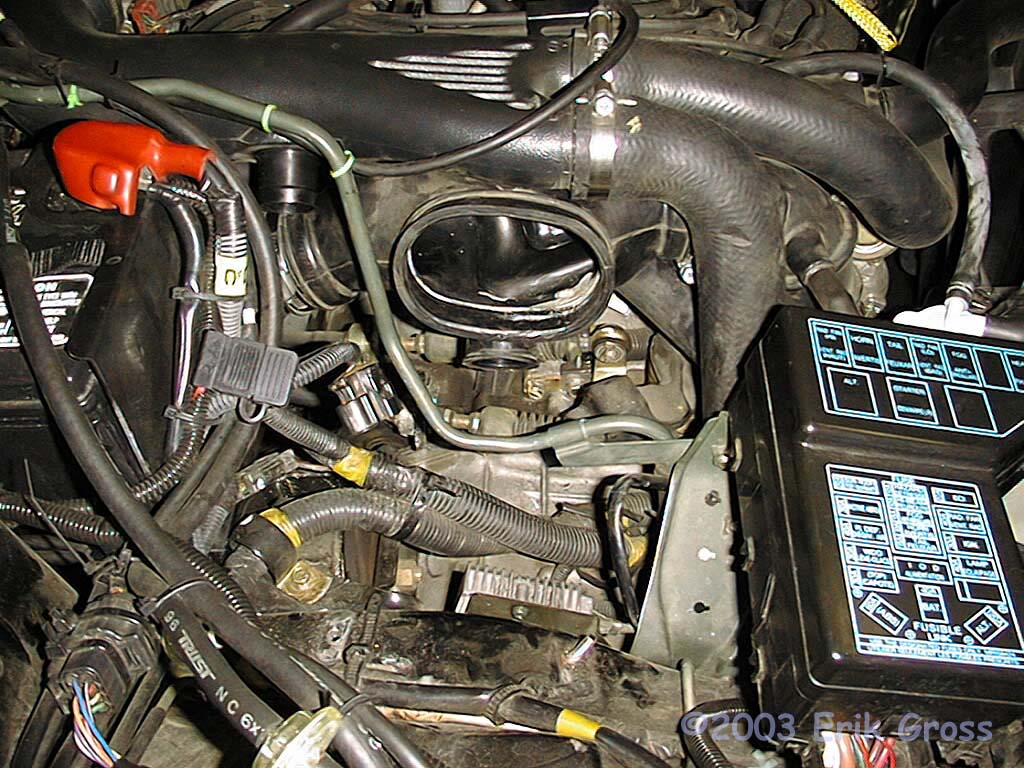
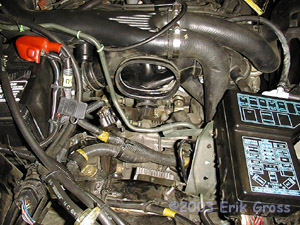
Remove OEM BPV
|
|
|
|
|
|
After disconnecting the vacuum line and loosening the clamp on the
BPV outlet, remove the OEM Bypass Valve.
|
|
|
|
Clean Up Engine Bay (optional)
|
|
|
|
|
|
While you've got everything out of the way, now is a good time
to clean up this area of the engine bay.
|
|
|
|
Assemble GReddy BPV
|
|
|
Using the instructions that came with the BPV, bolt the flange
adapter to the valve with the supplied hardware, remembering to
install the gasket between the two parts. Attach the OEM
hose to the flange adapter and secure it with a hose clamp.
|
|
|
|
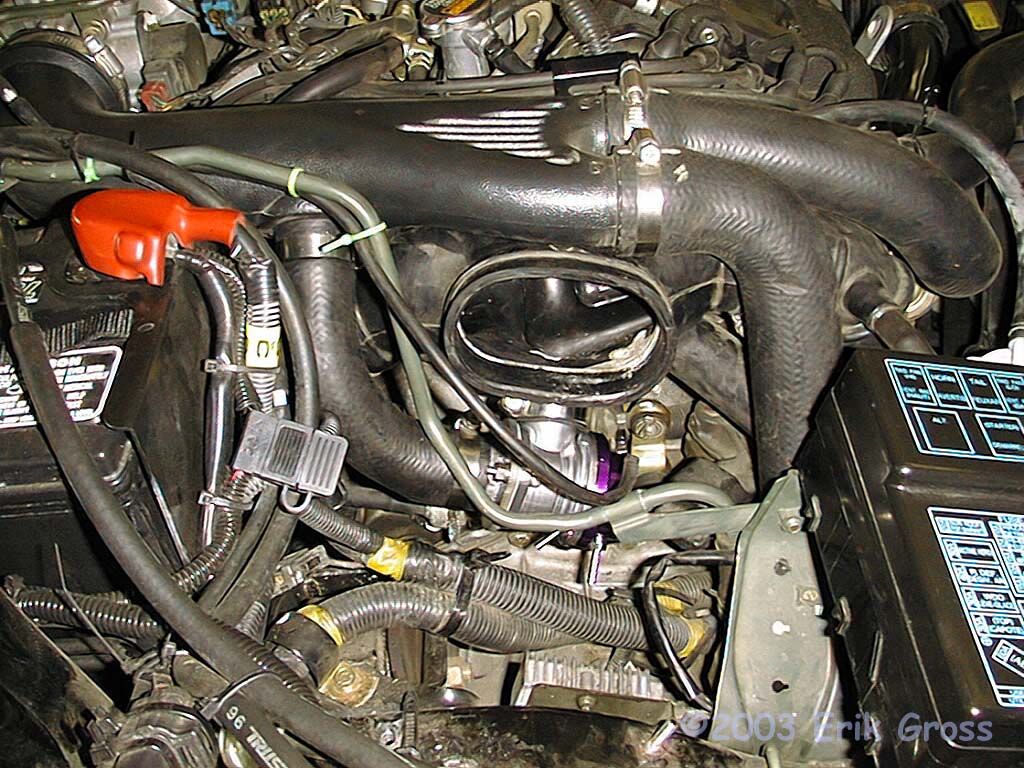
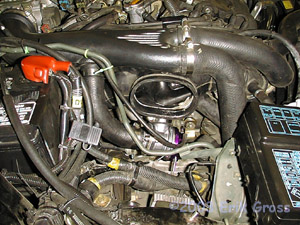
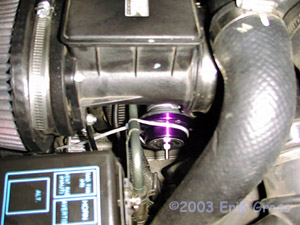
Install GReddy BPV
|
|
|
|
|
|
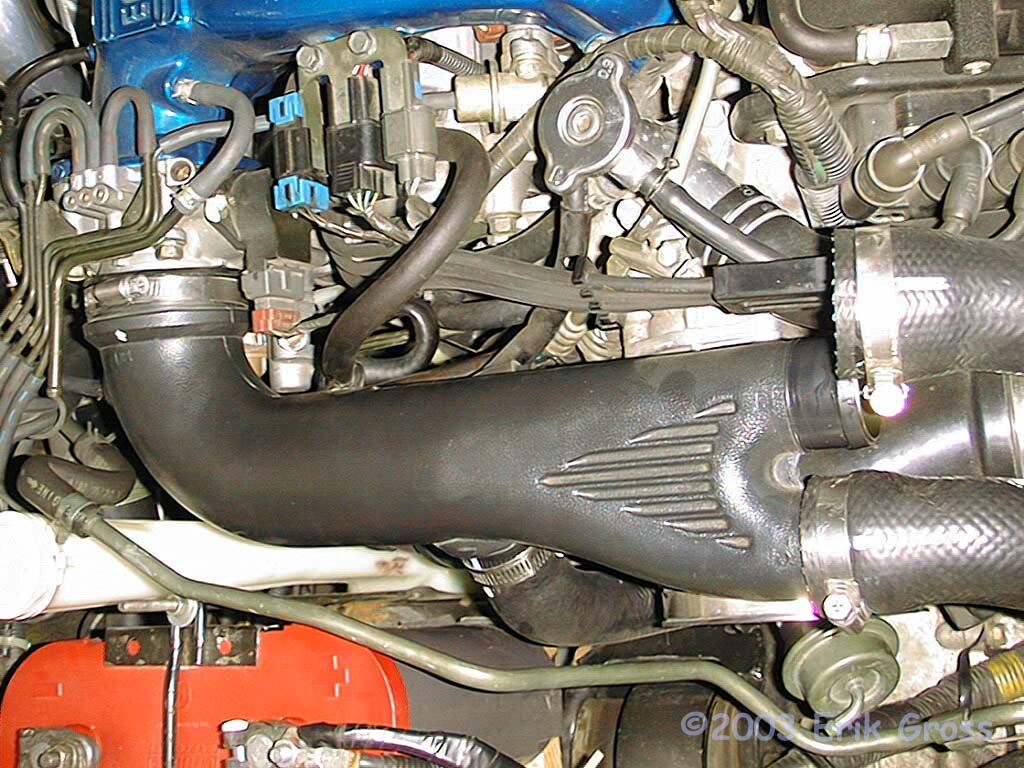
It attaches pretty much like the stock one does.
|
|
|
|
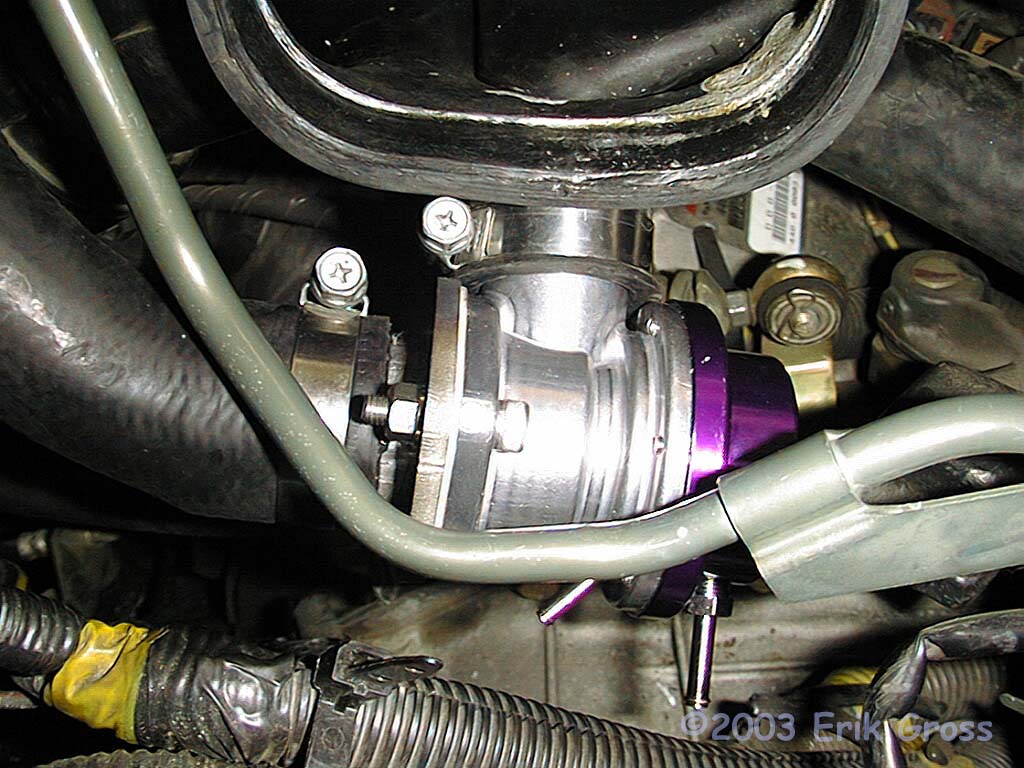
Closeup of Outlet Attachment
|
|
|
|
|
|
Remember to connect the vacuum hose to the nipple on the BPV, just
like the stock setup.
|
|
|
|
Eliminate Shifter Counter-weight Interference
|
|
|
|
|
|
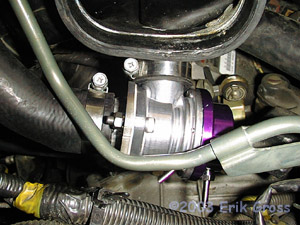
With some second-generation cars ('94 - '99), the counter-weight
on the shifter mechanism will interfere with (contact) the head
of the Greddy BPV. This can be eliminated by wrapping a zip-tie
around the BPV and the hard clutch vacuum line as shown. Pull
the BPV away from the shifter linkage and then tighten the zip tie
until the BPV's resting position allows you to shift into all gears.
|
|
|
|
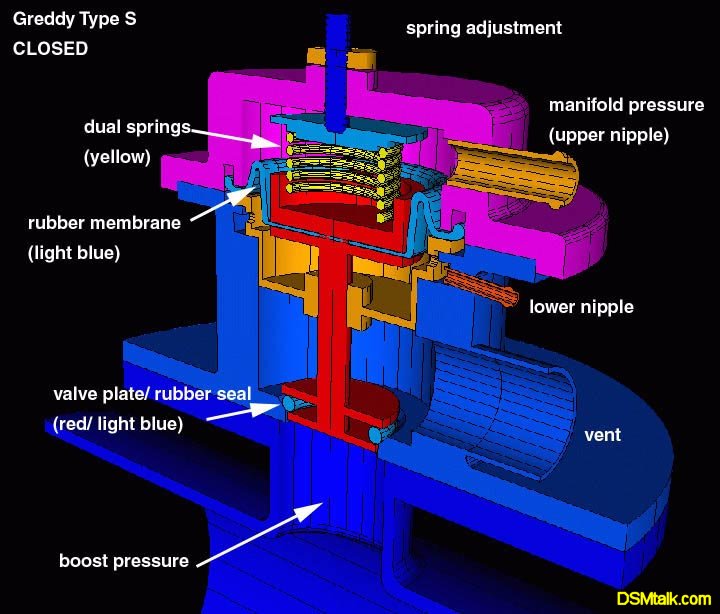
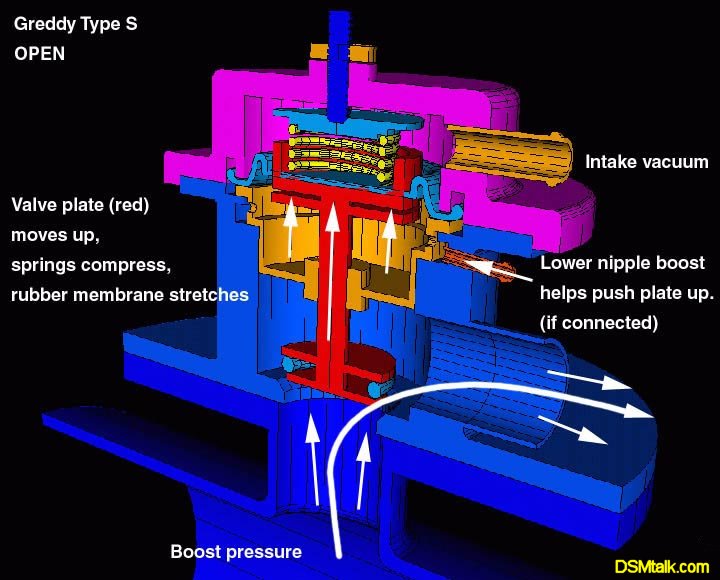
Adjust BPV Spring Tension
|
|
|
The little screw sticking out of the top of the BPV is the
adjuster for the spring that controls the valve tension.
To adjust the valve, loosen the 10mm locking nut on the
top of the valve and then use a 3mm Allen wrench to
turn the screw (clockwise for tighter, counter-clockwise
for looser). I found that the best setting for my car was
to have 4-5 threads showing on the screw once the nut was
tightened down.
|
|