|
Remove OEM Intercooler Air Ducts
|
|
|
|
|
|
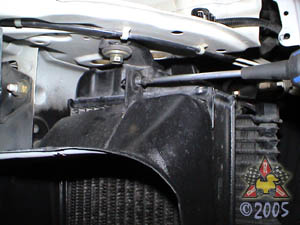
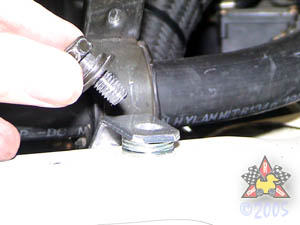
There are plastic air ducts attached to each intercooler to help
direct air through the intercoolers. Remove the 2 plastic clips
that secure the duct to the intercooler. The clips are removed by unscrewing
the central pin and then pulling the clip out of the hole.
Repeat for other side.
|
|
|
|
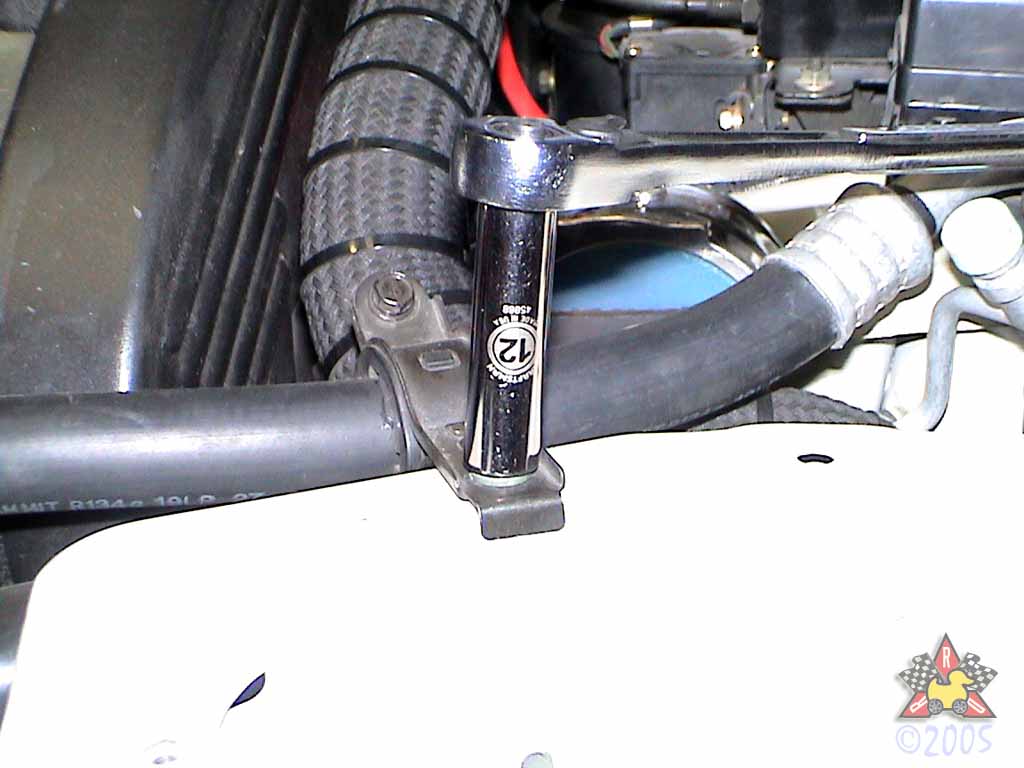
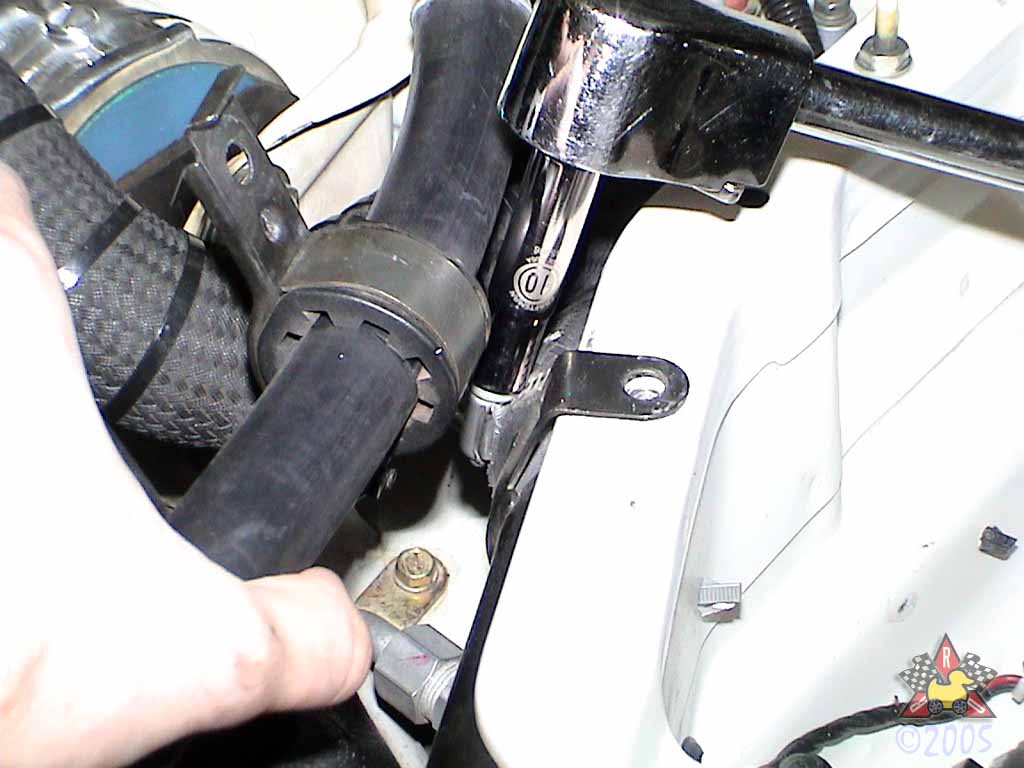
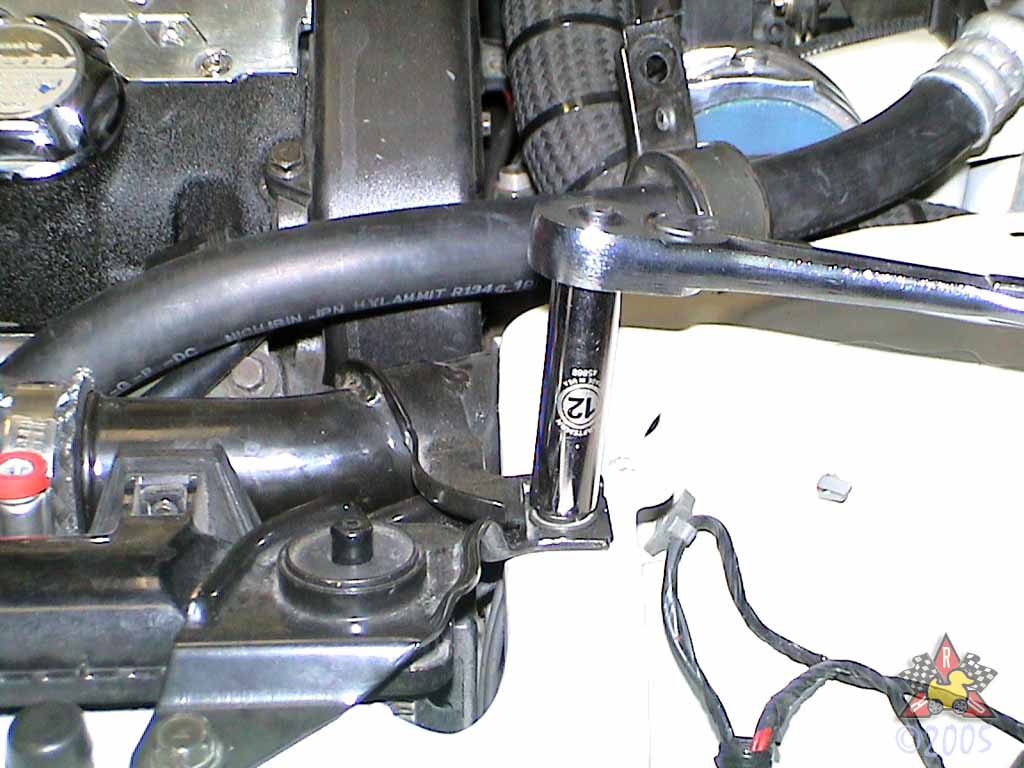
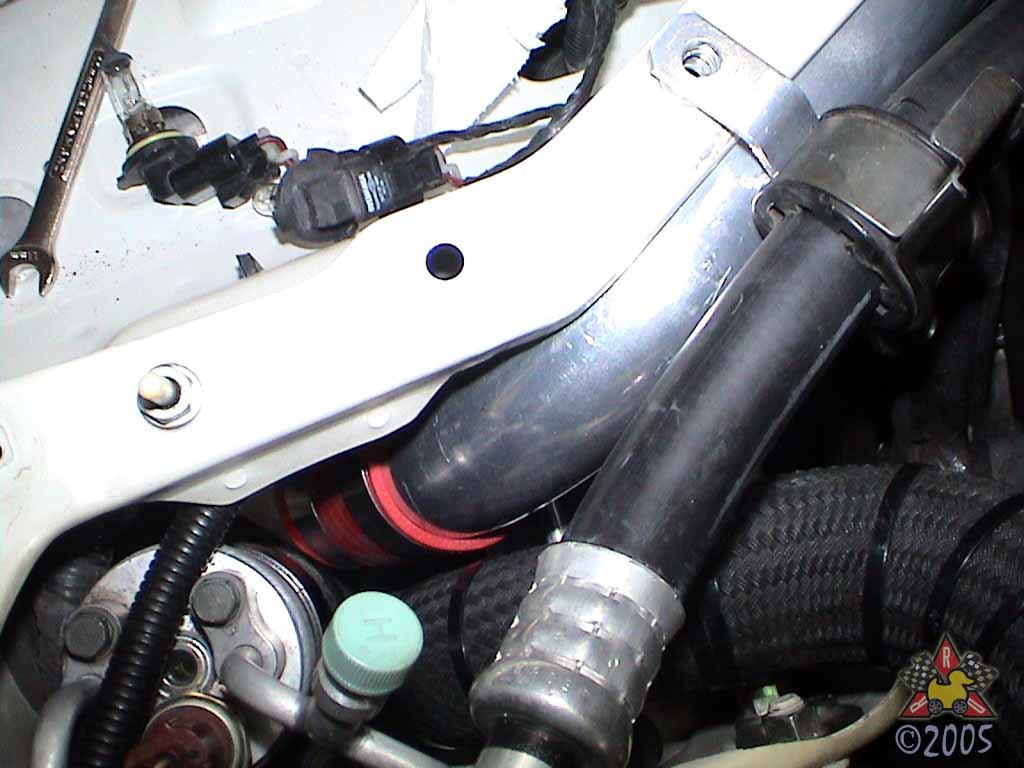
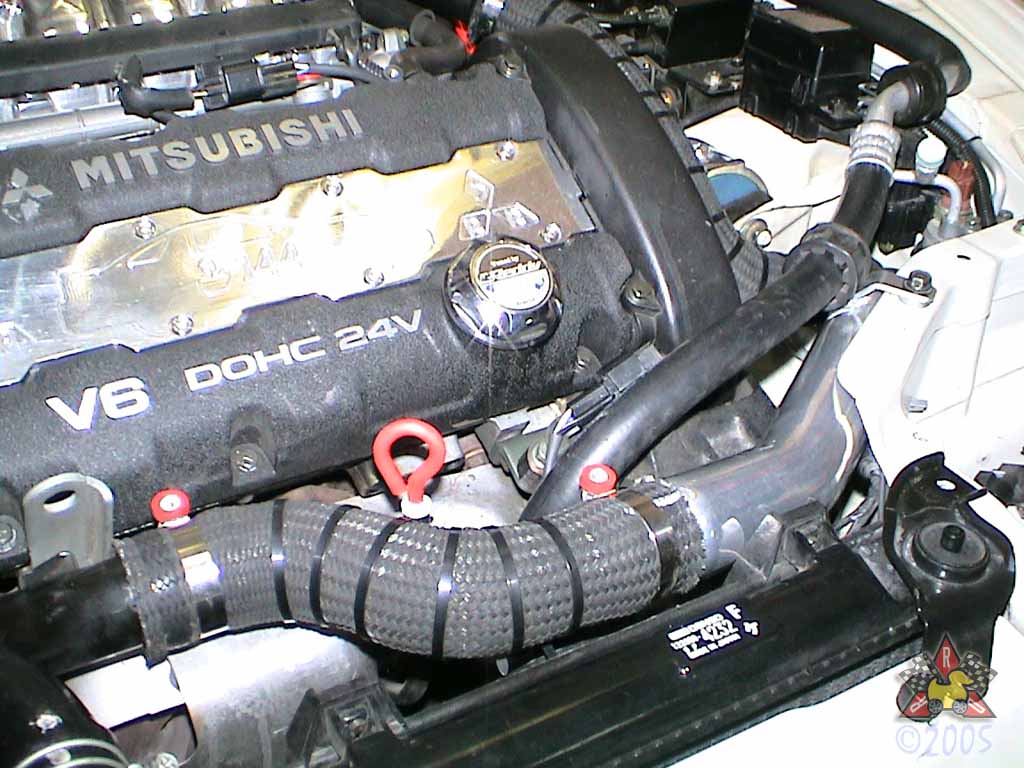
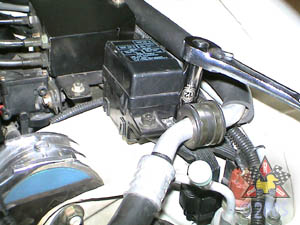
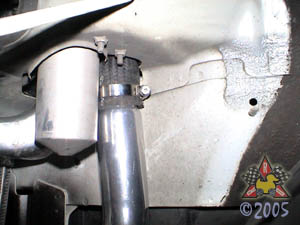
Unbolt A/C Line Brackets
|
|
|
|
|
|
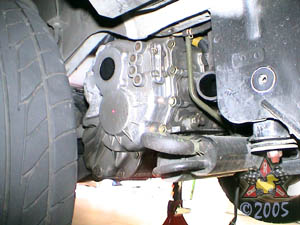
There is a 12mm bolt in the left picture and a 12mm nut near the A/C
fuse box in the right picture.
|
|
|
|
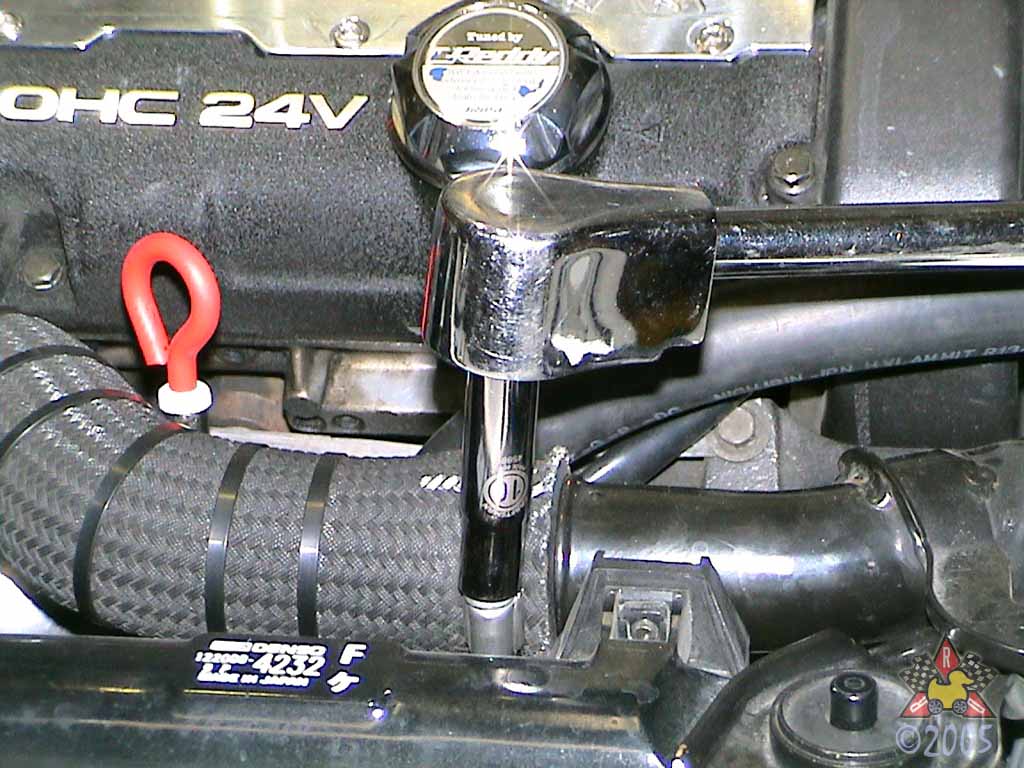
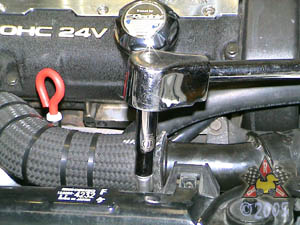
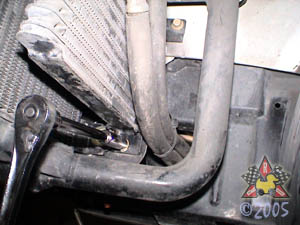
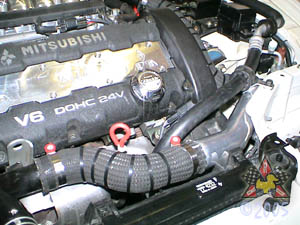
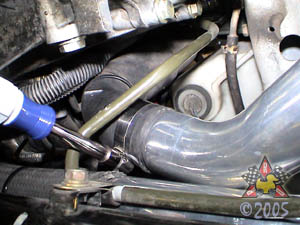
Loosen Intercooler Hose Clamps
|
|
|
|
|
|
You can use a Philips screwdriver or a 10mm socket to loosen the clamps
on the LHS intercooler outlet hoses.
|
|
|
|
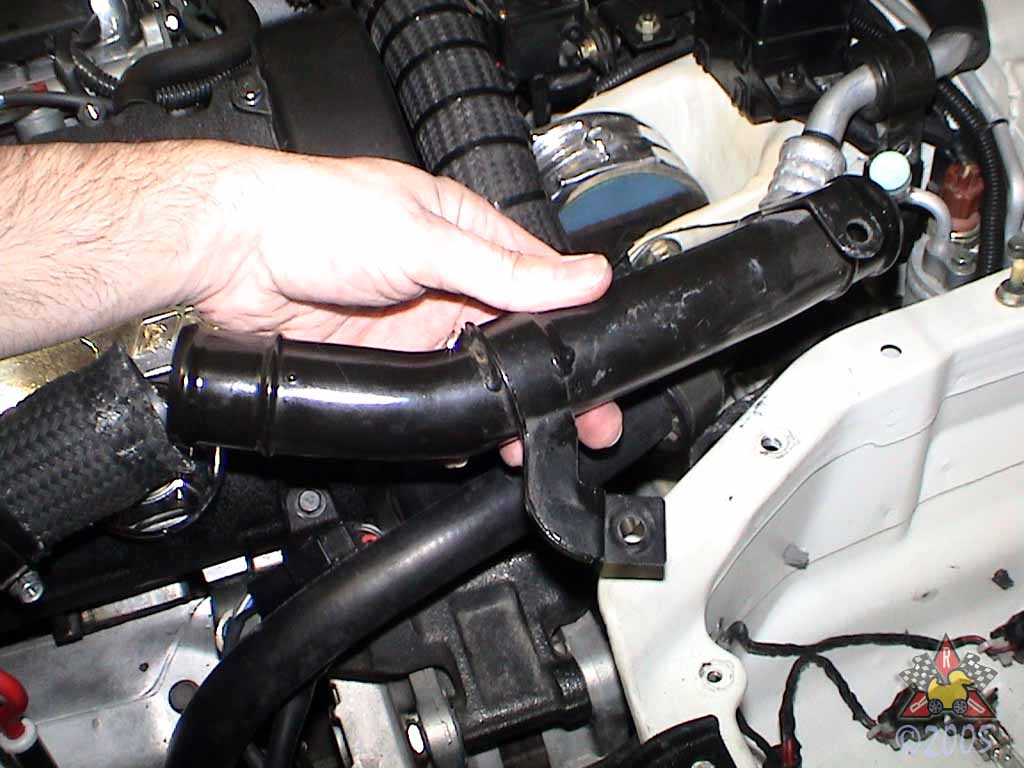
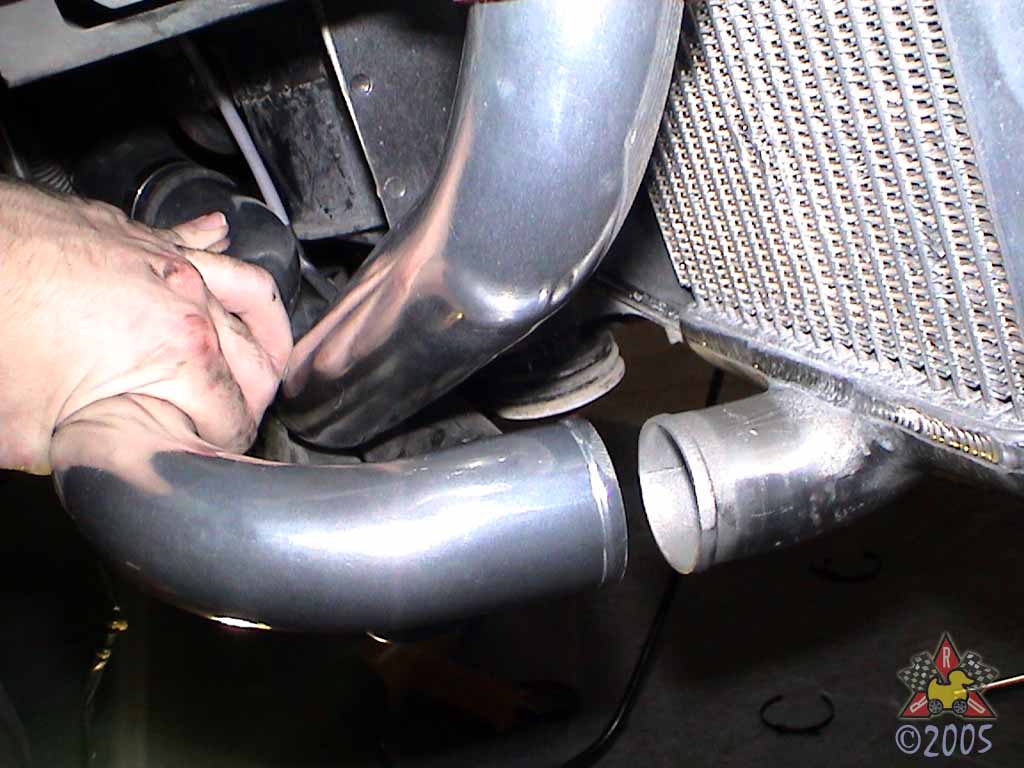
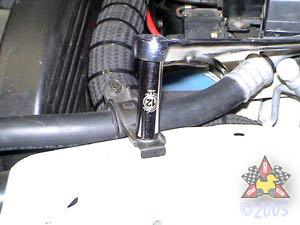
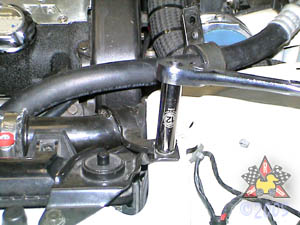
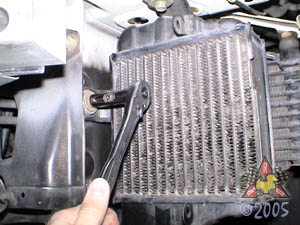
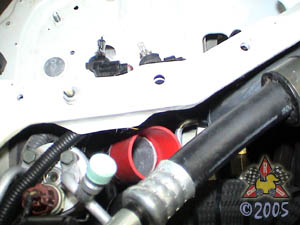
Remove LHS Intercooler Outlet Pipe
|
|
|
|
|
|
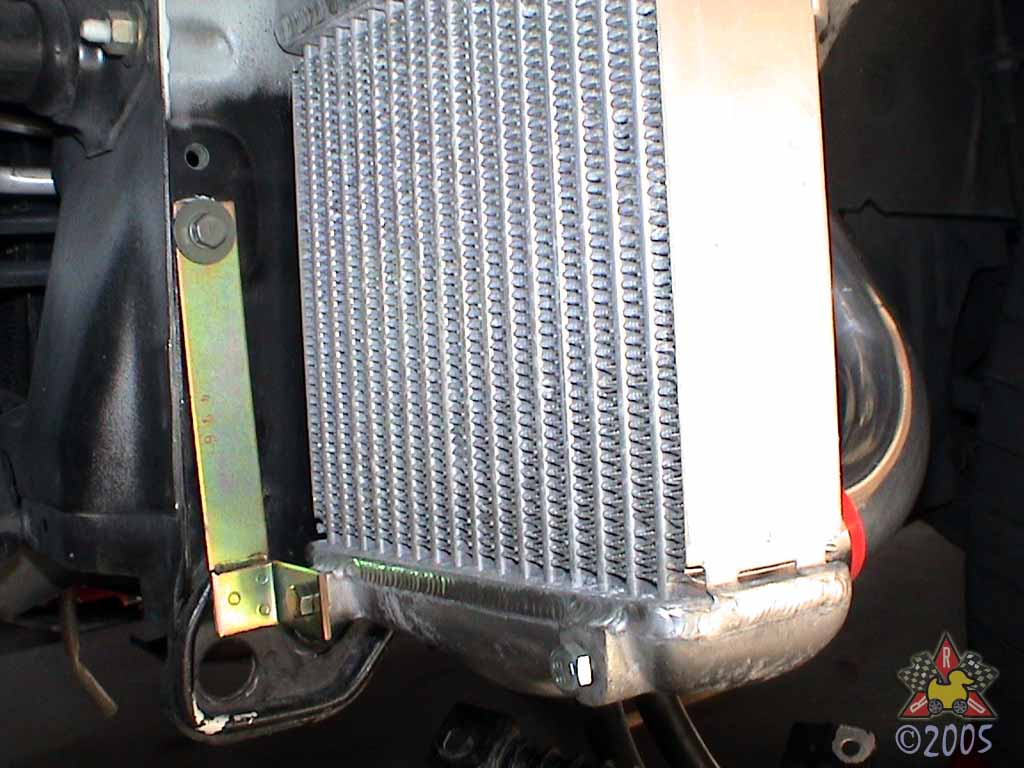
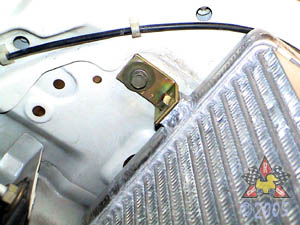
To remove this pipe, you'll need to unbolt the 12mm bolts that secure
the LHS upper radiator bracket.
|
|
|
|
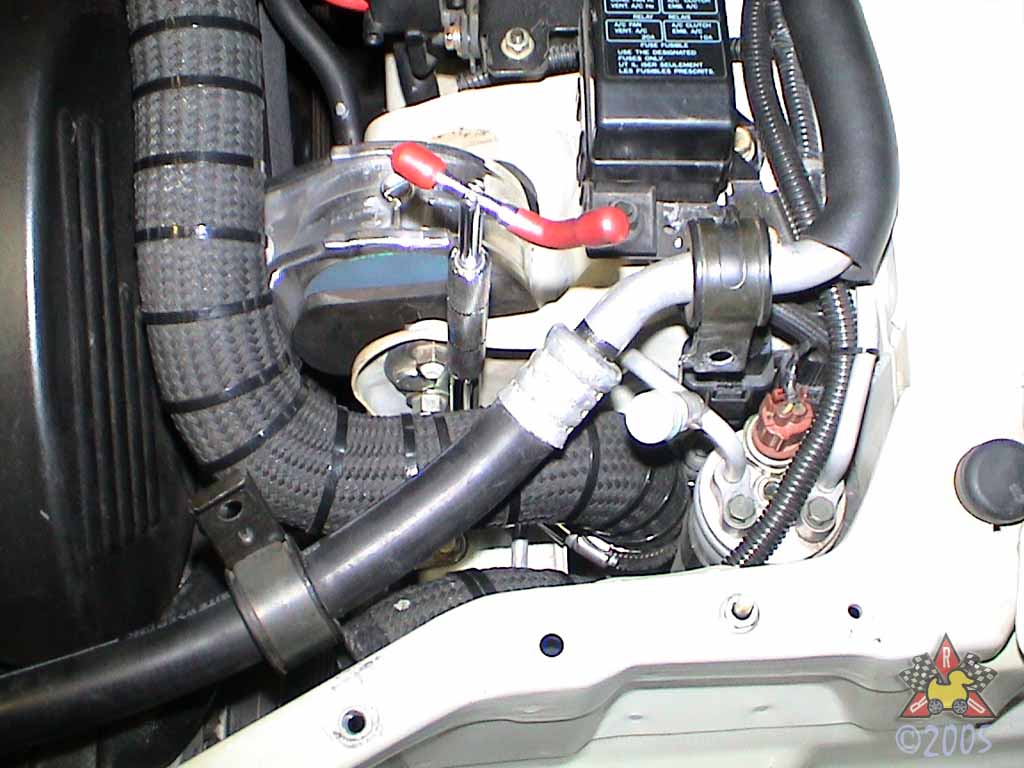
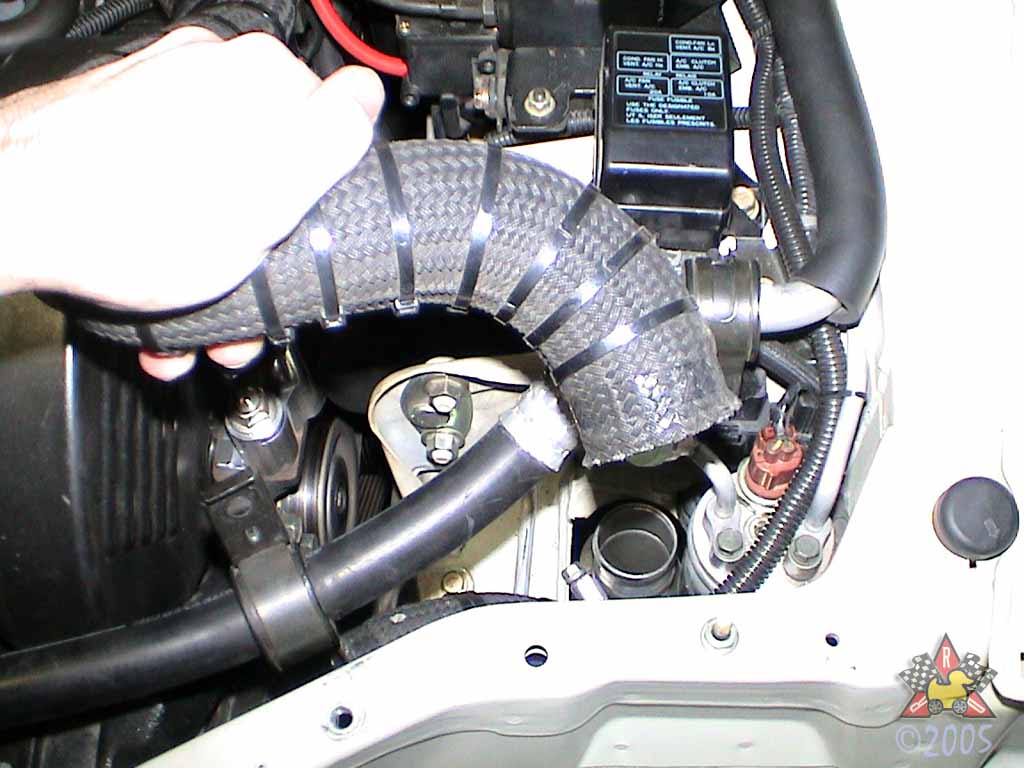
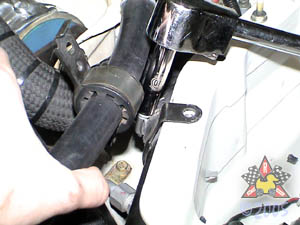
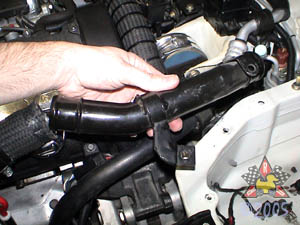
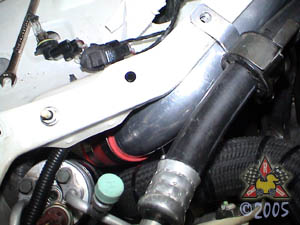
Disconnect LHS Intercooler Inlet Hose
|
|
|
|
|
|
Use a 10mm socket or a Philips screwdriver to loosen the clamp. Pull the hose out
of the way - you may want to loosen the clamp on the other end of the hose
so you can rotate the hose out of the way.
|
|
|
|
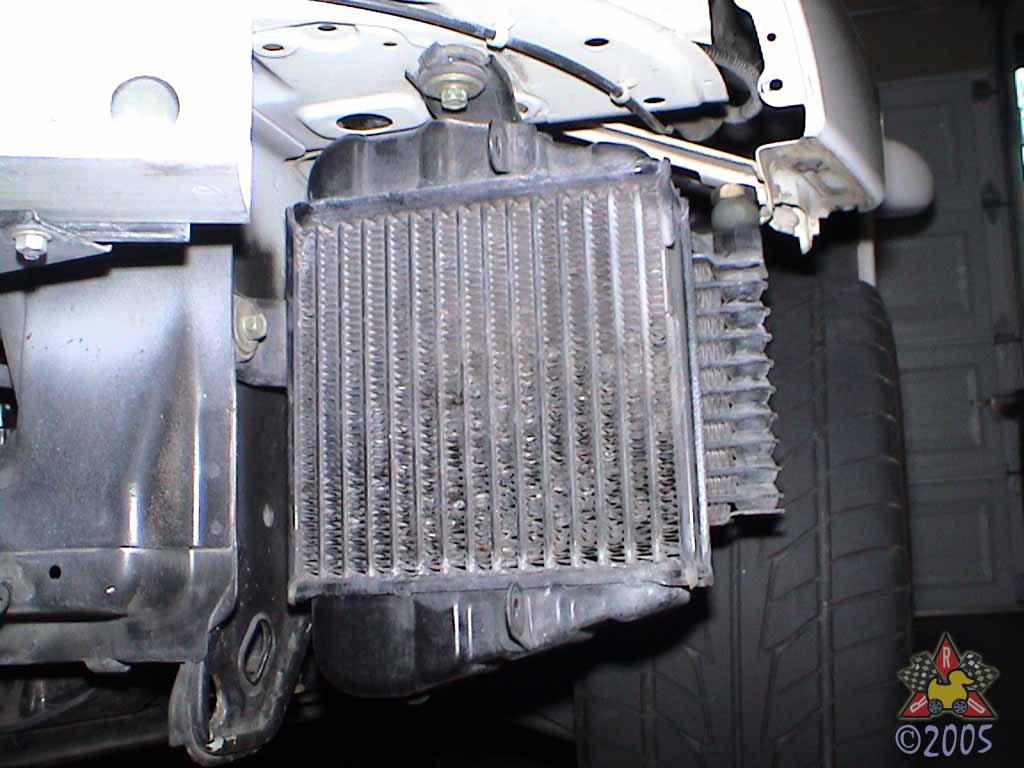
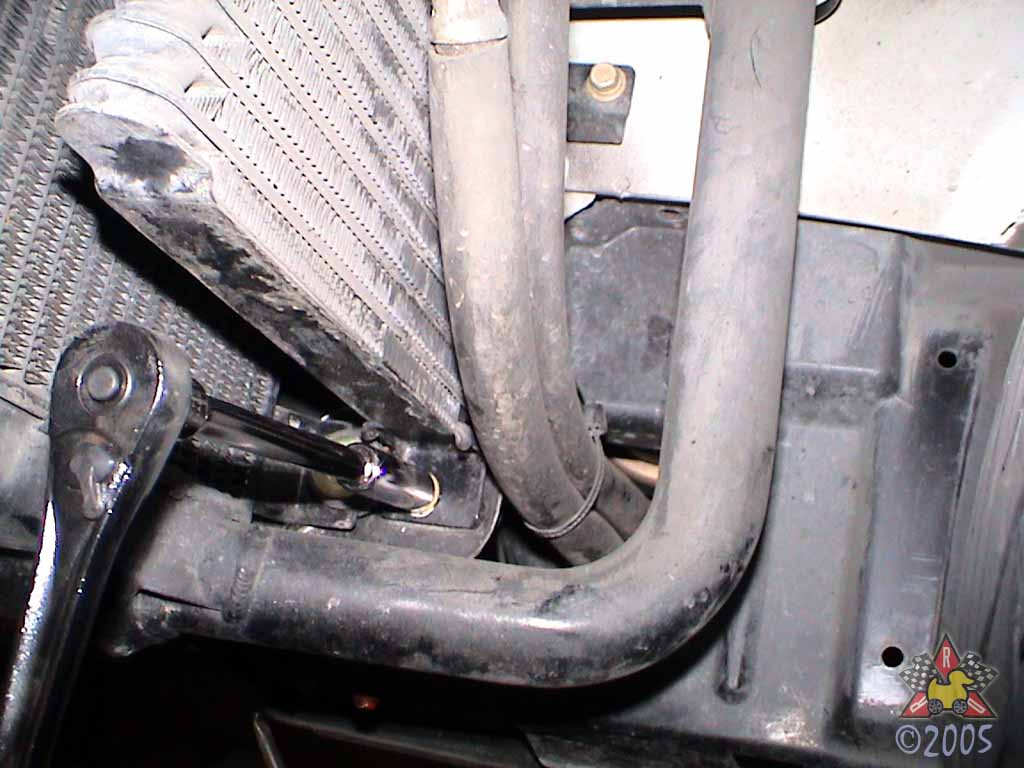
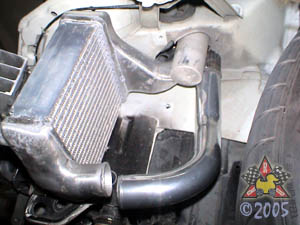
Unbolt OEM LHS Intercooler
|
|
|
|
|
|
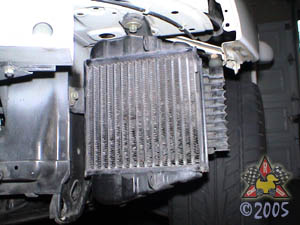
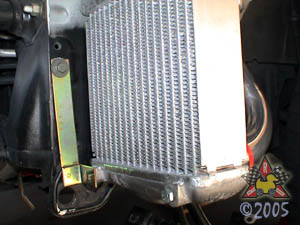
There are three 12mm bolts that secure the intercooler. You'll have to unbolt
the oil cooler, too, so you have room to maneuver the intercooler out of the wheel well.
|
|
|
|
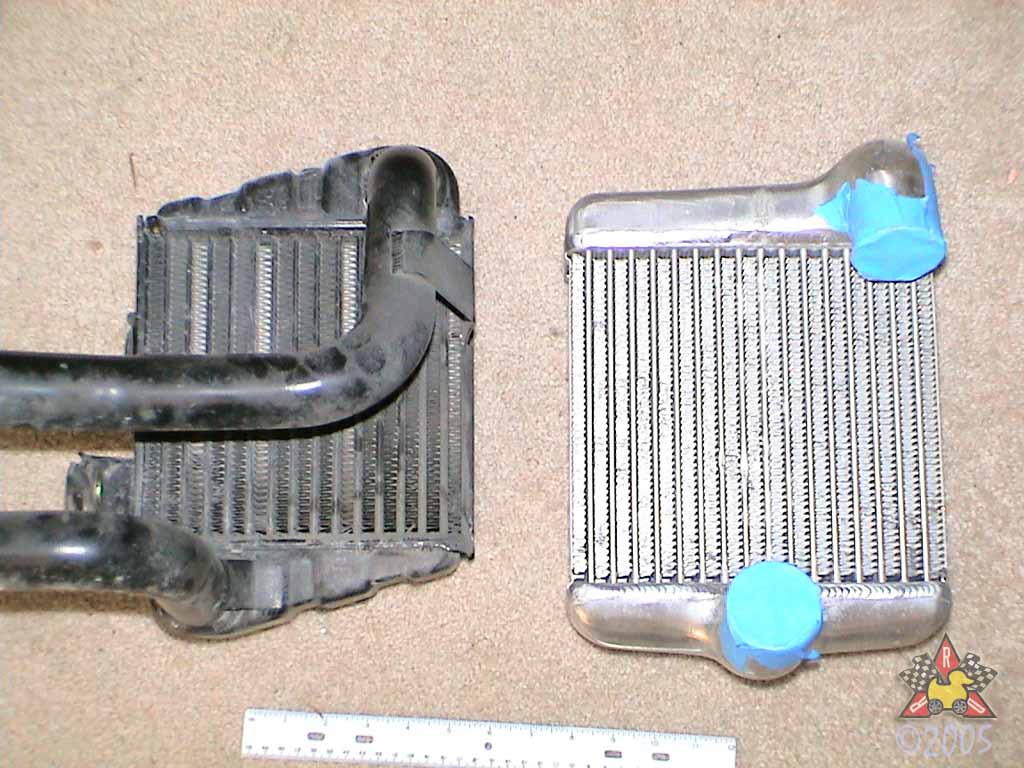
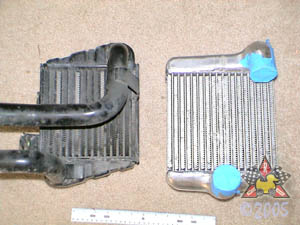
Comparison of OEM and HKS LHS Intercooler
|
|
|

|
|
|
|
|
|
|
Connect HKS LHS Inlet Pipe to OEM Hose
|
|
|

|
|
|
Connect the pipe to the OEM hose - it's probably easier
to get to the pipe from below once the hose is in place.
|
|
|
|
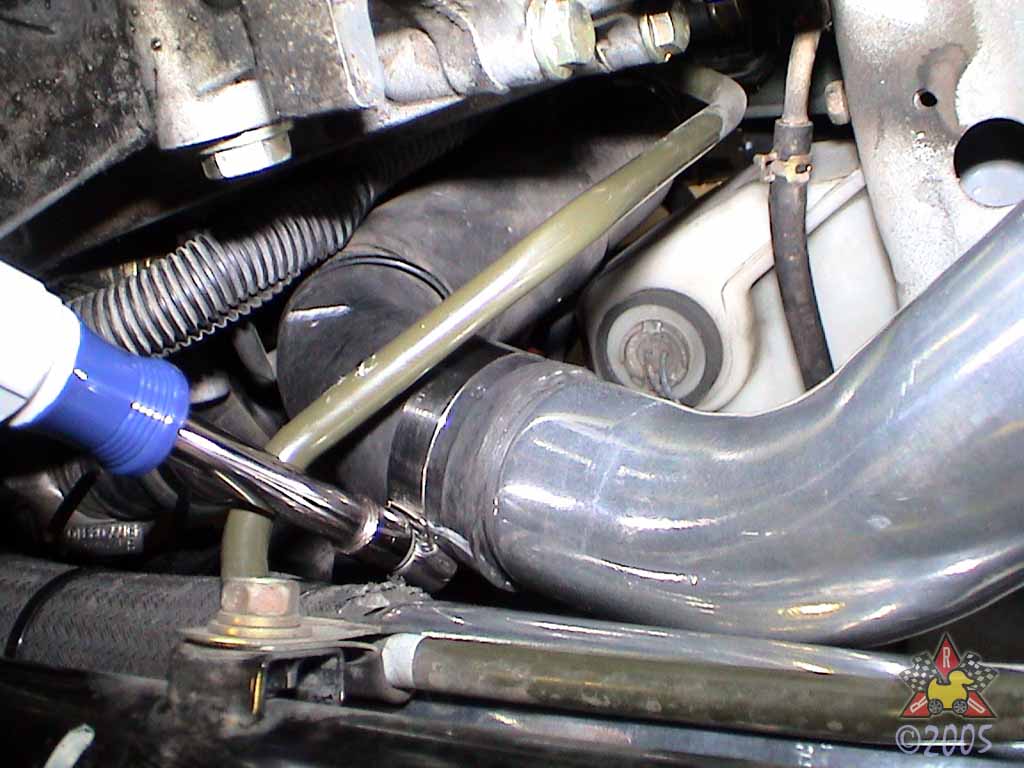
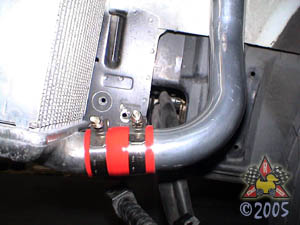
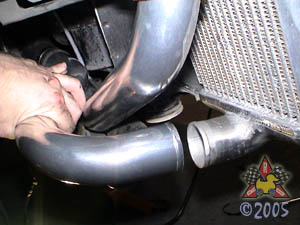
Connect HKS LHS Intercooler Outlet Pipe
|
|
|
|
|
|
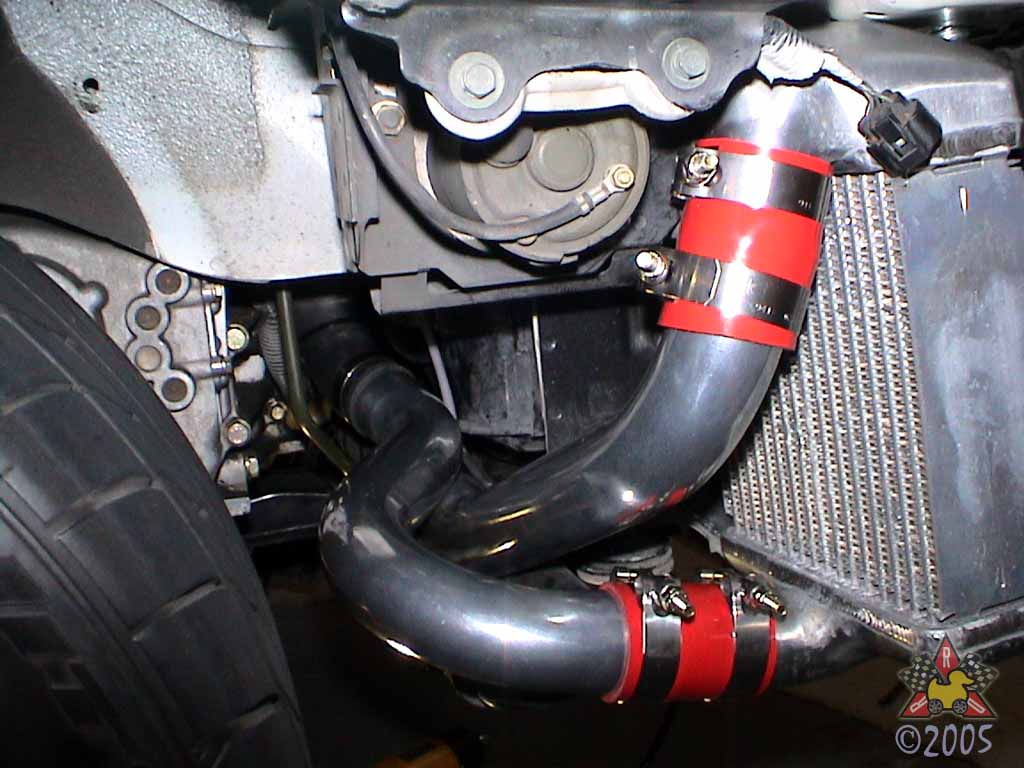
You'll need to maneuver the new intercooler in from the bottom and attach the hose
clamp to the coupler. I chose to use new silicone couplers and t-bolt clamps instead
of the couplers and clamps that came with the kit.
|
|
|
|
Attach LHS HKS Intercooler Outlet Pipe
|
|
|
|
|
|
Description
|
|
|
|
Attach LHS HKS Intercooler Inlet Pipe to Intercooler
|
|
|
|
|
|
Pretty easy - everything's nice and accessible.
|
|
|
|
Remount OEM Oil Cooler
|
|
|
|
|
|
Since I was upgrading my oil cooler to a front-mount version,
I didn't reinstall it. Sorry - no picture of the OEM one :-)
|
|
|
|
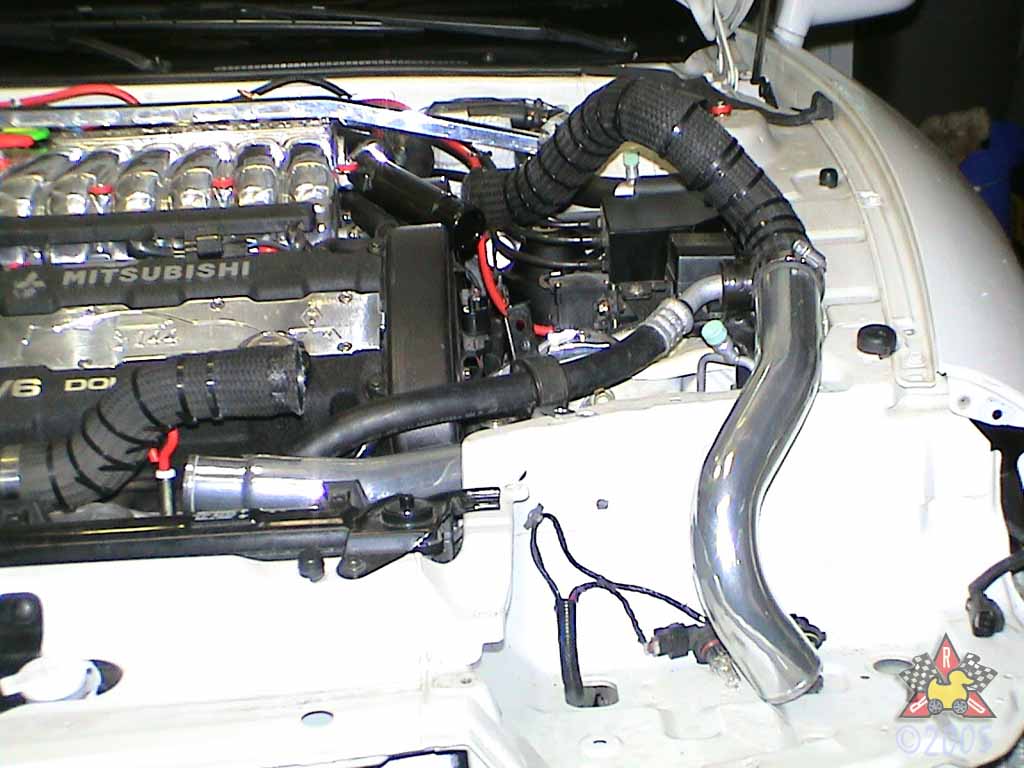
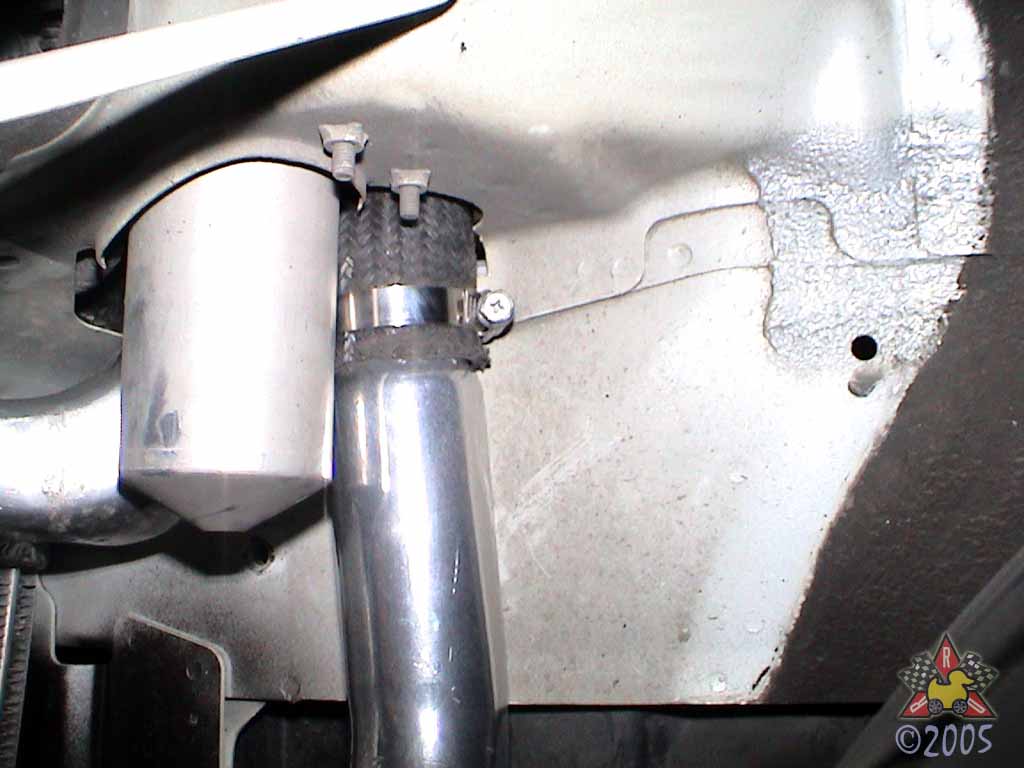
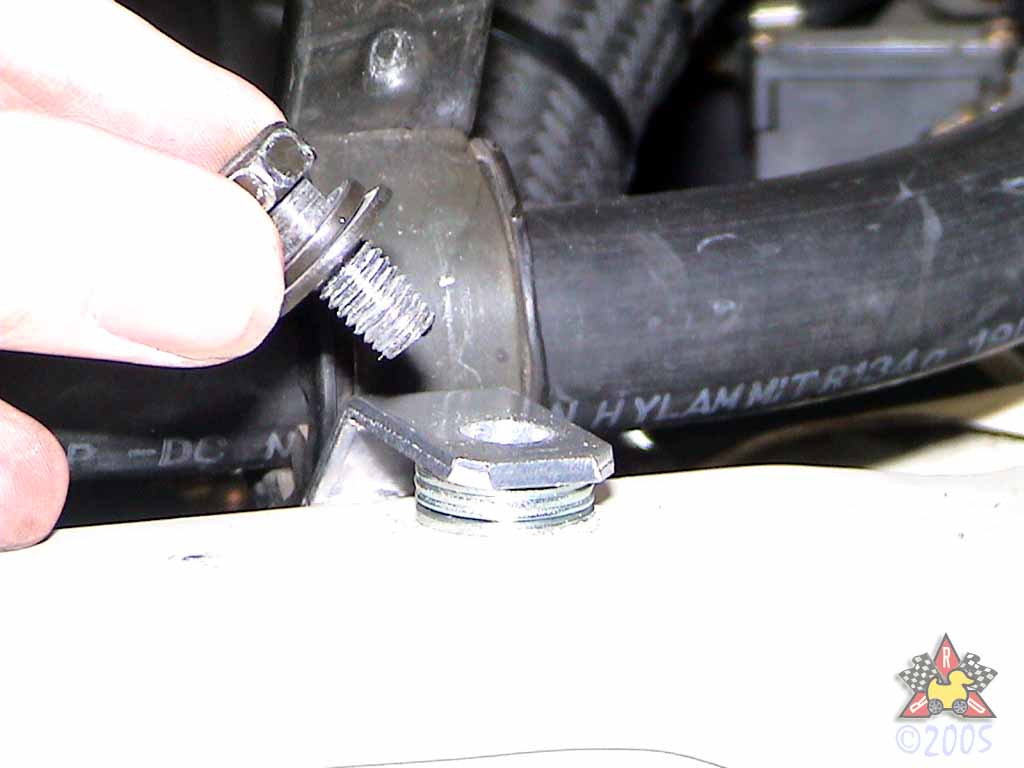
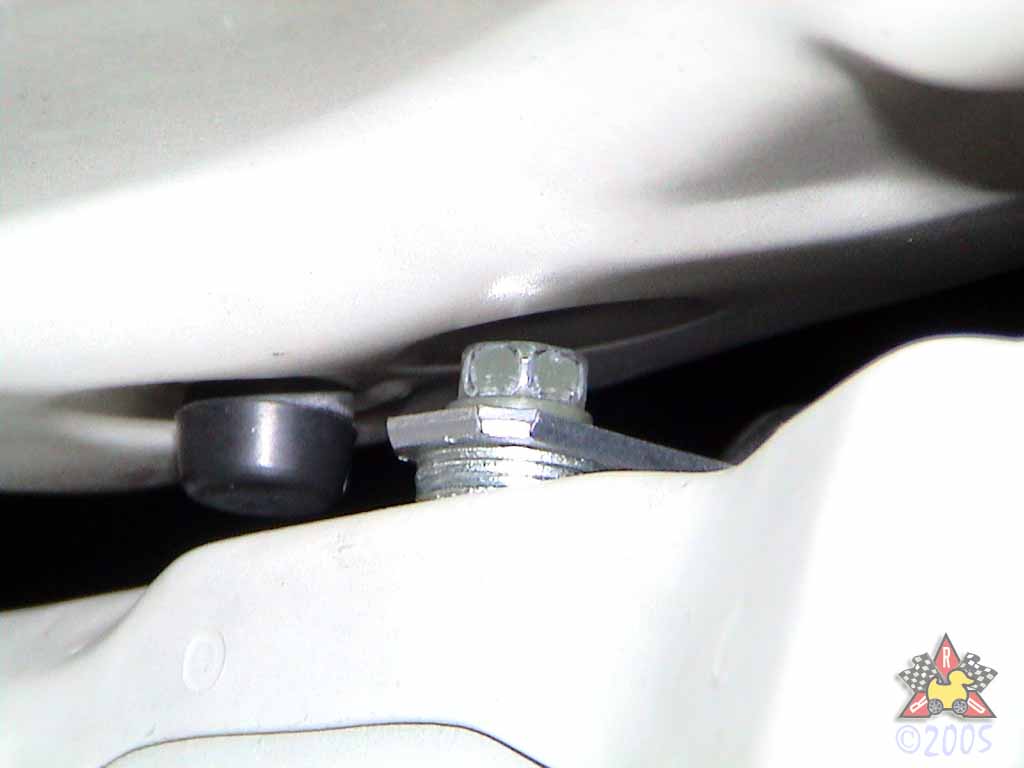
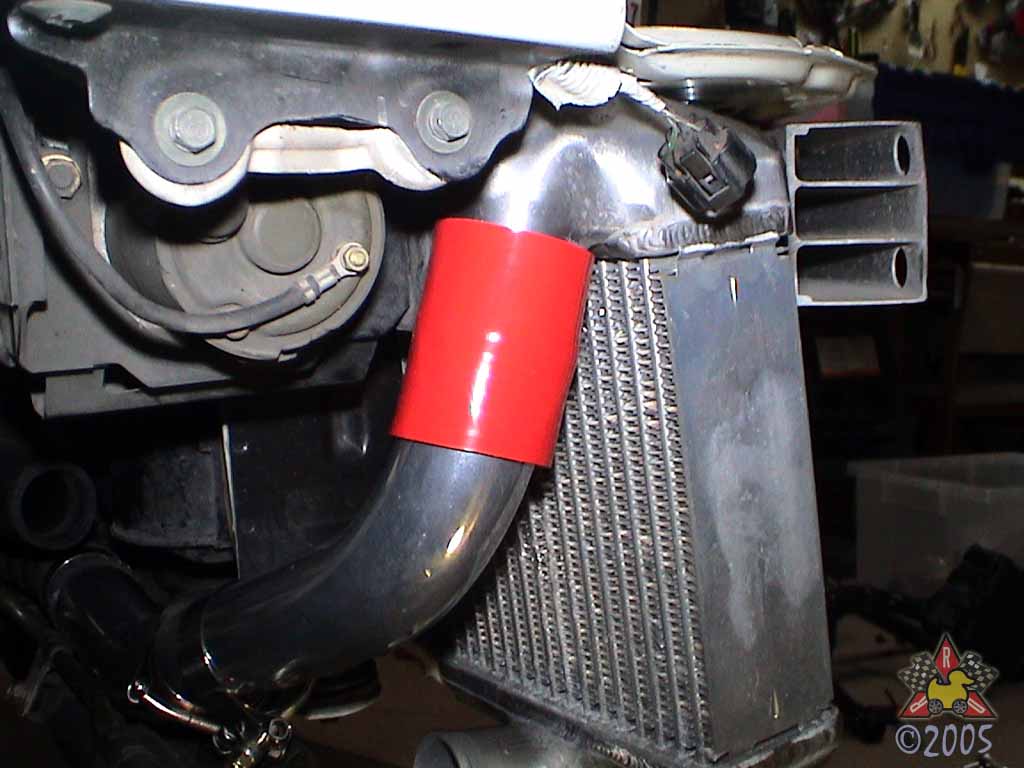
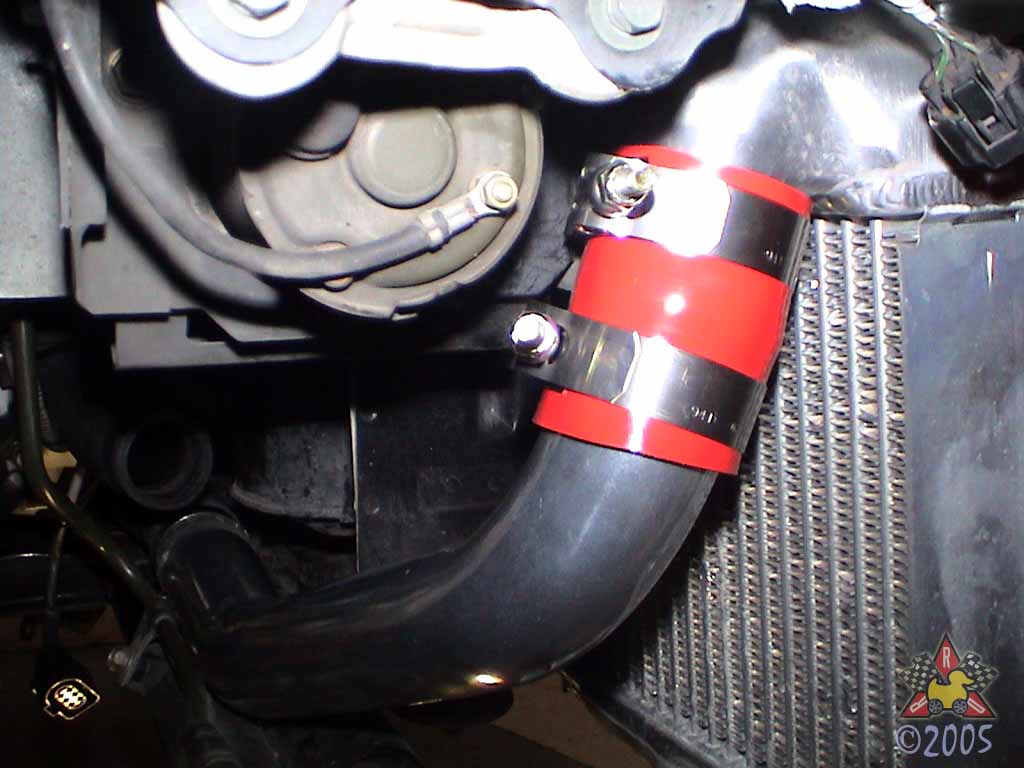
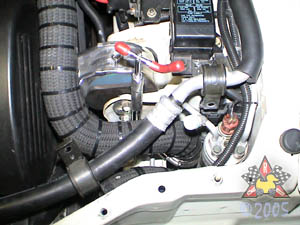
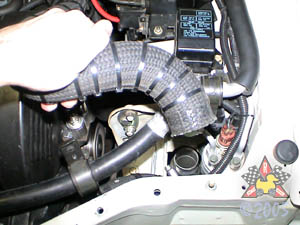
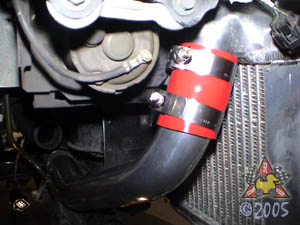
Secure HKS LHS Intercooler Outlet Pipe
|
|
|

|
|
|
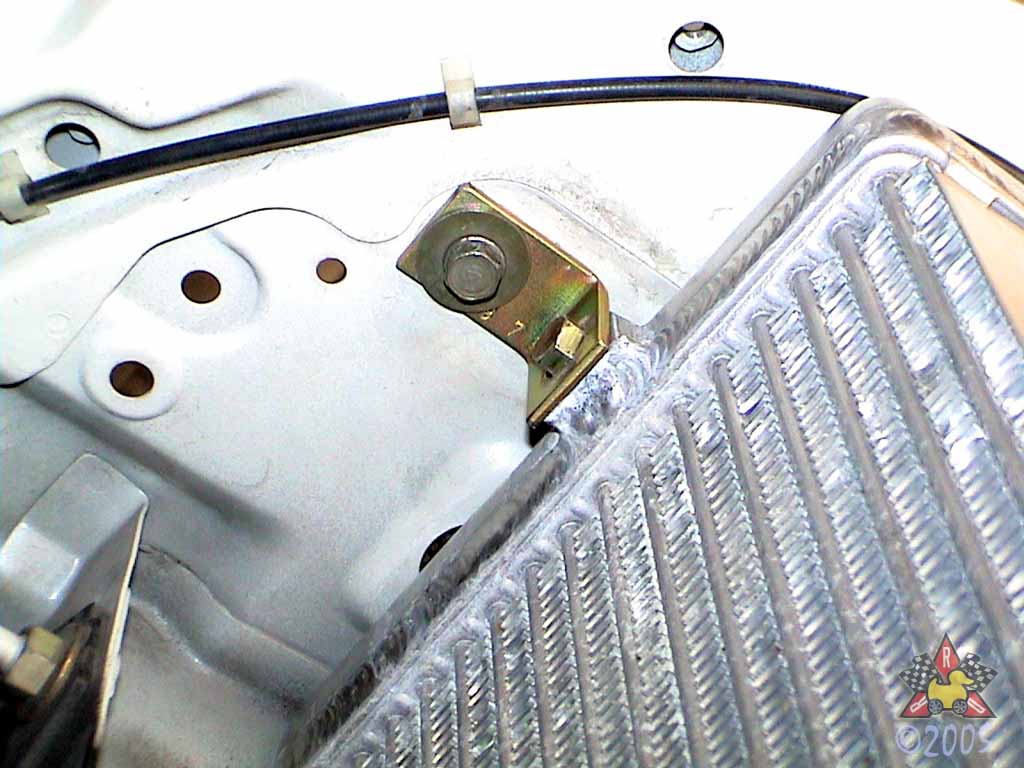
I think this bracket is supposed to mount like the OEM bracket does;
however mine didn't line up right. I used a stack of washers under
the bracket to mount it securely. You can call a stack of washers a
"shim" if you don't want to sound ghetto :-) The fact that the bracket
is mounted higher does not make it interfere with my hood, as shown
in the second picture.
Note that I removed the
clamp that normally secures the AC line to this location - the
AC line should be fine without the missing bracket. You can
also reattach the AC line bracket near the fuse box at this point.
|
|
|
|
Mount LHS HKS Intercooler
|
|
|
|
|
|
Using brackets number 497 and 496, mount the intercooler to the locations
of the holes that secure the OEM intercooler.
|
|
|
|
Remove OEM RHS Intercooler
|
|
|
|
|
|
Pretty much as the LHS one, except there is no oil cooler in the way.
|
|
|
|
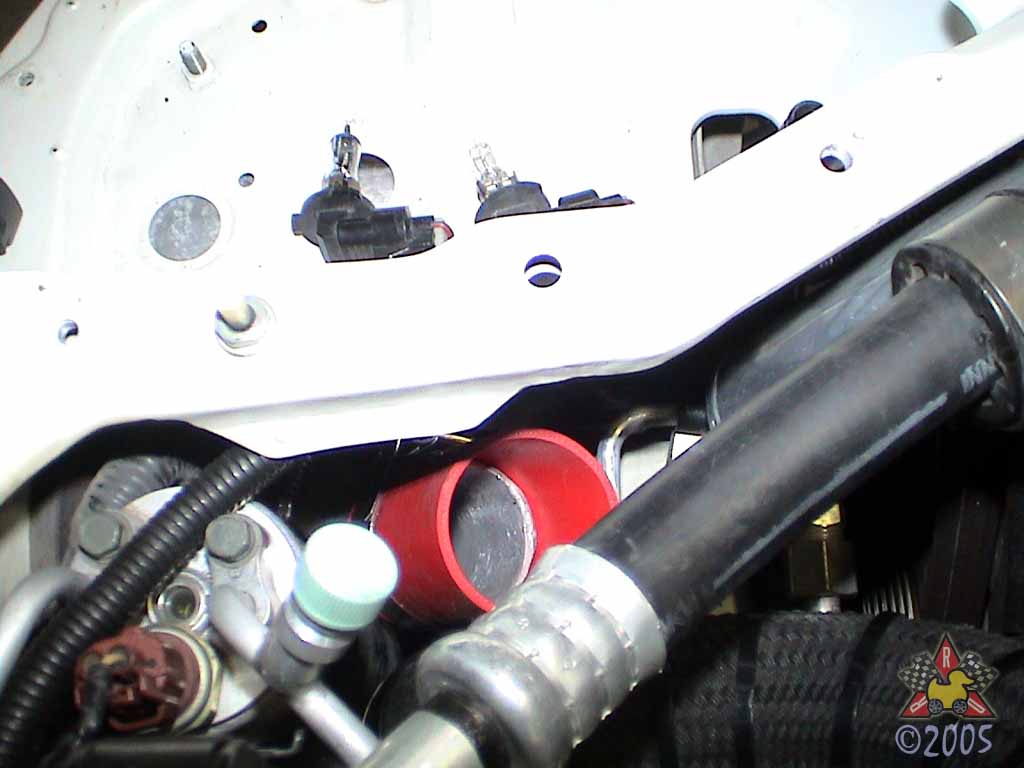
Mount RHS HKS Intercooler
|
|
|
|
|
|
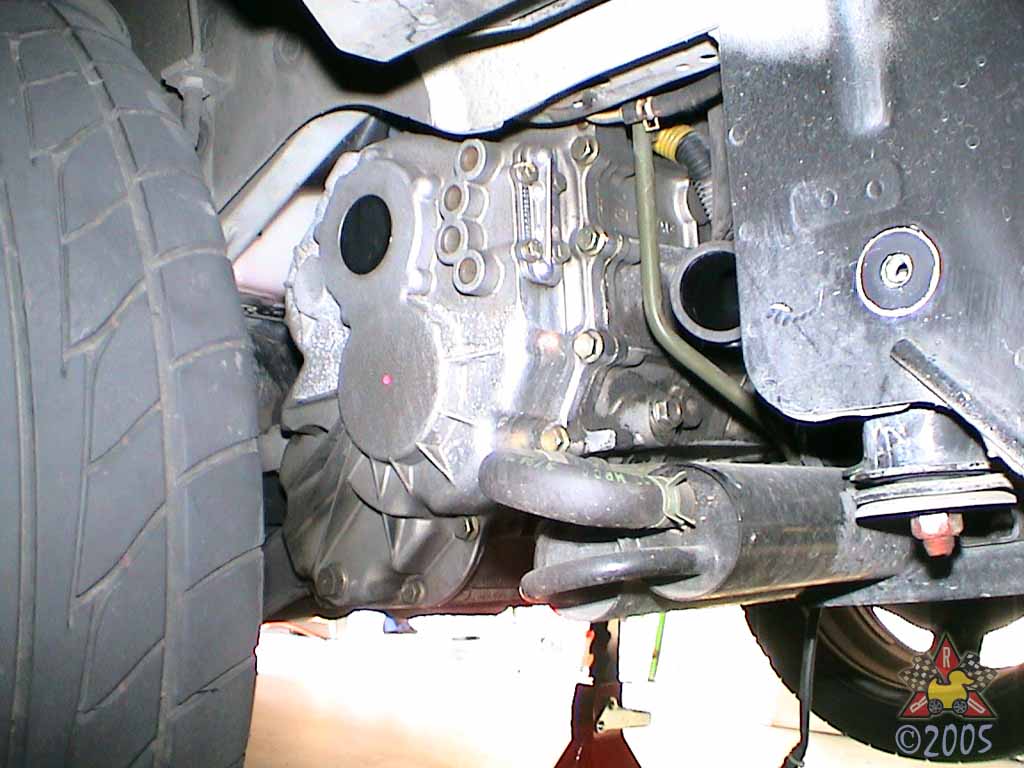
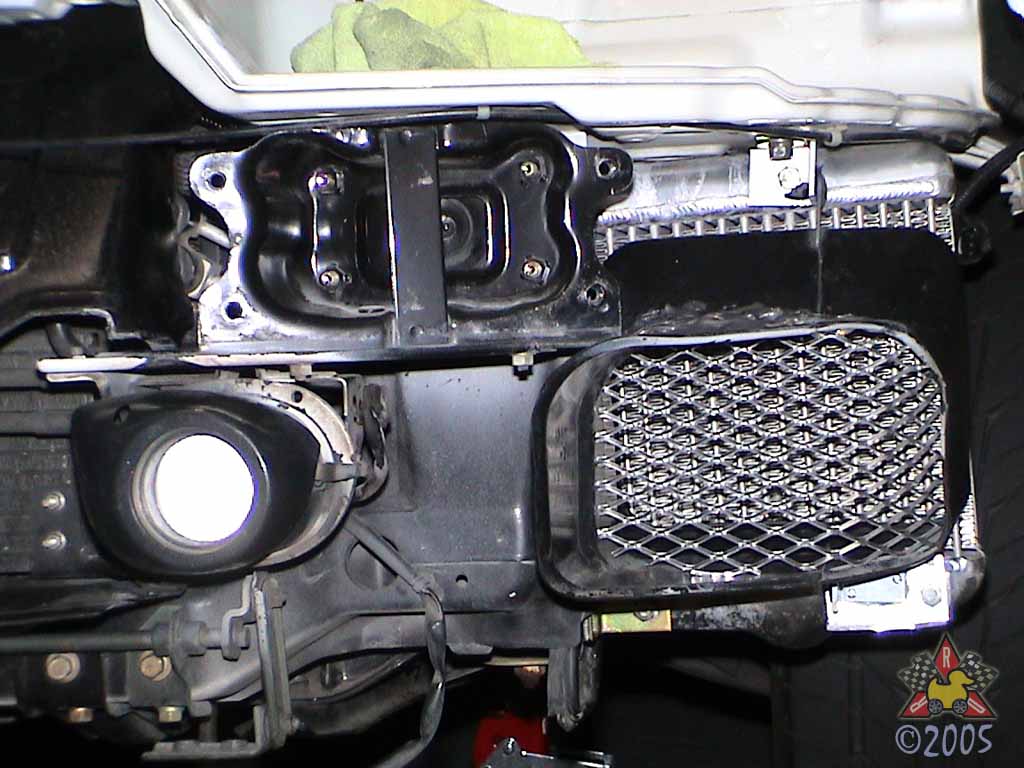
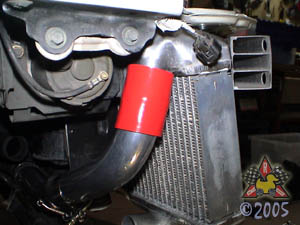
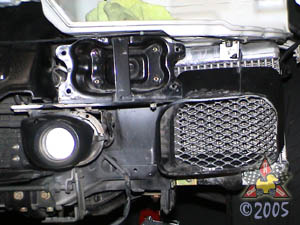
I don't see how the included brackets can be used to mount
the intercooler on my car. I don't know whether it's a
difference in the shape of the underside of the headlight bucket
on the 2G cars or whether there's something weird about my car, but
there was no way the upper surface of the intercooler would
mount flush against the underside of the headlight bucket. I used
the provided HKS upper bracket with a stack of washers to secure
the upper part of the IC. I used the provided HKS side bracket along with
some scrap aluminum to fabricate a bracket to mount the side of the intercooler
to the car.
Shown is a picture from later in the installation, but you can see the
way the upper bracket will not fit flush against the headlight bucket.
You can also see the stack of washers I used to complete the installation.
|
|
|
|
Connect RHS Intercooler Inlet Pipe
|
|
|
|
|
|
Pretty self-explanatory...
|
|
|
|
Connect RHS Intercooler Outlet Pipe
|
|
|
|
|
|
Again, pretty self-explanatory....
|
|
|
|
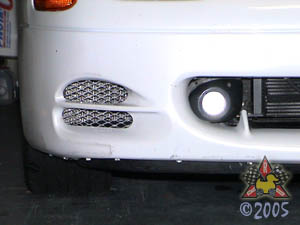
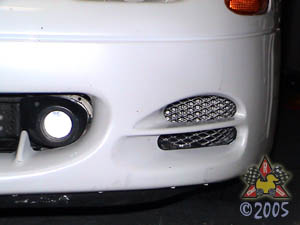
[Optional] Install Grills In Intercooler Ducts
|
|
|
|
|
|
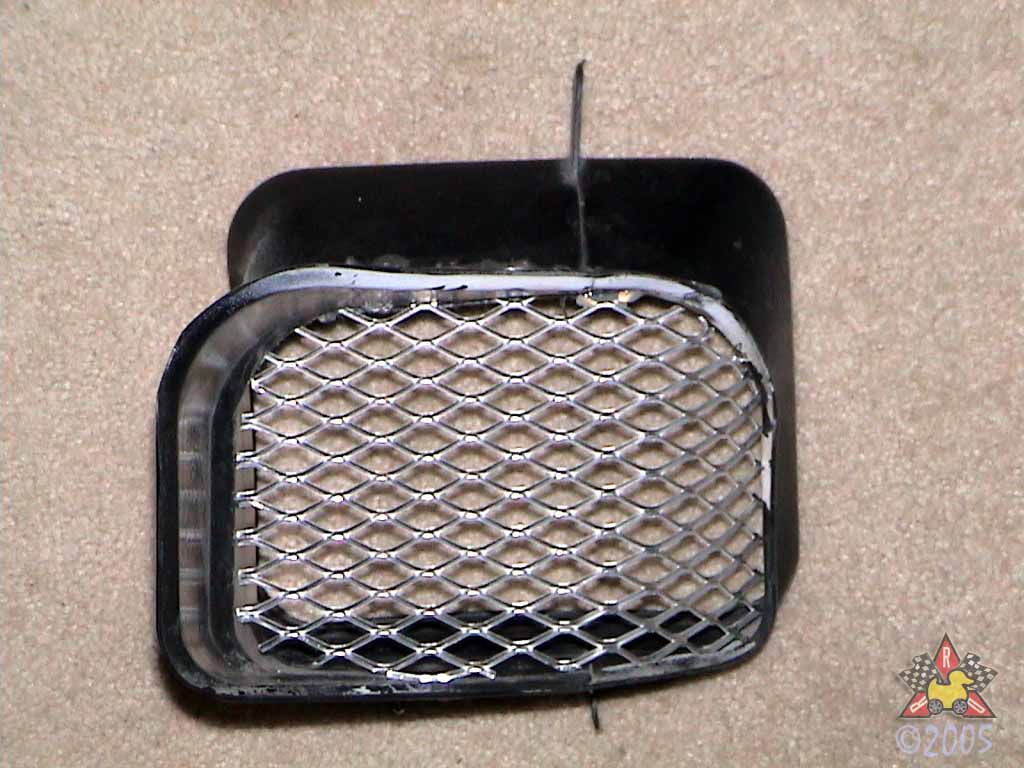
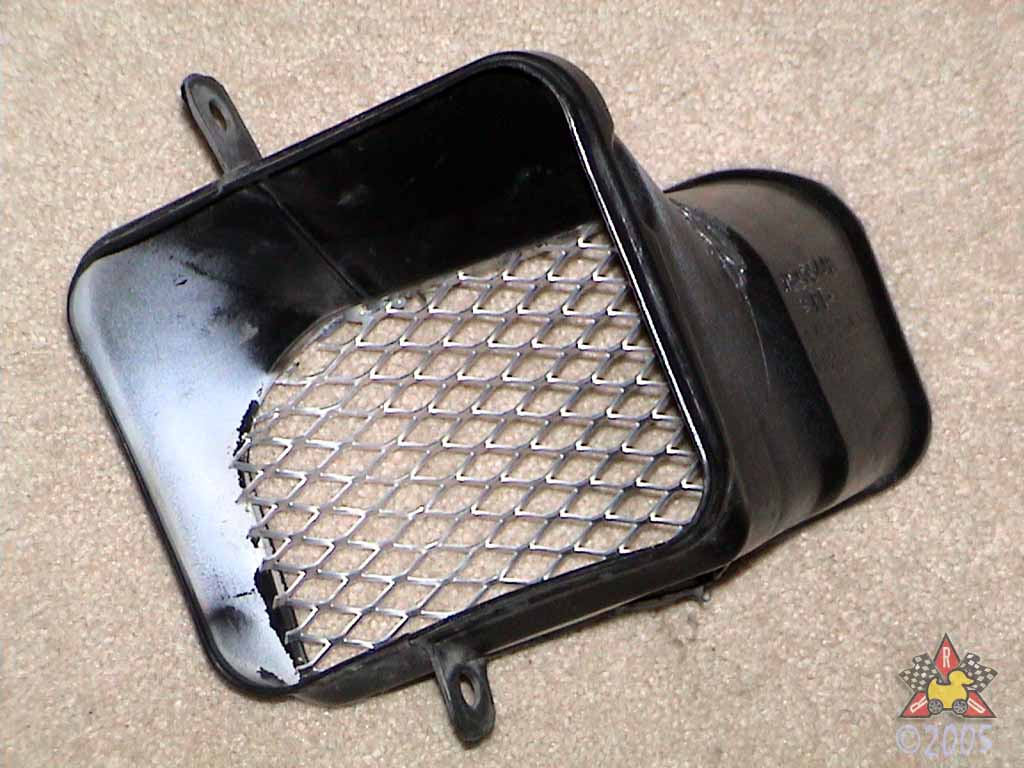
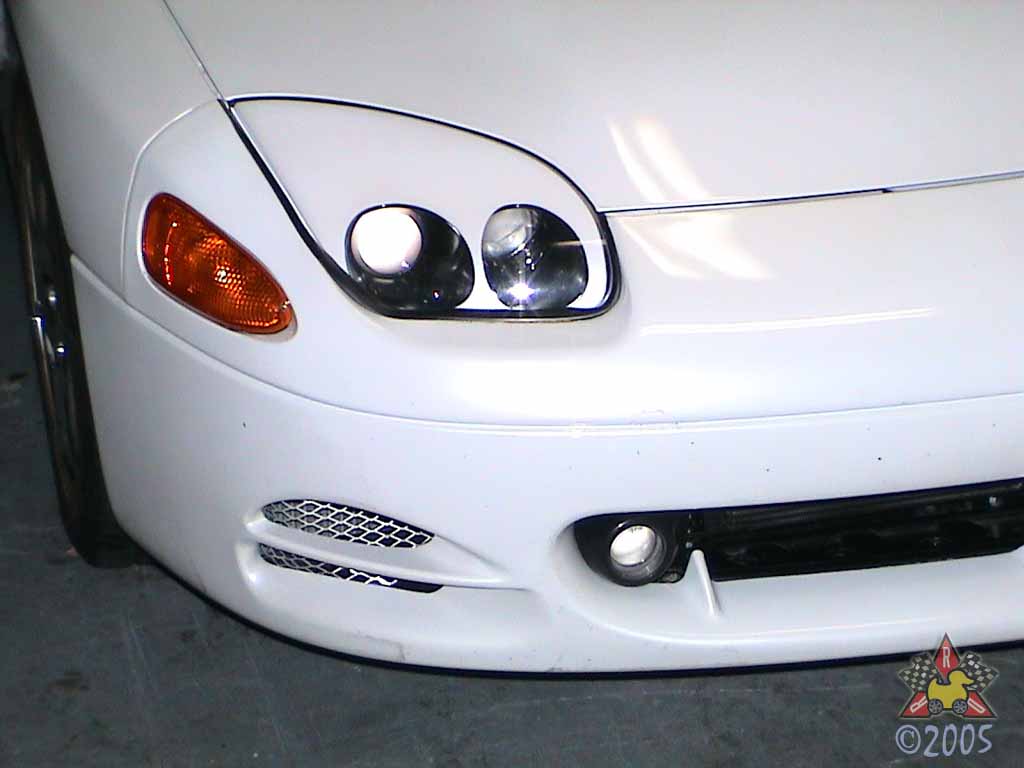
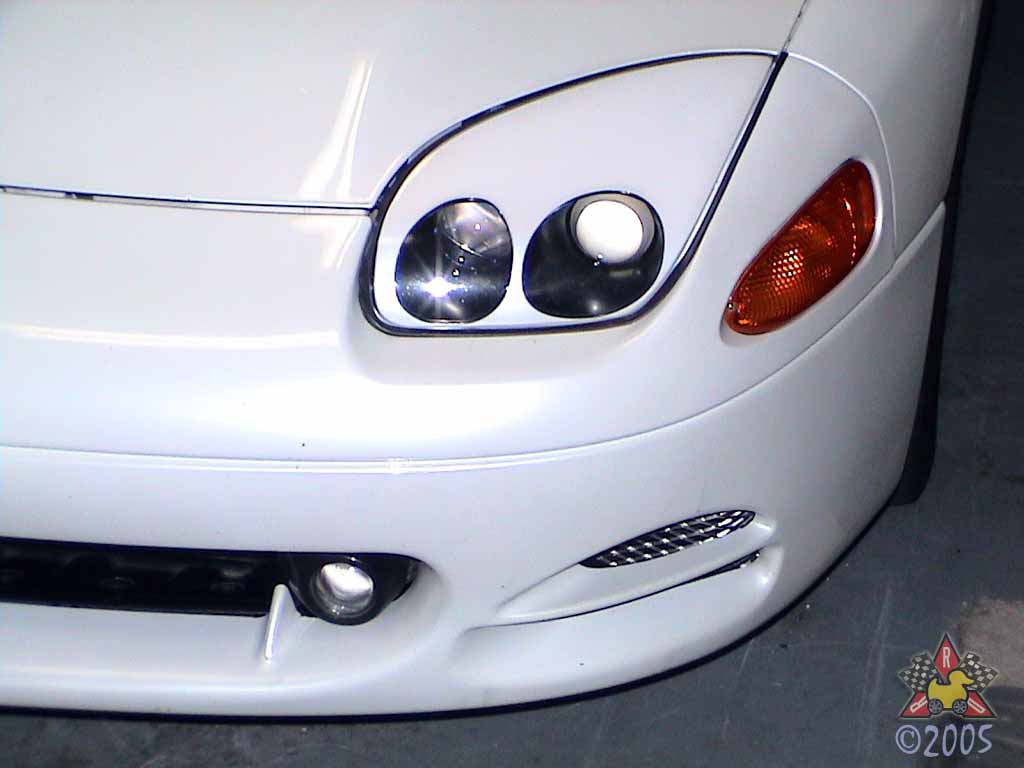
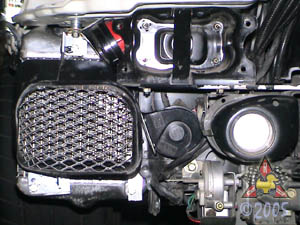
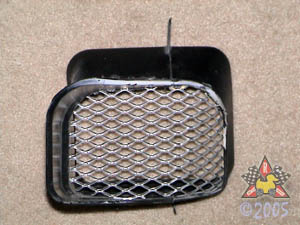
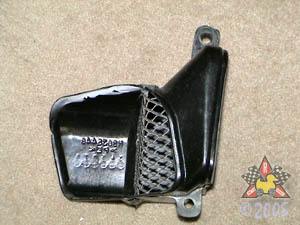
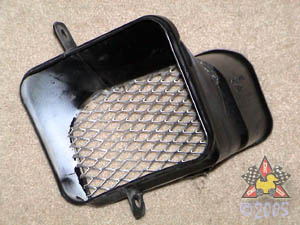
While I had everything disassembled, I chose to integrate some aluminum
grills into the intercooler ducts to help protect the intercooler fins
from rocks and debris. I cut the grill material with some tin snips and inserted
it into a slot I cut into the duct. I then sealed everything back up with
some black RTV silicone.
|
|
|
|
Install Intercooler Ducts
|
|
|
|
|
|
HKS provides brackets to attach the intercooler ducts to the
intercoolers. I bought my intercoolers used, and the brackets
were not included. Thus, I had to fabricate my own brackets, as
shown in the pictures.
|
|
|
|
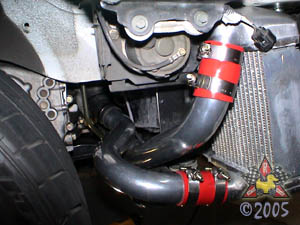
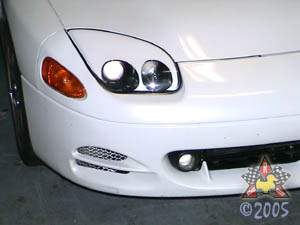
Completed Installation Pictures
|
|
|

|
|
|
|
|