Why Do I Want To Do This?
- After installing a differential fuel pressure gauge, I realized that my fuel pressure dropped by up to 12psi under high fuel flow conditions. I rewired the fuel pump with the RDR fuel pump rewire, and this helped, but did not eliminate the fuel pressure loss. I still observed up to a 10 psi loss of fuel pressure at high-load and/or high-RPM conditions. To address this loss of fuel pressure, the common solutions are: 1) run less boost, 2) further increase the voltage supplied to the fuel pump, and 3) upgrade to a fuel pump with a higher flow capability. I chose door #3, and this page shows the installation process.
How Long Will It Take Me To Do This?
- If your fuel fittings aren't excessively stubborn and you take your time to be careful not to spill/drip fuel everywhere, it should take you 1-2 hours.
Anything I Should Do Prior To Attempting This Procedure?
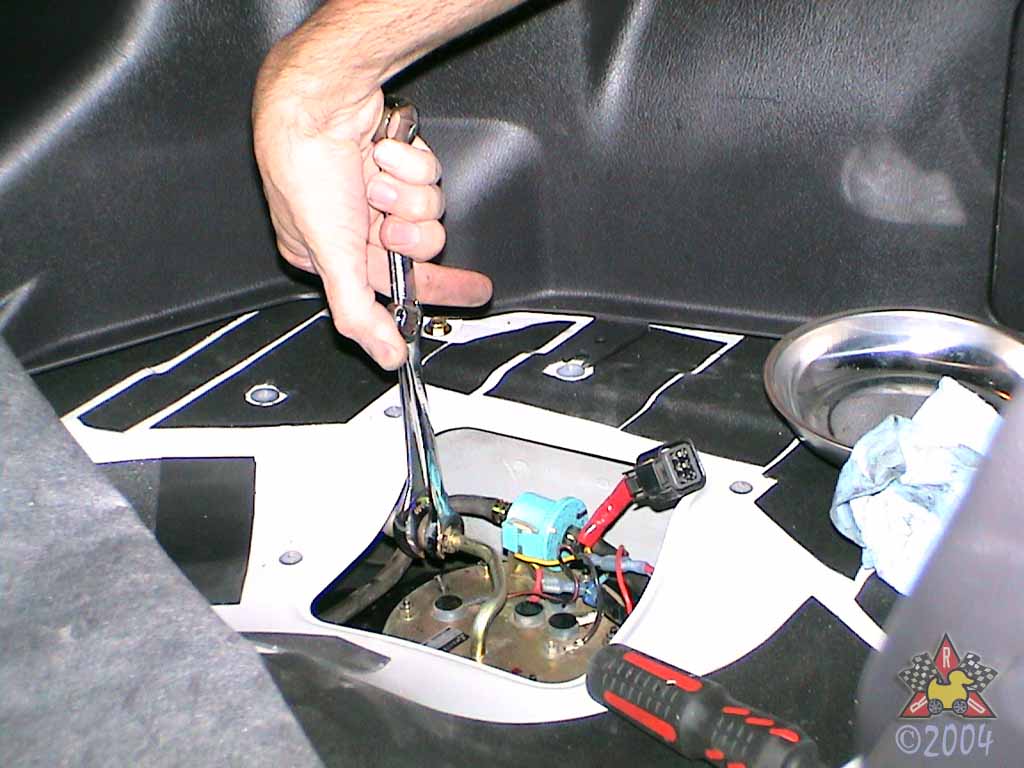
- Make sure you have a clean, well-ventillated workspace that has no sources of open flames or sparks. Remember, you'll be working with gasoline that is very flamable. Treat it with respect, even if you see this task as an easy one.
What Mitsubishi Parts Will I Need?
- None
What Other Parts Will I Need?
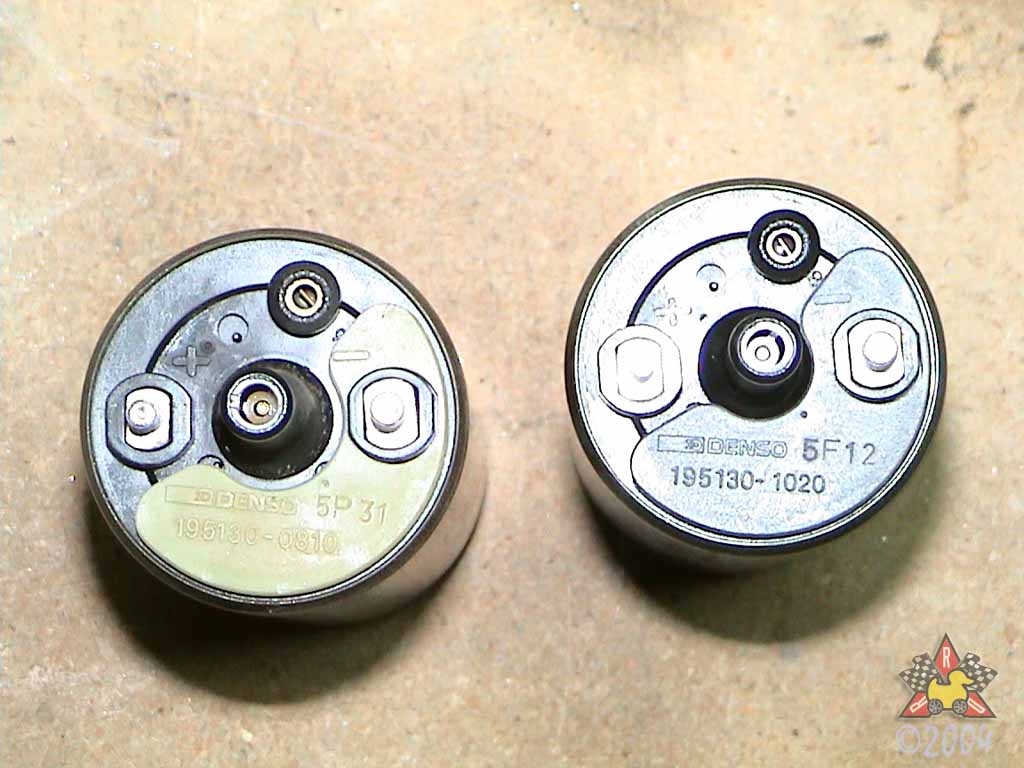
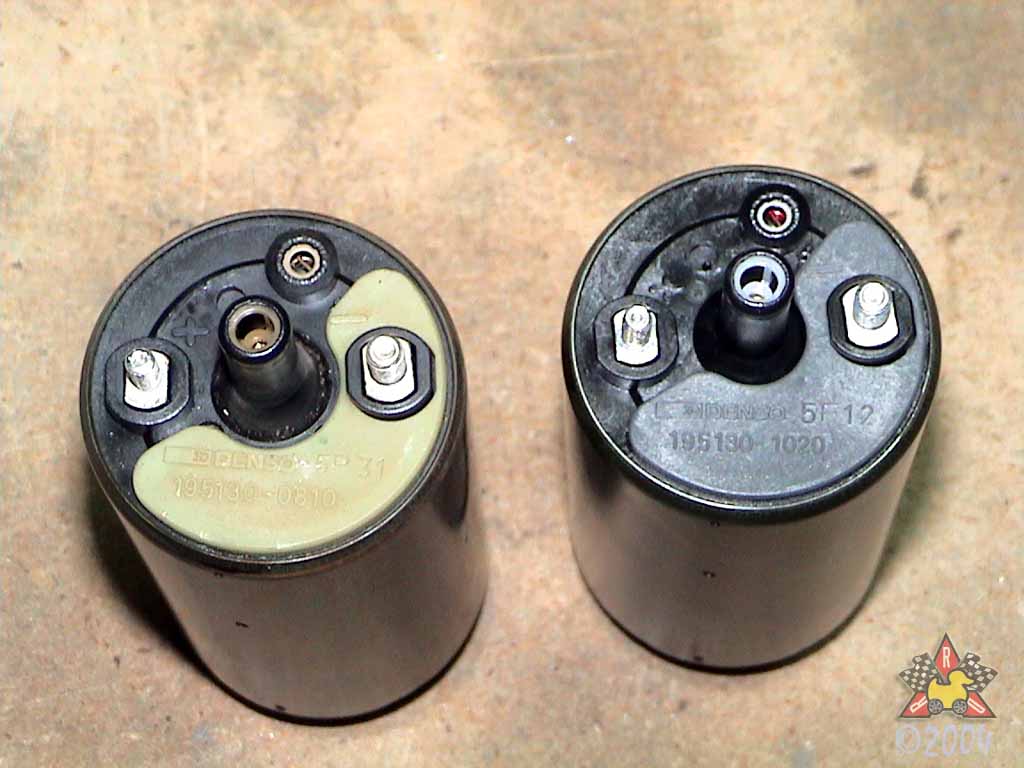
- Toyota Supra (MKIV) Fuel Pump
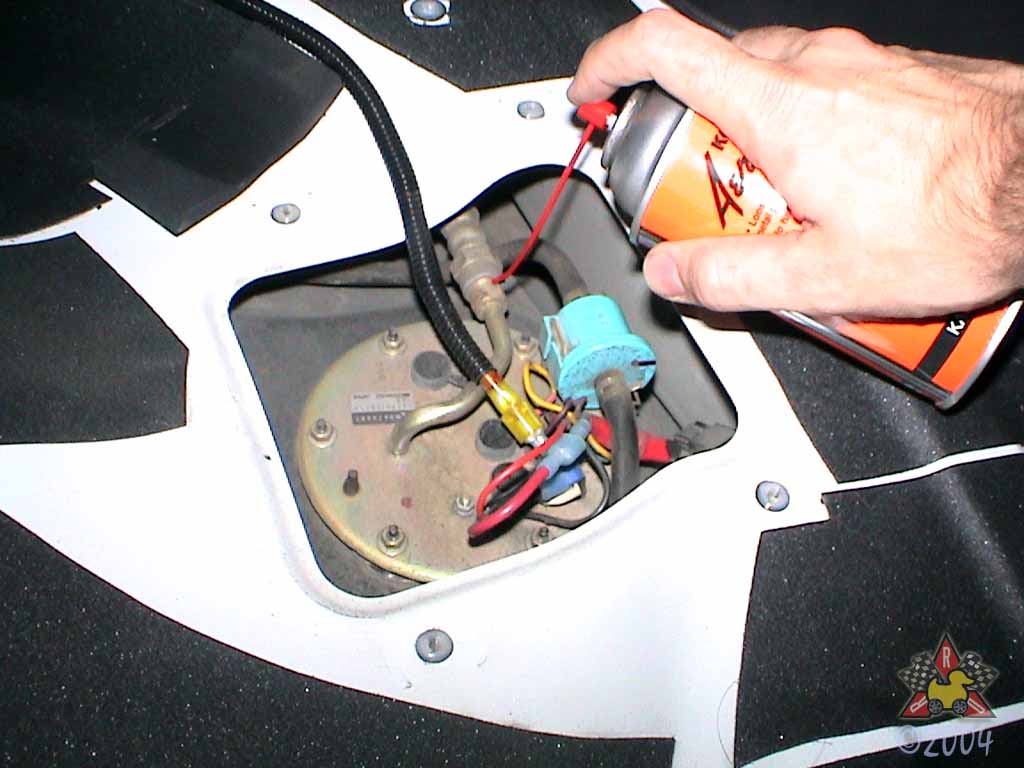
- Penetrating Oil (Aerokroil, PB Blaster, or similar)
Where Can I Get the Stuff To Do This?
| Part | Company/Contact | Part Number | |
|---|---|---|---|
|
|
Toyota Supra (MKIV) Fuel Pump | Toyota Dealer |
Denso: 195130-1020 Toyota: 23221-46110 |
What Tools May/Will I Need?
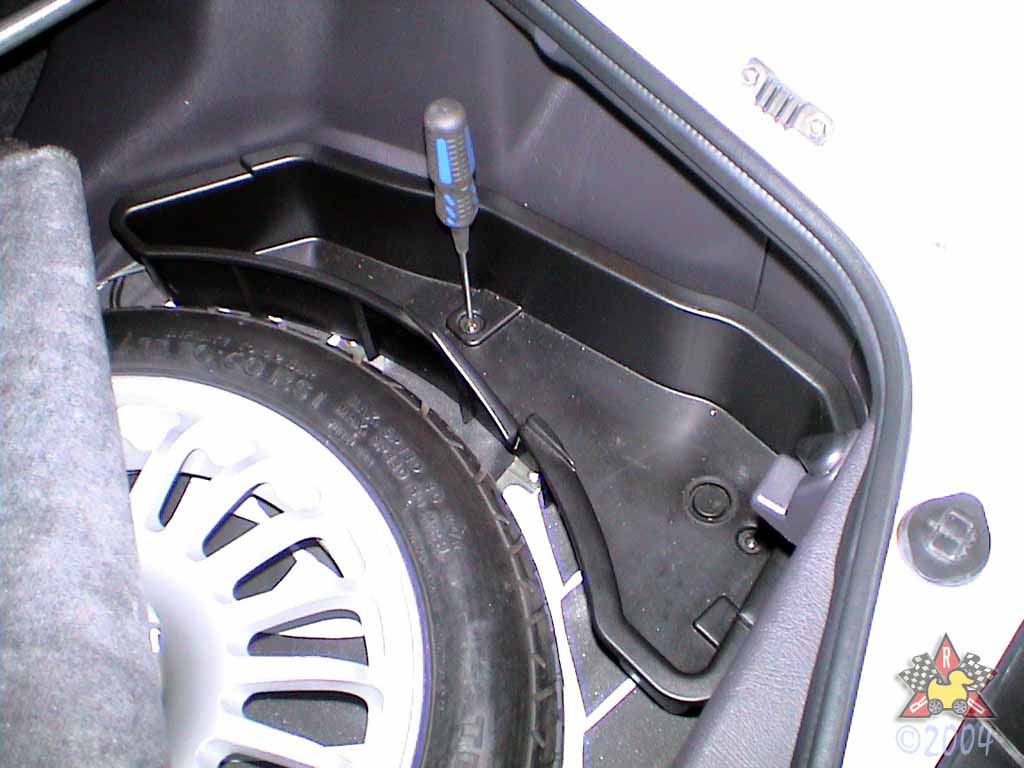
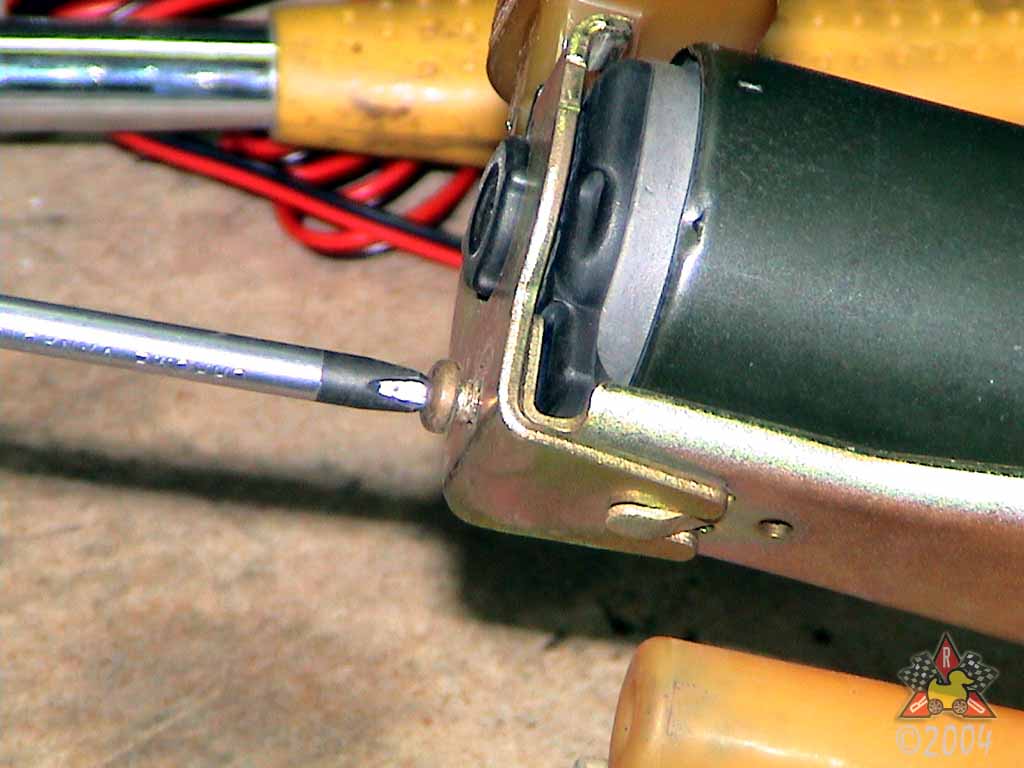
- #2 Phillips Screwdriver
- 14mm Line (a.k.a. Flare Nut) Wrench
- 19mm Open-end Wrench
- 8mm Open-end Wrench
- 7mm Open-end Wrench
- Socket Wrench
- 6" Extension for Socket Wrench
- 8mm Socket
- Rubber Gloves
- Bucket
- Small Flat-Blade Screwdriver
- Impact Driver with #2 Phillips Bit (optional)
- Rubber Mallet or Hammer (optional)
Erik's Review
- This is one of the best, and probably most needed, upgrades I've done with my VR-4. The high-RPM range is SOOO much smoother than it was before. I didn't have a datalogger before I installed the Supra pump, so I have no idea if I was getting knock in the top end. I suspect I probably was. I also see NO loss of fuel pressure in as load and/or RPM increase. It just sits there, rock-solid at 3.2kg/cm^2 (45psi).
- One note, however, is that the Supra pump's increased flow and voltage sensitivity cause mild fluctuations in fuel pressure in the low-load range and around the voltage transition point. With the RDR Fuel Pump Rewire, I observed the following. At idle and low load, fuel pressure stays at 3.2kg. As load increases, fuel pressure will drop to 3.1kg as load approaches the pump voltage transition. If load increases enough to cause the ECU to run the pump at full voltage and the load stays very close to that point, fuel pressure will increase to 3.4kg. As load increases further beyond the pump voltage transition point, fuel pressure gradually falls back down to the target of 3.2kg. Pressure then stays at 3.2kg for all loads above this point. I have not definitively determined if this pressure fluctuation causes problems, but I suspect that it does. I noticed frequent low-mid level knock around throttle transitions at light to moderate loads. My suspicion is that this fuel pressure fluctuation interferes with the ECU's ability to properly set the low- and mid- fuel trims.
- My current course of action (December, 2004) is to rewire the Supra pump to receive full voltage all the time and install a new fuel pressure regulator that can handle the increased flow at low loads. So far, with just the "hotwire" wiring change (i.e. running the pump at 13V all the time), knock levels at light loads and throttle transitions seems to be greatly reduced, but not eliminated. I suspect that the limitations of the ECU's 3 discreet fuel trim ranges prevent it from correctly accounting for the extra fuel pressure at low loads due to the full-voltage Supra pump and OEM fuel pressure regulator. Once I install the new fuel pressure regulator, that will validate or disprove my theory.