|
Examine Turbo Timer Harness
|
|
|
|
|
|
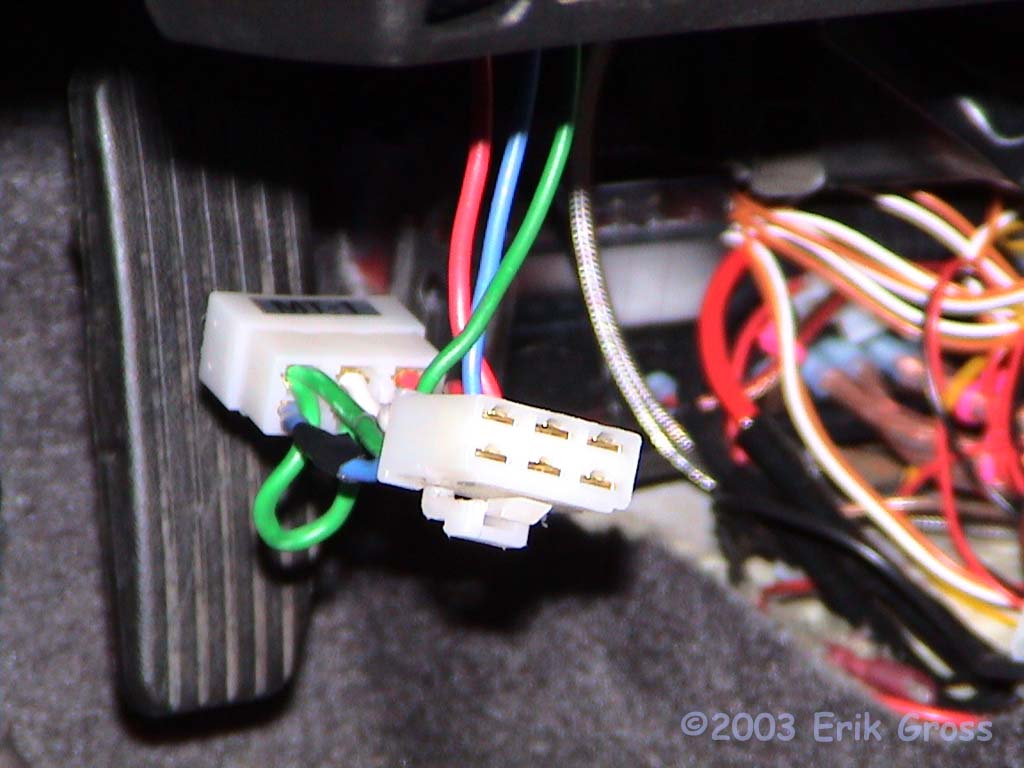
Shown is the HKS MT-1 Turbo Timer Harness. It has 3 connectors
on it: one male/female pair of connectors for the OEM ignition
switch harness and one 3-pin connector for the Turbo Timer. The
harness is essentially a pass-through connector for the ignition
switch wiring, with taps (tees) into the battery(B+), ignition (IG1)
and accessory (ACC) circuit wires.
|
|
|
|
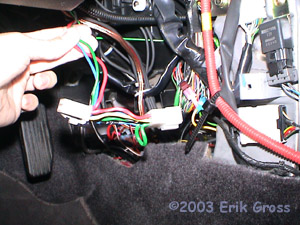
Locate and Disconnect Ignition Switch Wiring
|
|
|
|
|
|
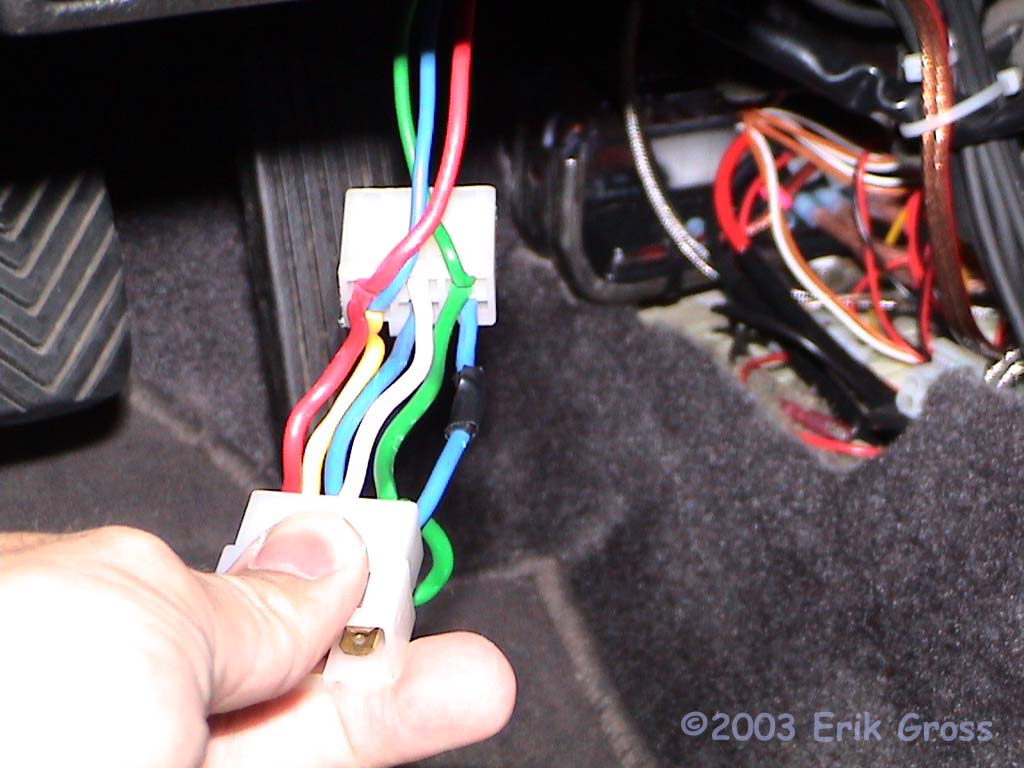
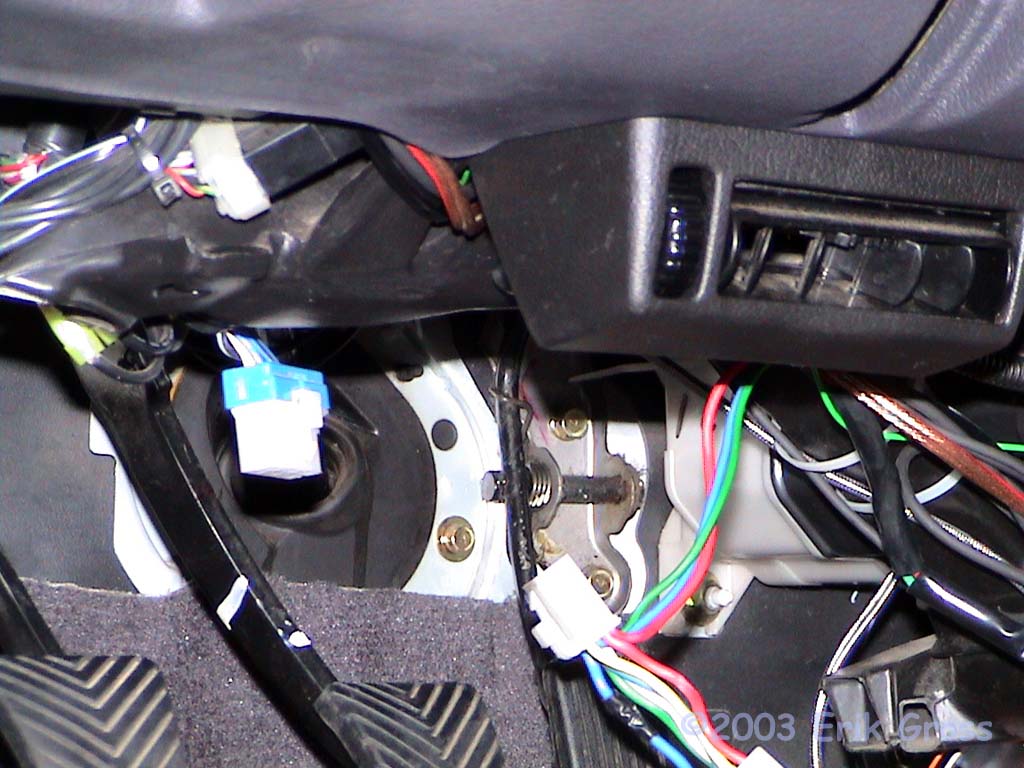
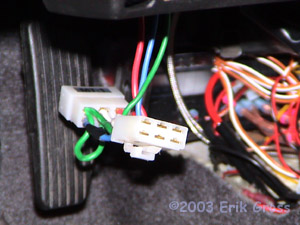
Under the steering column is where the ignition switch
wiring harness resides. It's a 6-pin connector that
will match the two large connectors on the turbo
timer harness. You may want to remove the lower dash
panel to access the wiring harness if you don't see
it immediately or don't have long/small fingers. The
white harness with the blue top hanging out of the
dash in the picture is the disconnected OEM harness.
|
|
|
|
Plug in Turbo Timer Wiring Harness
|
|
|
|
|
|
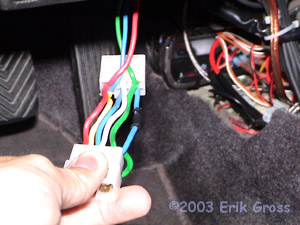
After disconnecting the ignition switch harness, you'll
have a male and female end of the OEM wiring harness
hanging there - those get connected to the two connectors
on the Turbo Timer harness. Snap them together and move
the wires out of the way. Zip ties may help here.
|
|
|
|
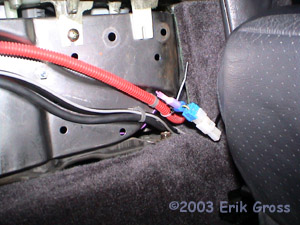
Locate E-brake Wire
|
|
|
|
|
|
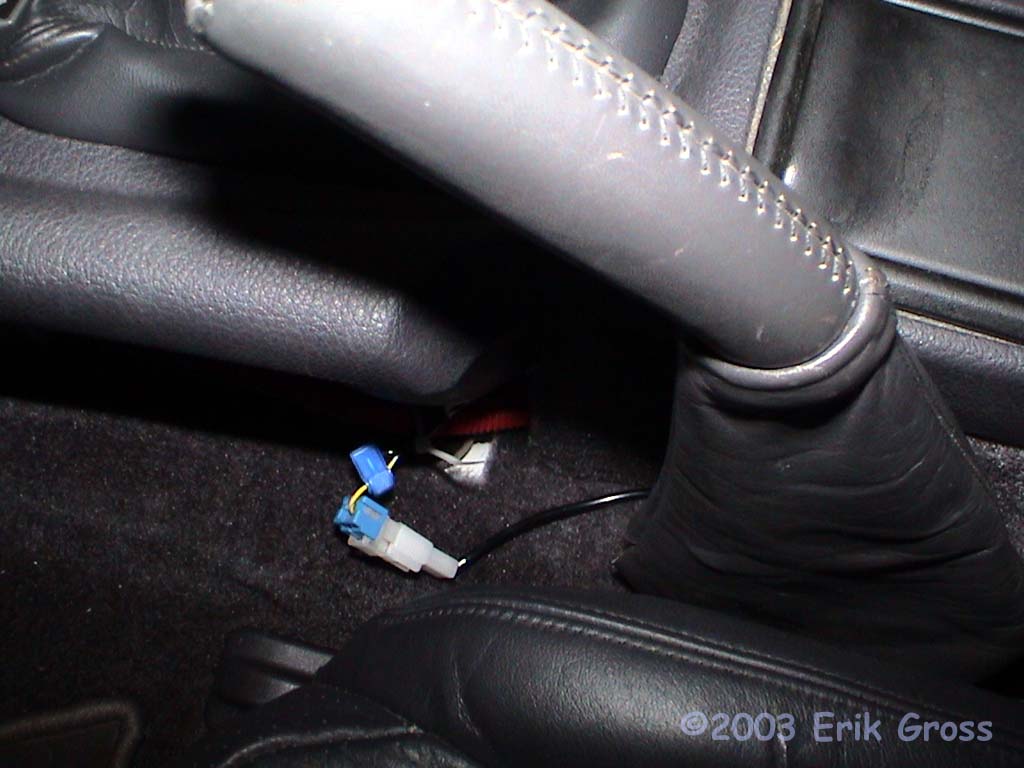
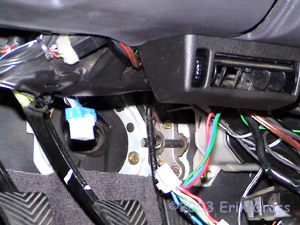
To ensure that the Turbo Timer will not allow the car to
operate if the emergency brake is not engaged, you'll need
to splice into that wire and connect the Turbo Timer's wire
to that. The OEM wire is shown here - it's near the base of
the emergency brake handle assembly and is a single
(yellow, green stripe) wire. Attach your T-tap to this wire
wherever it's convenient.
|
|
|
|
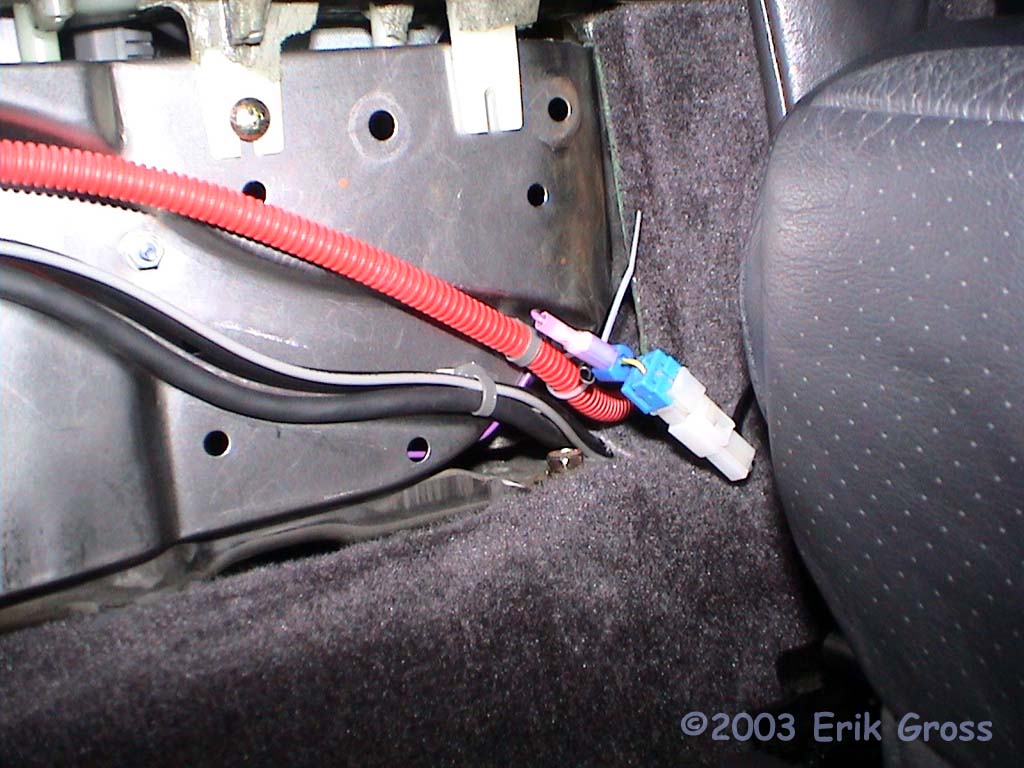
Connect Turbo Timer E-Brake Wire
|
|
|
|
|
|
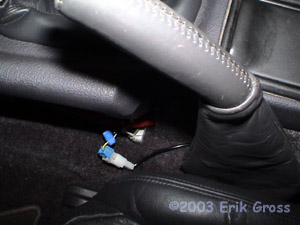
Attach the Male Quick-Disconnect fitting onto the end of
the Turbo Timer wire (purple in my case) and connect it
to the T-Tap you installed in the previous step. Zip tie
the wire appropriately to keep it out of harm's way.
|
|
|
|
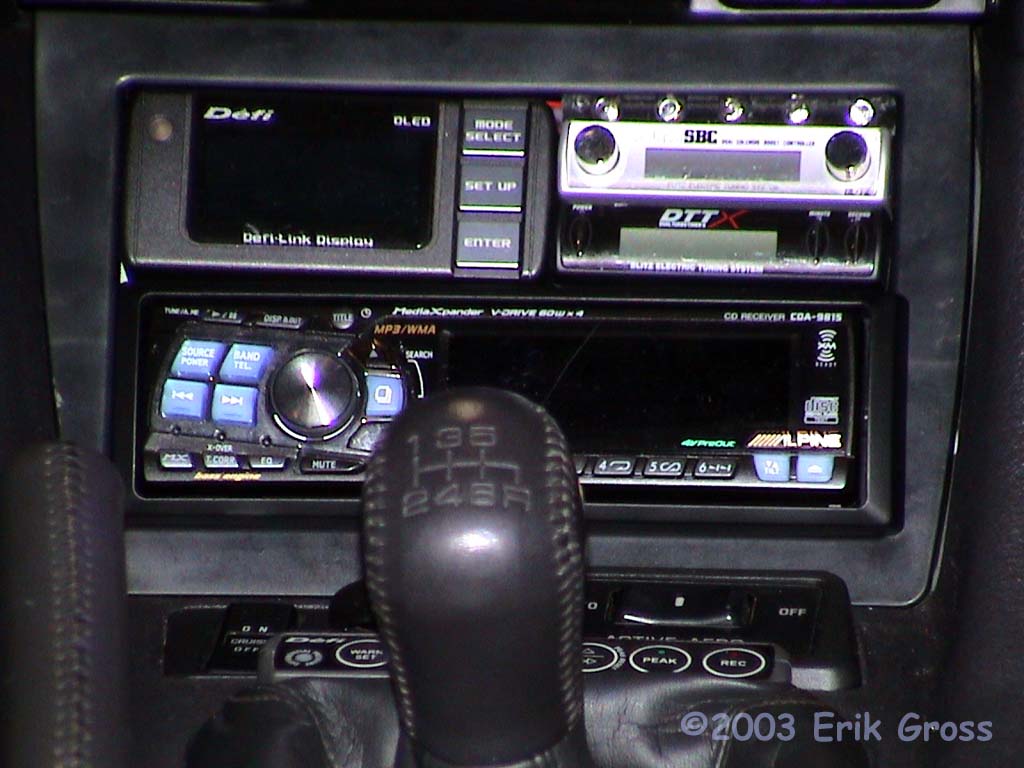
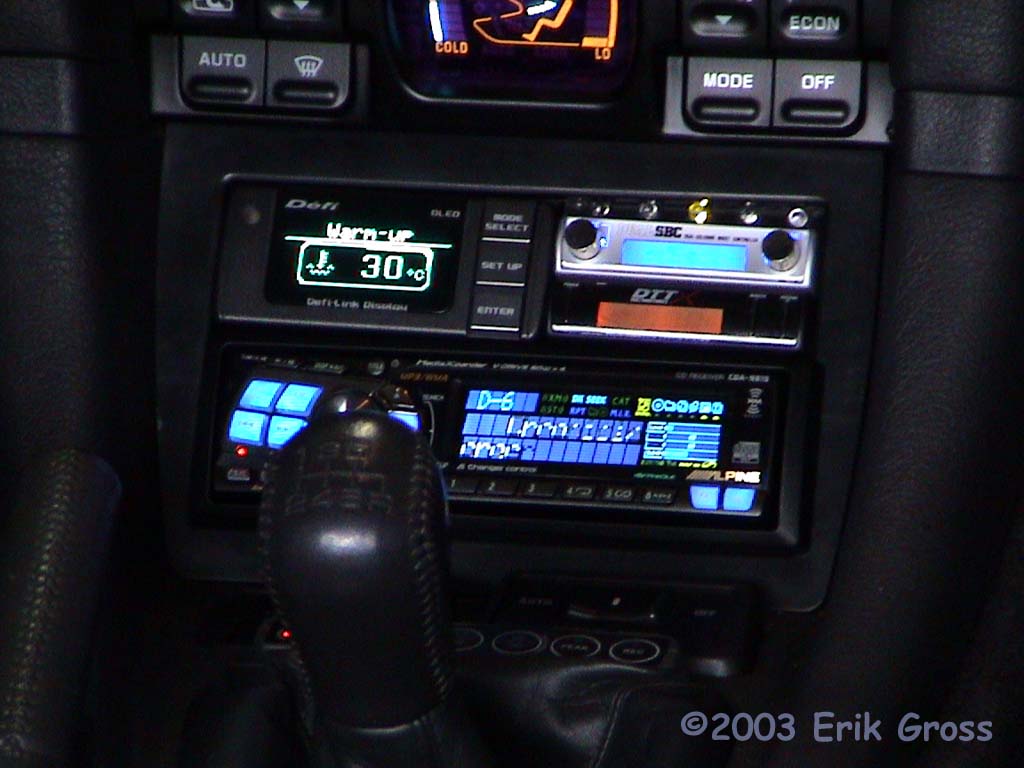
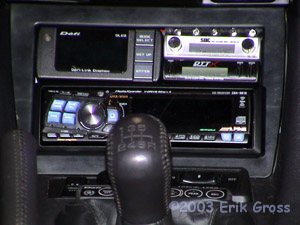
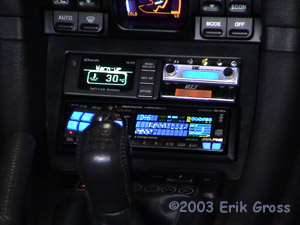
Mount Turbo Timer
|
|
|
|
|
|
This part is totally up to you - you can just tape it somewhere
convenient, or your can go through the trouble to mount it
like I did. This location works great for me, although from
this camera angle, the polarized lenses on the boost controller
(blue) and Turbo Timer (amber) make the display unreadable.
Their readability from a normal driving position is just fine.
And if you're wondering, the LEDs above the boost controller
are indicators for my water injection system.
|
|