|
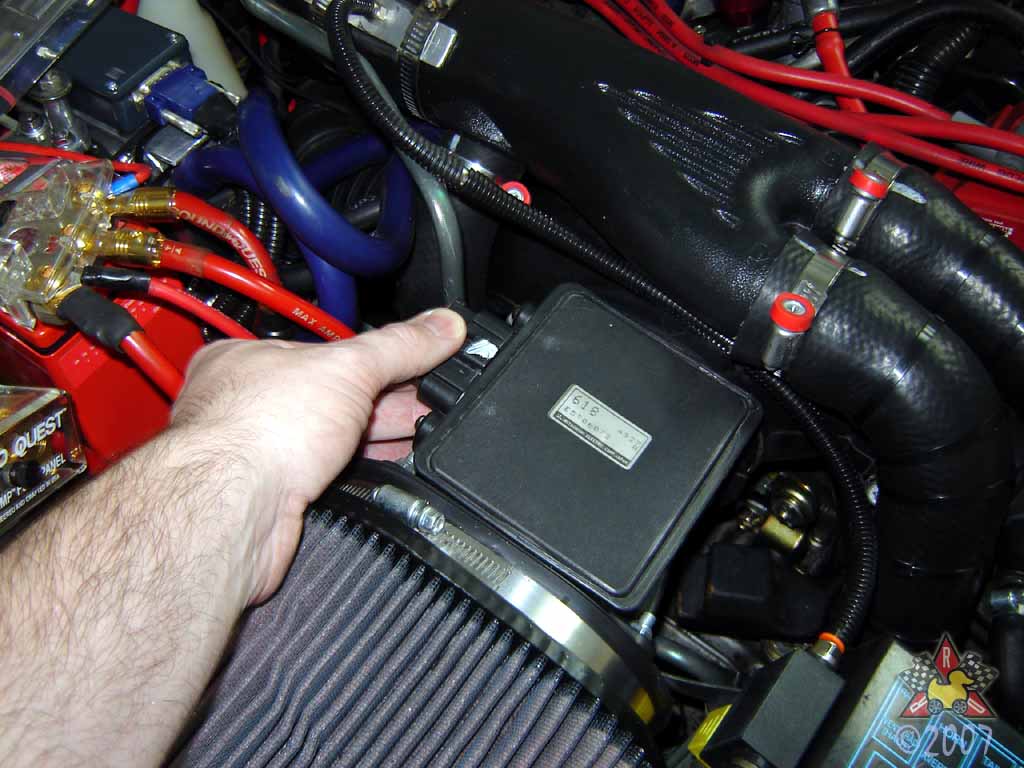
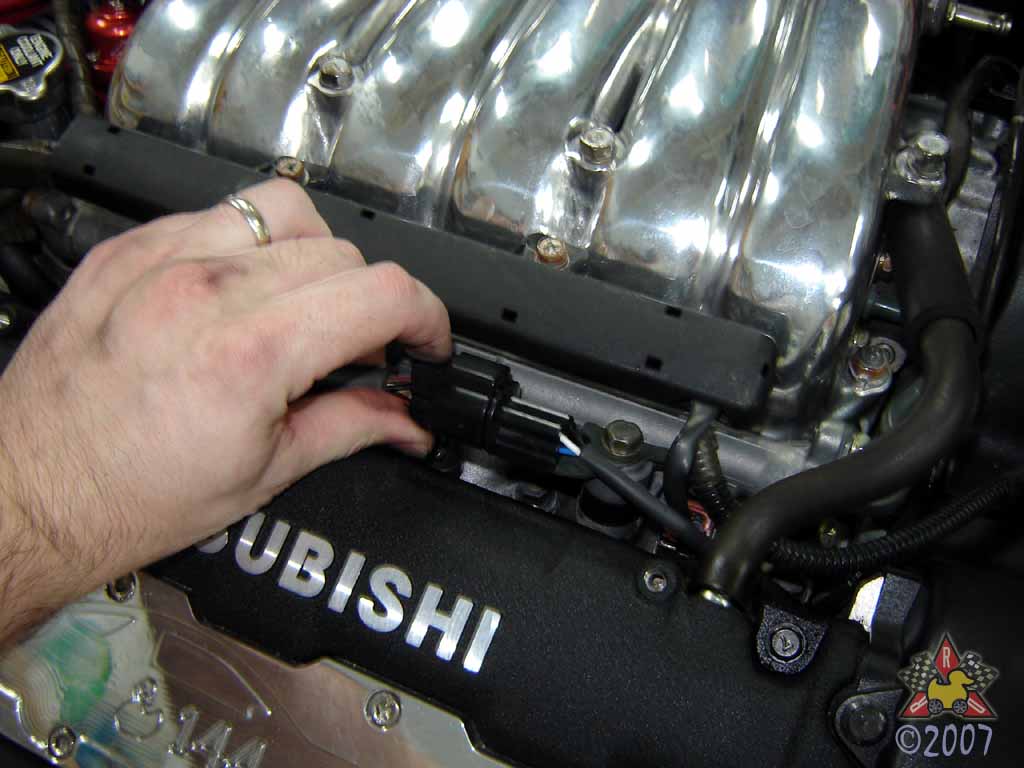
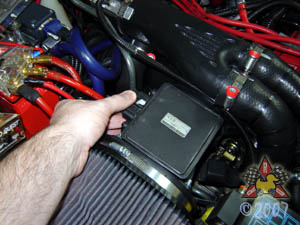
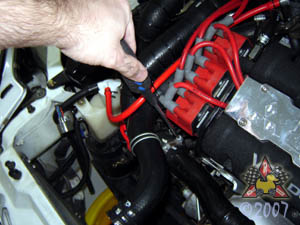
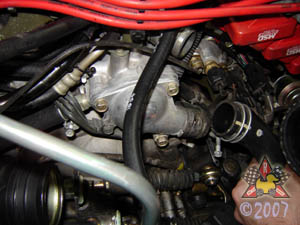
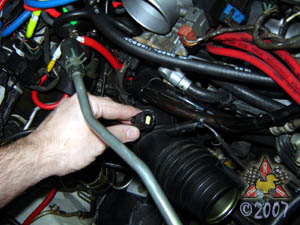
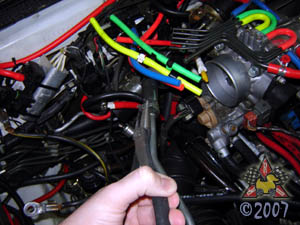
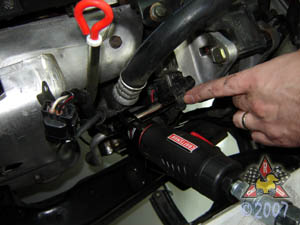
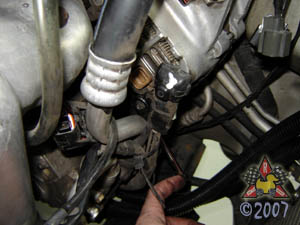
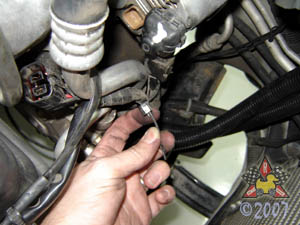
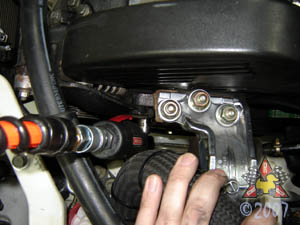
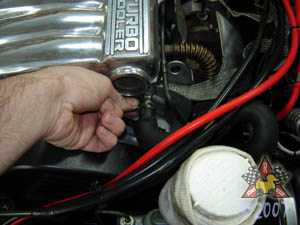
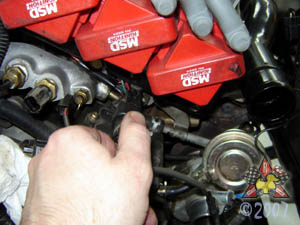
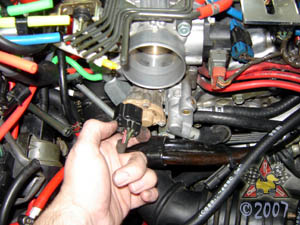
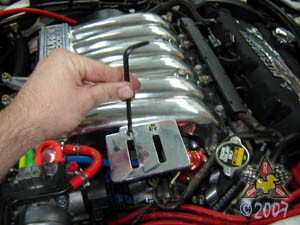
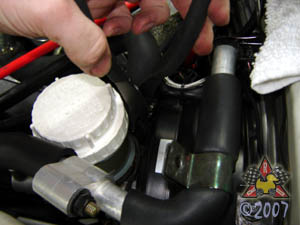
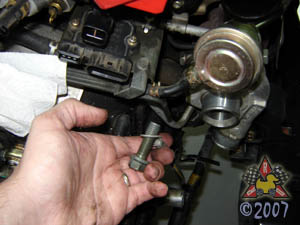
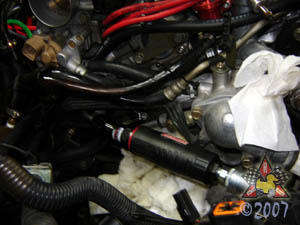
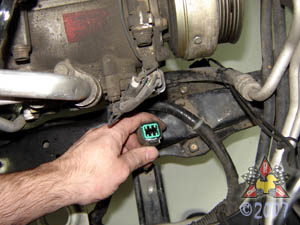
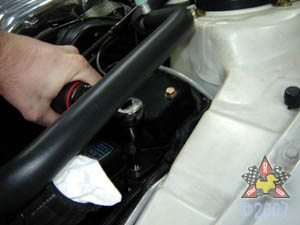
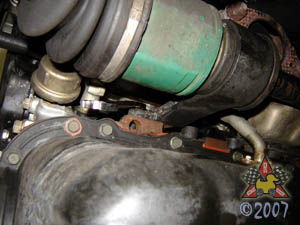
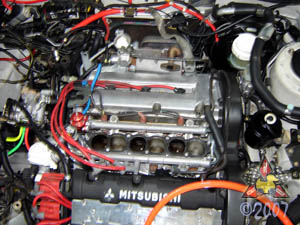
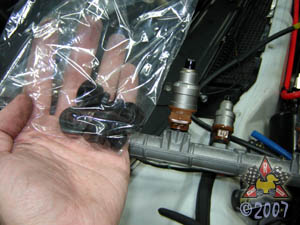
Remove Mass Airflow Sensor (MAS) Electrical Harness
|
|
|
|
|
|
Squeeze the tab in the middle of the connector and pull it off of the MAS.
|
|
|
|
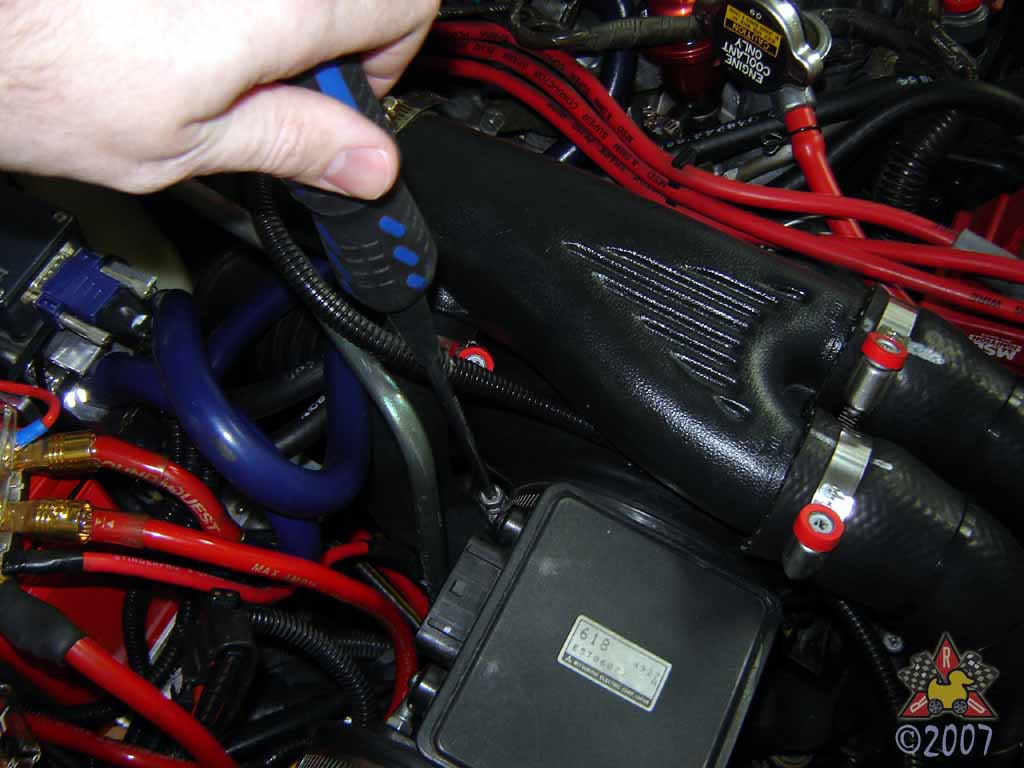
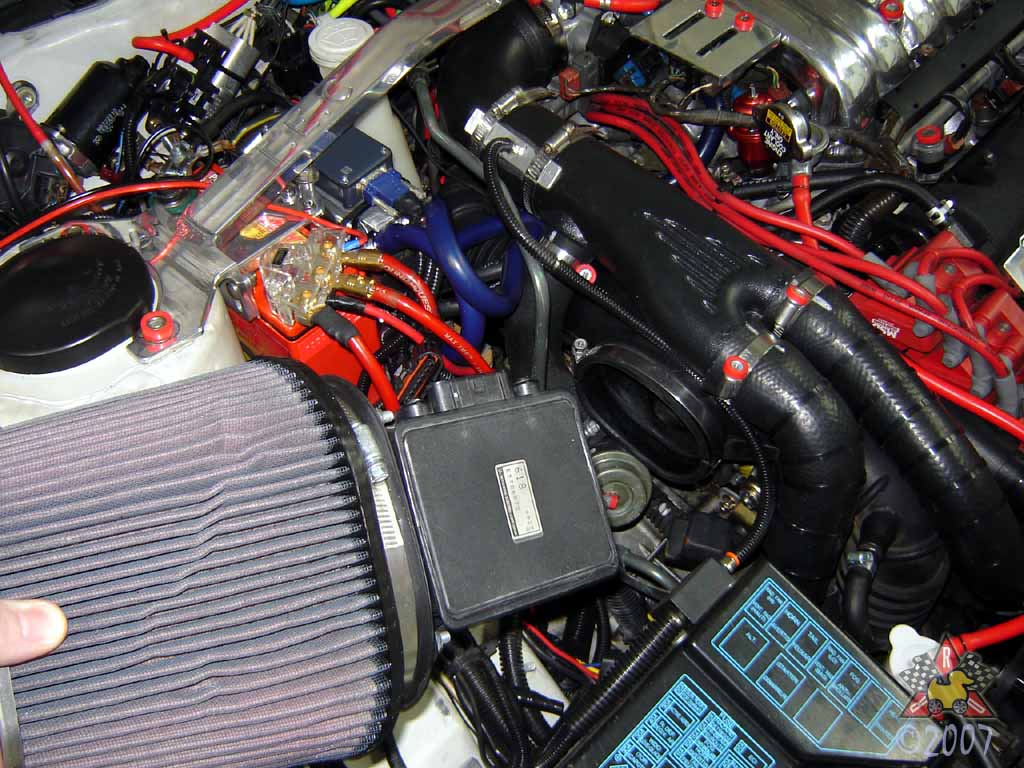
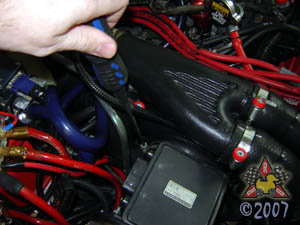
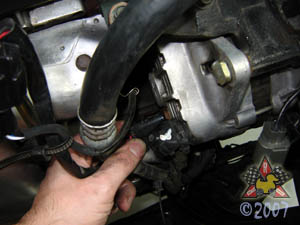
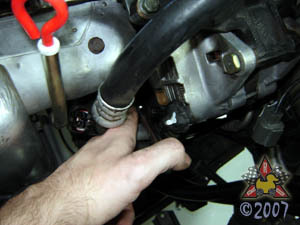
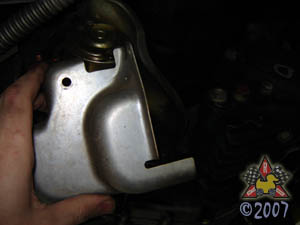
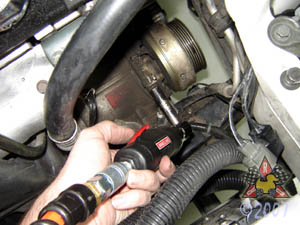
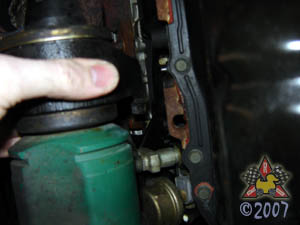
Remove MAS and Air Filter
|
|
|
|
|
|
Use a #2 Phillips screwdriver or a 10mm socket to loosen the hose clamp on the downstream side of
the MAS. Then, remove the MAS and air filter from the car. If you have the OEM air filter and
airbox, you can look at the K&N Filter Upgrade Page
for details on how to disconnect (or remove) the OEM airbox.
|
|
|
|
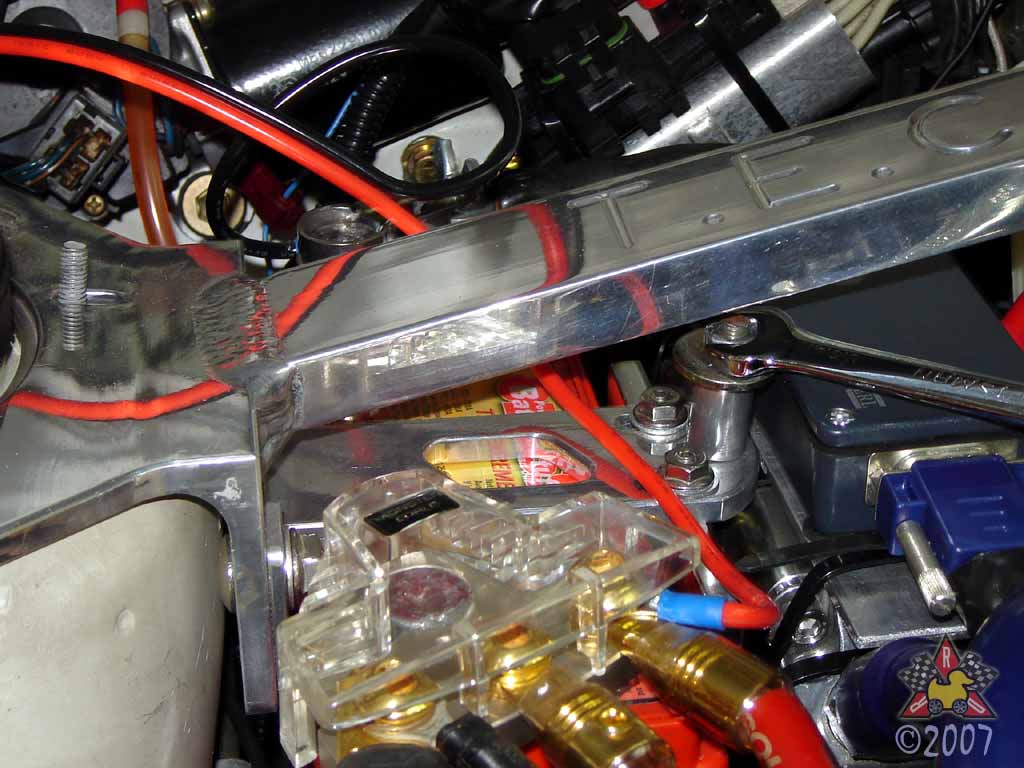
[if applicable] Remove Strut Tower Brace
|
|
|

|
|
|
I have a TEC strut tower brace, and to remove it, I had to unbolt the
inner two 14mm nuts that fasten the top of the strut to the unibody.
|
|
|
|
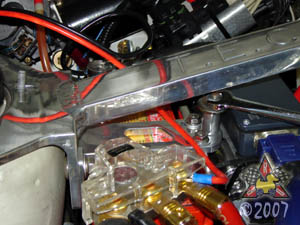
Remove Battery Brace
|
|
|
|
|
|
My battery brace is integrated into my strut tower brace. The OEM brace comes off the same
way - by loosening a 10mm nut and removing the bar that goes down the side of the battery.
|
|
|
|
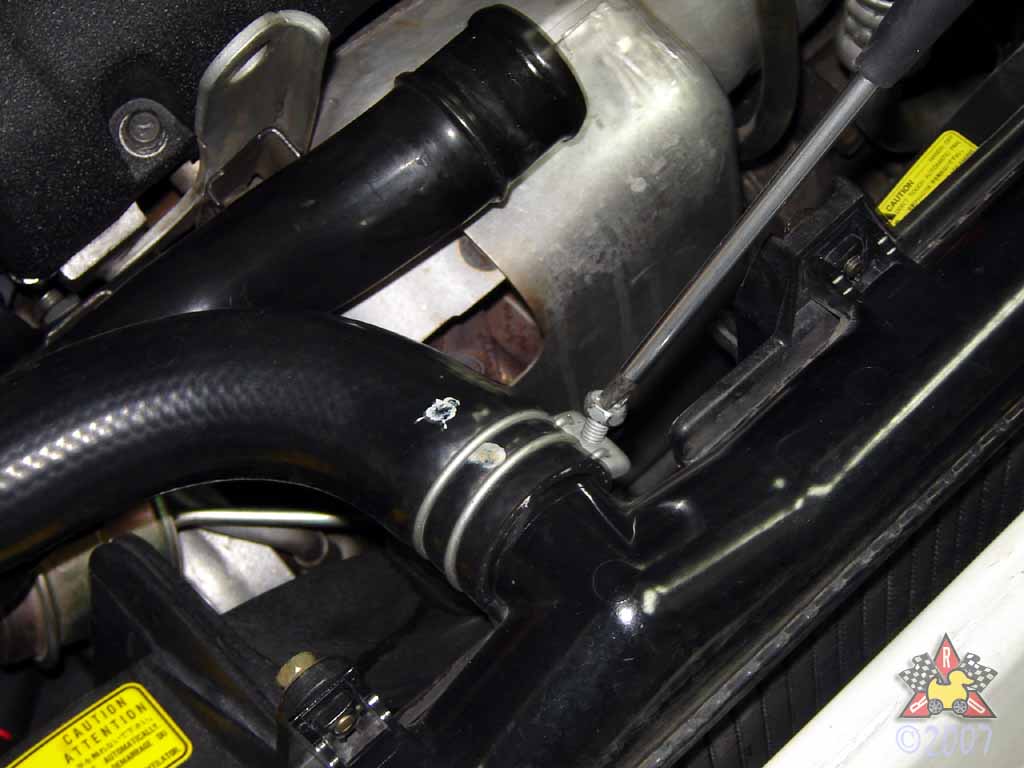
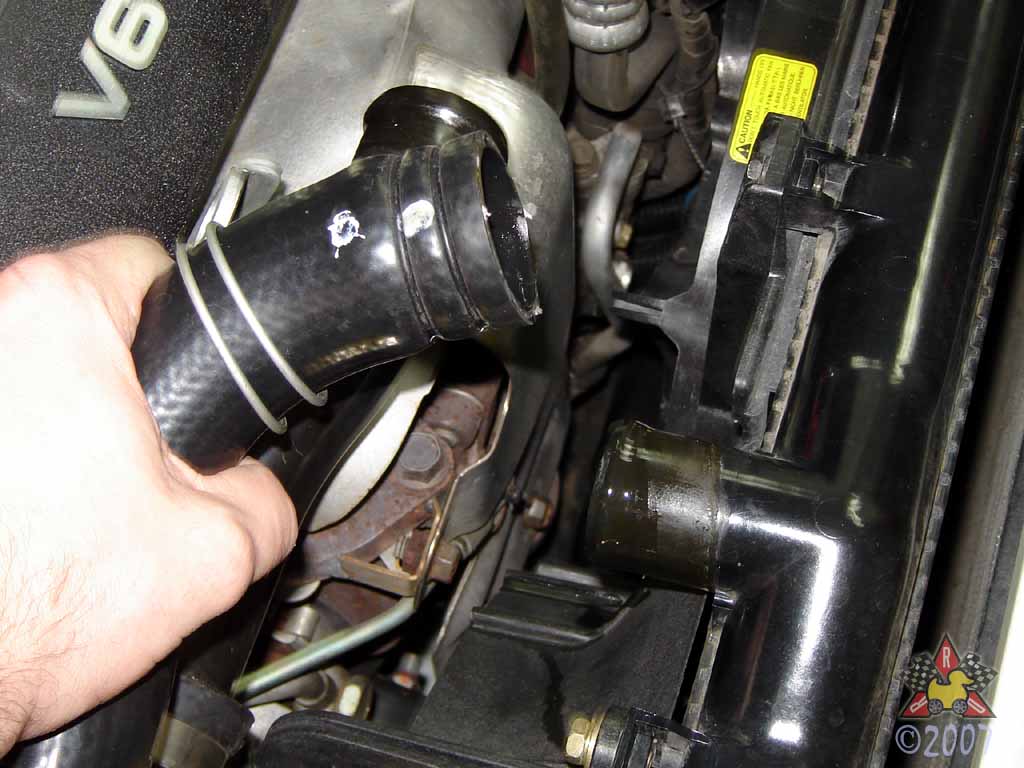
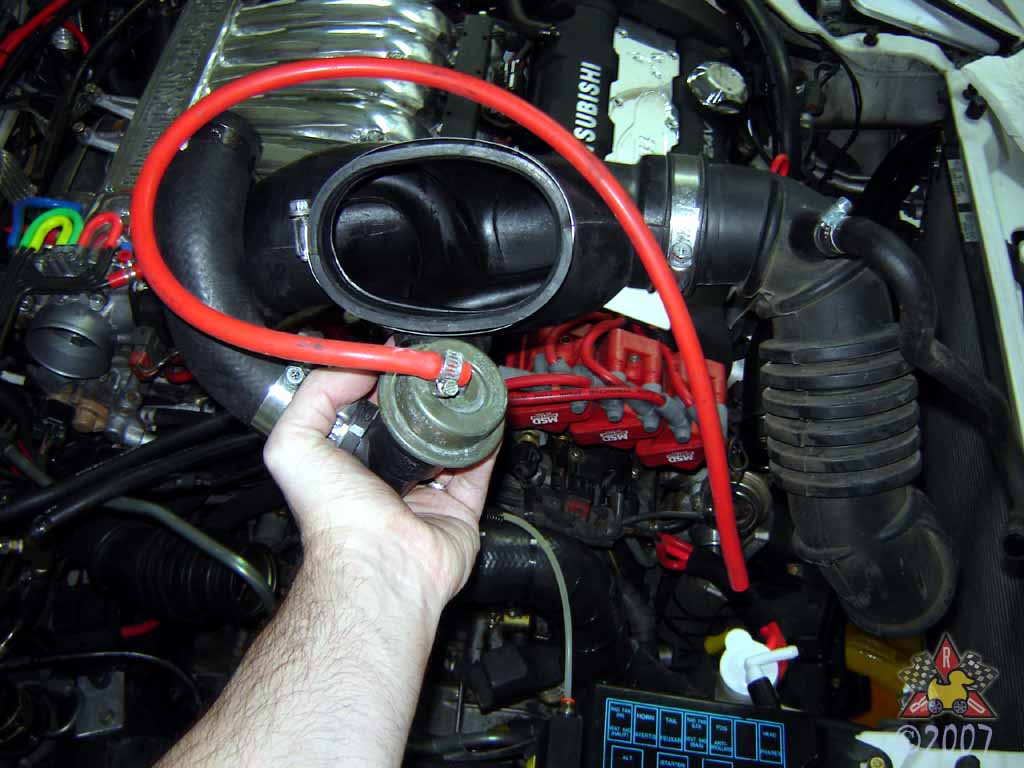
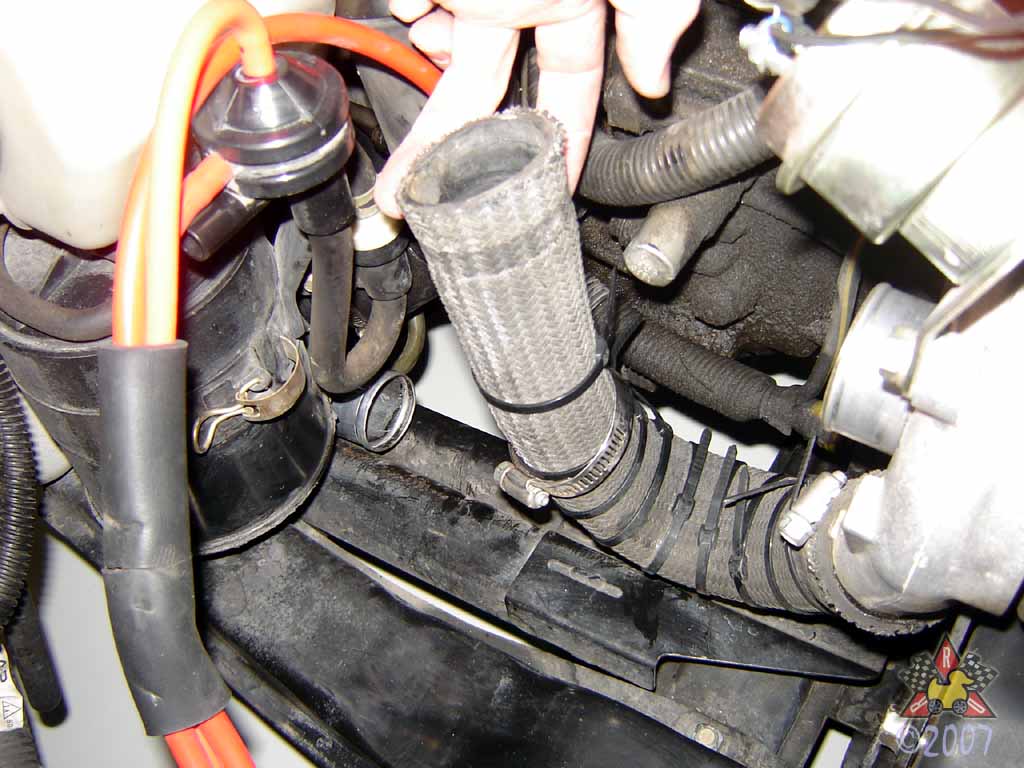
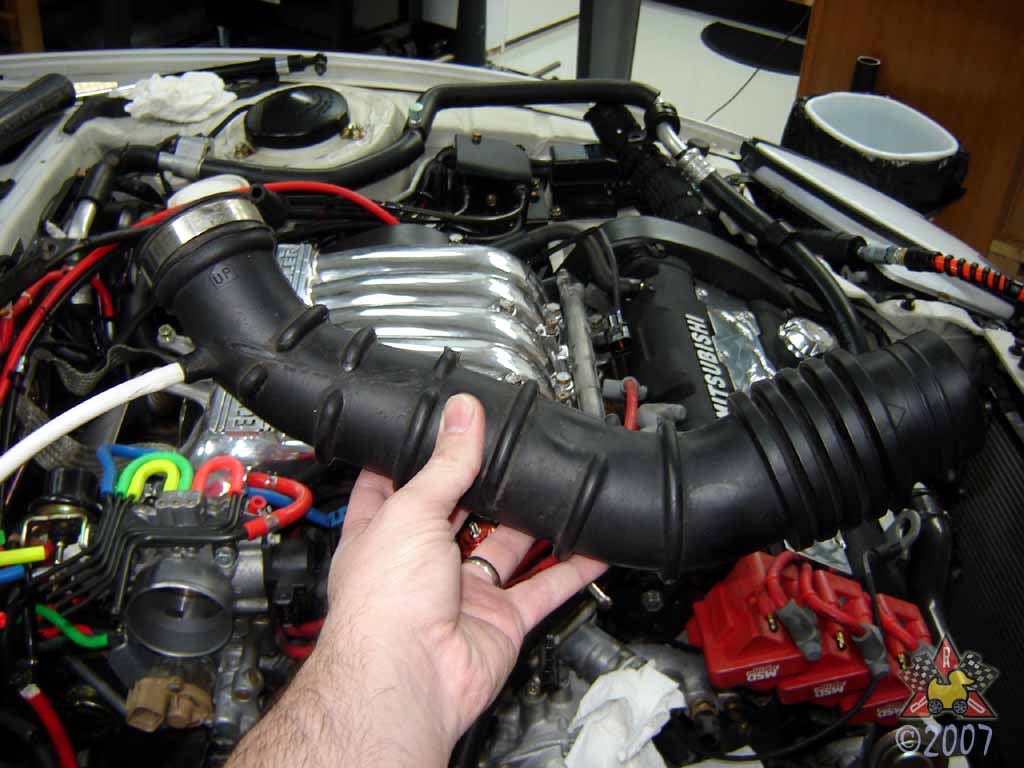
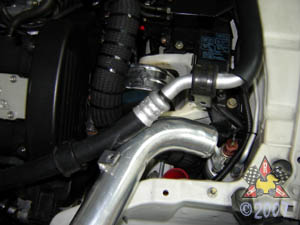
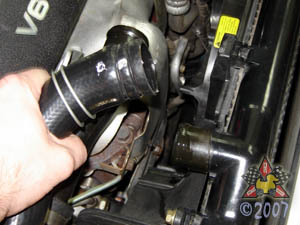
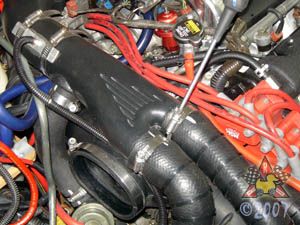
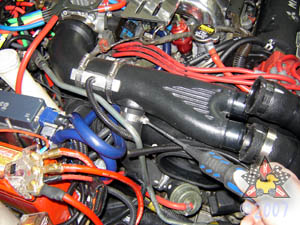
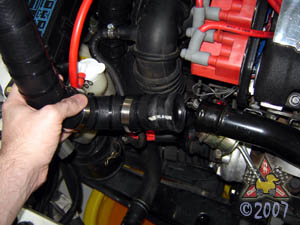
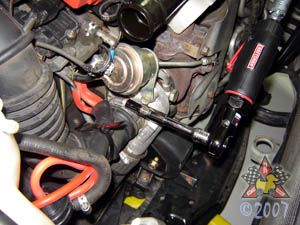
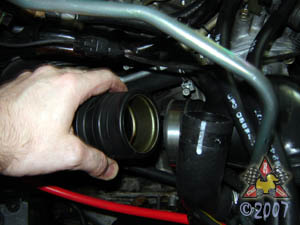
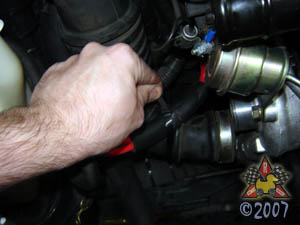
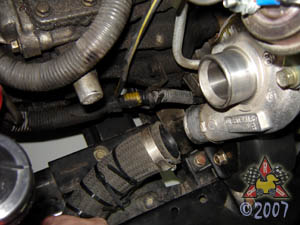
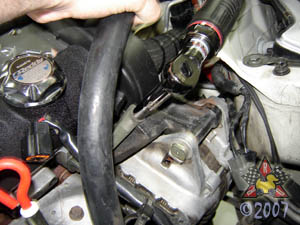
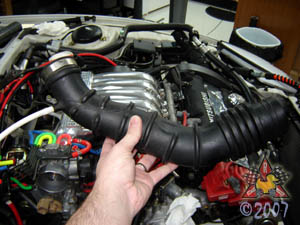
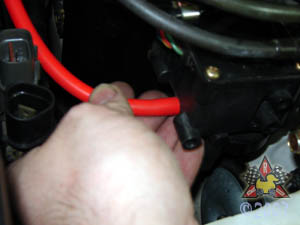
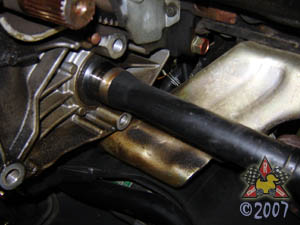
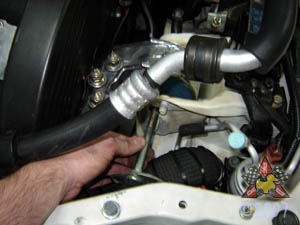
Remove Front Intercooler Hose
|
|
|
|
|
|
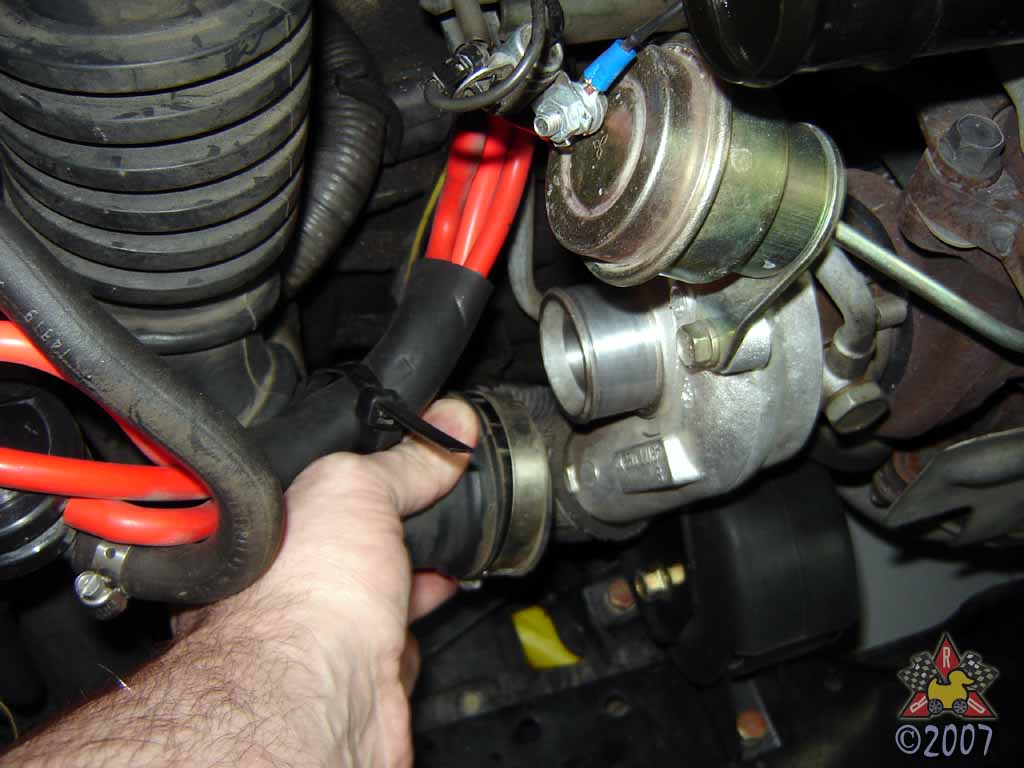
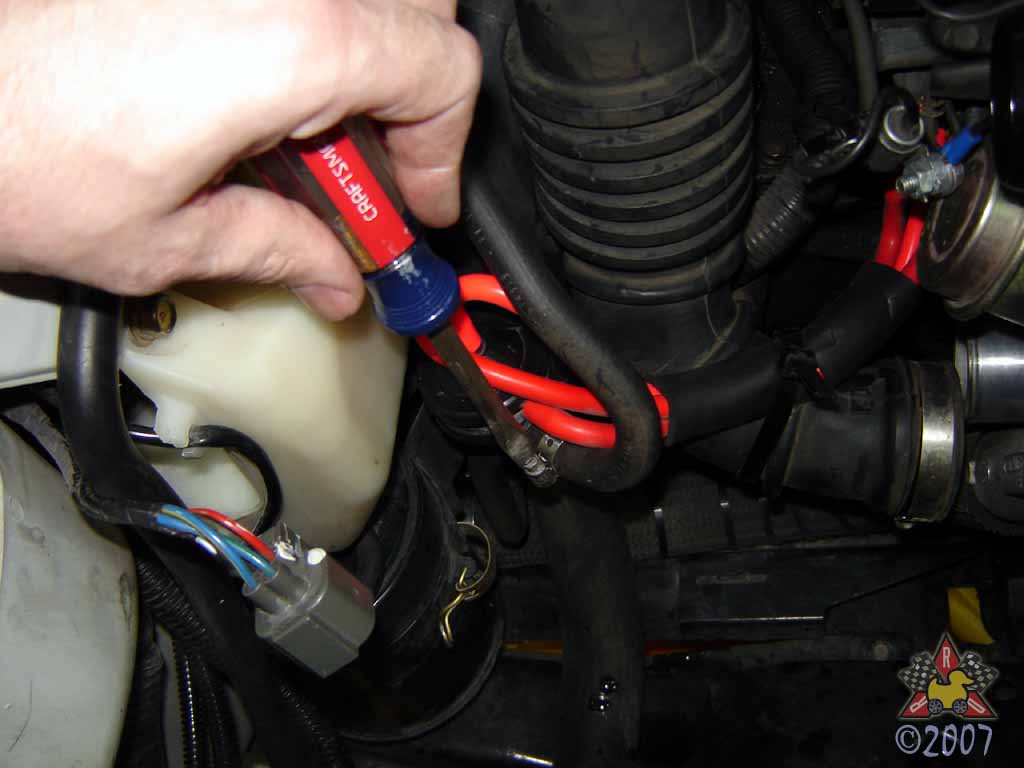
Loosen the hose clamps on either end of the hose. Remove the hose. If the hose is stuck,
try twisting it before pulling it off. You can also try carefully inserting a screwdriver
between the hose and the metal pipe to loosen the hose.
|
|
|
|
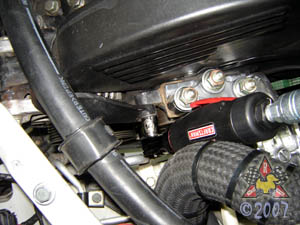
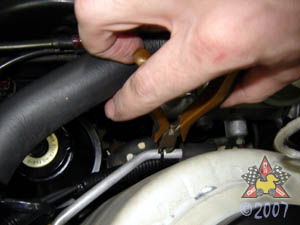
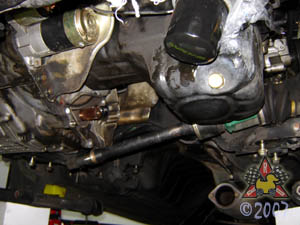
Disconnect A/C Compressor Pipe Brackets
|
|
|
|
|
|
You'll need to move the air conditioning compressor pipe out of the way to access some
components in that area. There are two brackets that you can loosen with 12mm
and 10mm sockets.
|
|
|
|
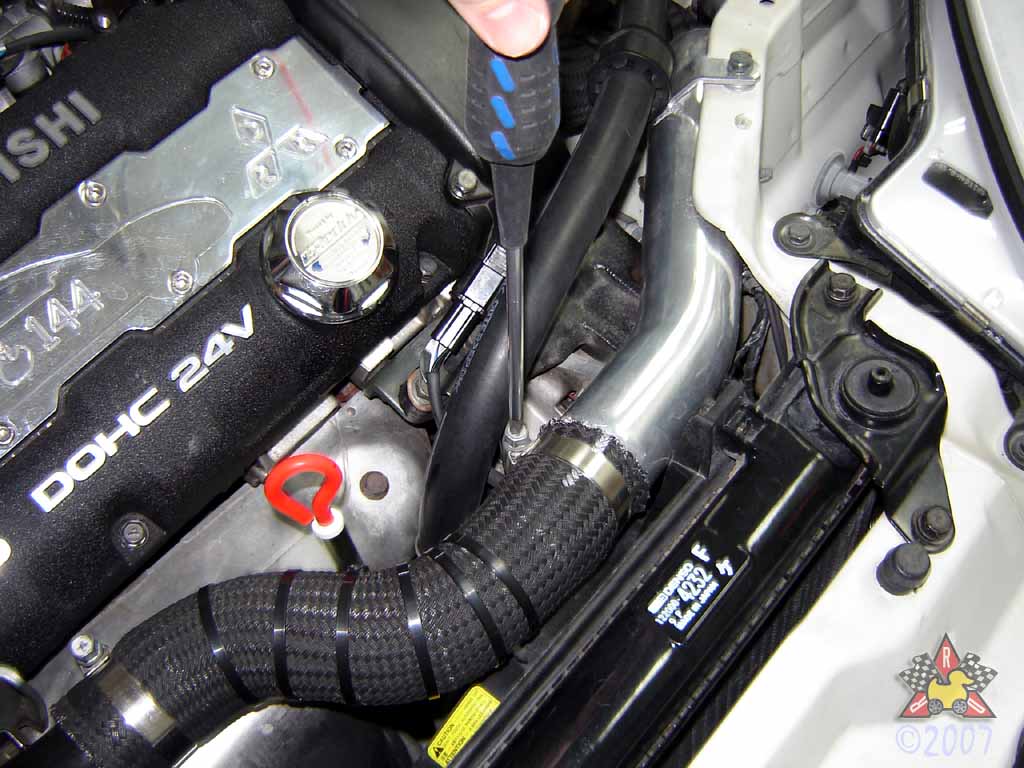
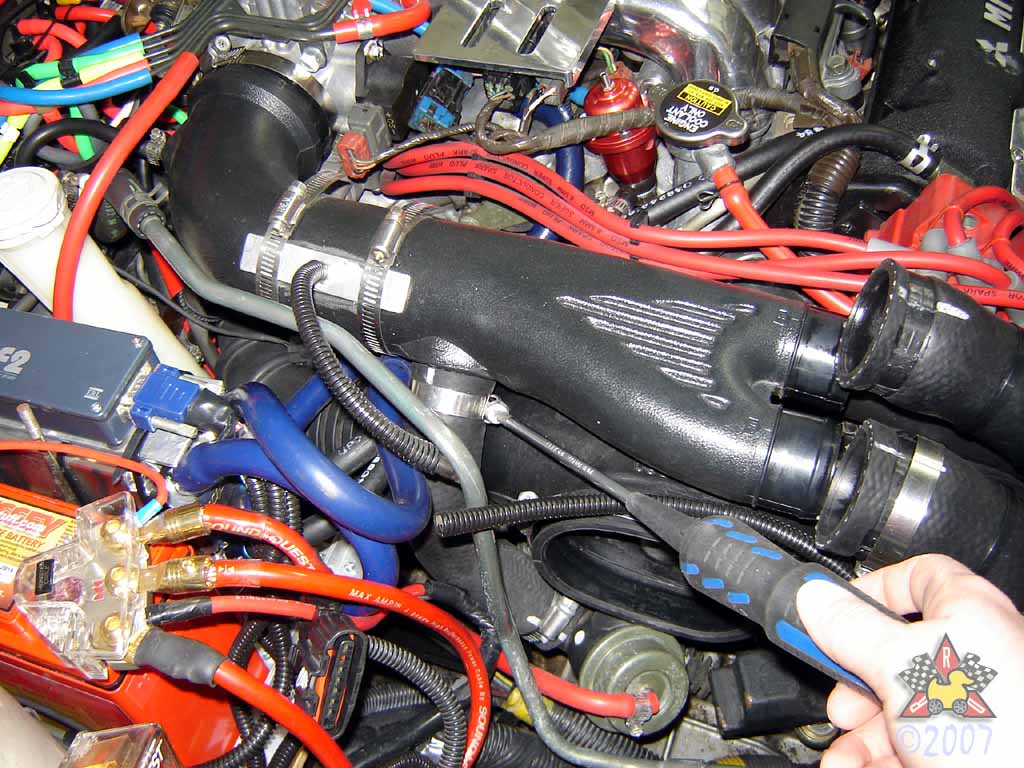
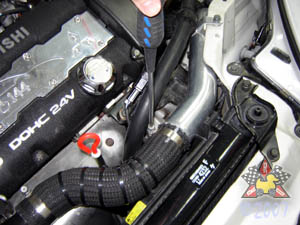
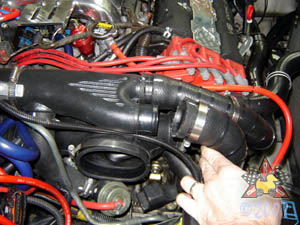
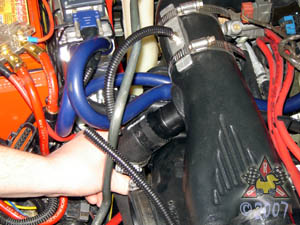
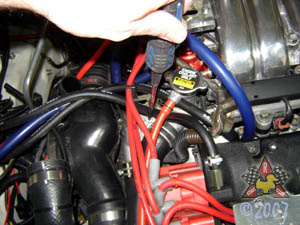
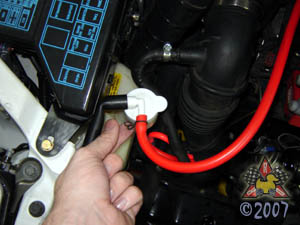
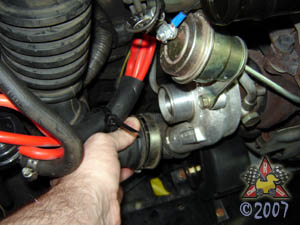
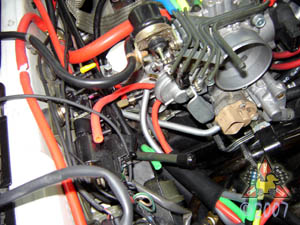
Disconnect DS Upper Intercooler Inlet Hose
|
|
|
|
|
|
Loosen the hose clamp with a screwdriver or 10mm socket. I didn't need to loosen or remove the
other end of the hose; I only needed to move the hose out of the way.
|
|
|
|
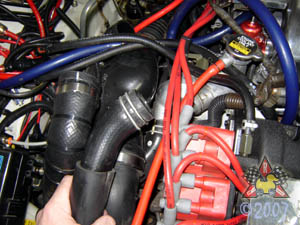
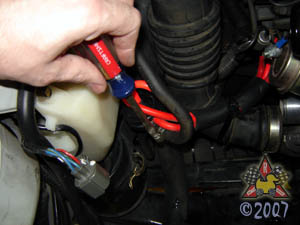
Disconnect DS Intercooler Outlet Hose
|
|
|
|
|
|
In my case, I had to remove the HKS intercooler pipe to get the engine out. The OEM pipe
has a little more clearance, so you may not need to remove it. If you do, there's a hose
clamp down there that needs to come off. After removal of the outlet pipe, I stuffed a paper
towel into the IC outlet to prevent anything from falling into the intercooler.
|
|
|
|
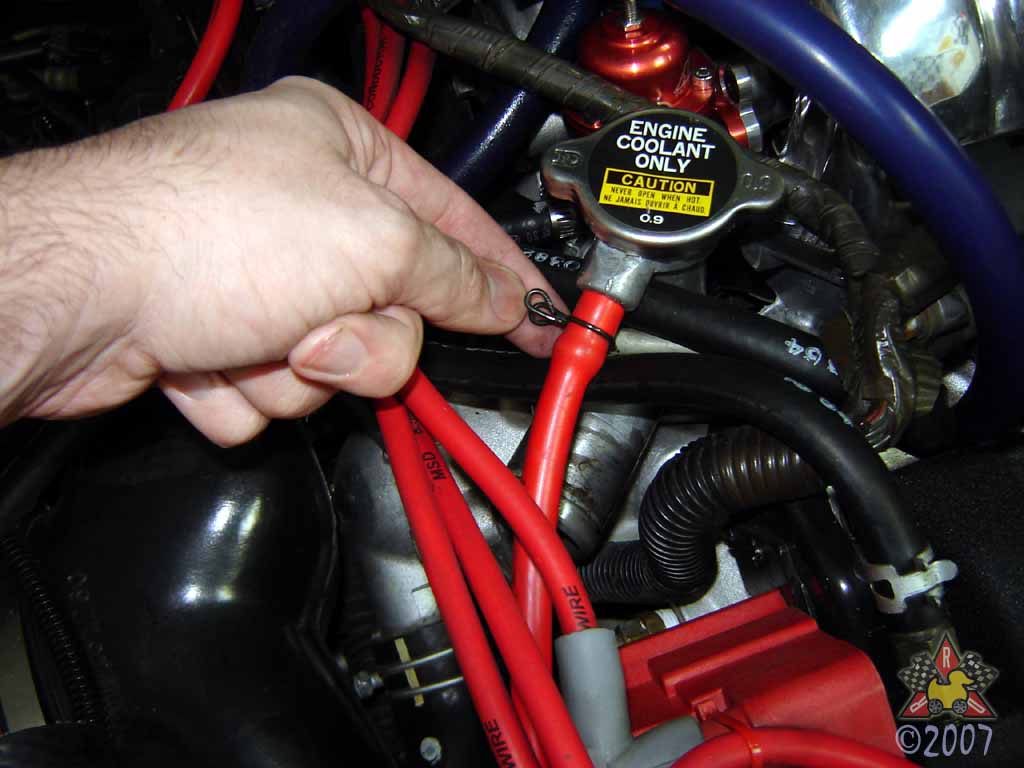
Remove Radiator Cap
|
|
|
|
|
|
Since we plan to drain the coolant, this will help it drain faster.
Just twist it counter-clockwise and pull it off after 1/2 turn.
|
|
|
|
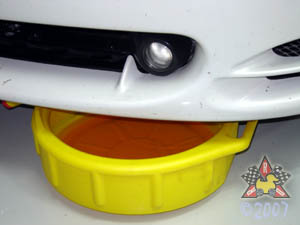
Drain Coolant From Radiator
|
|
|
|
|
|
The little black (or white, if the paint has worn off) wingnut-looking thingy in
the lower driver's side corner of your radiator is the draincock. No laughing.
Twist the draincock counter-clockwise a couple of turns to open the valve and
allow coolant to flow out of the drain hose. Once most of the coolant is out,
close the draincock to prevent further leaking.
|
|
|
|
Remove Upper Radiator Brackets
|
|
|
|
|
|
There are two 12mm bolts that secure each of the upper radiator support brackets
to the chassis. Remove the bolts and slide the brackets upward off of the
radiator mounting pegs. Only driver's side mount is shown, but you get the idea...
|
|
|
|
Disconnect Upper Radiator Hose From Radiator
|
|
|
|
|
|
There is a hose clamp on each end of the hose - loosen them with
either a #2 Phillips screwdriver or a 10mm socket. Once they're
loose, you can remove the hose. If the hose is stuck or won't come off,
try twisting it or carefully inserting a screwdriver under the end of
the hose to loosen it. Have your catch basin under the car at this point,
as a little coolant will likely leak out as you disconnect the hose.
|
|
|
|
Disconnect Lower Radiator Hose From Radiator
|
|
|
|
|
|
Same deal as the upper hose, except you probably don't need to loosen the hose
clamp on the other end of the hose yet.
|
|
|
|
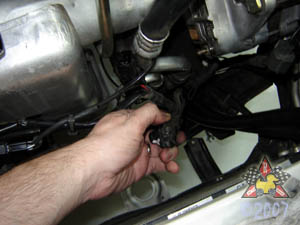
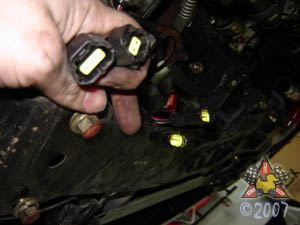
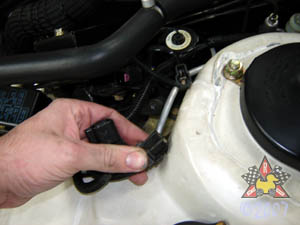
Disconnect Fan Wiring Harnesses
|
|
|

|
|
|
Squeeze the release tab and pull the connector off for each plug.
|
|
|
|
Remove Radiator From Chassis
|
|
|
|
|
|
At this point, you can just lift the radiator straight up out of the car.
Be careful not to snag it on anything as you remove it.
|
|
|
|
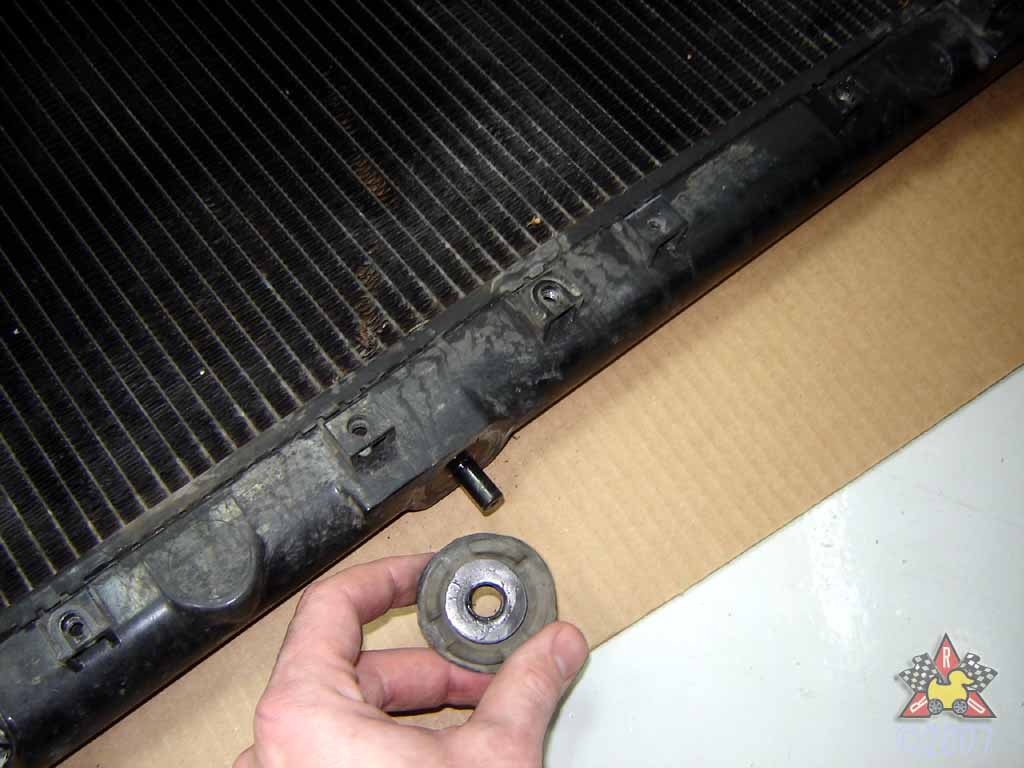
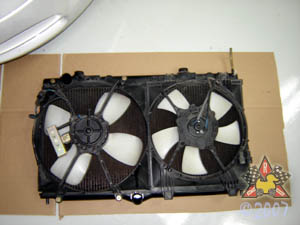
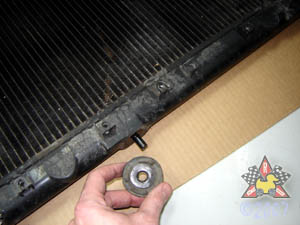
Disassemble Radiator [optional]
|
|
|

|
|
|
If you're upgrading your radiator (as I was at this point),
you'll need to remove the fans and mounting bushings from the
radiator so you can transfer them to the new radiator. Them
there's 10mm bolts, by the way.
|
|
|
|
Disconnect Intercooler Outlet Hoses From Y-Pipe
|
|
|
|
|
|
Again, there are hose clamps that you can loosen with either a
#2 Philips screwdriver or a 10mm socket. As with other hoses,
if they're stuck, try twisting them or carefully inserting
a screwdriver between the hose and the pipe to pry them loose.
|
|
|
|
Disconnect Water Injection Line [optional]
|
|
|
|
|
|
If you have a water injection nozzle (or anything else) connected to your
y-pipe, now would be the time to remove it.
|
|
|
|
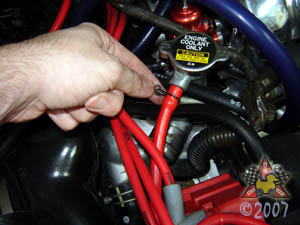
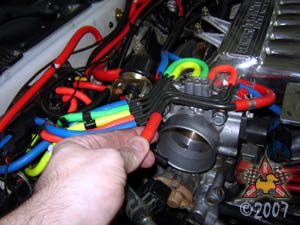
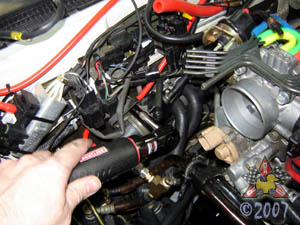
Loosen Hose Clamp At Throttle Body
|
|
|
|
|
|
Same deal as with all the clamps - loosen it enough to get the pipe off.
|
|
|
|
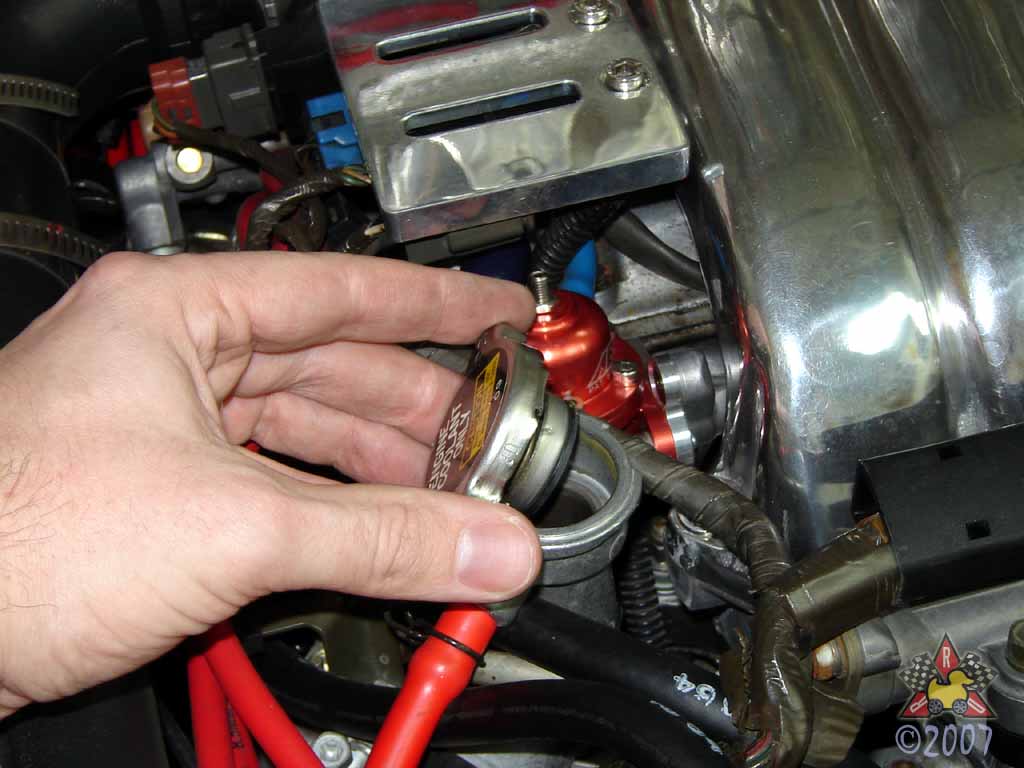
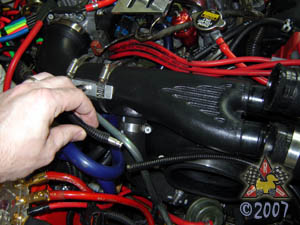
Disconnect Bypass Valve Outlet Hose
|
|
|
|
|
|
Yet another hose clamp. Same deal. Disconnect hose from y-pipe.
|
|
|
|
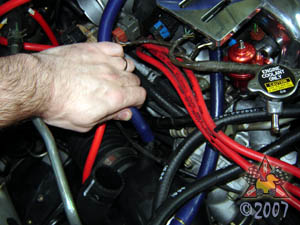
Remove Intake Y-pipe
|
|
|

|
|
|
Wiggle the pipe until it comes loose from the throttle body.
|
|
|
|
Disconnect Wastegate Pressure Line
|
|
|
|
|
|
You may or may not have a hose clamp here. In any case, remove the hose so you
can remove the y-pipe from the car.
|
|
|
|
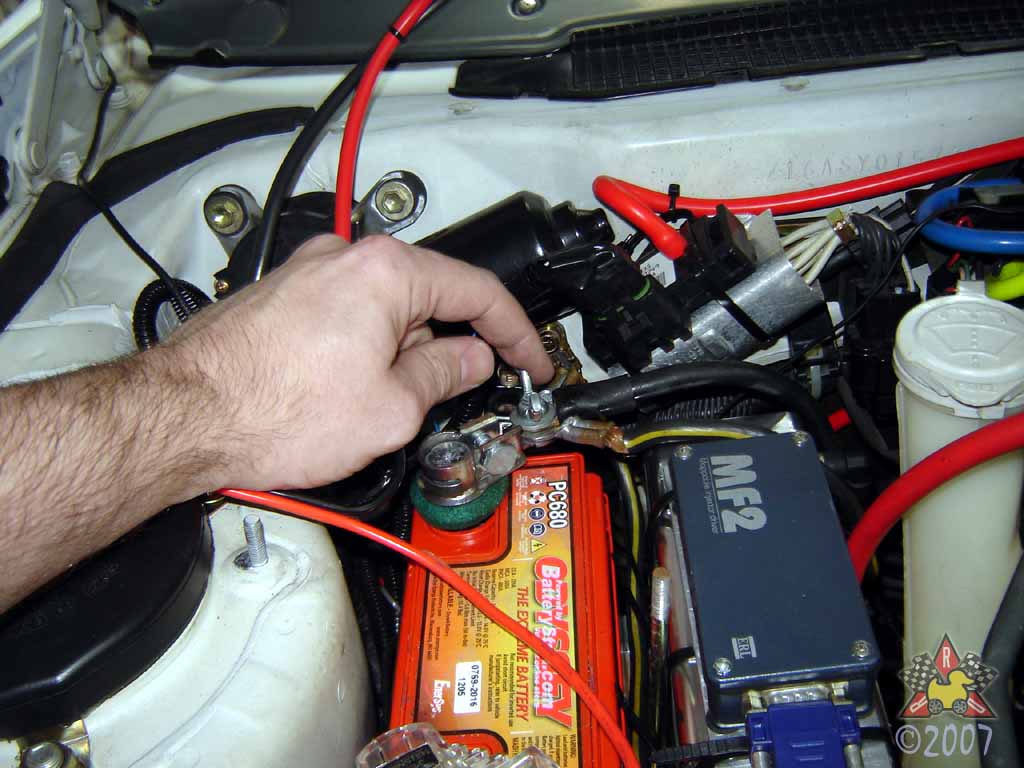
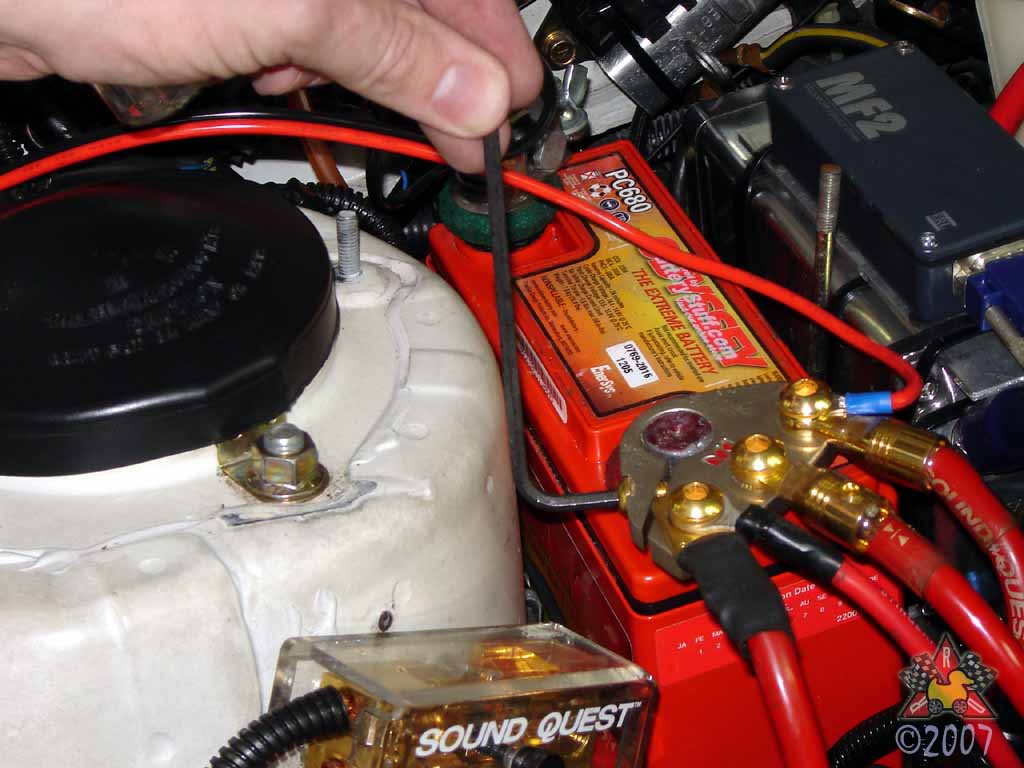
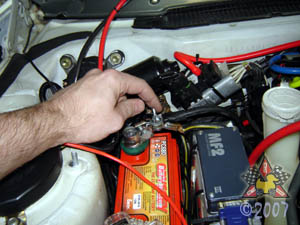
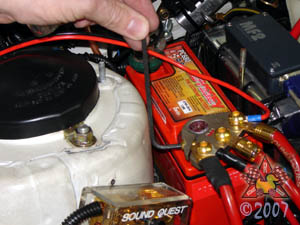
Disconnect Negative Terminal of Battery
|
|
|
|
|
|
I have a happy little wingnut here, but the OEM connection uses a 10mm nut,
if I recall correctly. In any case, remove the wire from the terminal.
|
|
|
|
Disconnect Positive Terminal of Battery
|
|
|
|
|
|
Note! Do not do this step before disconnecting the negative terminal
of the battery. ALWAYS disconnect the negative terminal FIRST!
The OEM positive terminal has a 10mm nut you need to loosen. I have
a fancy-schmancy positive terminal that takes a 5mm hex wrench.
|
|
|
|
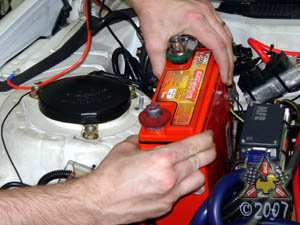
Remove Battery From Car
|
|
|
|
|
|
My battery weighs abuot 13 pounds. The OEM battery weighs more like 50. You may
have to use more than your fingertips to hold it if you have an OEM battery :-)
|
|
|
|
Unbolt Washer Fluid Tank
|
|
|
|
|
|
Your washer fluid tank is fastened to the car via four 12mm bolts at the corners
of the black plate that forms the battery tray. Remove the bolts.
|
|
|
|
Disconnect Washer Fluid Pump Harness
|
|
|

|
|
|
The washer fluid pump sits on the lower side of the tank and it
has an electrical harness attached to it. Push the release
tab and remove the harness.
|
|
|
|
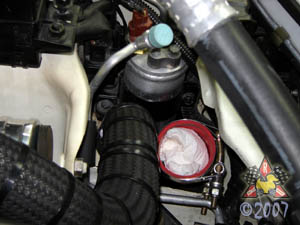
Remove Washer Fluid Tank
|
|
|

|
|
|
As you remove the washer fluid tank, be sure not to let fluid spill
everywhere. Also, not shown - you'll need to disconnect the
washer fluid pump outlet hose (rubber hose that goes up to the washer
fluid nozzles on the hood) and the fluid level sensor harness (same
location as outlet hose, and has pink internals as visible in the picture).
|
|
|
|
Remove Washer Fluid Tank Bracket
|
|
|
|
|
|
There's a black metal bracket that supports the washer tank from below.
It's fastened to the chassis by two 12mm bolts. Remove the bolts and
the bracket.
|
|
|
|
Disconnect Throttle Cable From Intake Plenum
|
|
|
|
|
|
There are two 10mm bolts that hold the throttle cable to the plenum.
You'll need to unbolt them to get the rear turbocharger outlet pipe
off.
|
|
|
|
Remove Rear Turbocharger Outlet Pipe
|
|
|

|
|
|
There's a 12mm bolt that holds the pipe to the rear turbo's compressor housing; remove
that bolt. There's also a 12mm bolt that secures the pipe to the upper intake plenum;
remove that bolt, too. Then you just have to wiggle the pipe with its attached heat shield
past all the junk behind the engine to get it out. Not too hard...
|
|
|
|
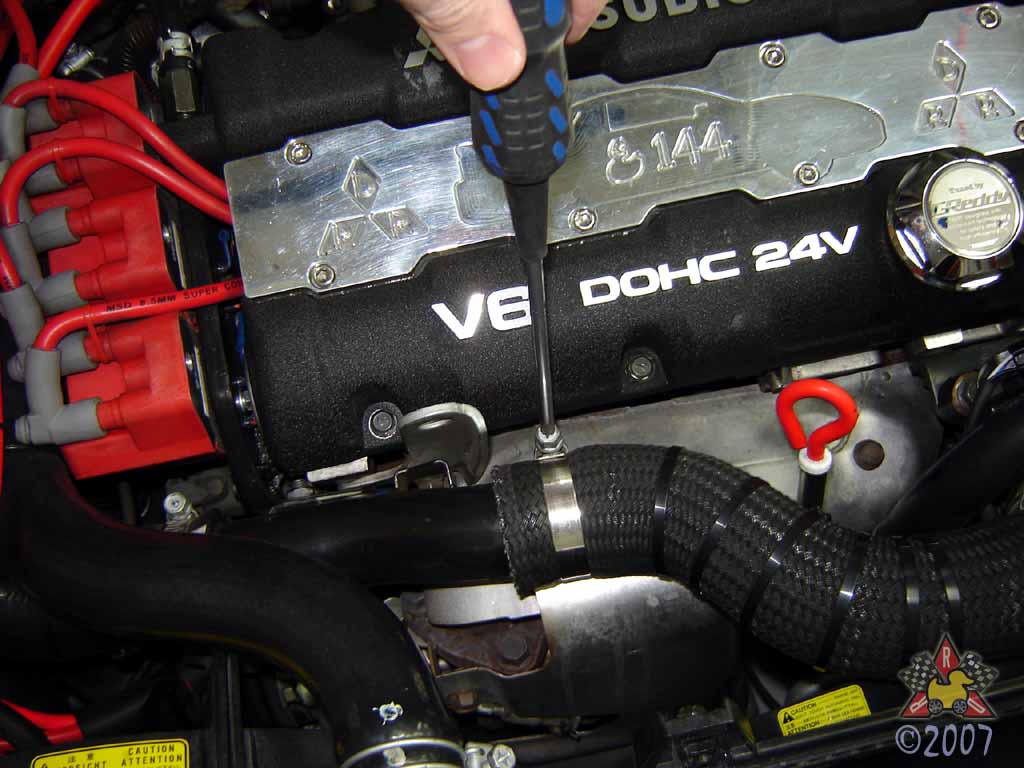
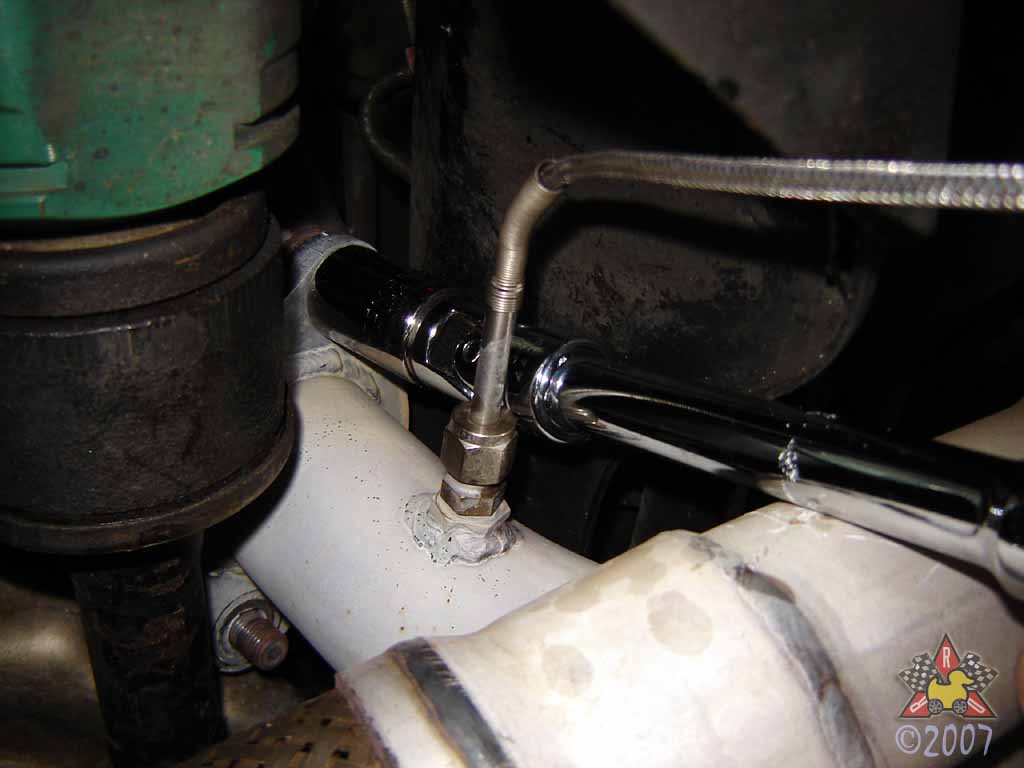
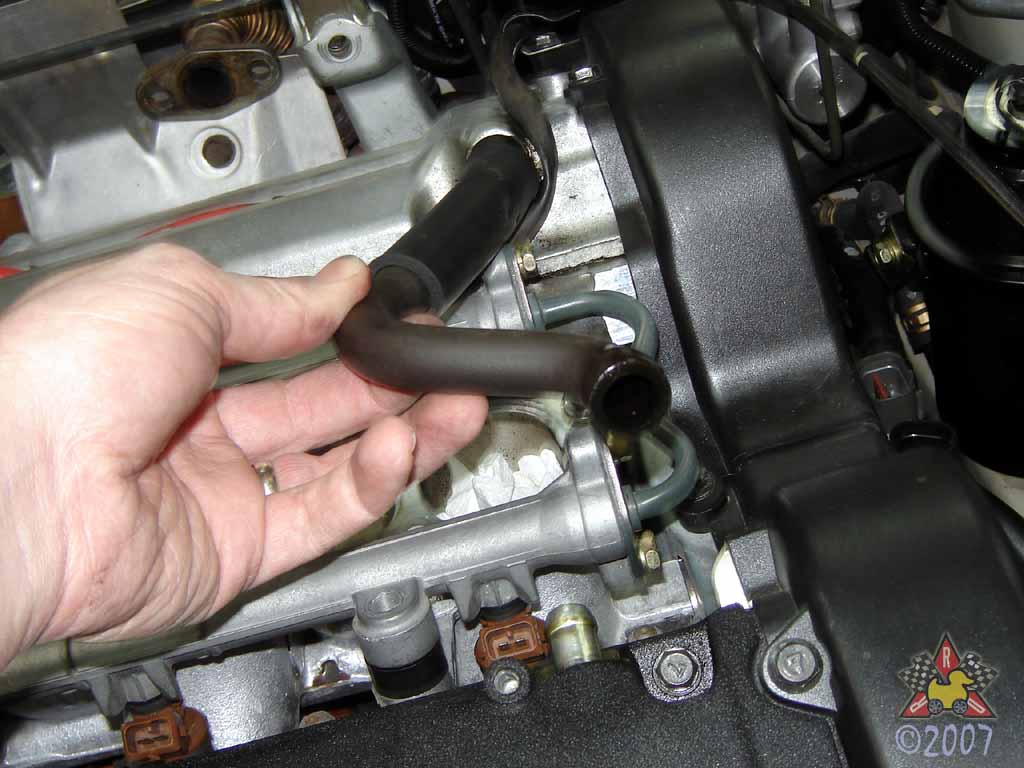
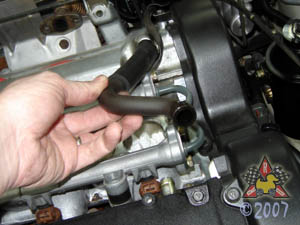
Remove DS Intercooler Outlet Hose
|
|
|
|
|
|
There's a short hose that runs from a pipe near the ignition coil
packs to the y-pipe. It's held on by your favorite hose clamp, so go
ahead and remove the clamp and the hose.
|
|
|
|
Remove Upper Radiator Hose
|
|
|
|
|
|
You probably already loosened the clamp, so time to remove the hose, too.
|
|
|
|
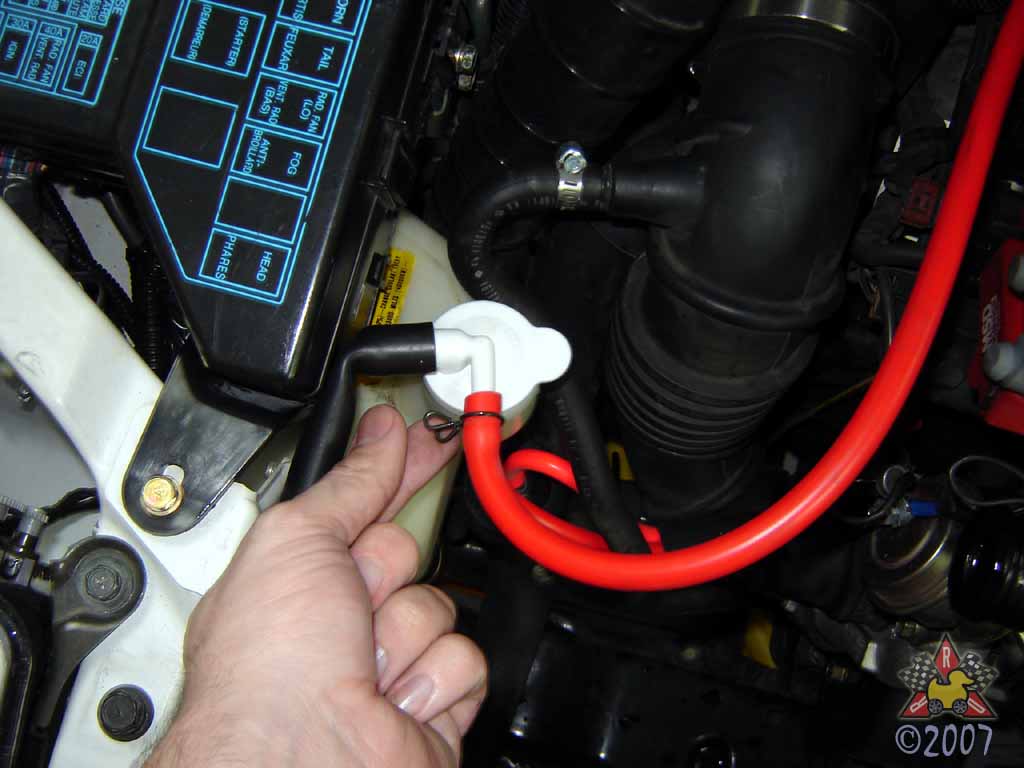
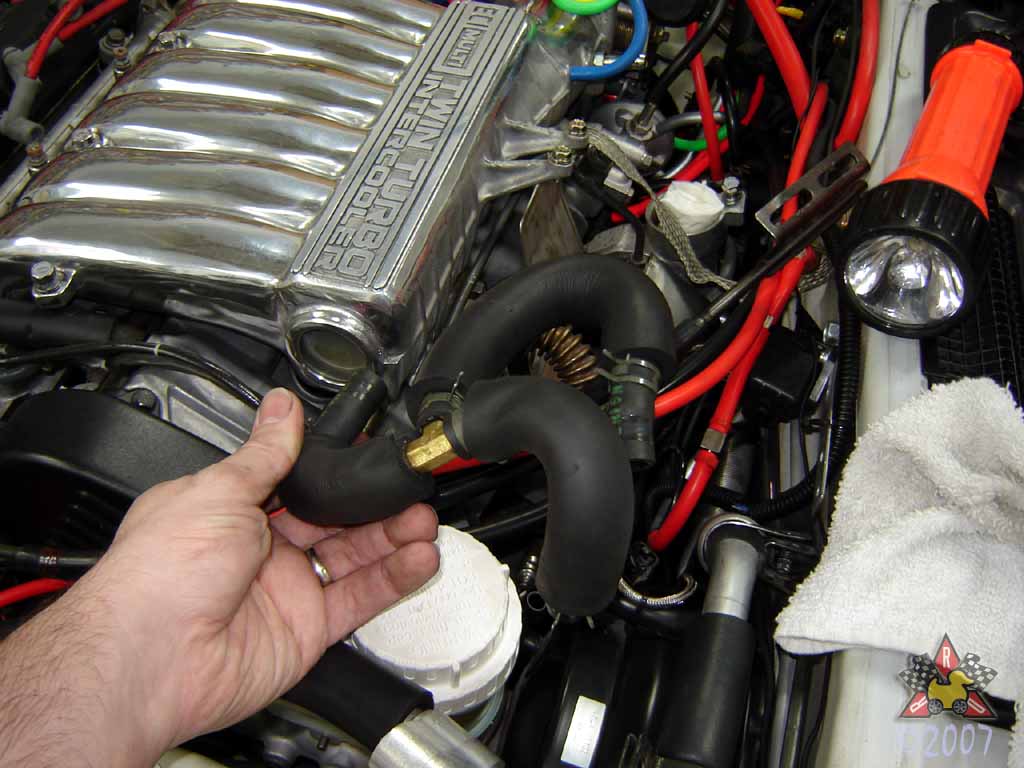
Remove Coolant Overflow Hose
|
|
|
|
|
|
There's a hose that runs from the thermostat housing to the
coolant overflow tank, and it's held in place by two spring
clamps. Remove the clamps and the hose.
|
|
|
|
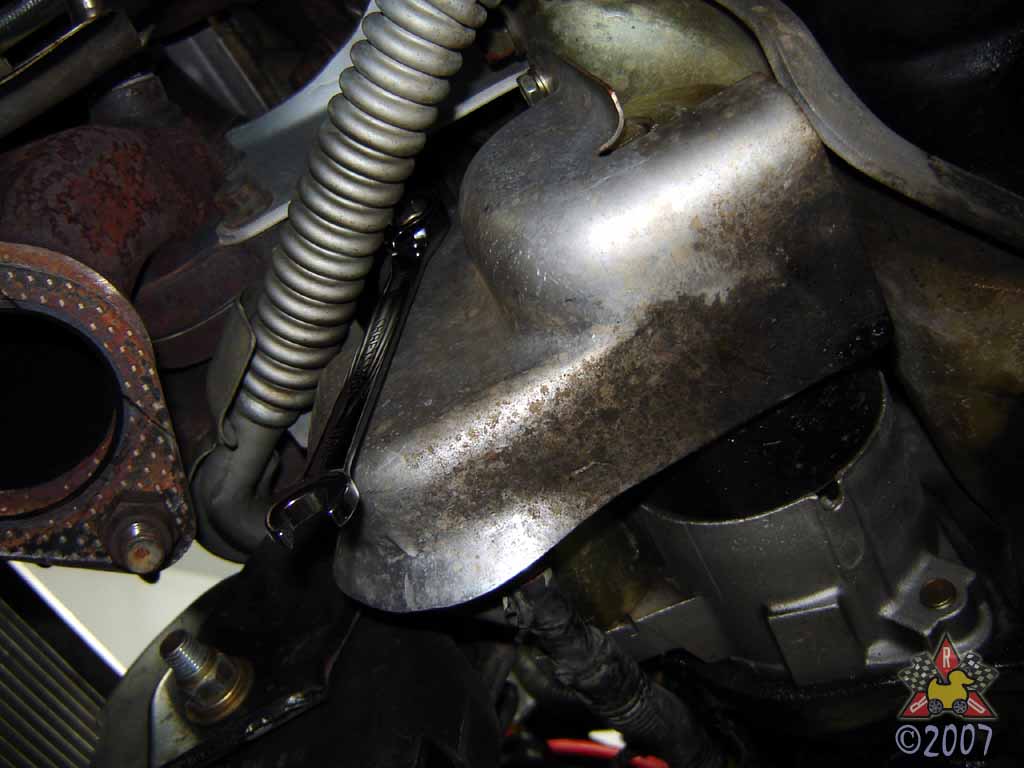
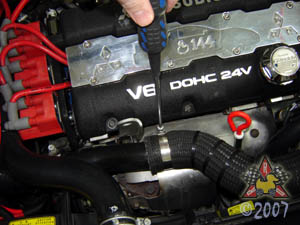
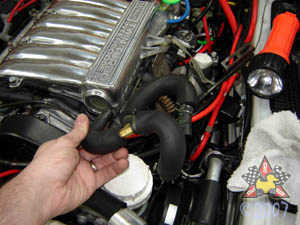
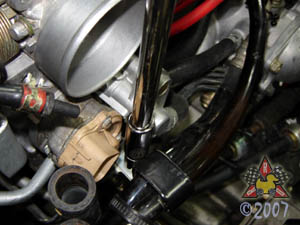
Disconnect Rear Valve Cover Breather Hose
|
|
|
|
|
|
It connects to the intake tee pipe located just downstream of the MAS housing. Note that
I have two hoses since I use a catch can on this line. The OEM setup only has one hose.
|
|
|
|
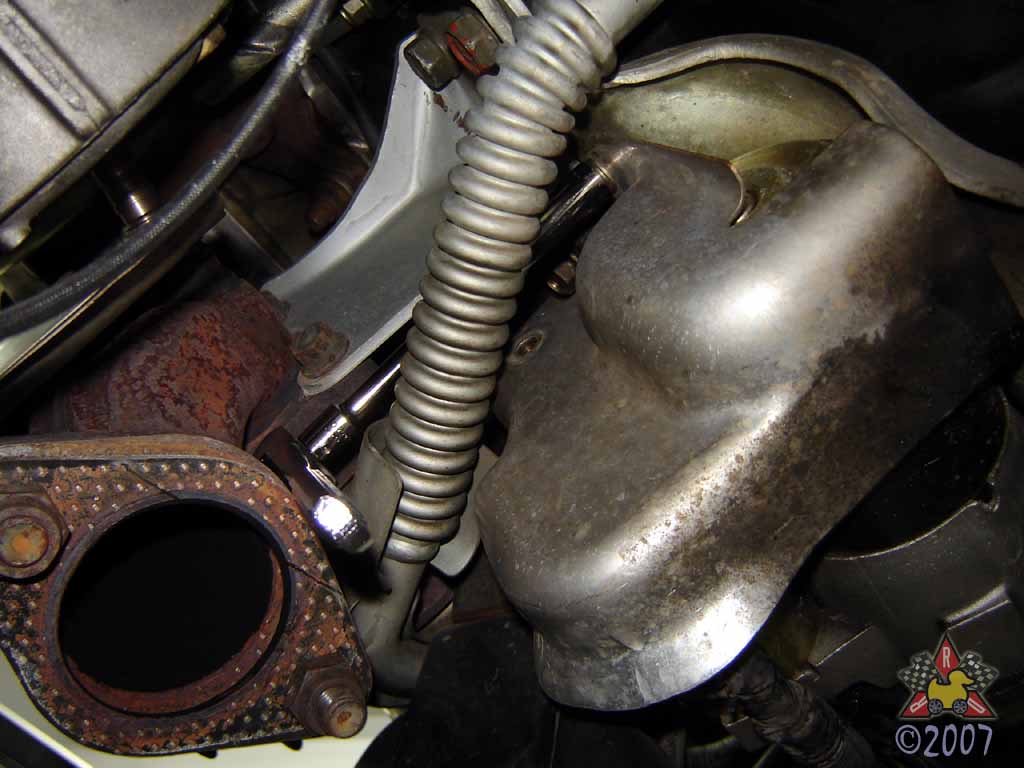
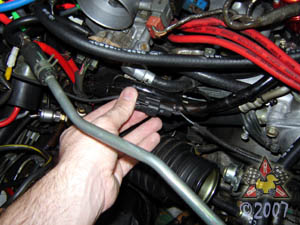
Disconnect Front Turbocharger Inlet Hose
|
|
|
|
|
|
There's an inlet hose attached to the side of the turbo's compressor housing,
and it's attached via a hose clamp with a 10mm nut on the end. Remove
the clamp and disconnect the hose from the turbo.
|
|
|
|
Remove Charcoal Canister Outlet Hose
|
|
|
|
|
|
On my car, I have a hose clamp on this hose for when I pressure-test the intake
piping. You may not have a hose clamp here.
|
|
|
|
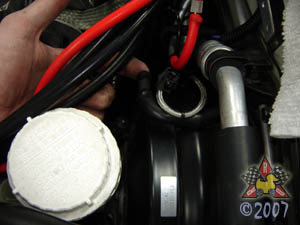
Loosen Hose Clamp on Rear Turbo Inlet Hose
|
|
|
|
|
|
There is a hose that goes from the intake "tee" pipe to the rear turbocharger's
compressor inlet connection. You'll need to loosen that hose clamp so you can
remove the "tee" pipe from the car. Once the clamp is loosened, you can just
pull on the hose to remove it.
|
|
|
|
Disconnect Bypass Valve Vacuum Line From Throttle Body
|
|
|
|
|
|
There is a vacuum line that runs from the turbocharger bypass valve to the
hard line connection on top of the throttle body - disconnect the hose
at the throttle body.
|
|
|
|
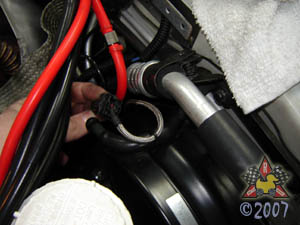
Remove Intake "Tee" Pipe
|
|
|
|
|
|
This pipe can be removed at this point. I left it attached to the
front turbo inlet hose, but you don't have to leave these two
connected if you don't want to.
|
|
|
|
Disconnect Lower Radiator Hose From Engine
|
|
|
|
|
|
Loosen the hose clamp with a #2 Phillips screwdriver or a 10mm socket.
Then pull the hose off of the thermostat housing connection. Again,
this hose may be stuck, so twisting it a little may help free it.
|
|
|
|
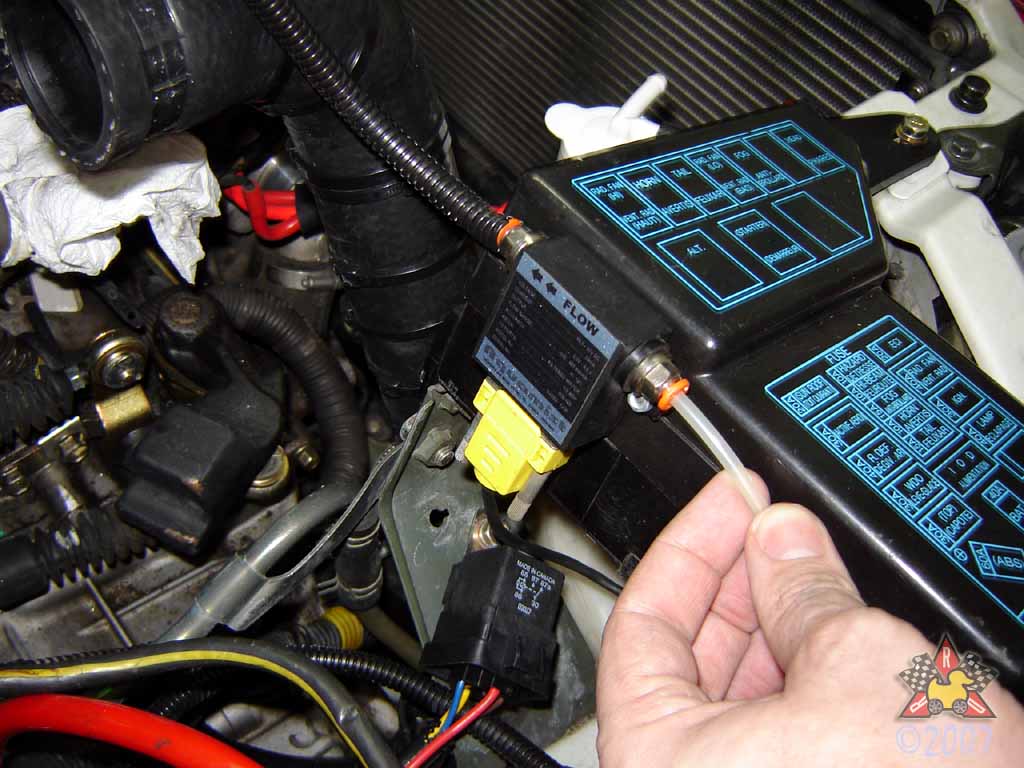
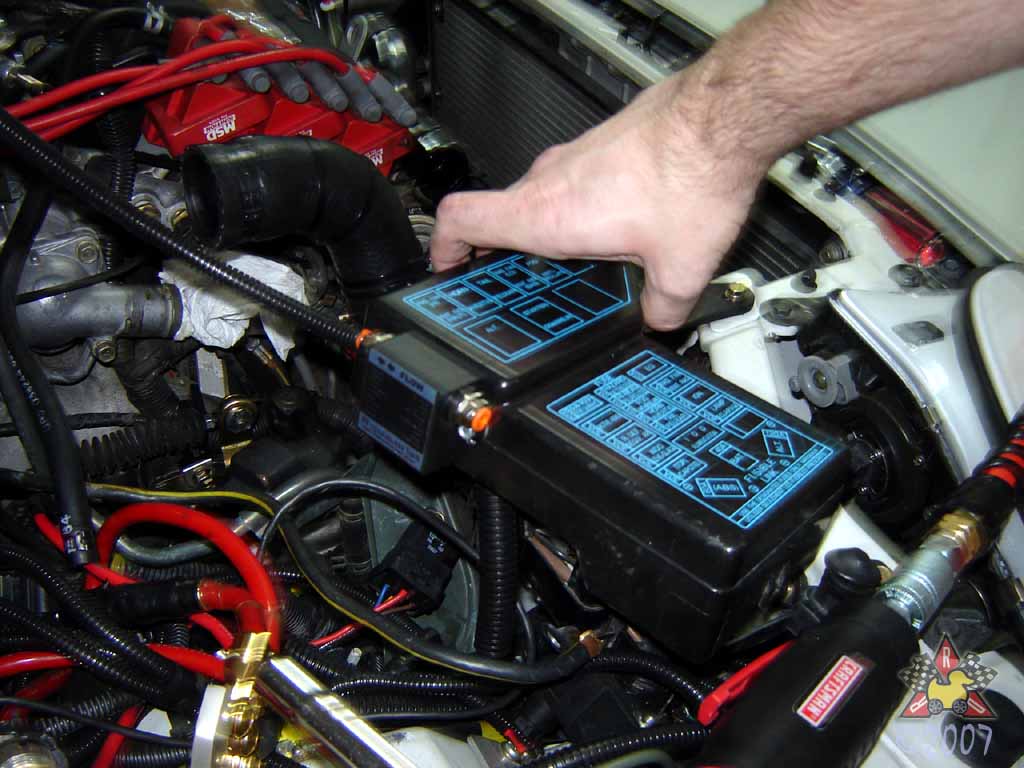
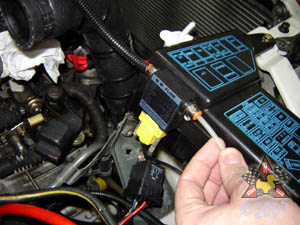
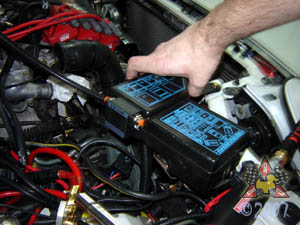
Disconnect Water Injection Flow Sensor (optional)
|
|
|
|
|
|
If you've got one of these doodads, disconnect it. Since mine is mounted to the
fusebox cover and was annoyingly in the way, I removed the fusebox cover, too.
|
|
|
|
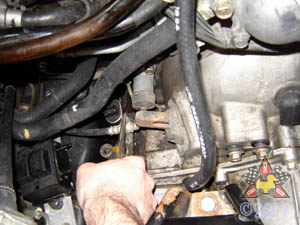
Disconnect Water Temperature Sensor
|
|
|
|
|
|
If you've got a water temperature sensor in the thermostat housing,
you'll need to disconnect it in order to take the engine out of the
car.
|
|
|
|
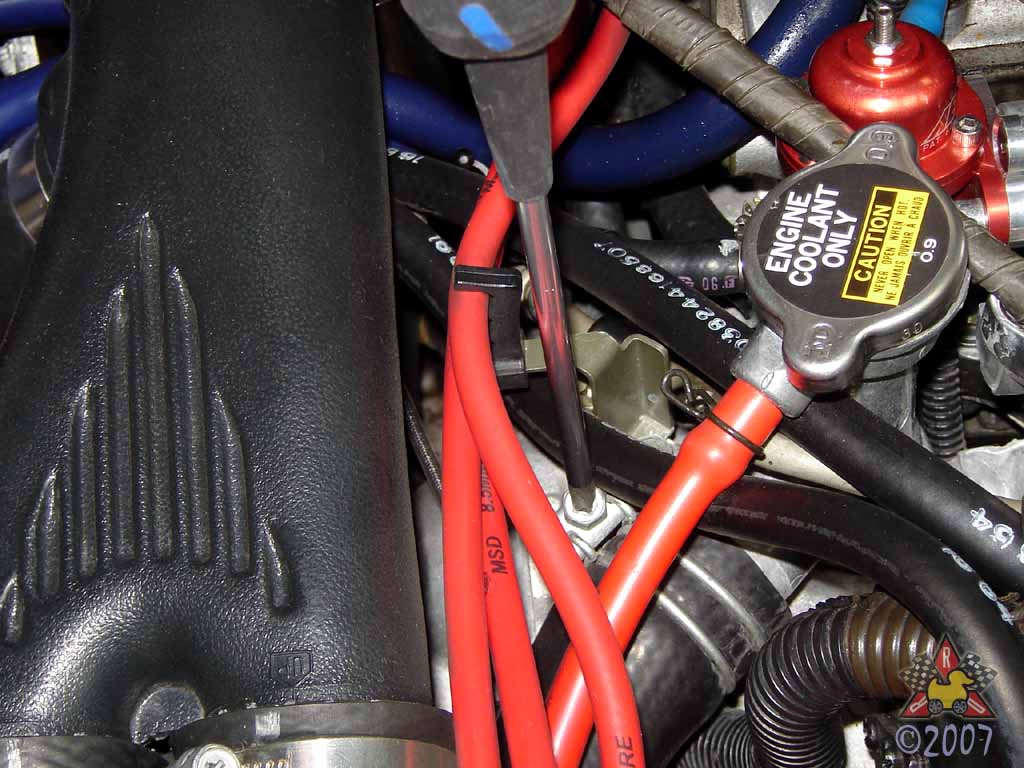
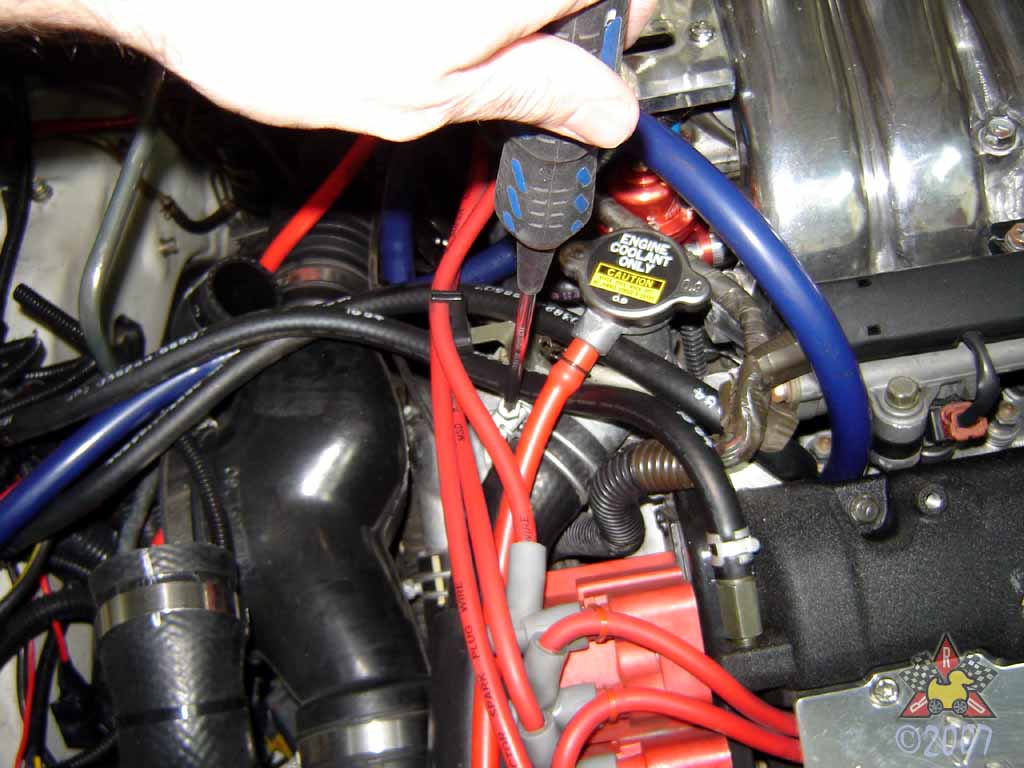
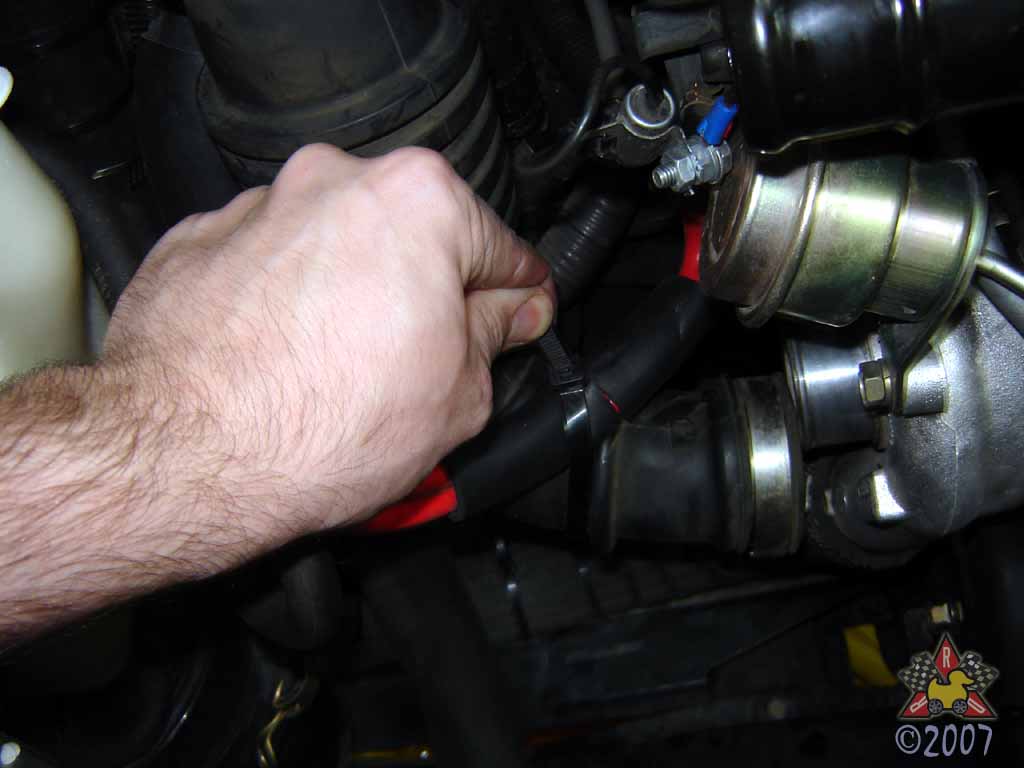
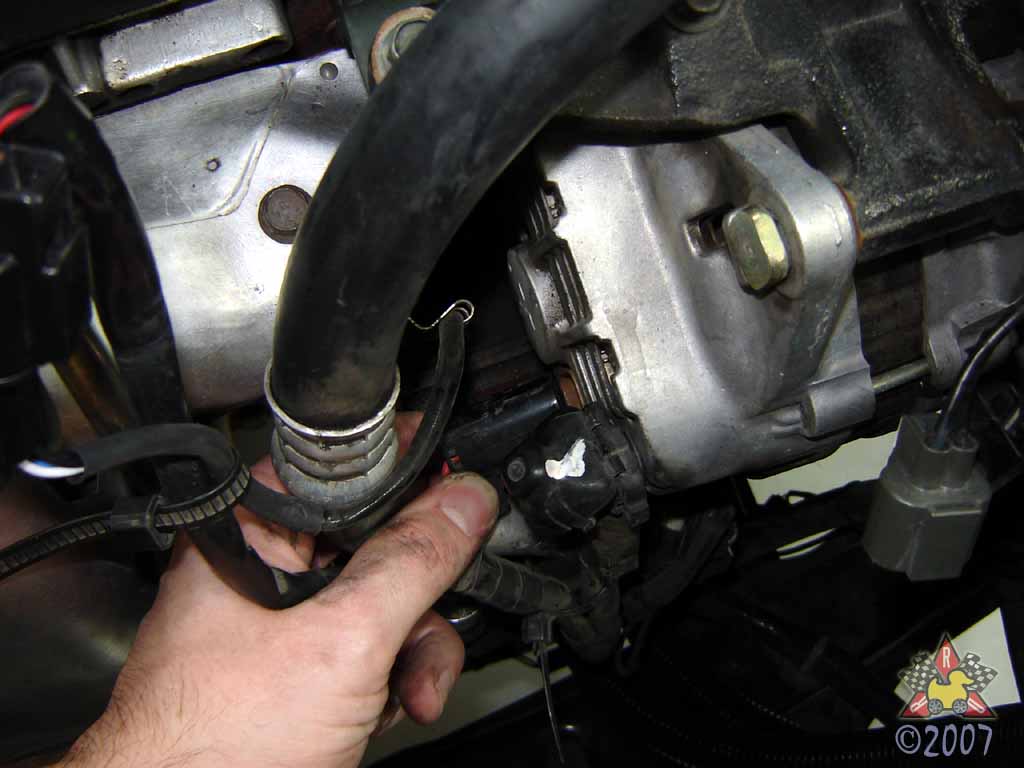
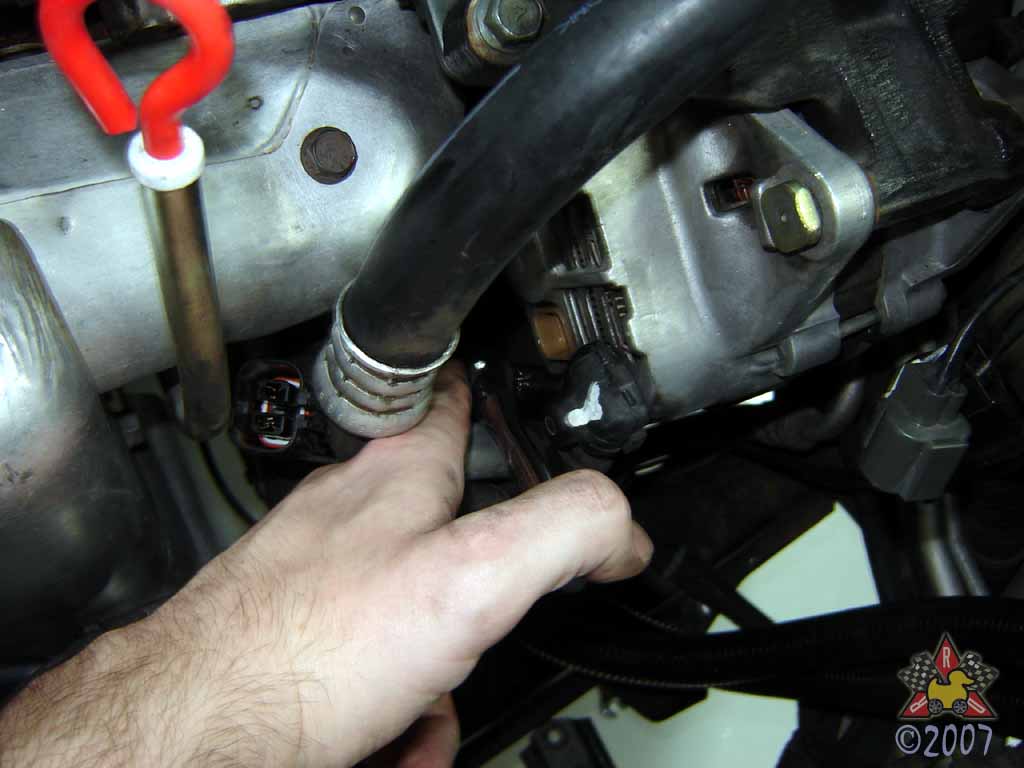
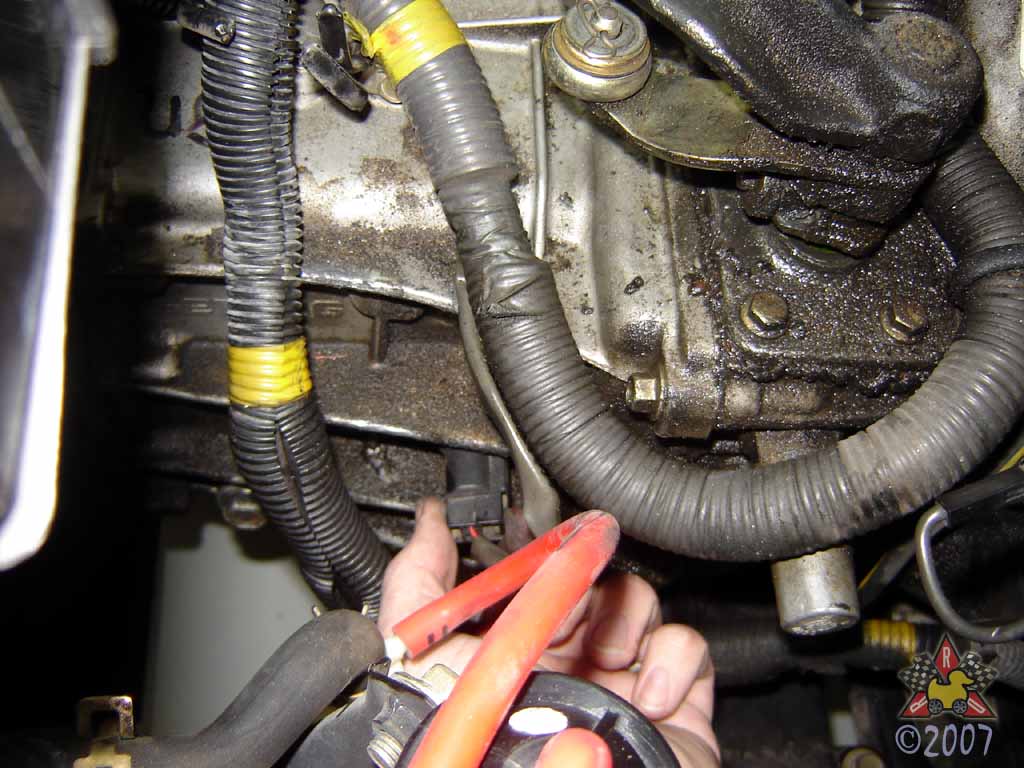
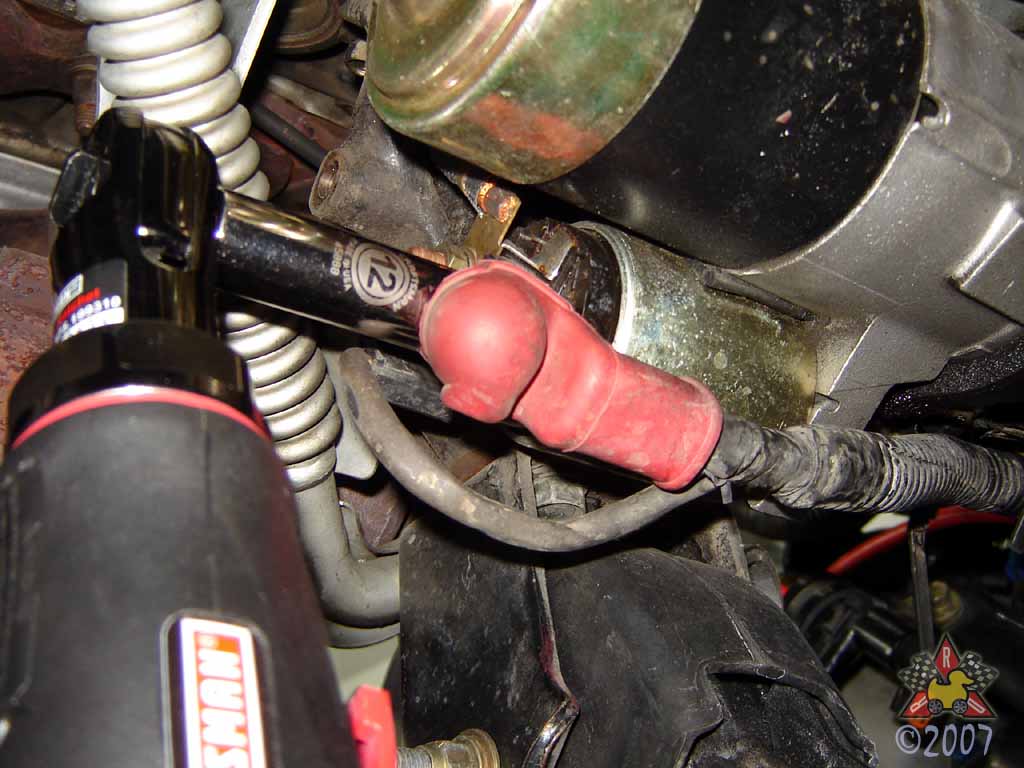
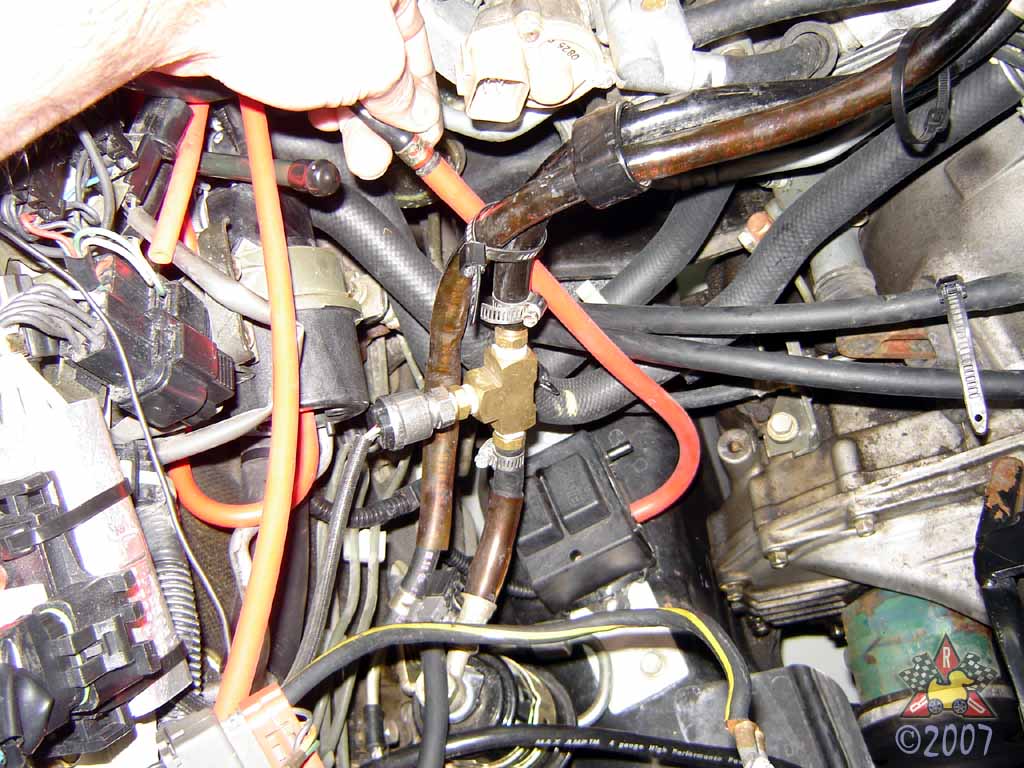
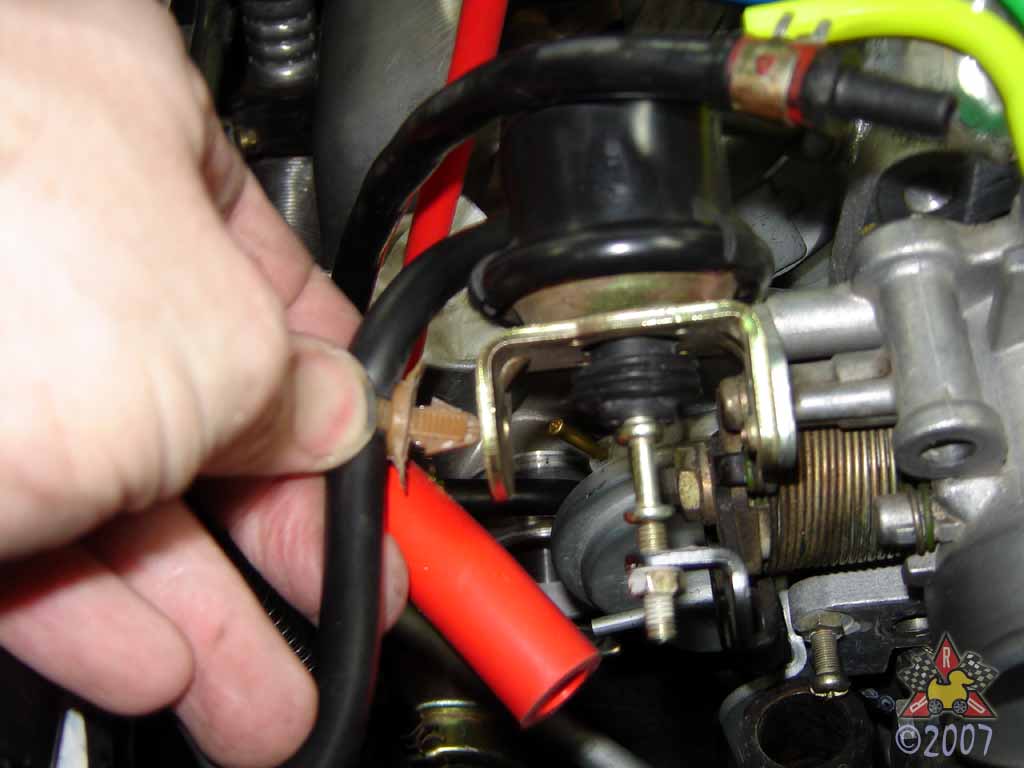
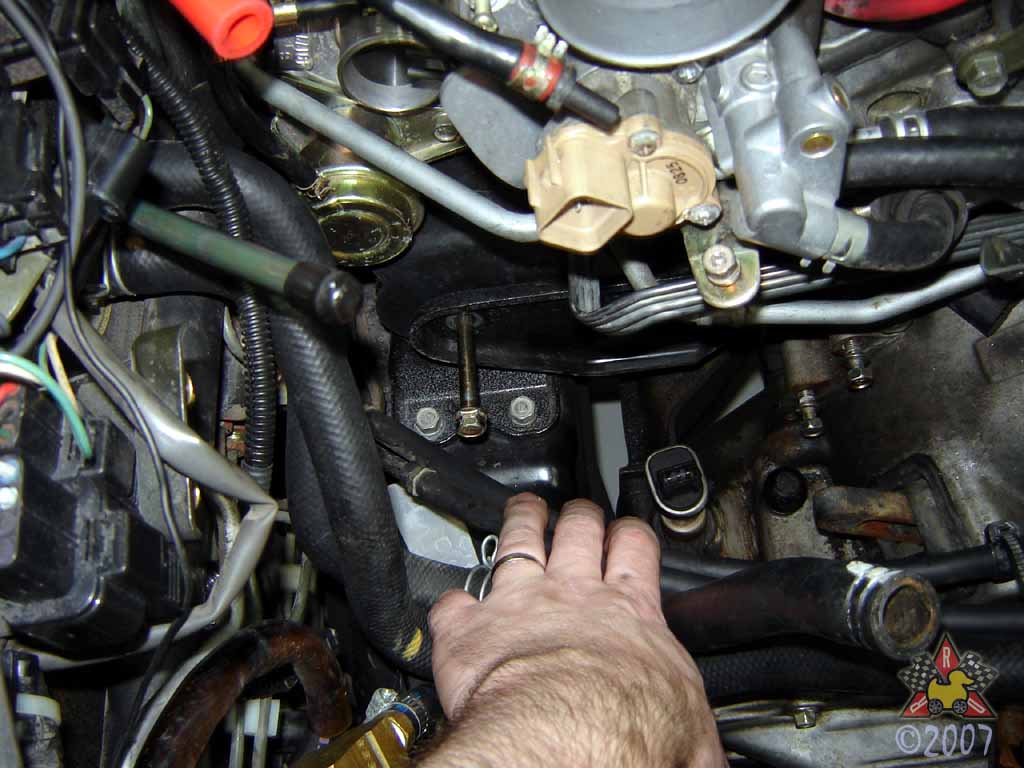
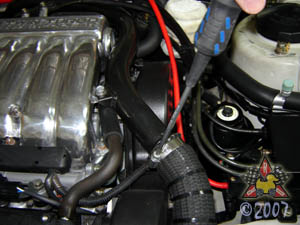
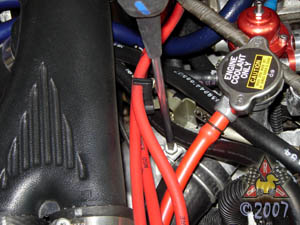
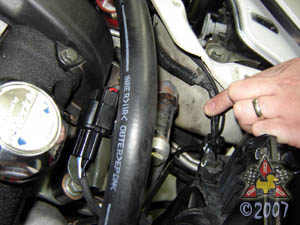
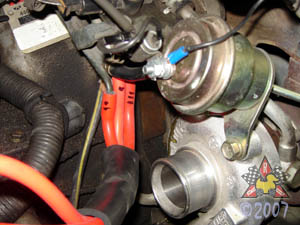
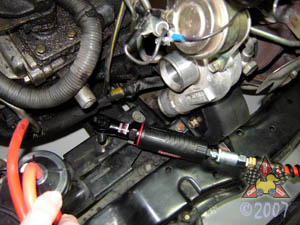
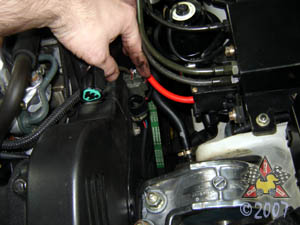
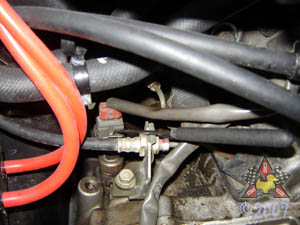
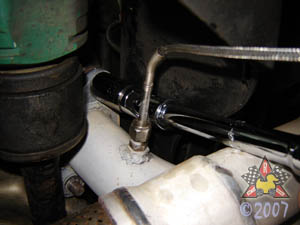
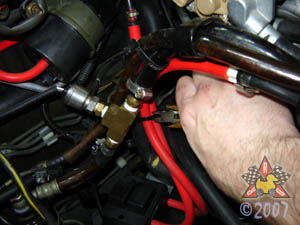
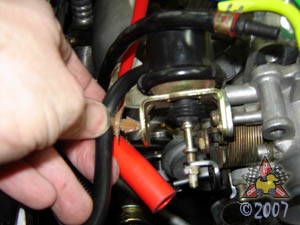
Disconnect Brake Booster Hose Connection
|
|
|
|
|
|
You probably have a black rubber hose here instead of the red hose
in the picture - pull it off. If you're observant, you'll notice that
this hose is no longer a brake booster hose on my car - that's why it's
ok to replace the OEM hose (with its included check-valve) with some
silicone vacuum hose.
|
|
|
|
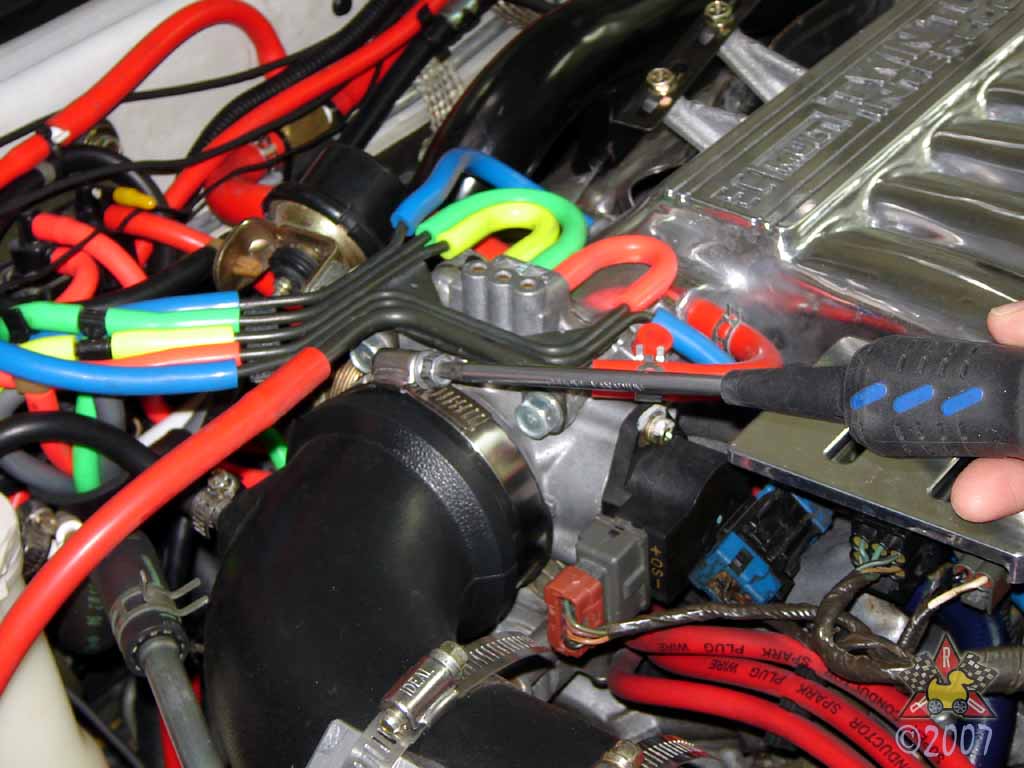
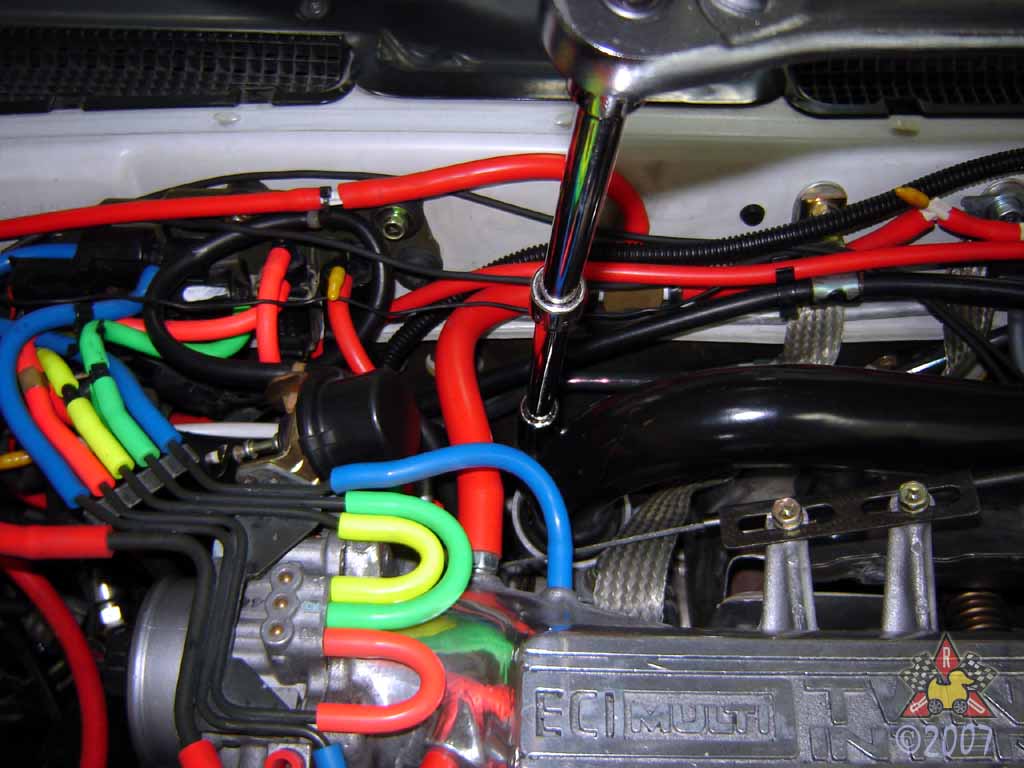
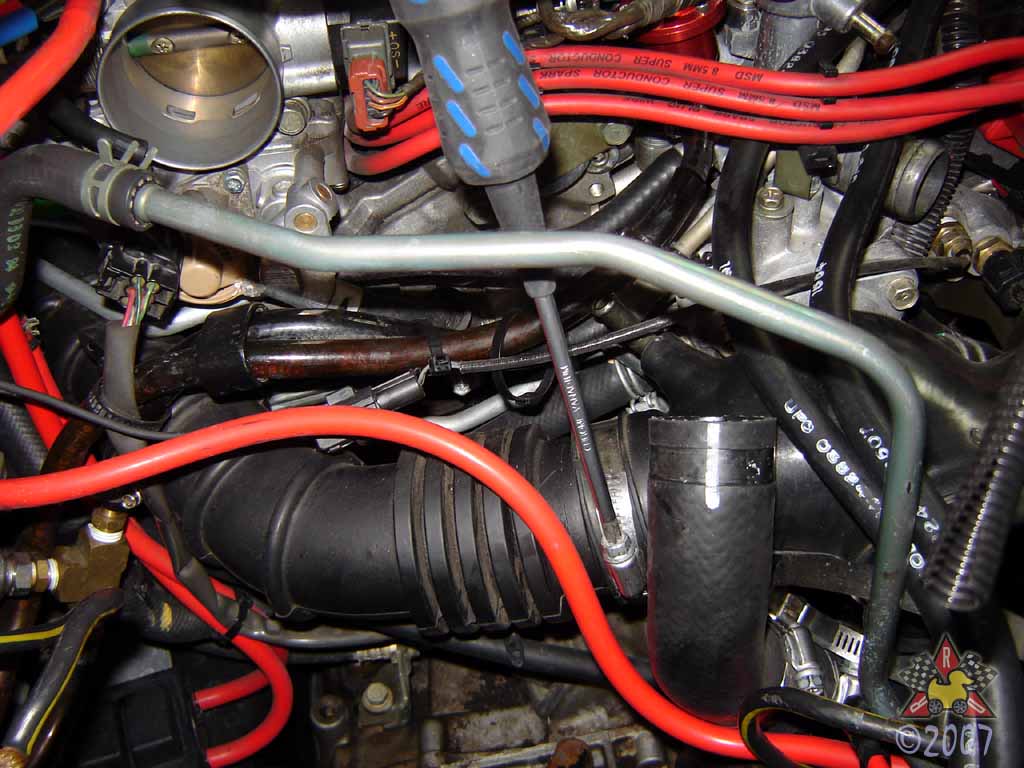
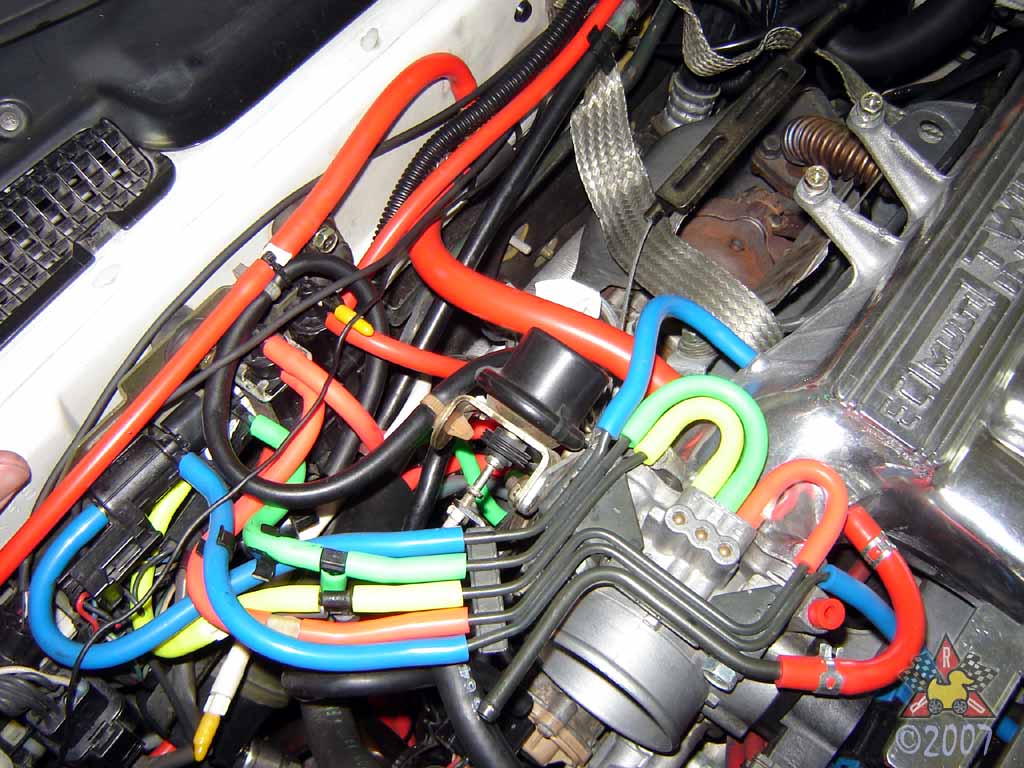
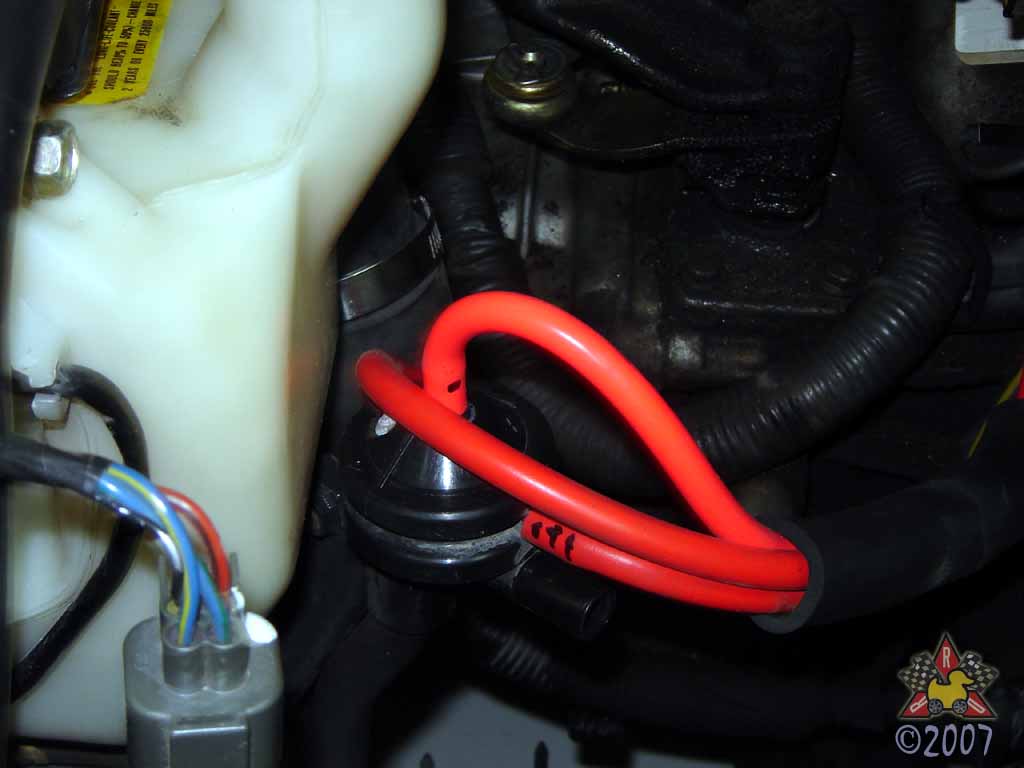
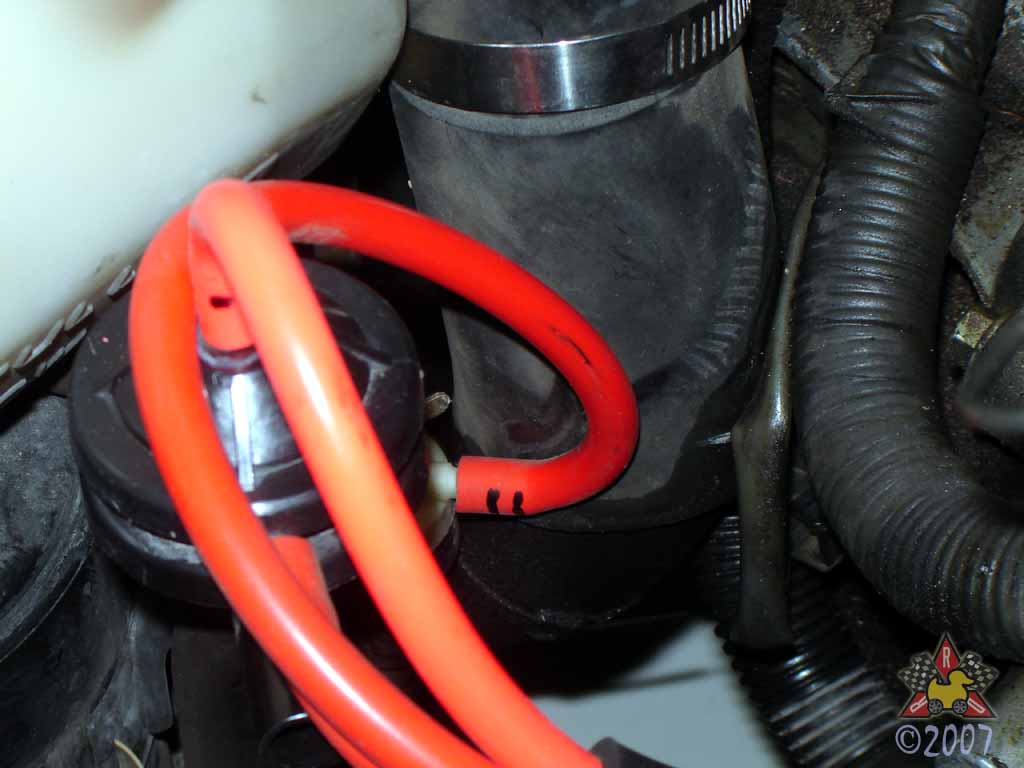
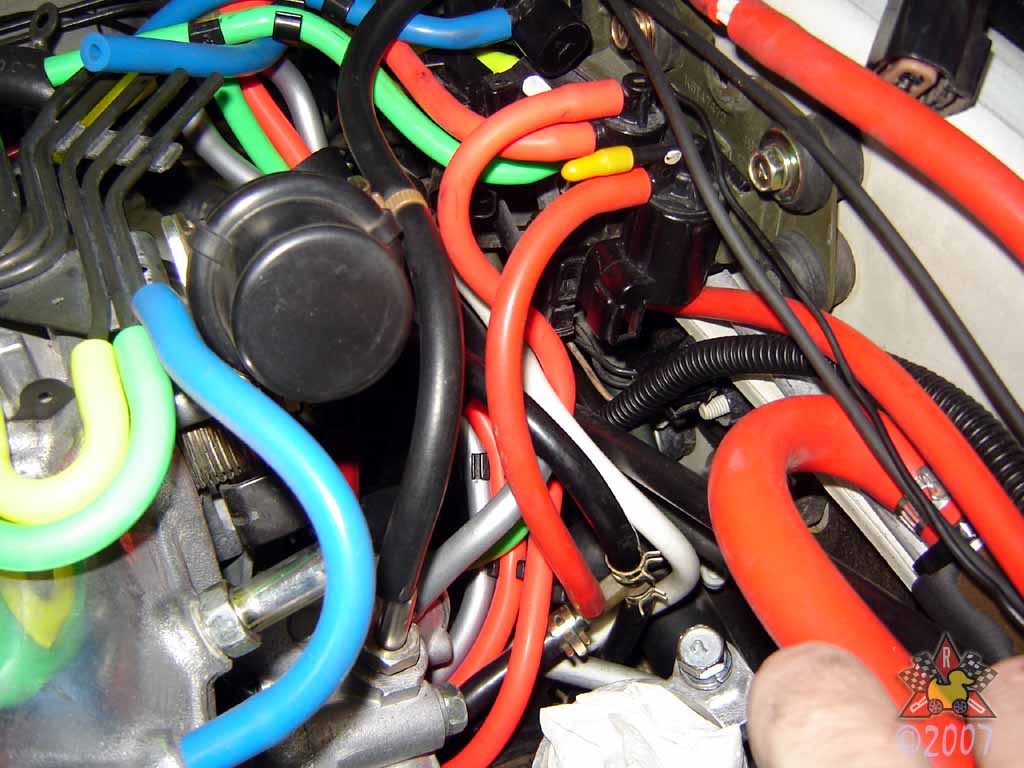
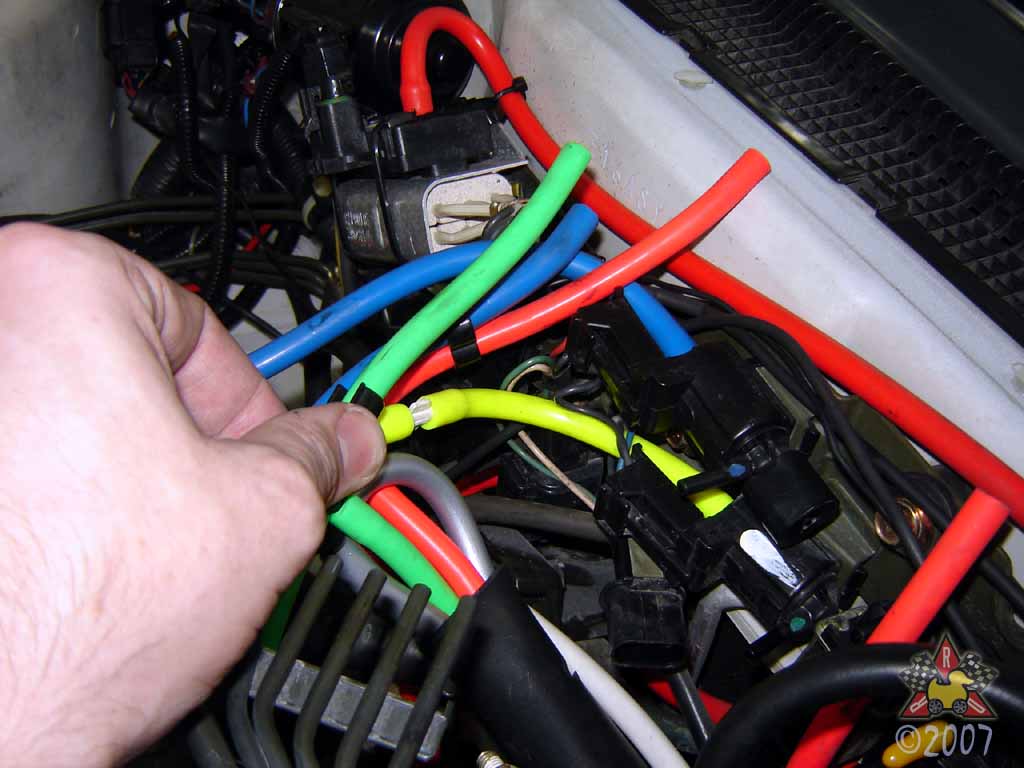
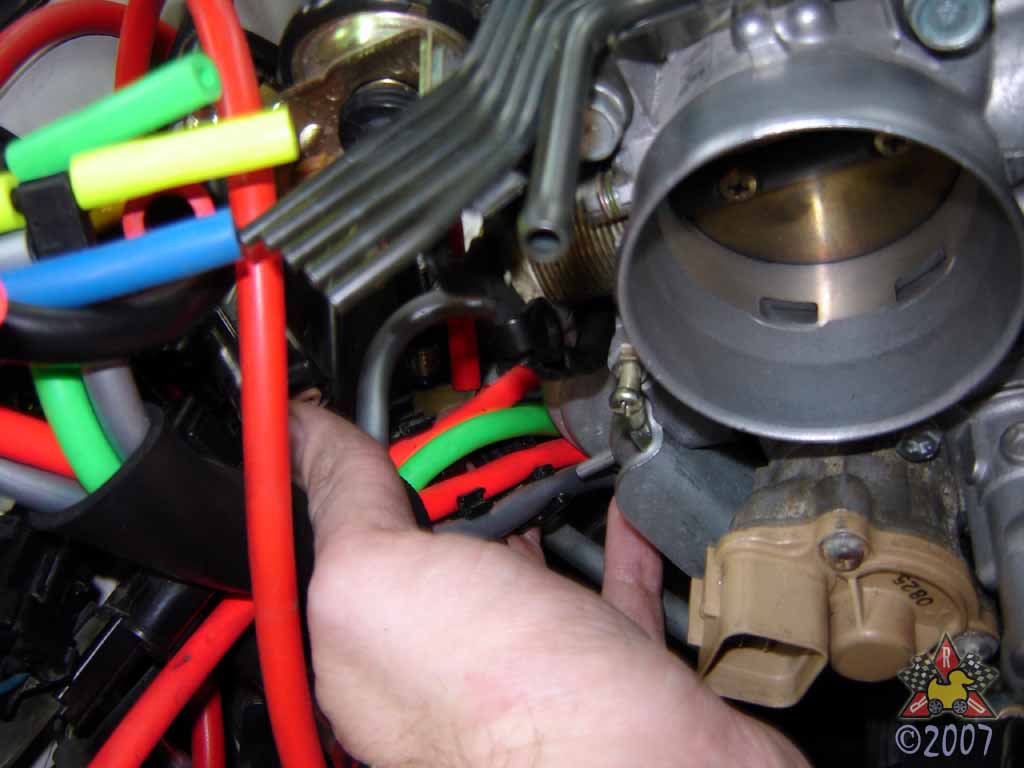
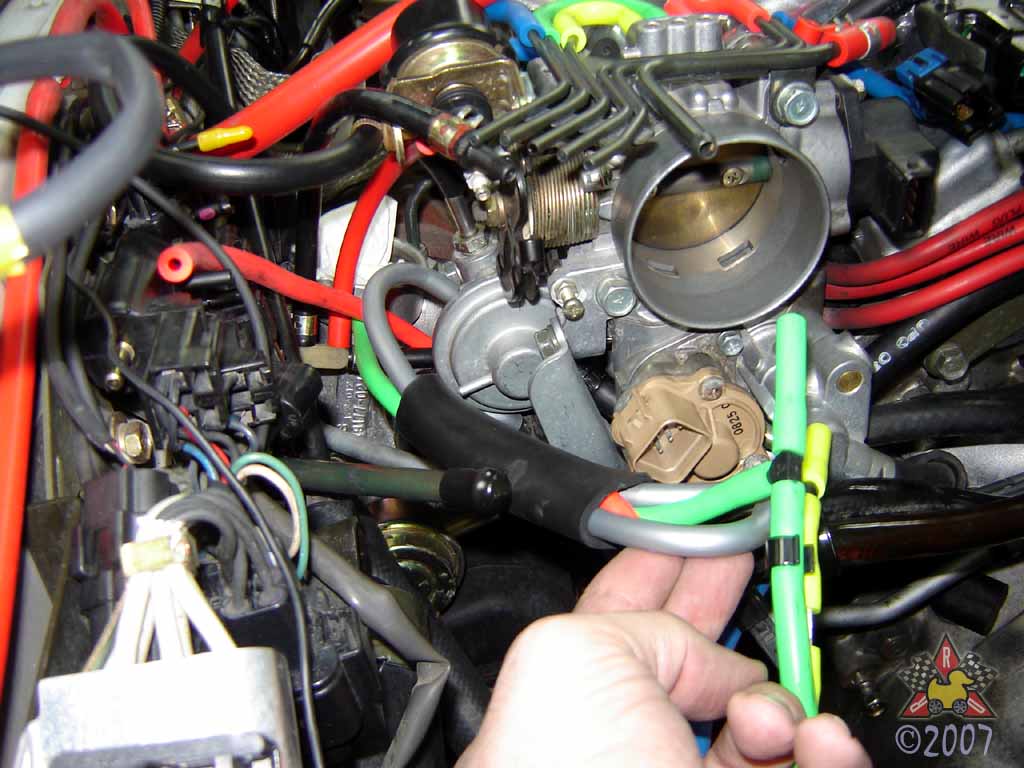
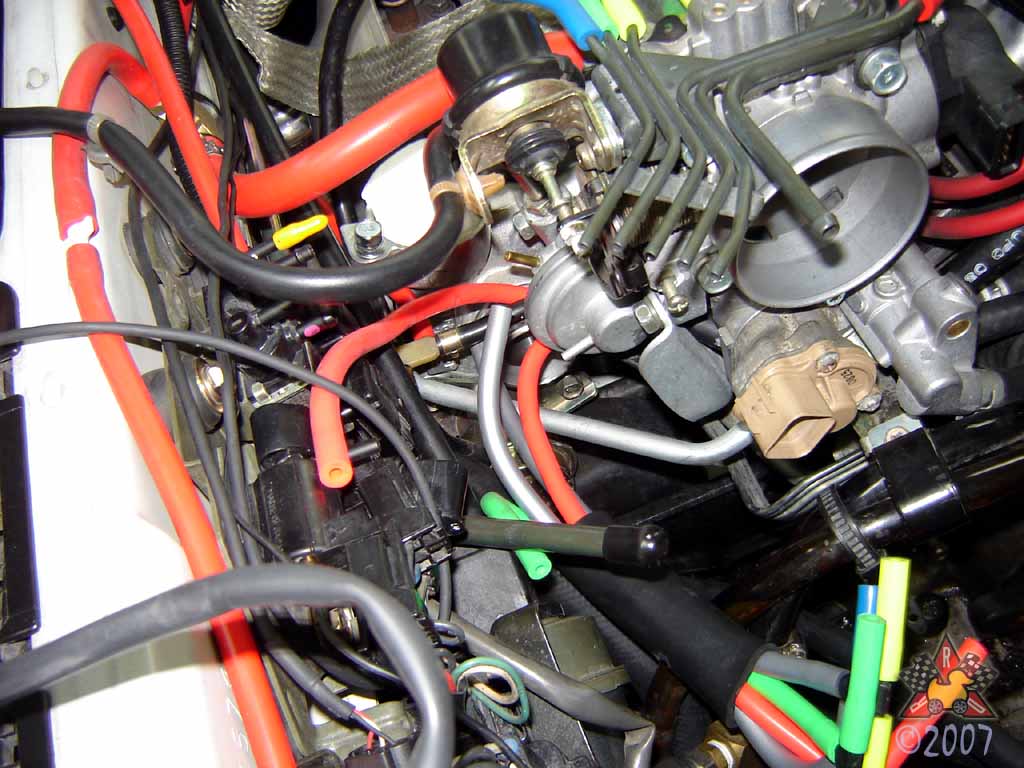
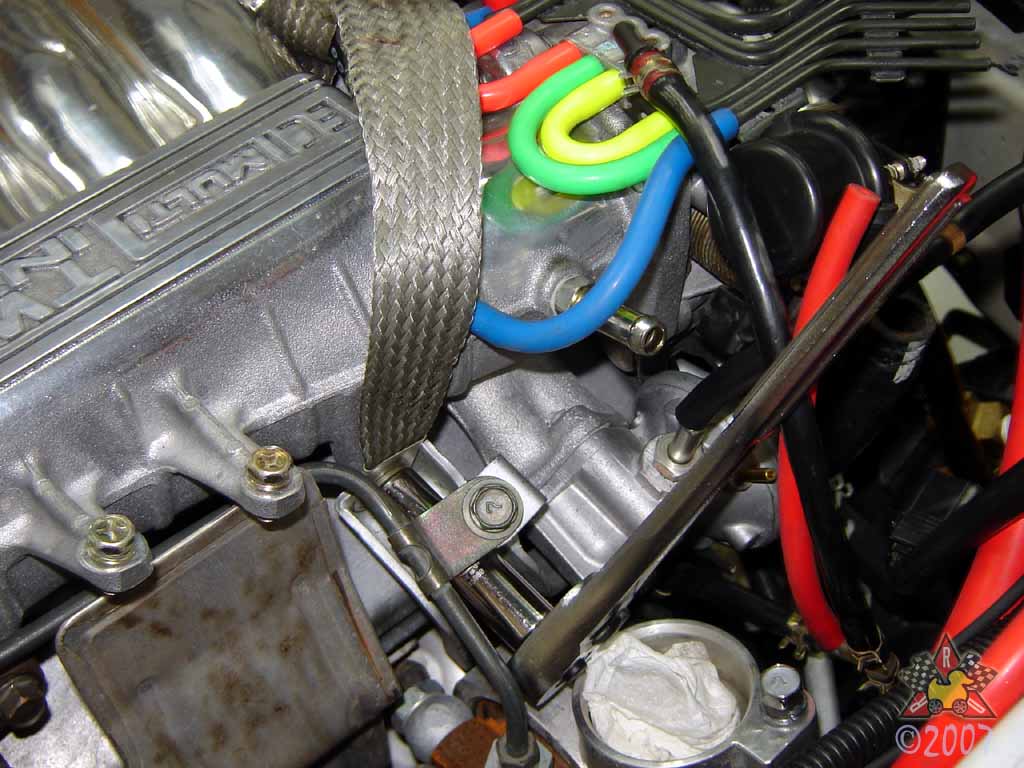
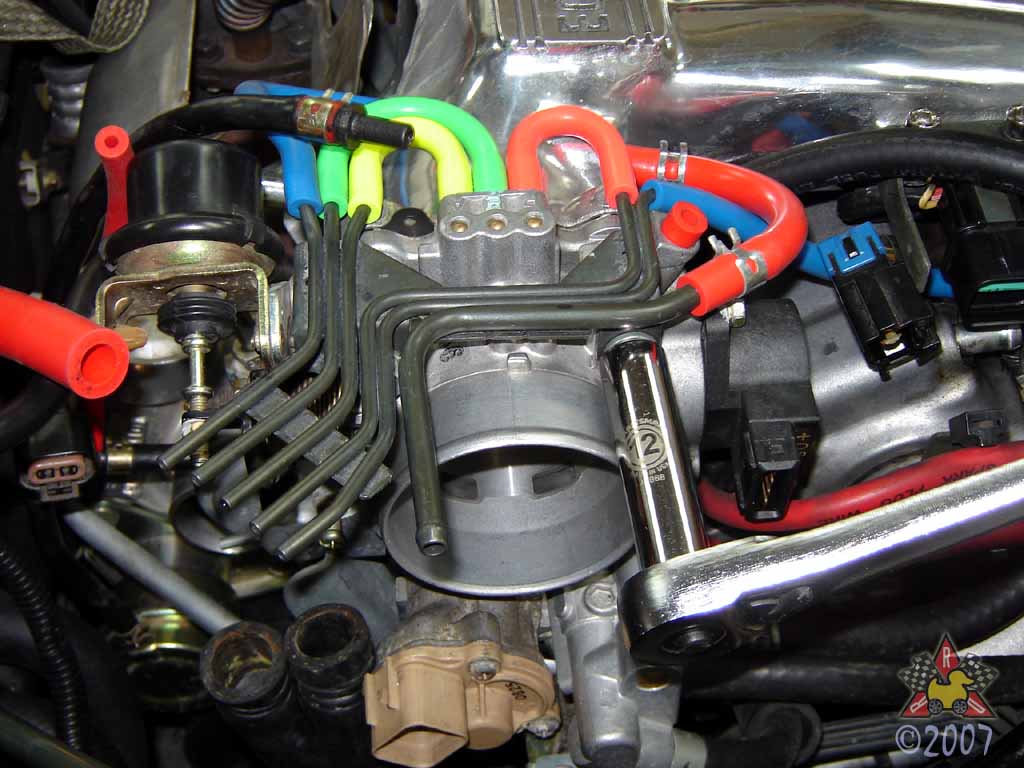
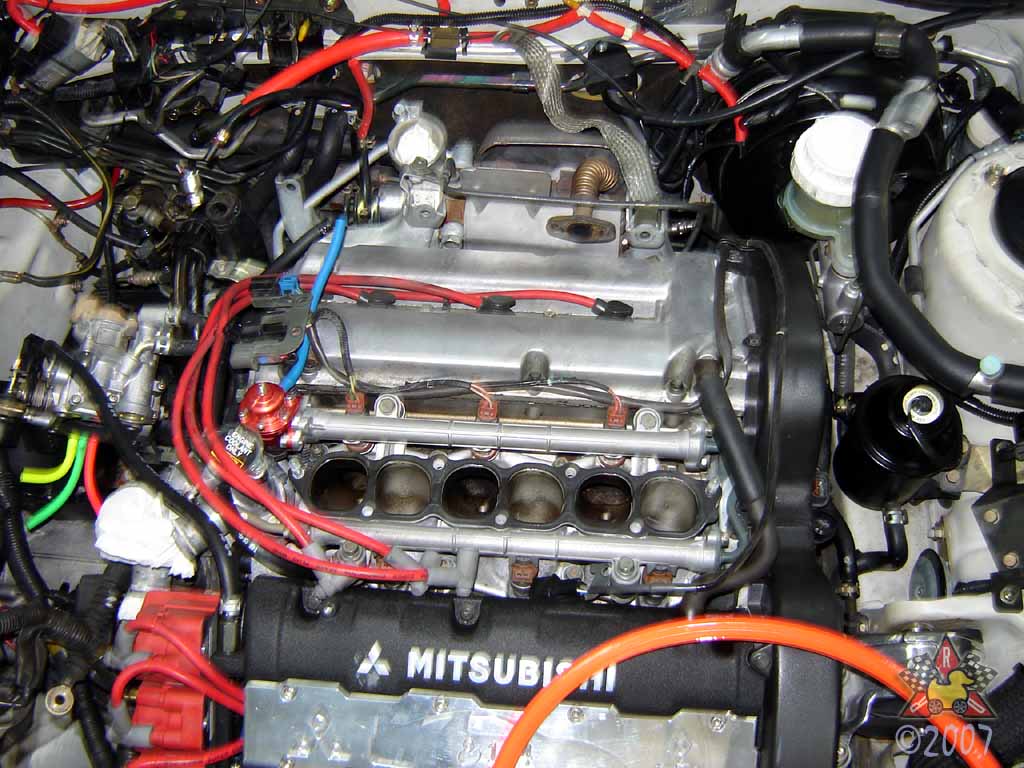
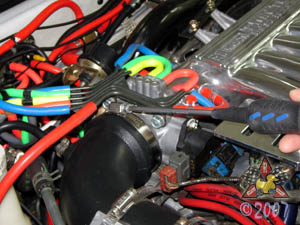
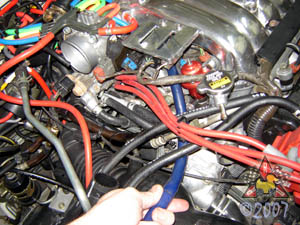
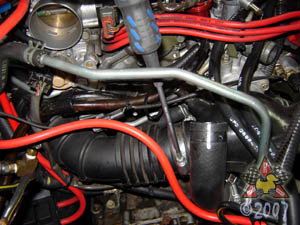
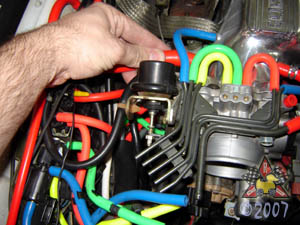
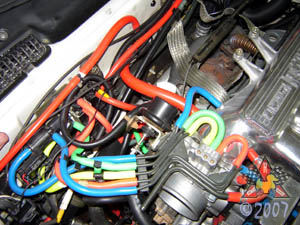
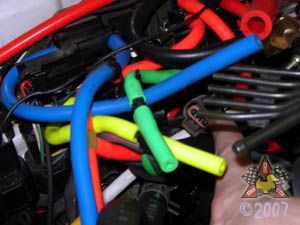
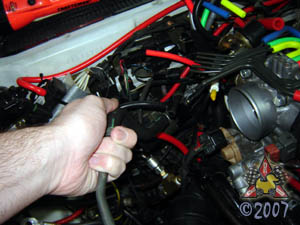
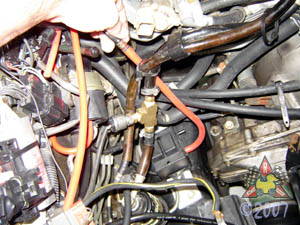
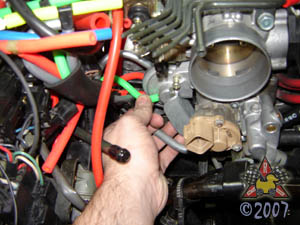
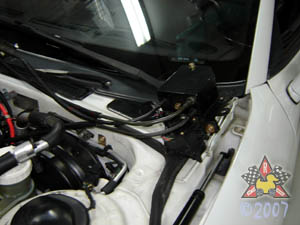
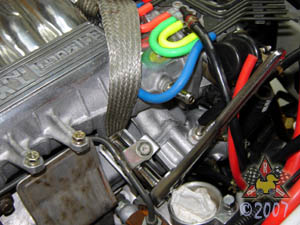
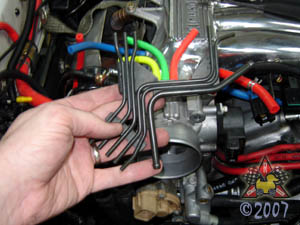
Document Vacuum Hose Routing and Disconnect Vacuum Lines
|
|
|
|
|
|
There are no less than 50,000 itty-bitty vacuum hoses in a rat's nest
around the throttle body. They all need to go back the same way when
you put it all back together, so find some way to remember which hose
goes where. Mine are all color coded, so you can more-or-less
see where they're supposed to go from this picture. Disconnect them from
the throttle body pipes at this point.
|
|
|
|
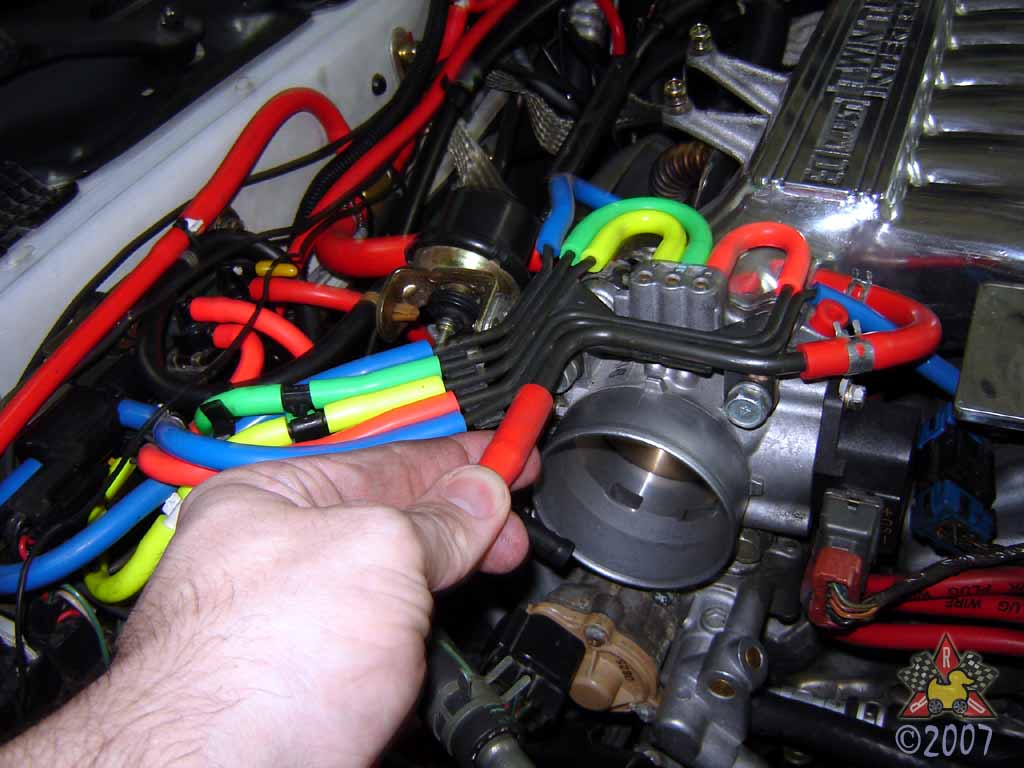
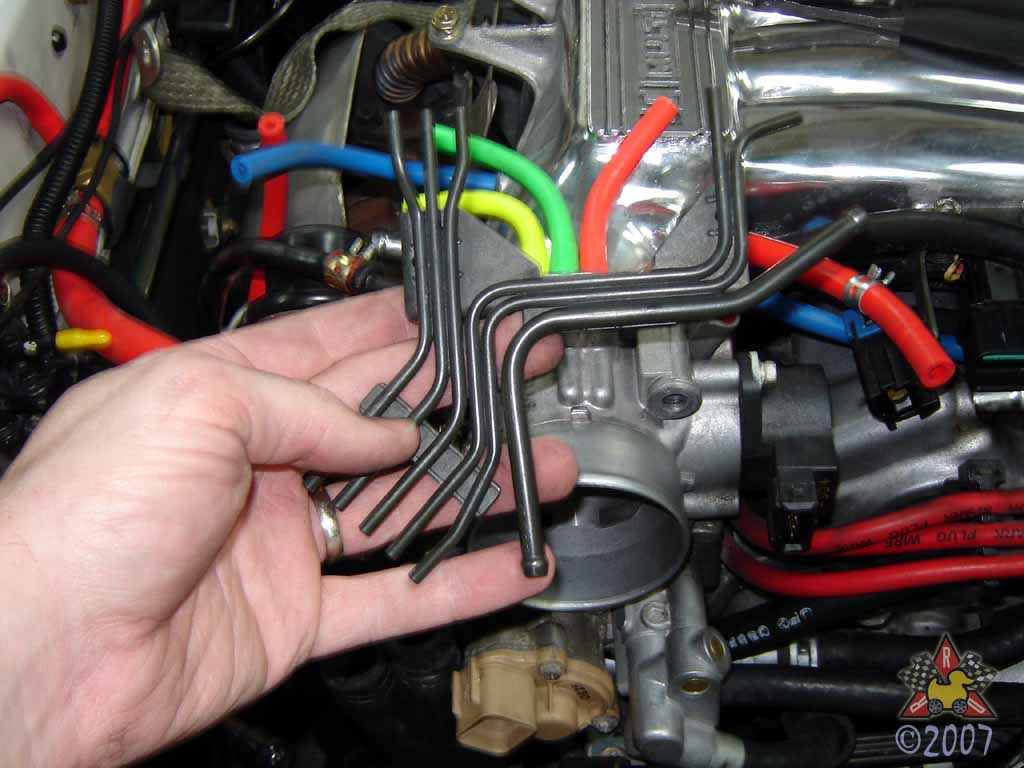
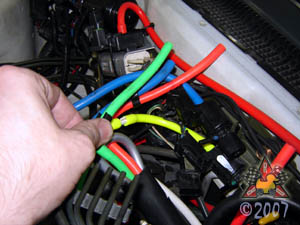
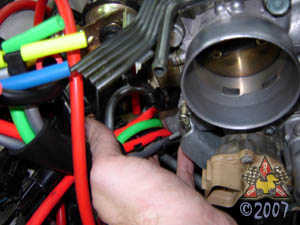
Remove Wire Tie Holding Evaporative Purge Valve Vacuum Lines
|
|
|
|
|
|
This is mainly just so you can document which hose goes to which connection
on the engine side and the valve side. There are 3 vacuum hoses there, and
they need to go to the correct locations when you reassemble everything.
|
|
|
|
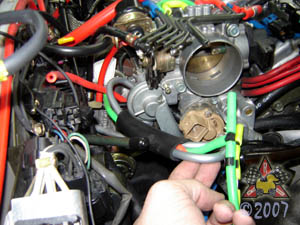
Remove Evaporative Purge Valve Vacuum Lines
|
|
|
|
|
|
You'll need to remove these three lines, but make sure you remember where they go.
Since mine are all the same color, I chose to mark them with a Sharpie pen before
I disconnected them.
|
|
|
|
Disconnect Throttle Body Cable
|
|
|
|
|
|
There's a cable that attaches to the throttle plate assembly on the throttle body.
You can remove it by pulling the cable such that the round end can slide out of
the throttle plate mechanism. Hard to get a camera in there - play with it a little
if you haven't done this before.
|
|
|
|
Disconnect EGR Valve Wiring Harness
|
|
|
|
|
|
Standard procedure - push the lock tab in and then pull the connector apart.
|
|
|
|
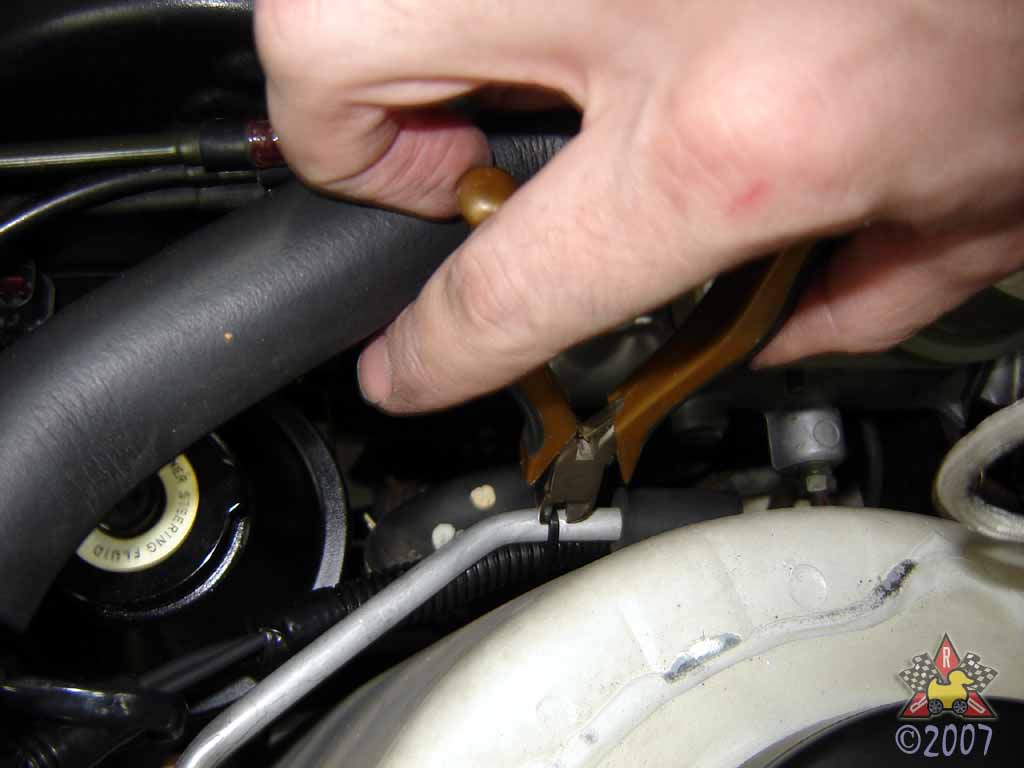
Unfasten EGR Wires from Firewall
|
|
|
|
|
|
Use a needle-nose pliers to pinch the tabs from behind; then pull the fastener out.
|
|
|
|
Disconnect Remaining Vacuum Lines
|
|
|
|
|
|
Now, you'll need to remove the other ends of the vacuum lines from the
assorted solenoids and pipes behind/below the throttle body. Take
pictures or notes so you know where they all go when you put it back
together.
|
|
|
|
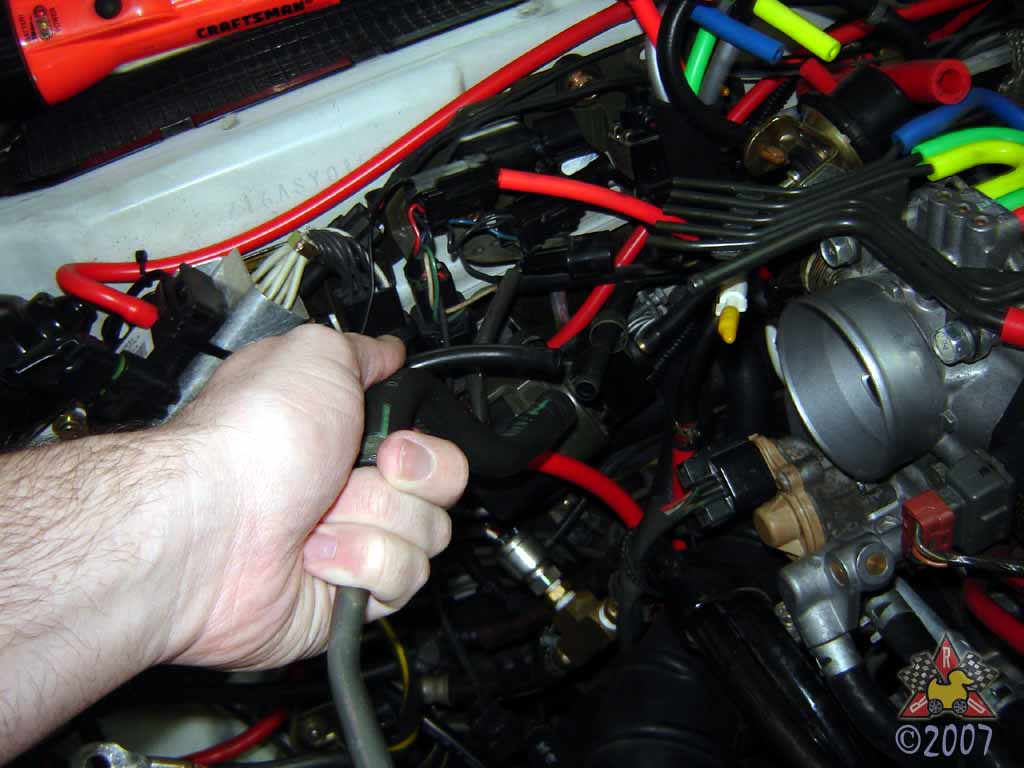
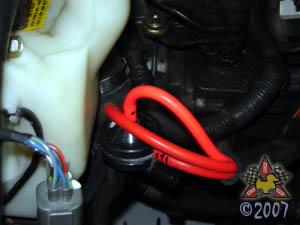
Remove Clutch Booster Vacuum Hose
|
|
|
|
|
|
Loosen the hose clamp, twist, and pull. Don't bend the metal pipe!
|
|
|
|
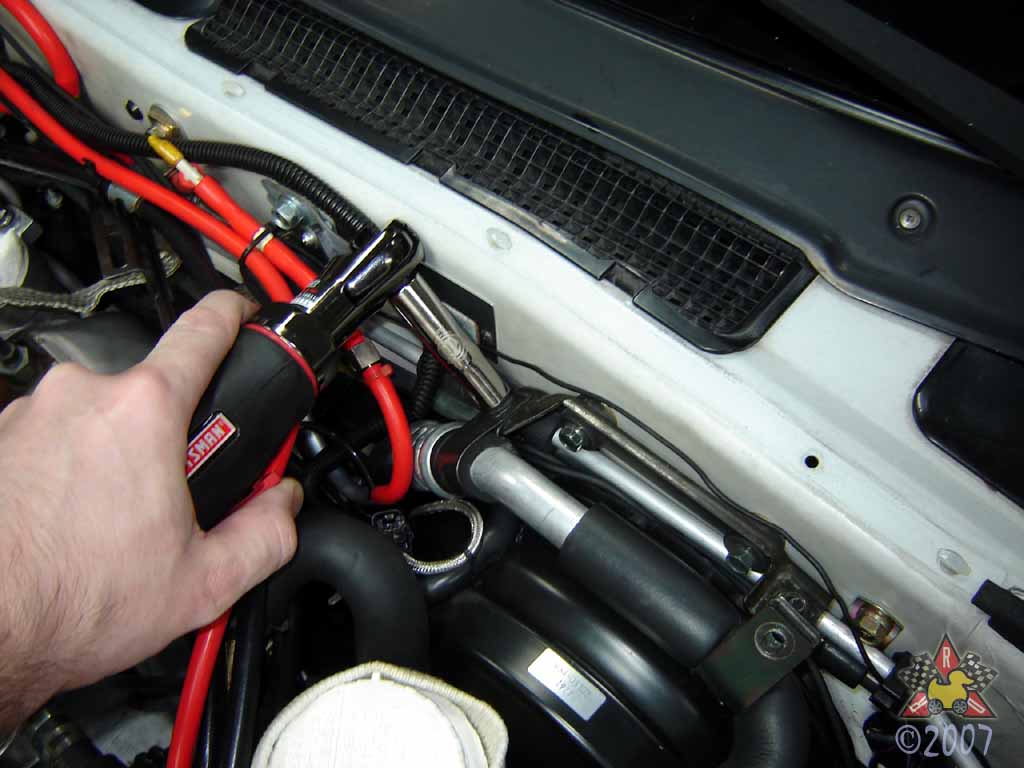
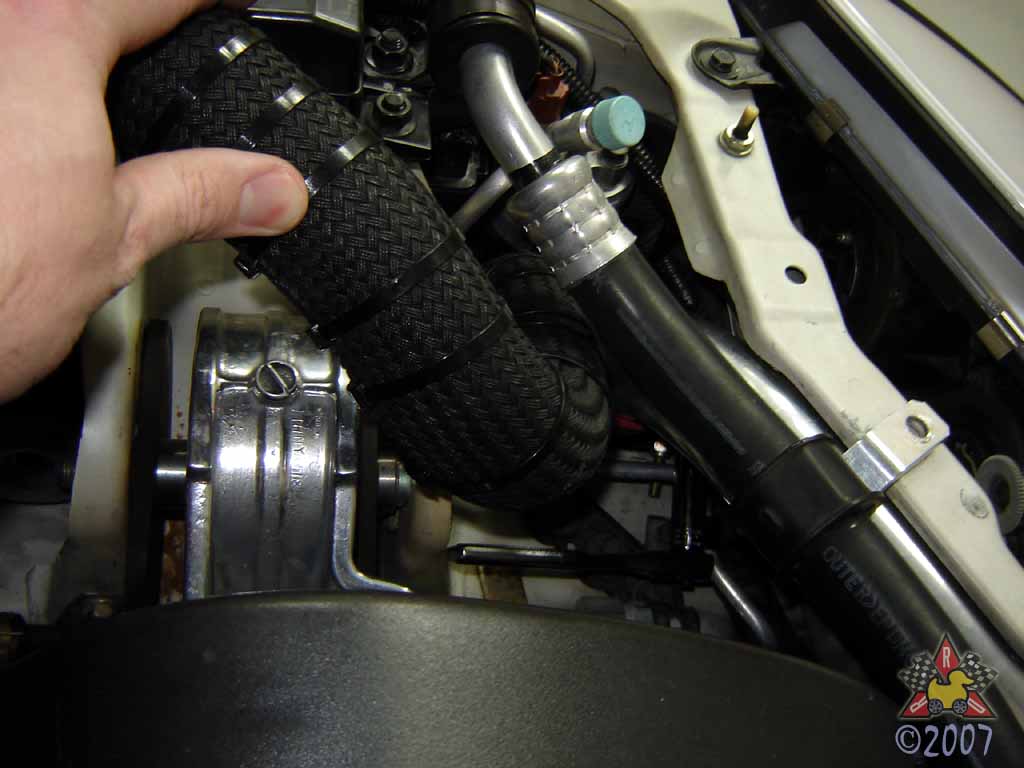
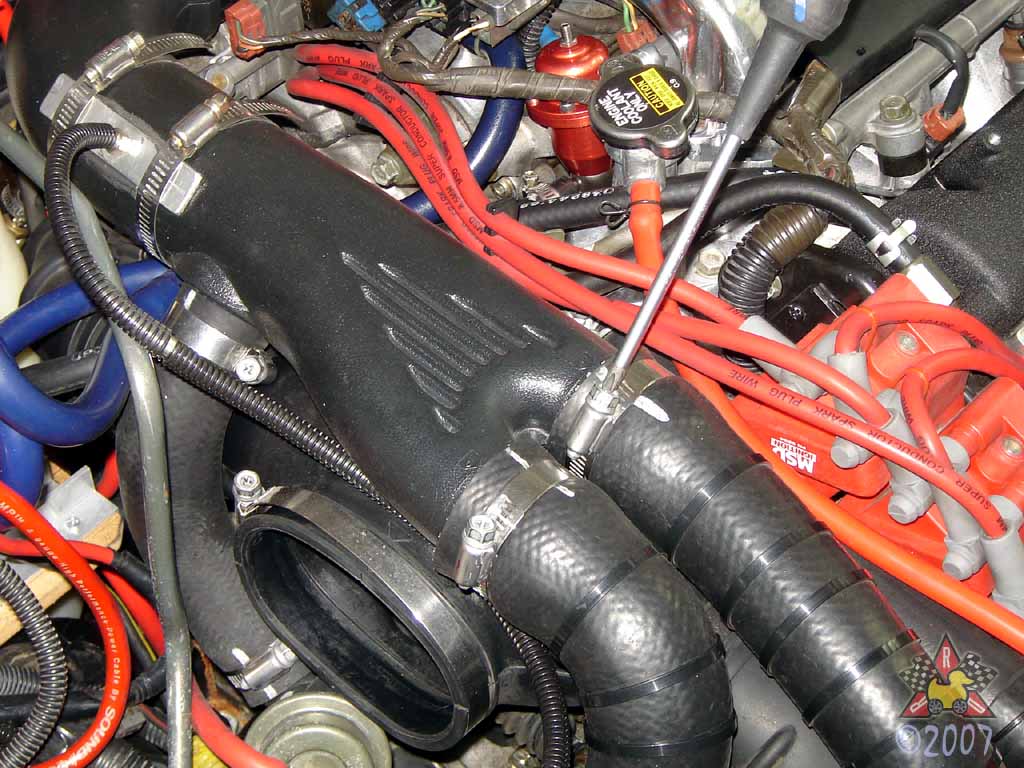
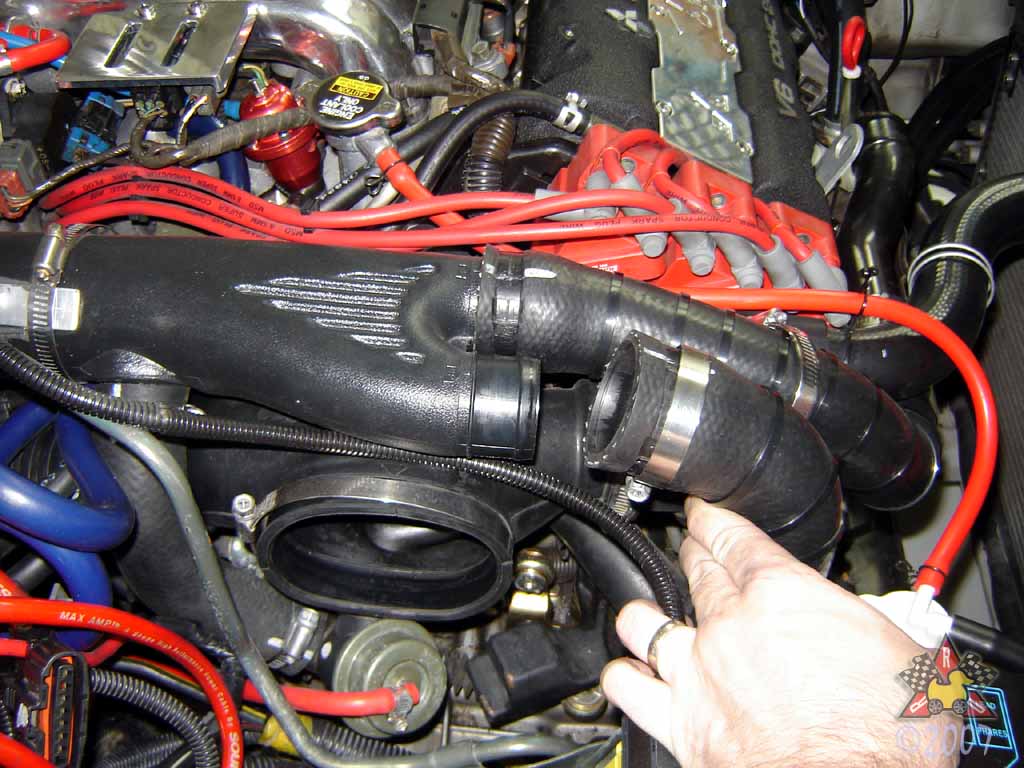
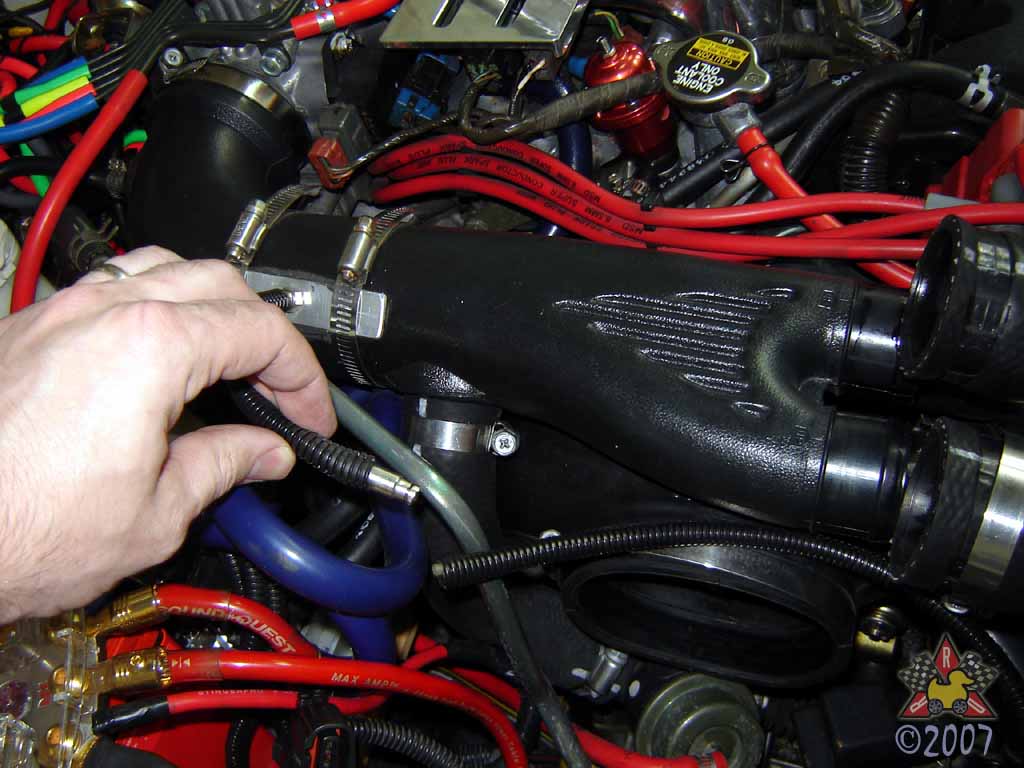
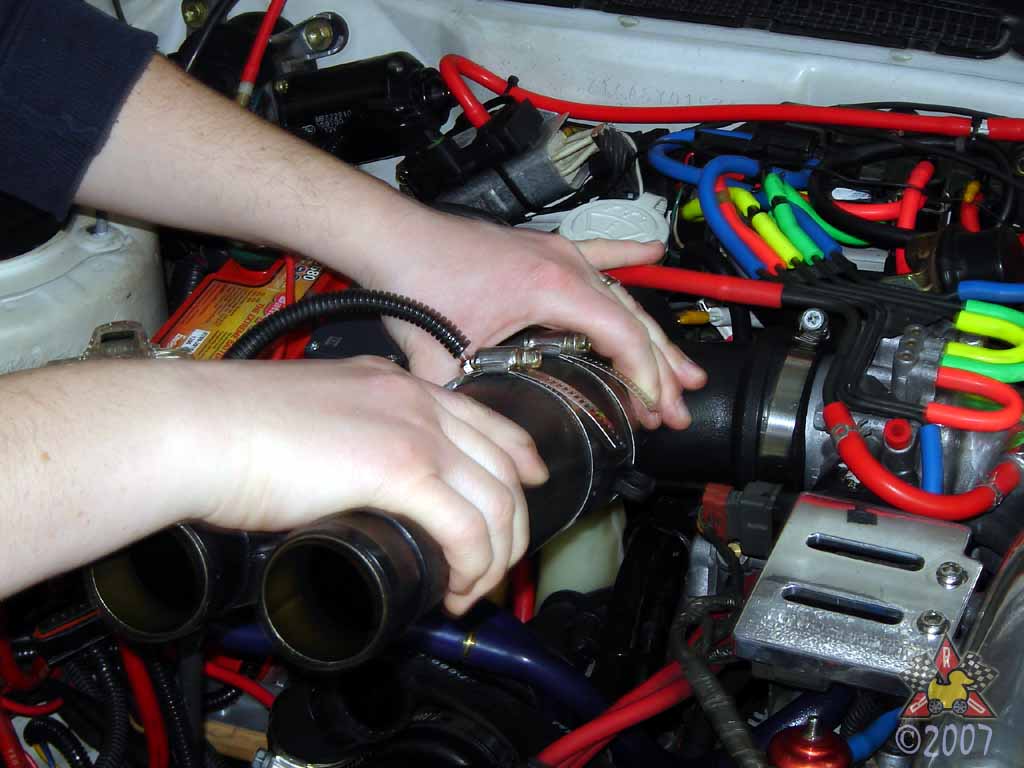
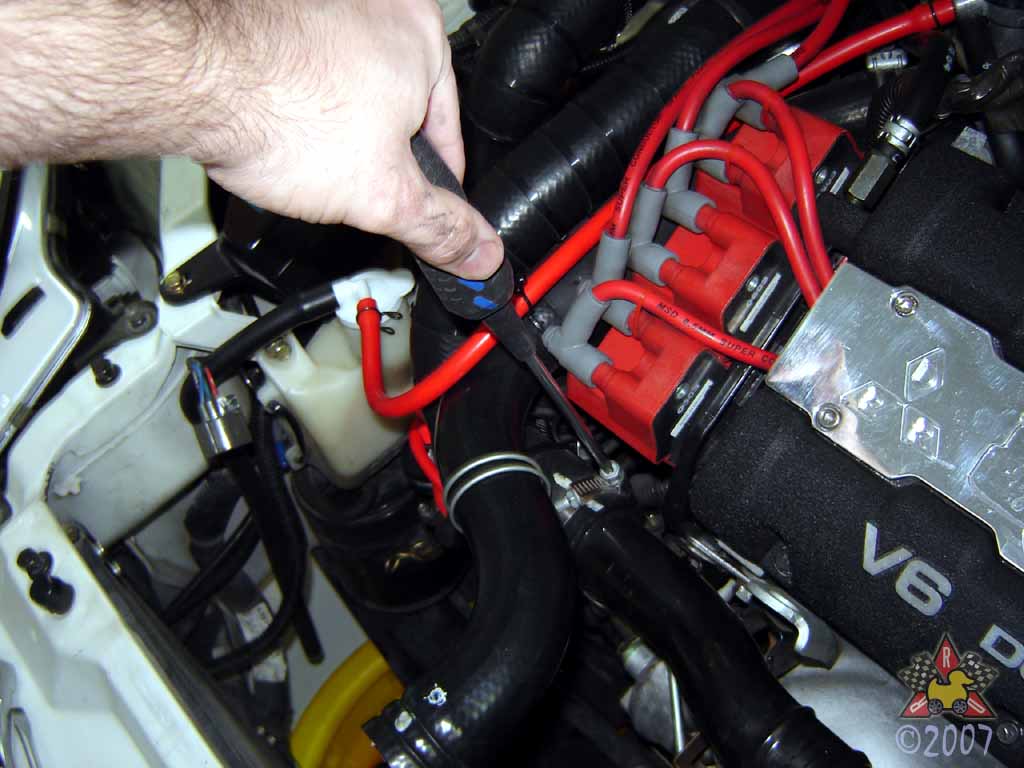
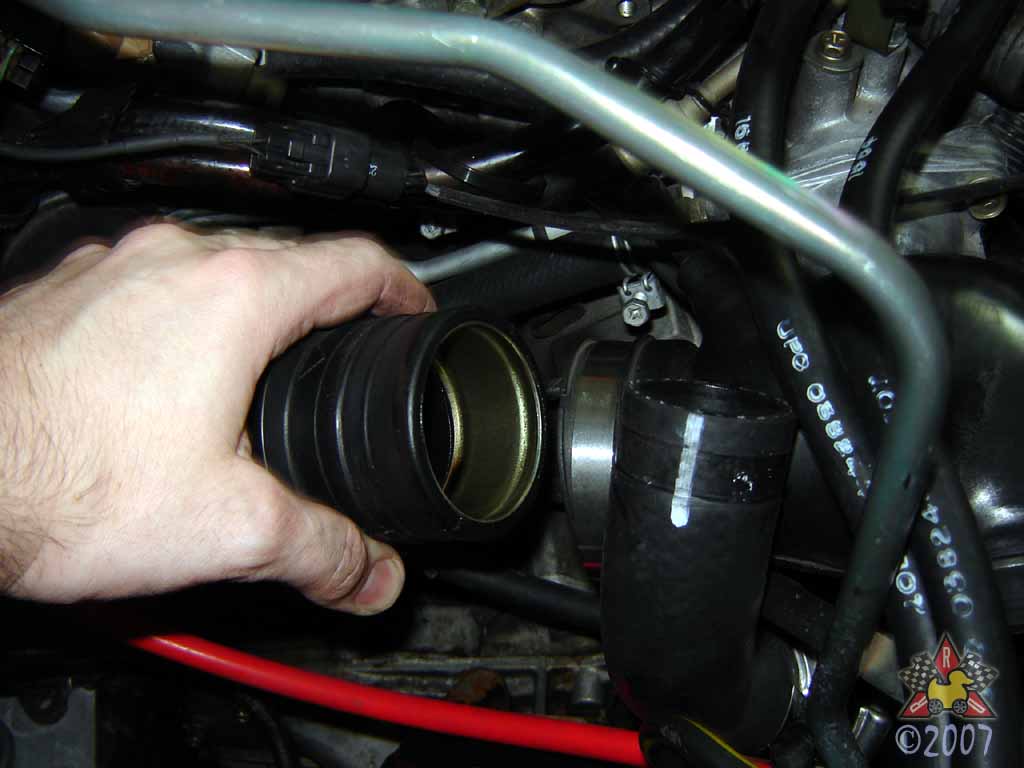
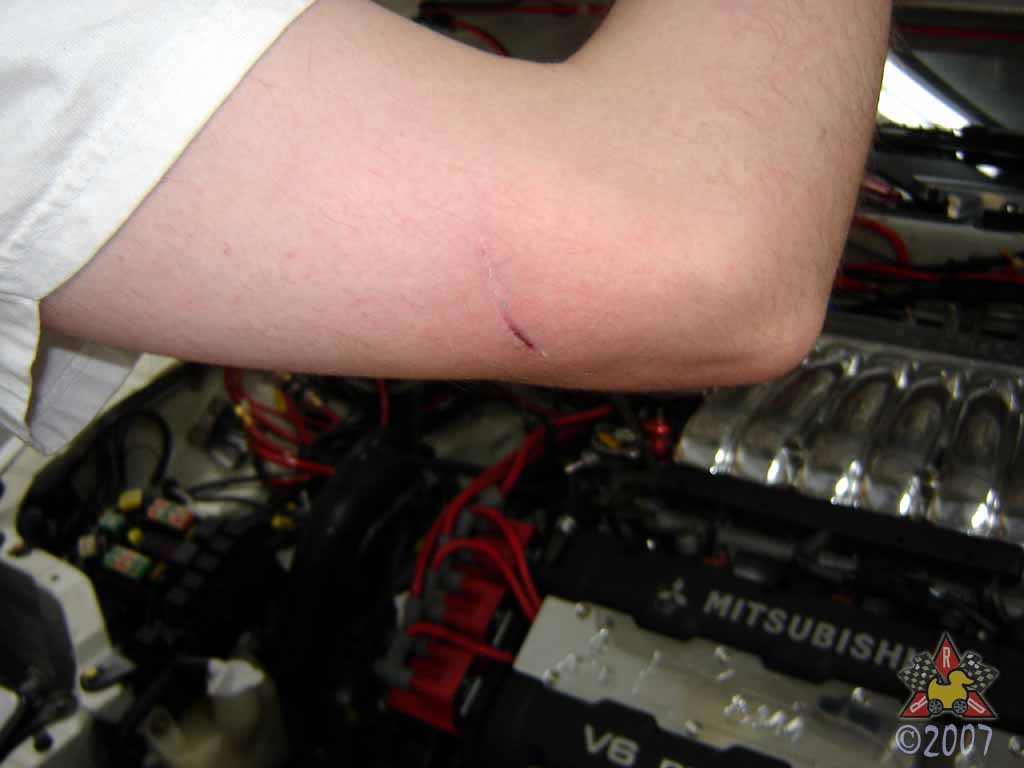
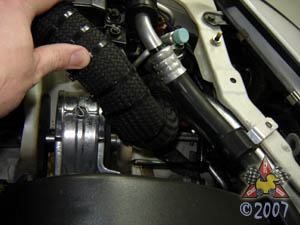
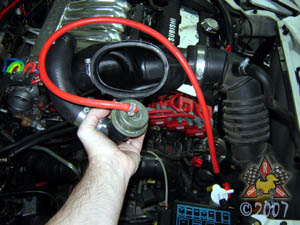
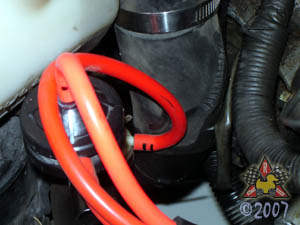
Disconnect Passenger-Side Intercooler Inlet Hose
|
|
|

|
|
|
Loosen the hose clamp, twist, and pull. Pull too hard and your arm will
fly into stuff when it gives way suddenly :( That smacked the crap
out of my ulnar nerve and my hand hurt/tingled for 20 minutes (seriously).
So... uh... don't pull too hard ;-)
|
|
|
|
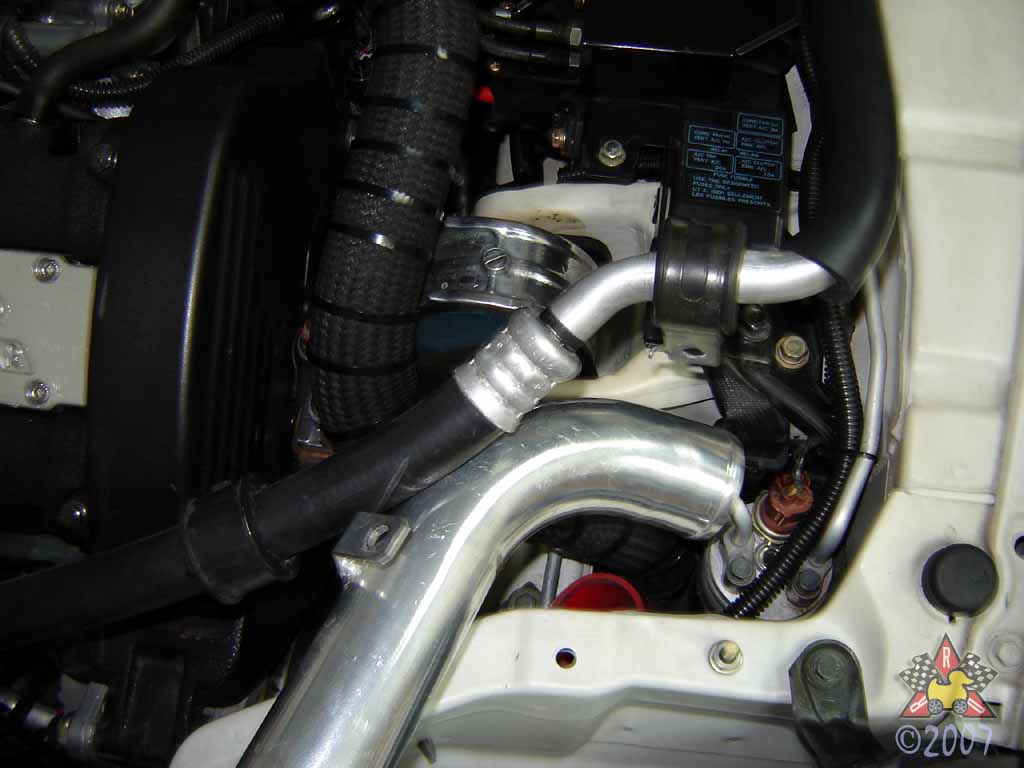
Disconnect Front Turbocharger Compressor Outlet Hose
|
|
|

|
|
|
Loosen the hose clamp, twist, and pull.
|
|
|
|
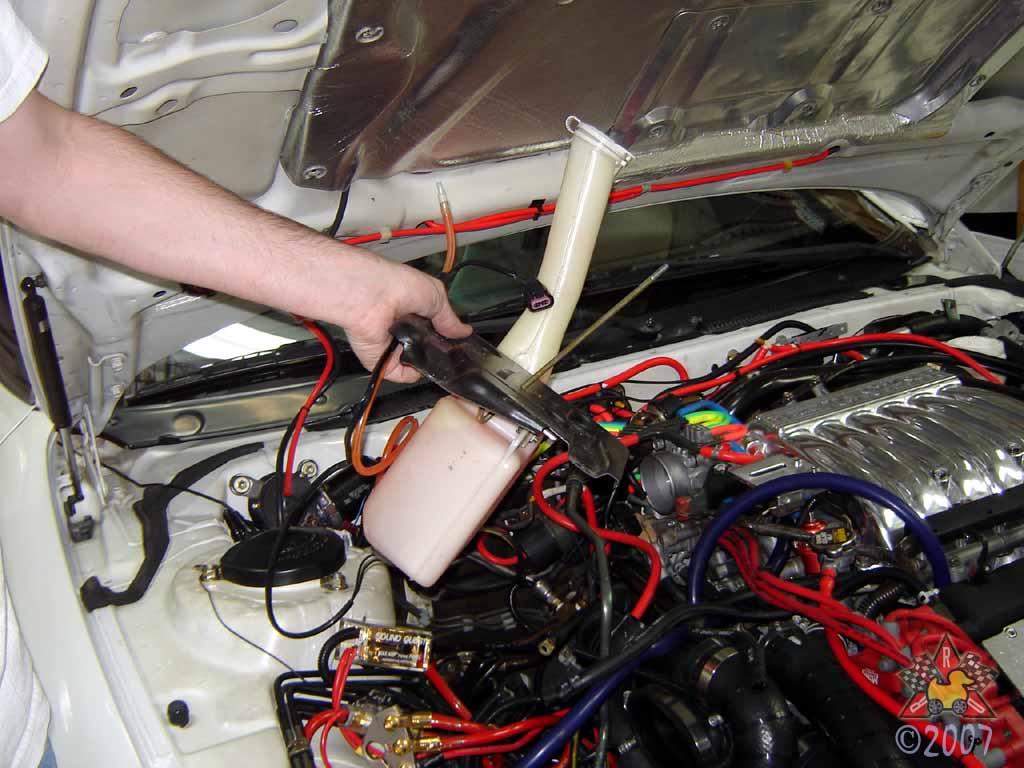
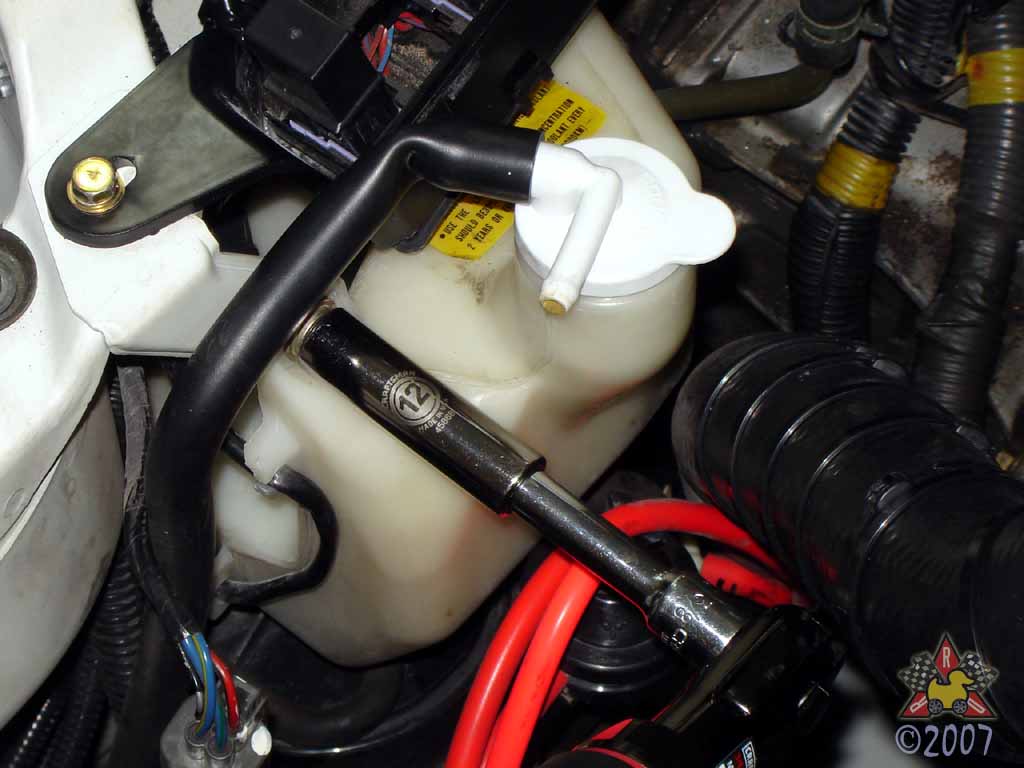
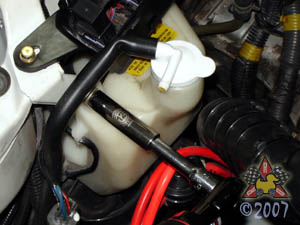
Remove Coolant Overflow Tank (Optional)
|
|
|
|
|
|
I removed the tank because I wanted to clean it out, and because
it gave me some extra working room in the engine bay. There are
three 12mm bolts that secure it to the chassis.
|
|
|
|
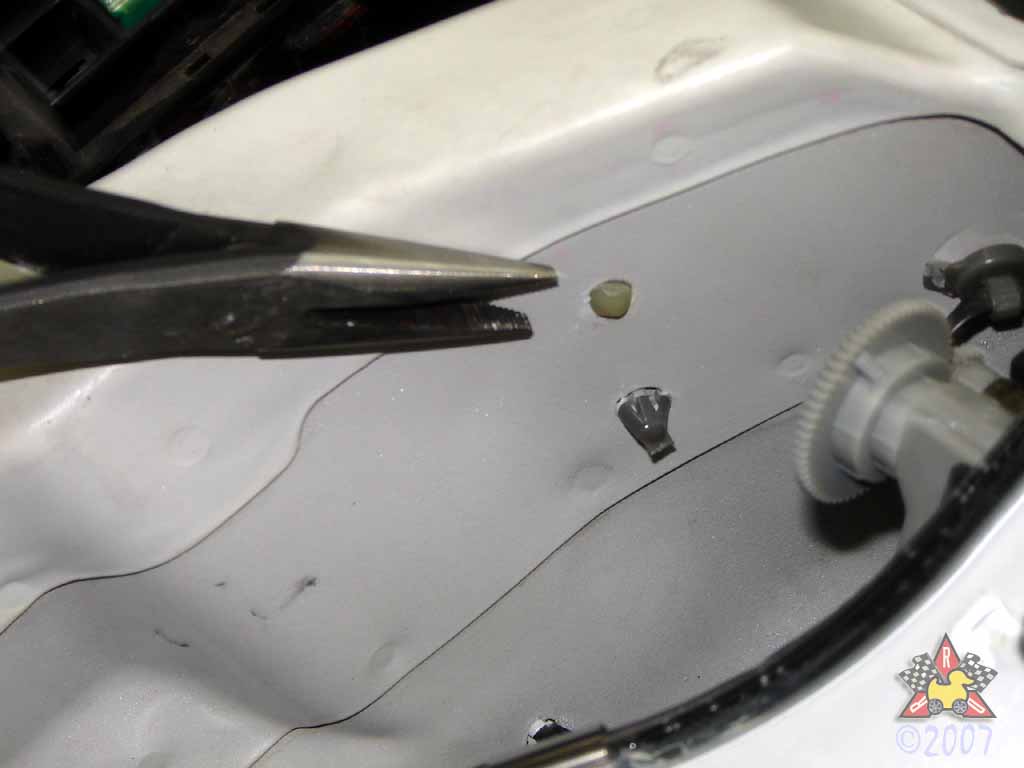
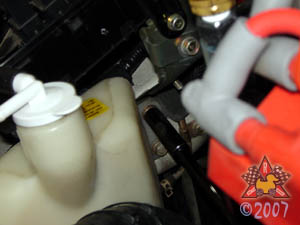
Disconnect Coolant Overflow Tank Level Sensor Harness
|
|
|
|
|
|
Unless you want to remove the sensor from the bottom of the tank,
you'll need to remove the fastener that secures the wiring (first
picture) by accesing the clip's prongs in the headlight bucket.
Then you can disconnect the wiring harness itself.
|
|
|
|
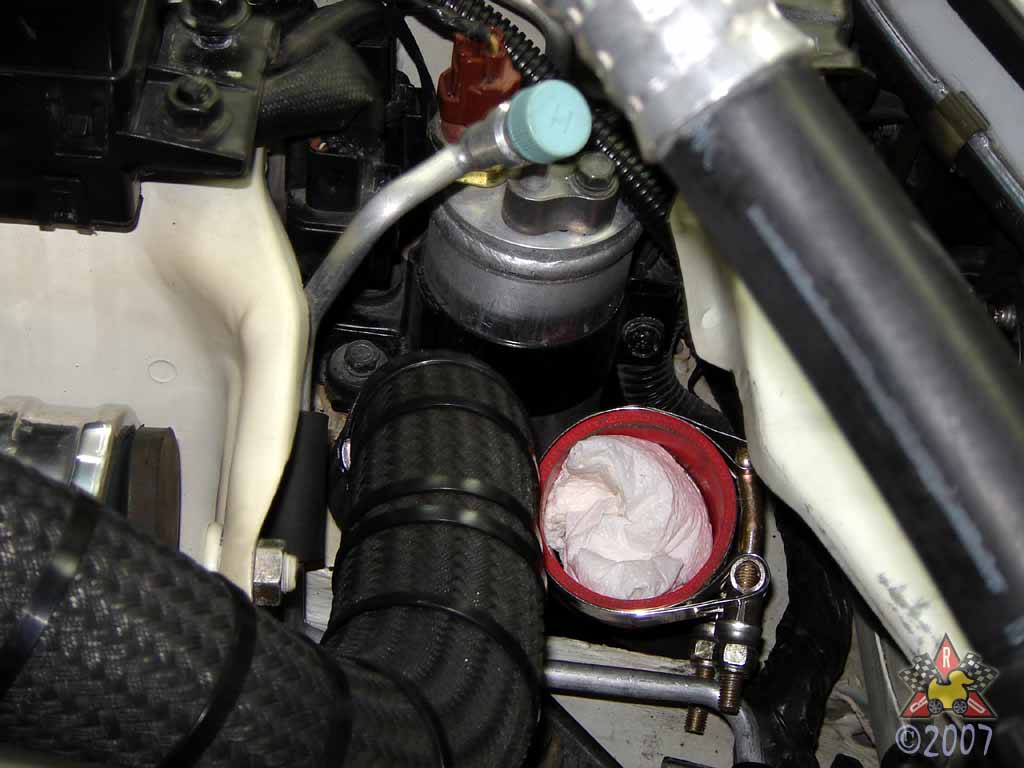
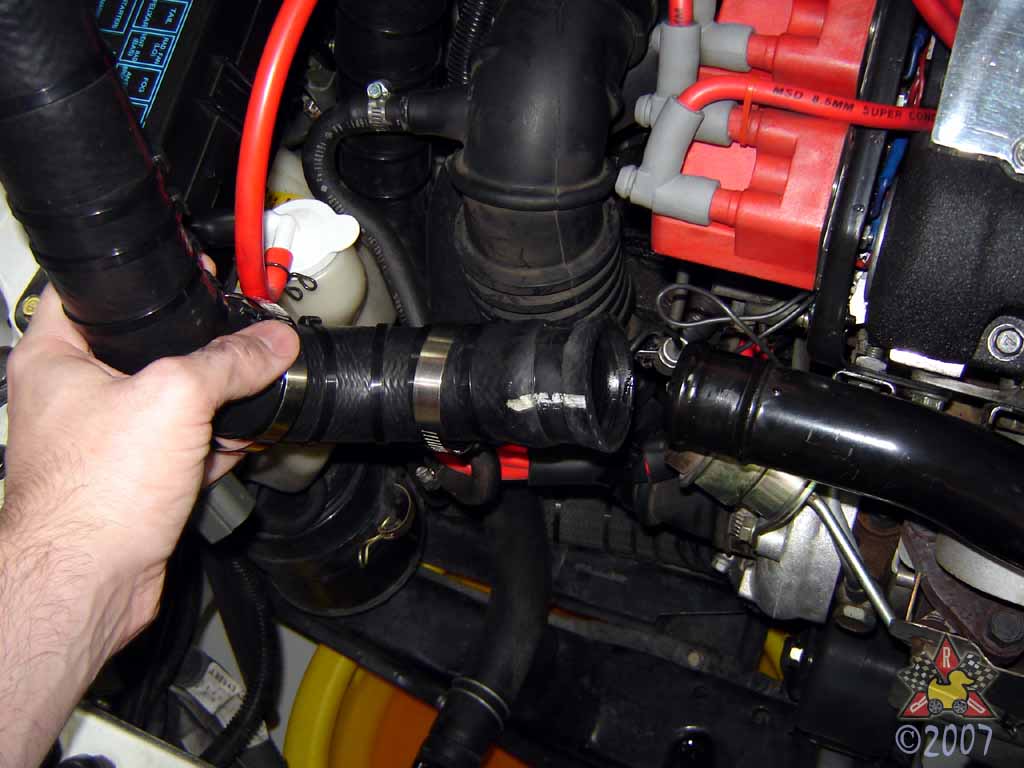
Disconnect Passenger-Side Intercooler Outlet Hose
|
|
|

|
|
|
I couldn't disconnect the hose as it was, so I disconnected the pipe
at the intecooler itself. If I recall correctly, the OEM pipe is a little
smaller in diameter, so removing the hose should be easier. I have
the HKS SMIC upgraded intercoolers, so I have a silicone coupler with
T-bolt clamps that I can disconnect.
|
|
|
|
Unbolt Clutch Vacuum Hard Line Stay from Fusebox Stay and Remove Hard Line
|
|
|

|
|
|
There's a small rubber hose here for the clutch booster vacuum line. Mine was really stuck
on there, so I elected to disconnect one end of the rubber hose and just remove the hard line
entirely - I was also planning to remove the clutch vacuum reservoir, so that made
even more sense.
|
|
|
Remove Clutch Booster Vacuum Tank [optional]
|
|
|

|
|
|
I decided I didn't want this on my car anymore, so I removed it. You can
probably R&R the engine without doing this, though.
|
|
|
|
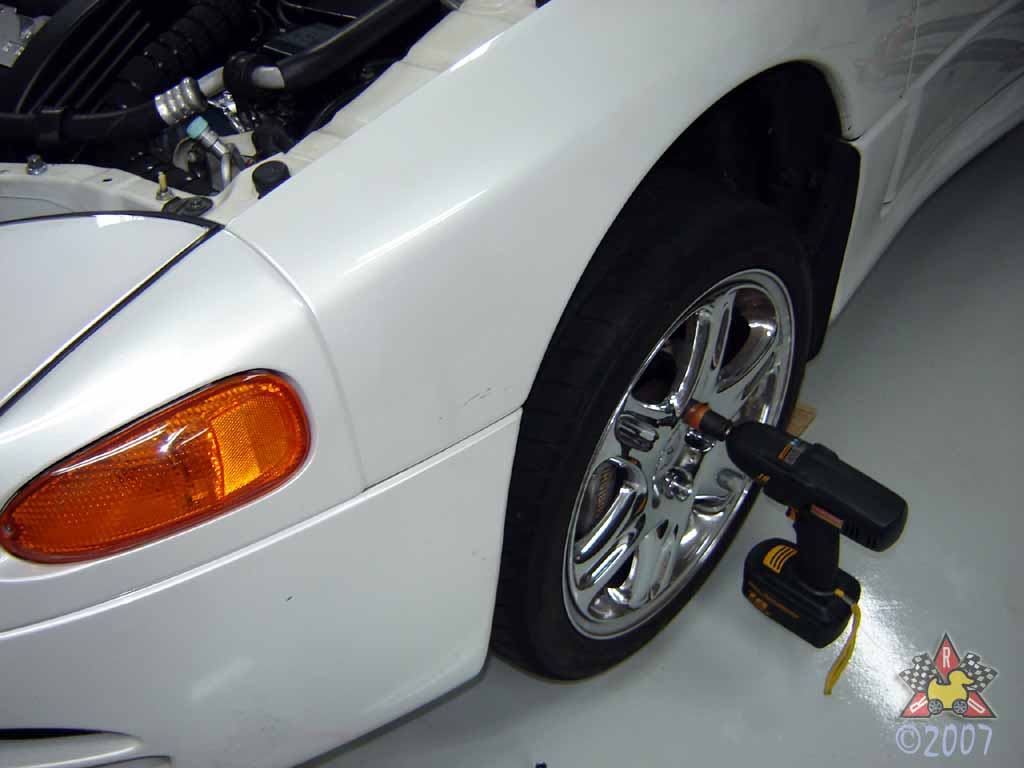
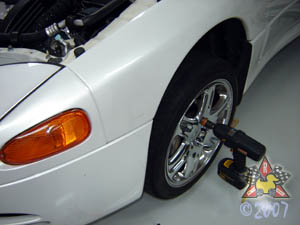
Remove Left Front Wheel
|
|
|
|
|
|
You'll need access to the inside of the driver's side wheel well
for the next part, so you'll need to remove the front wheel. Get out
your happy impact wrench and zip the lugnuts off after raising and
supporting the front end of the car.
|
|
|
|
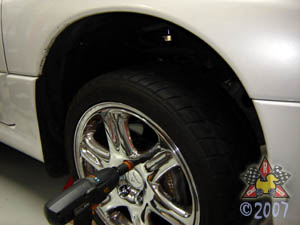
Remove Right Front Wheel
|
|
|
|
|
|
While you're at it, might as well remove the right front wheel,
as you'll need it off later.
|
|
|
|
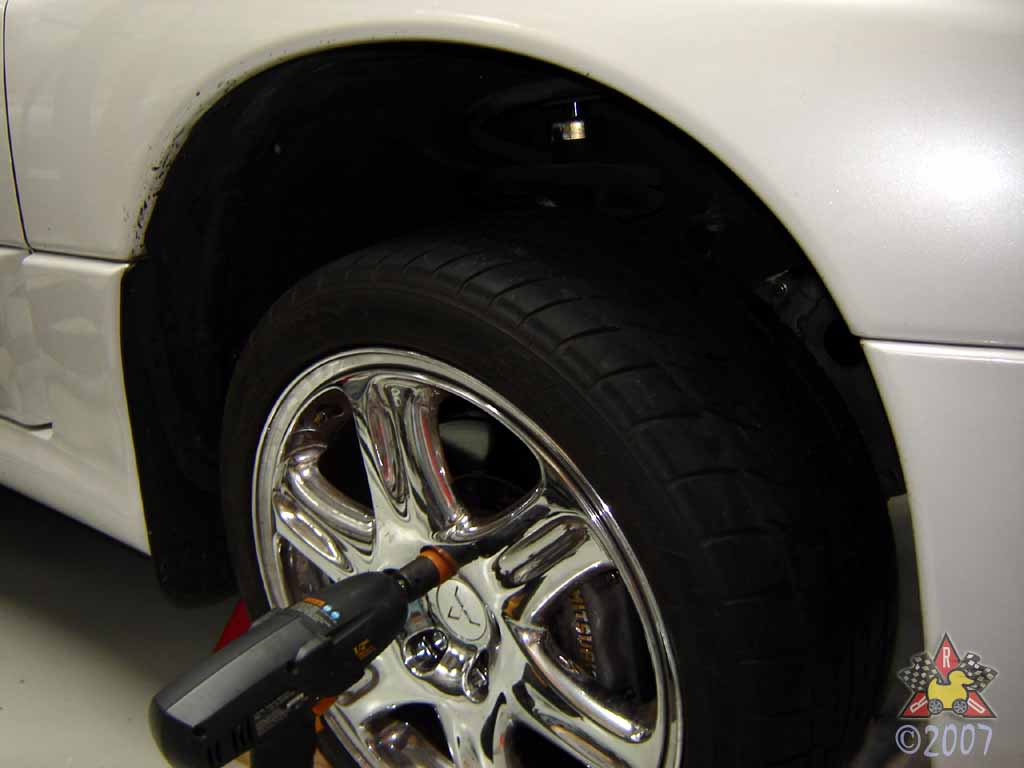
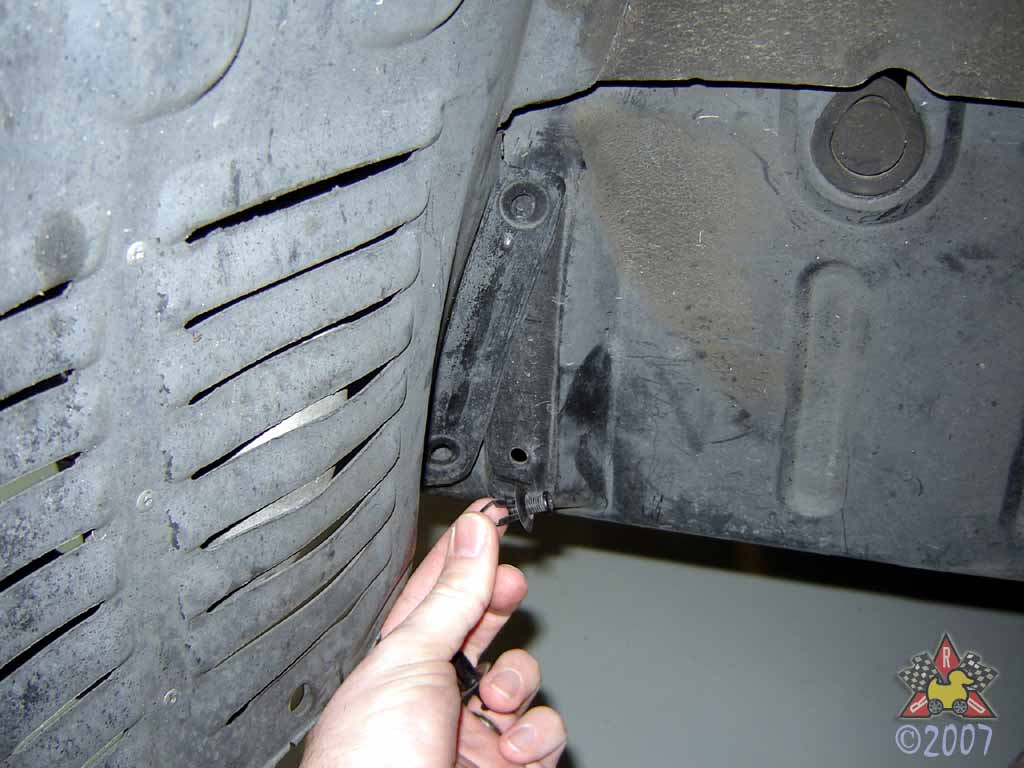
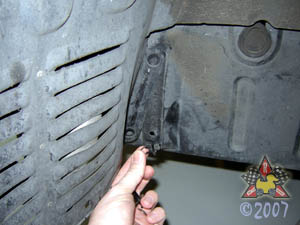
Remove Left Inner Wheelwell Splashguard
|
|
|

|
|
|
There are two plastic clips and two 12mm bolts that hold the inner splash
shield to the car. The plastic clips can be a real pain on older cars, but
the general idea is that you gently twist the plastic screw with a Phillips
screwdriver and that allows the prongs to retract, which in turn allows
you to remove the fastener. The bolts are pretty standard stuff, and then
the plastic shield should just come off.
|
|
|
|
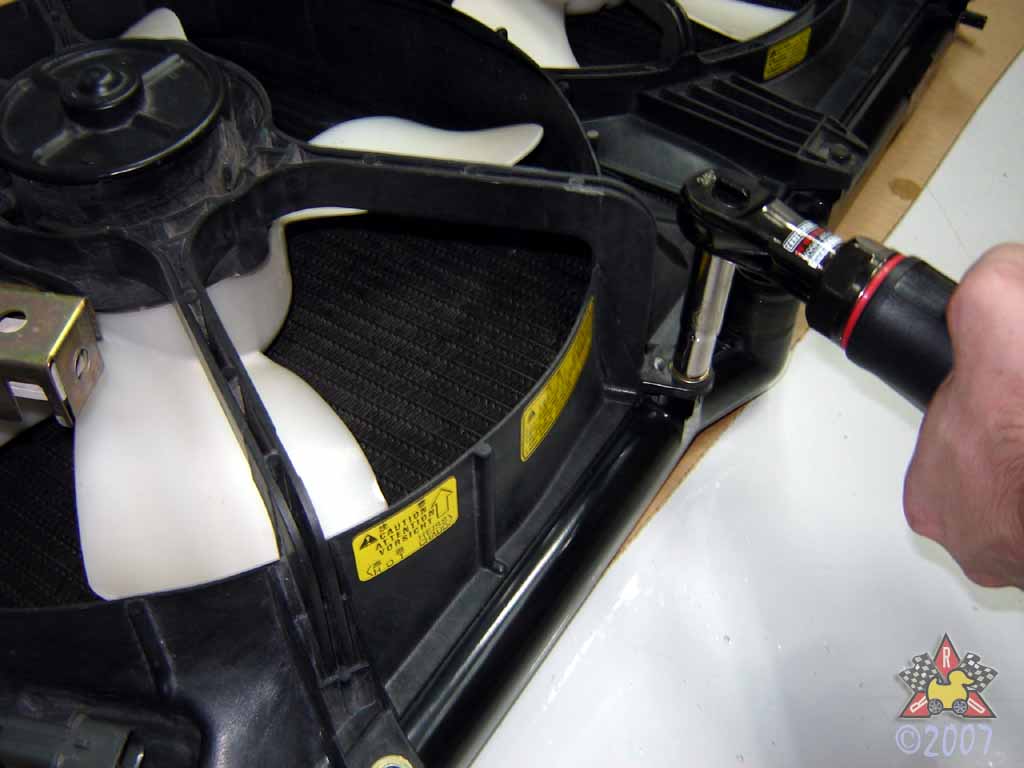
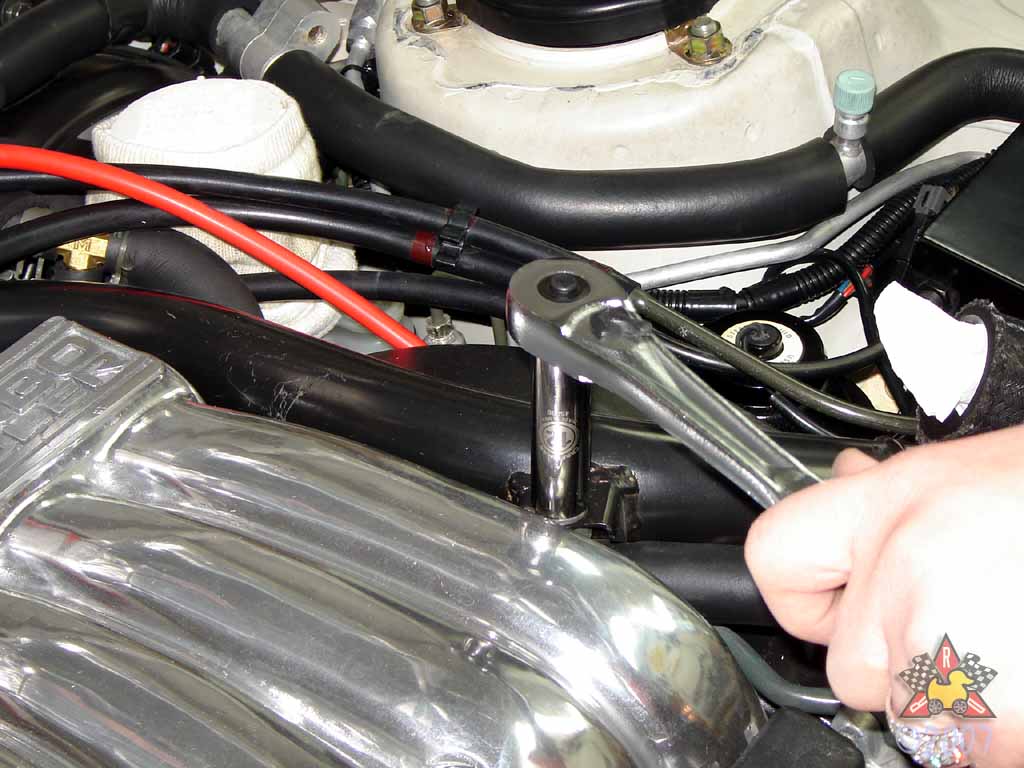
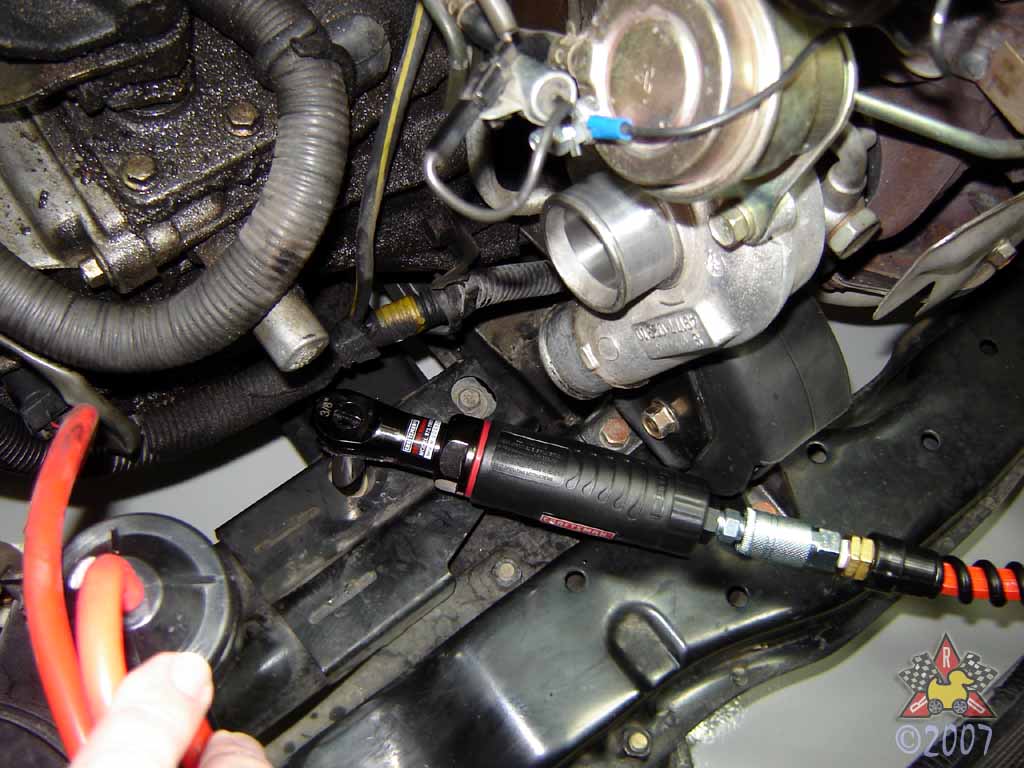
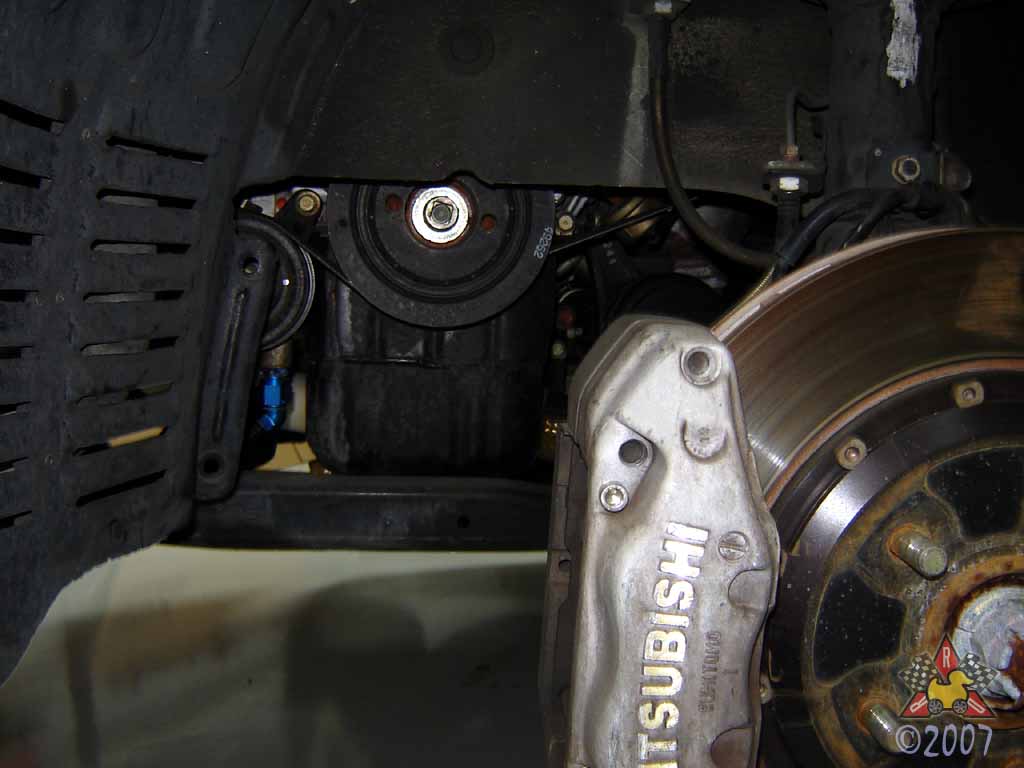
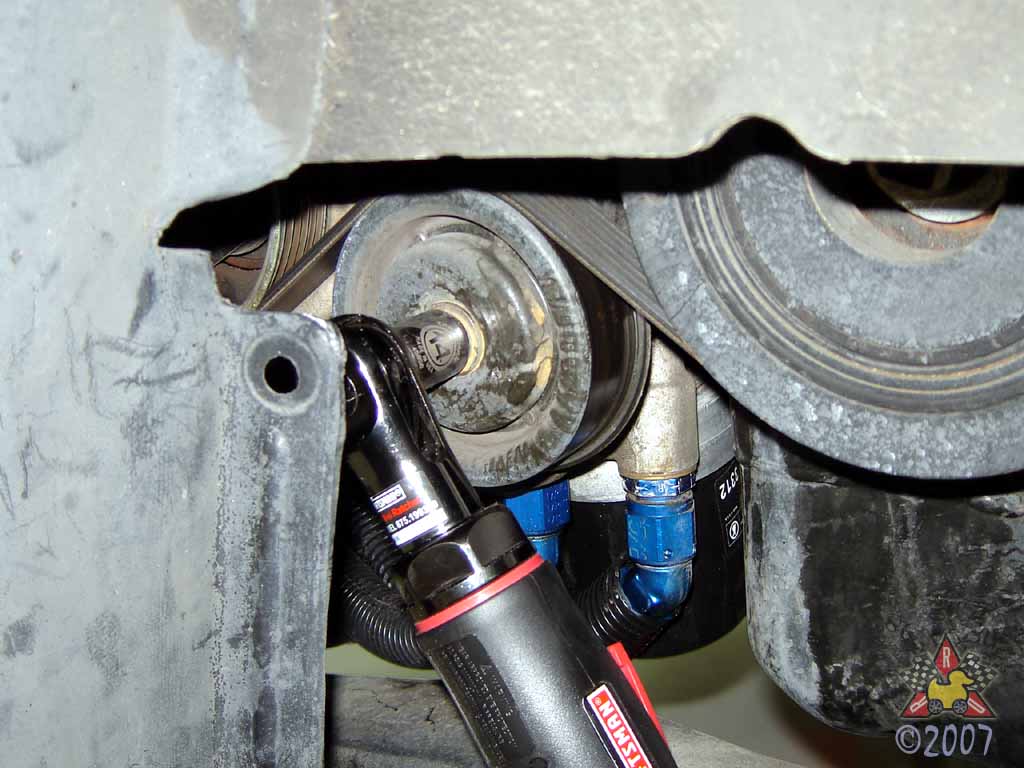
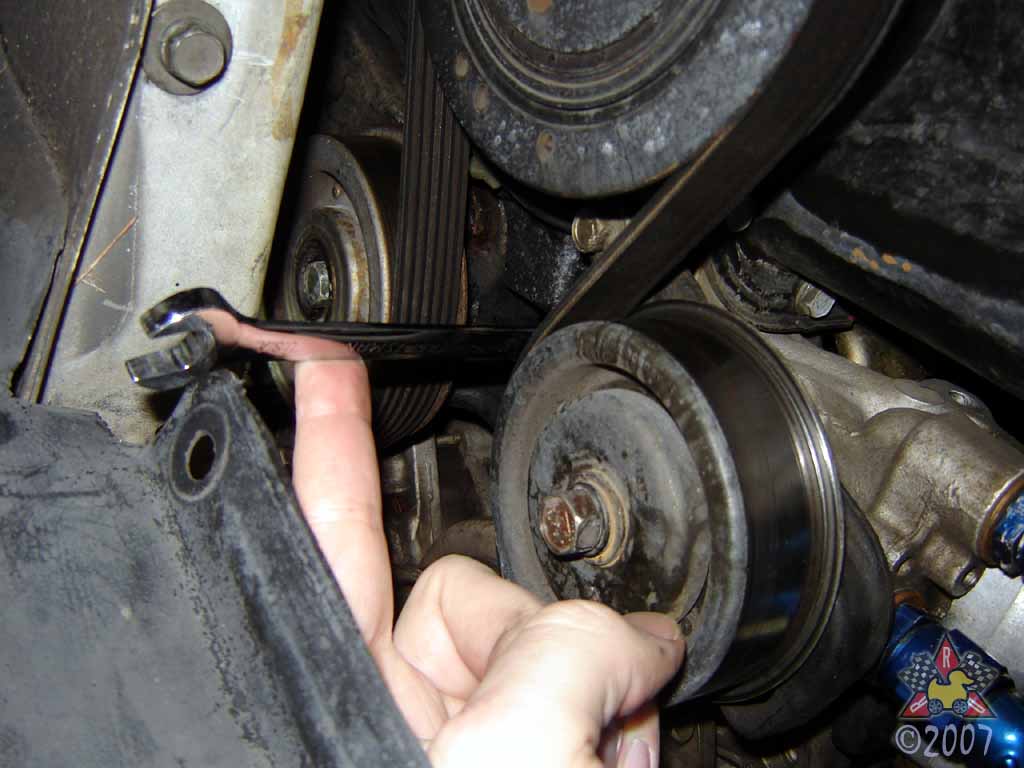
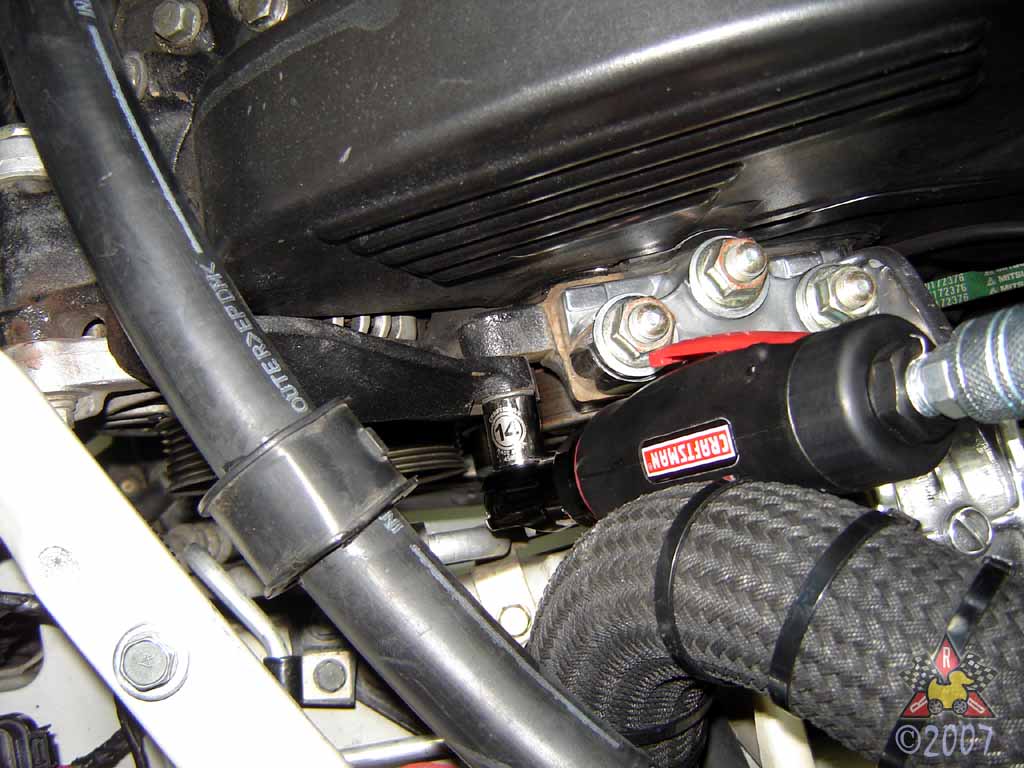
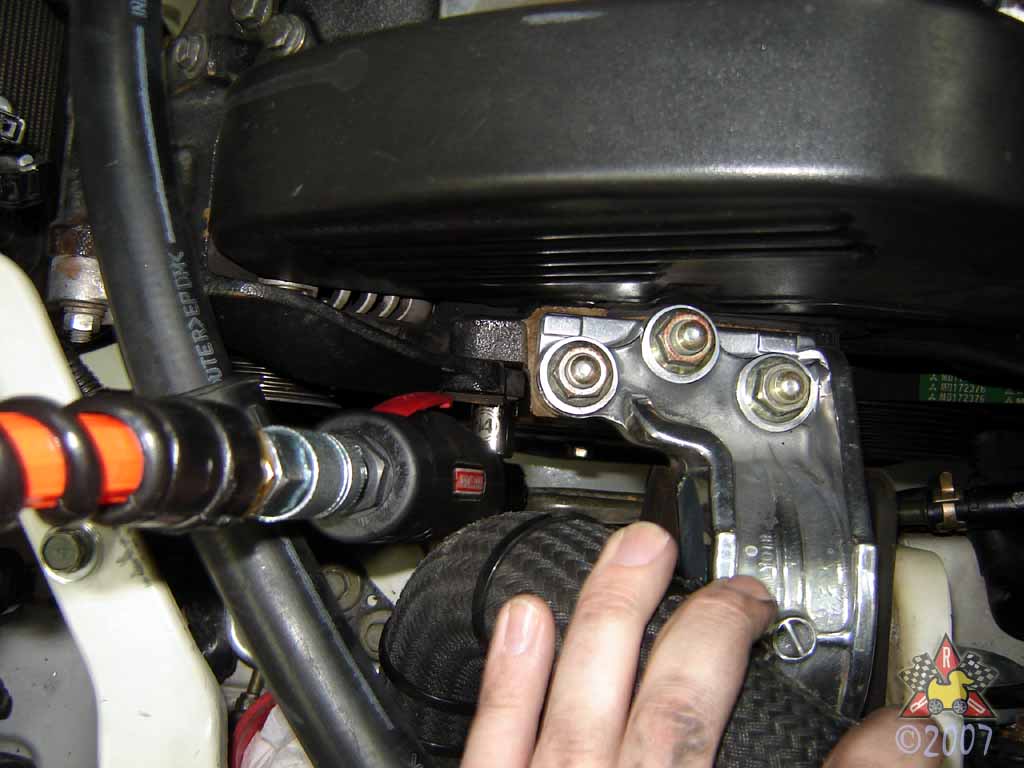
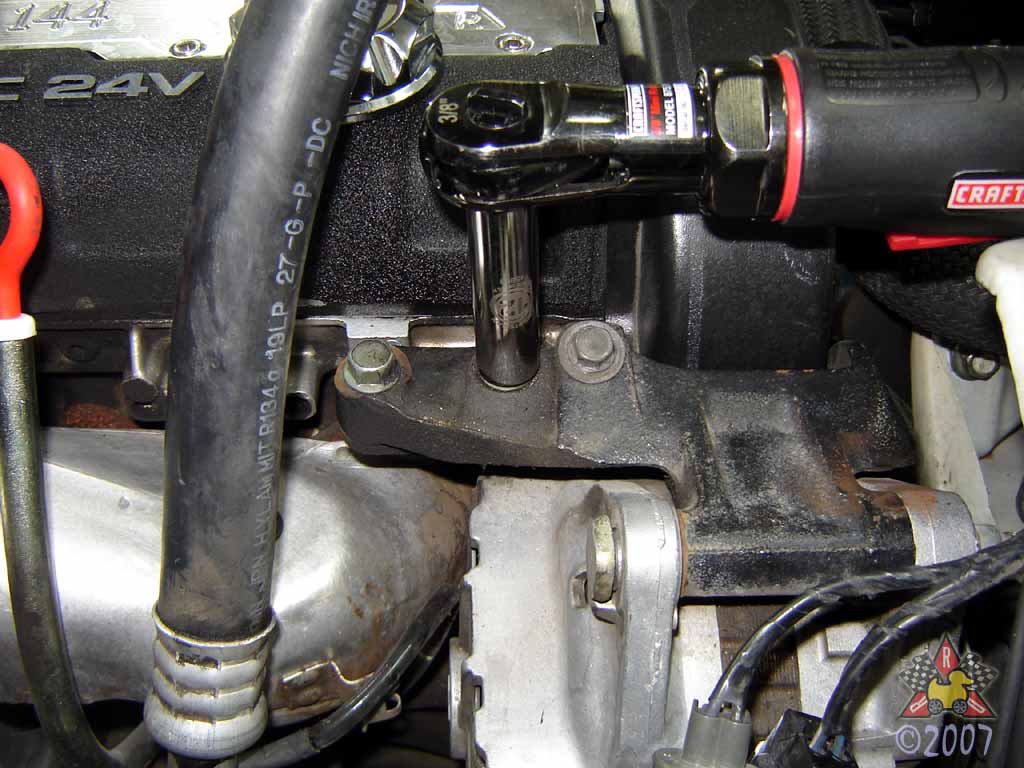
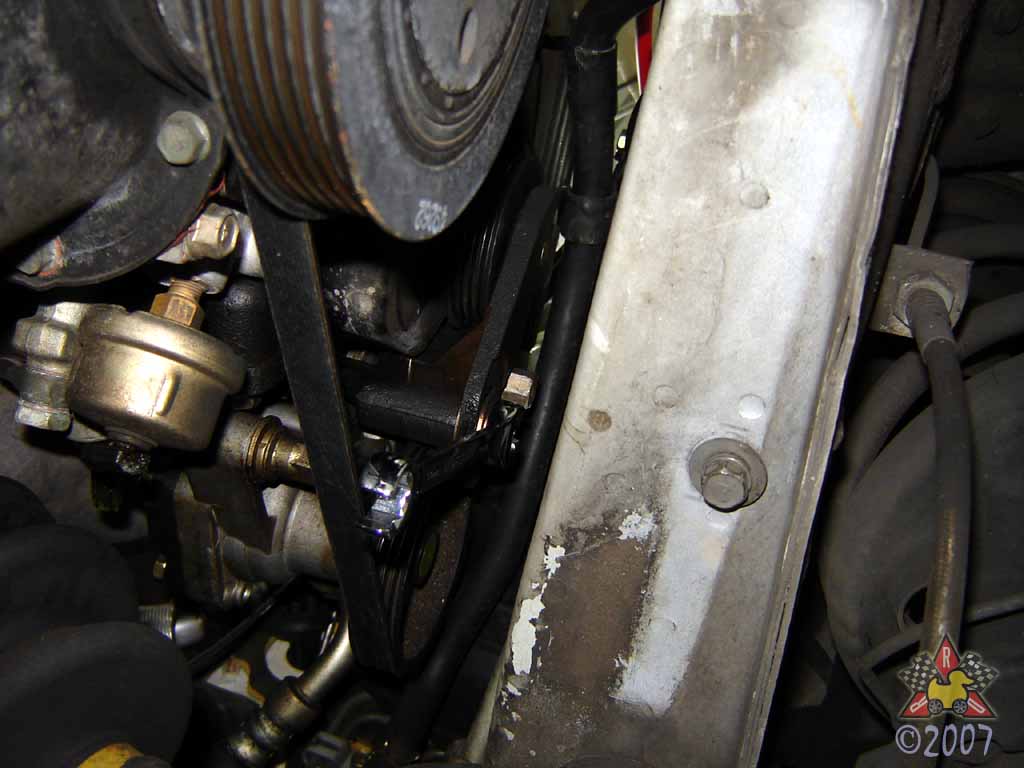
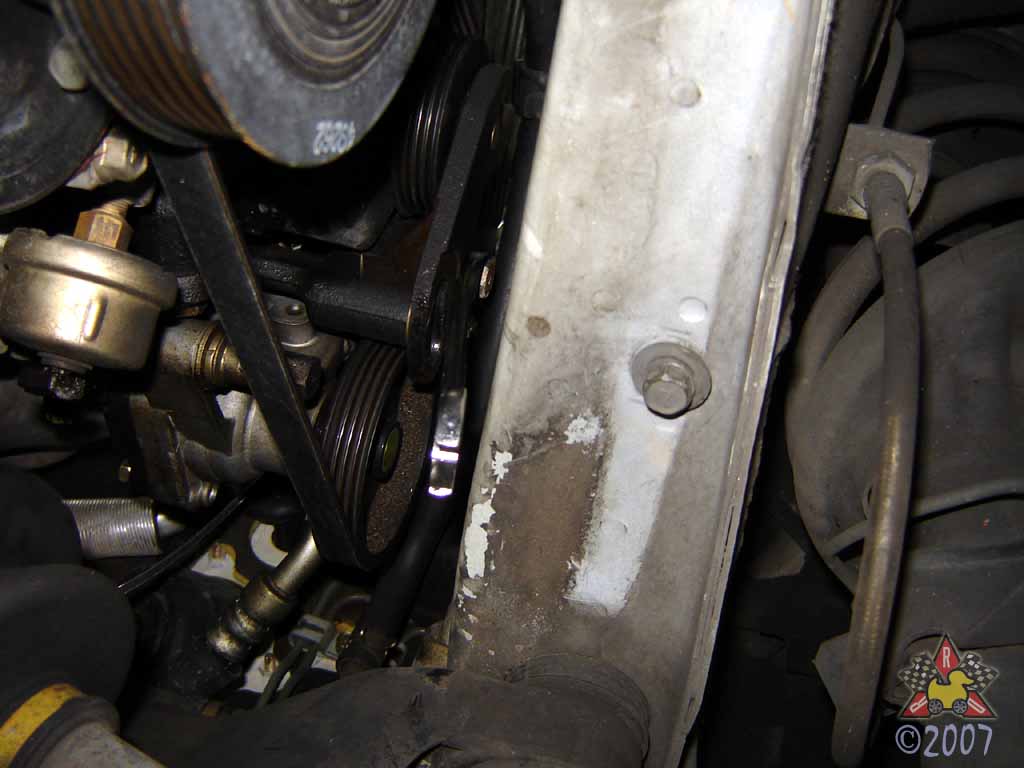
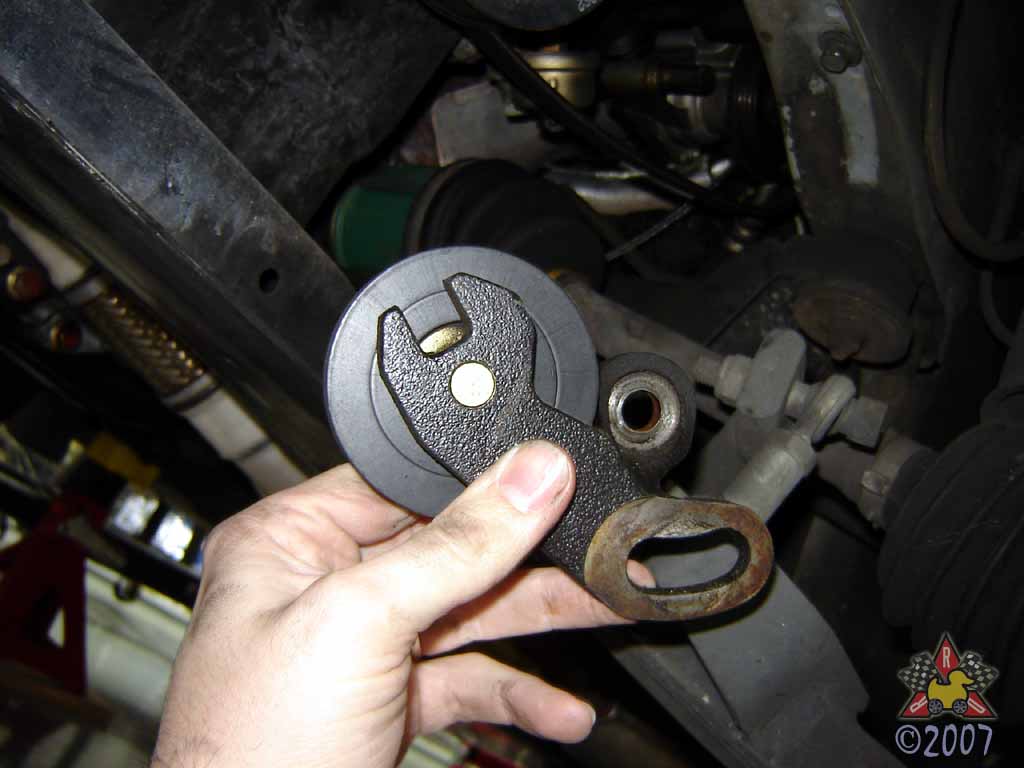
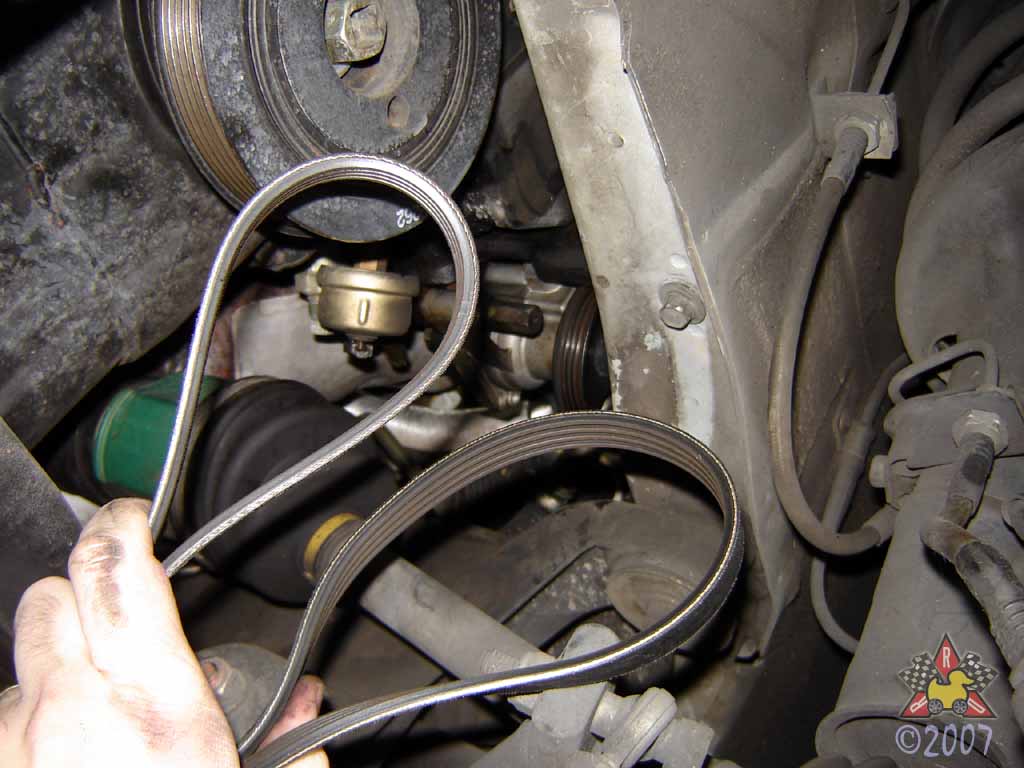
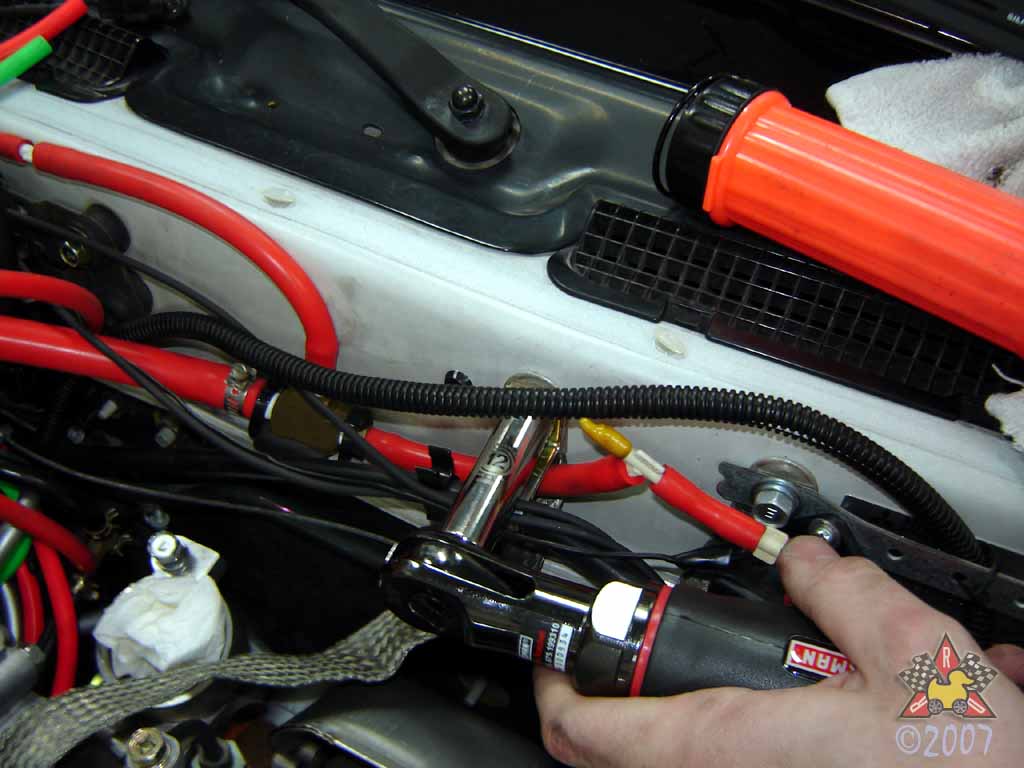
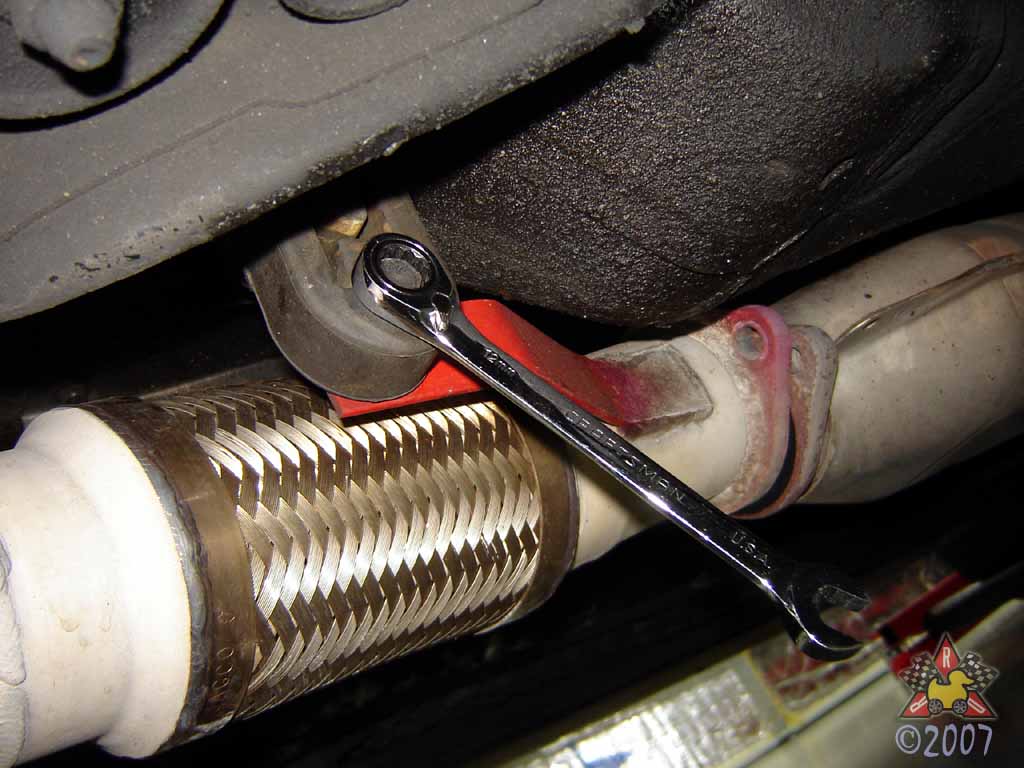
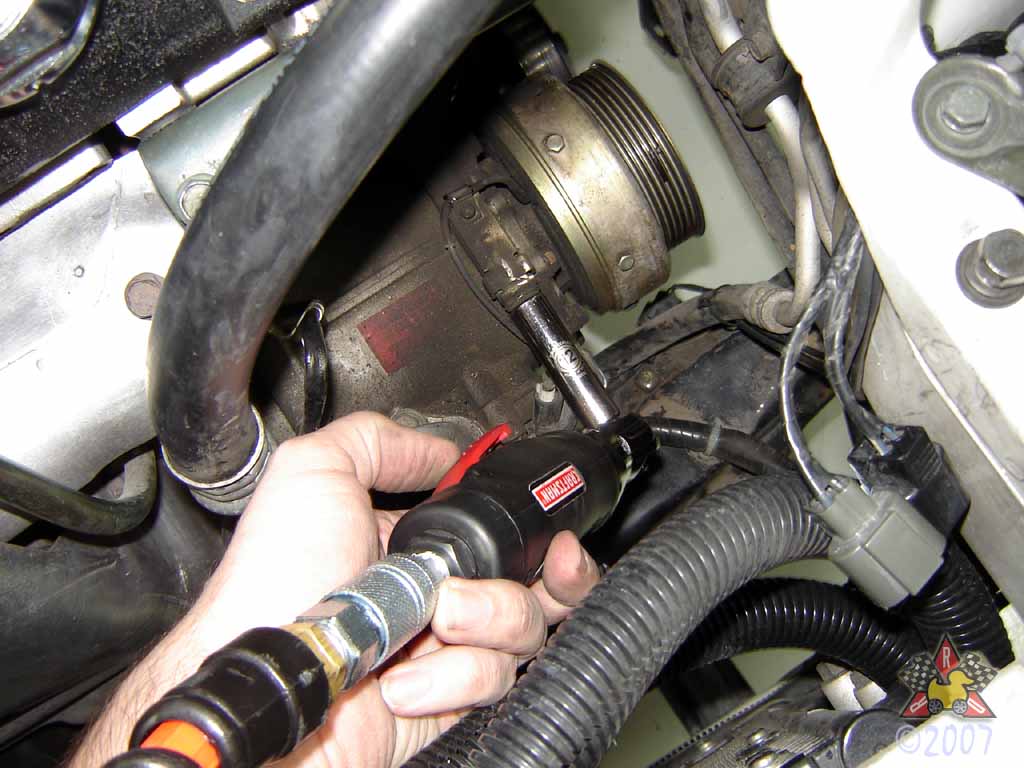
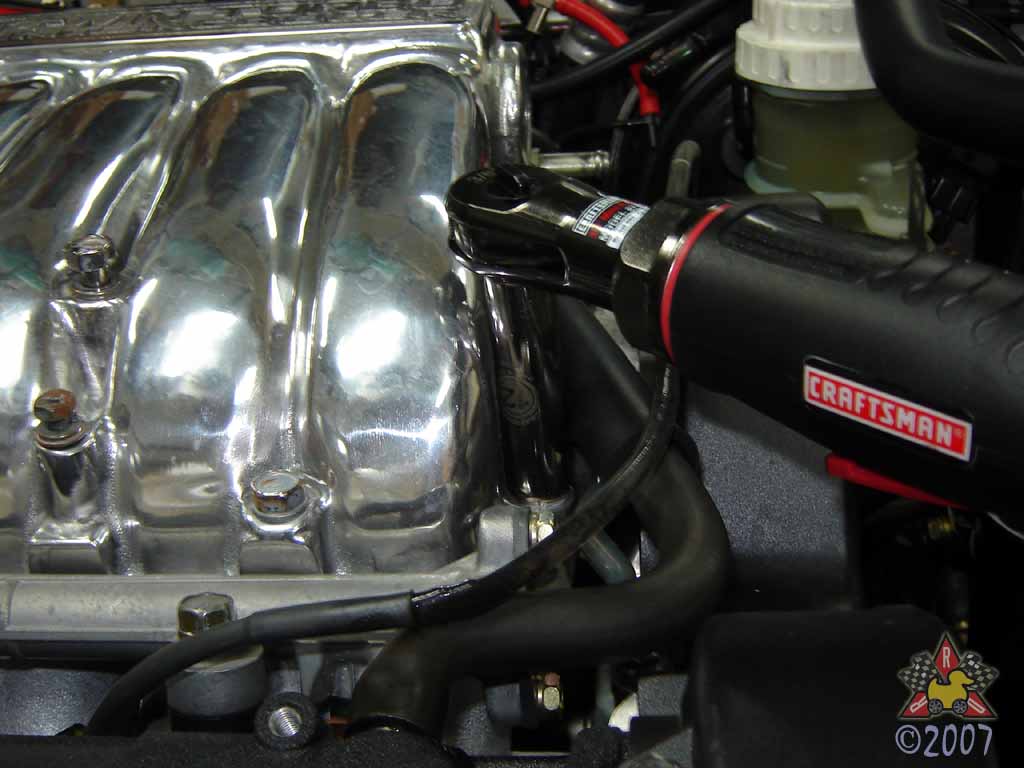
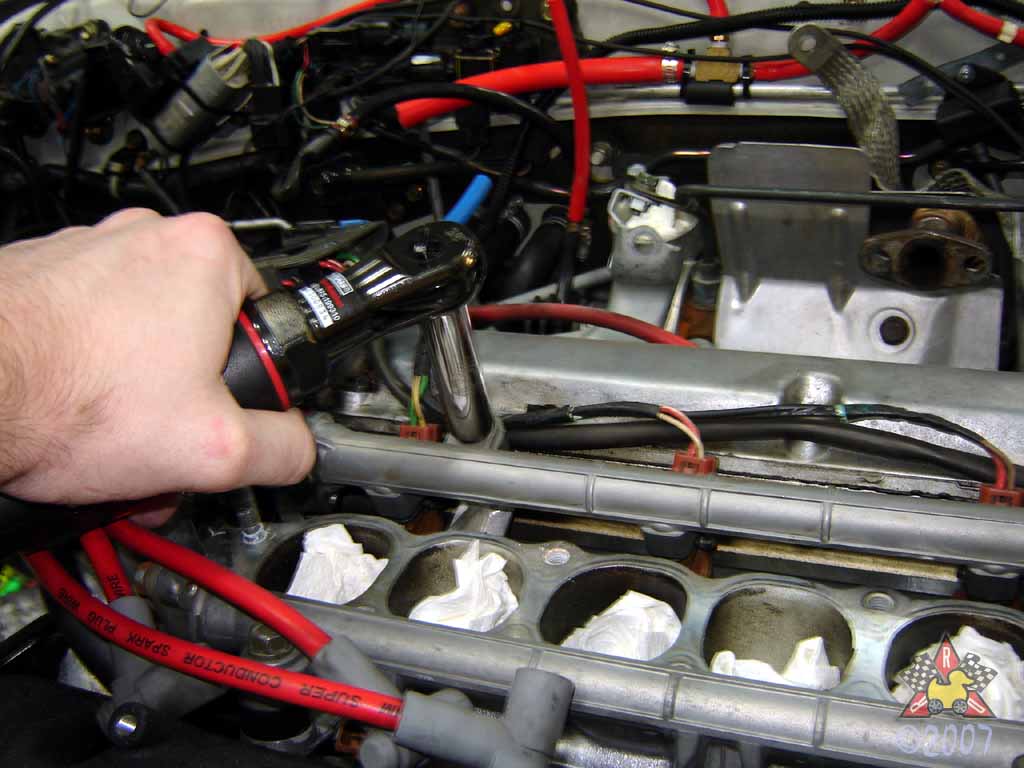
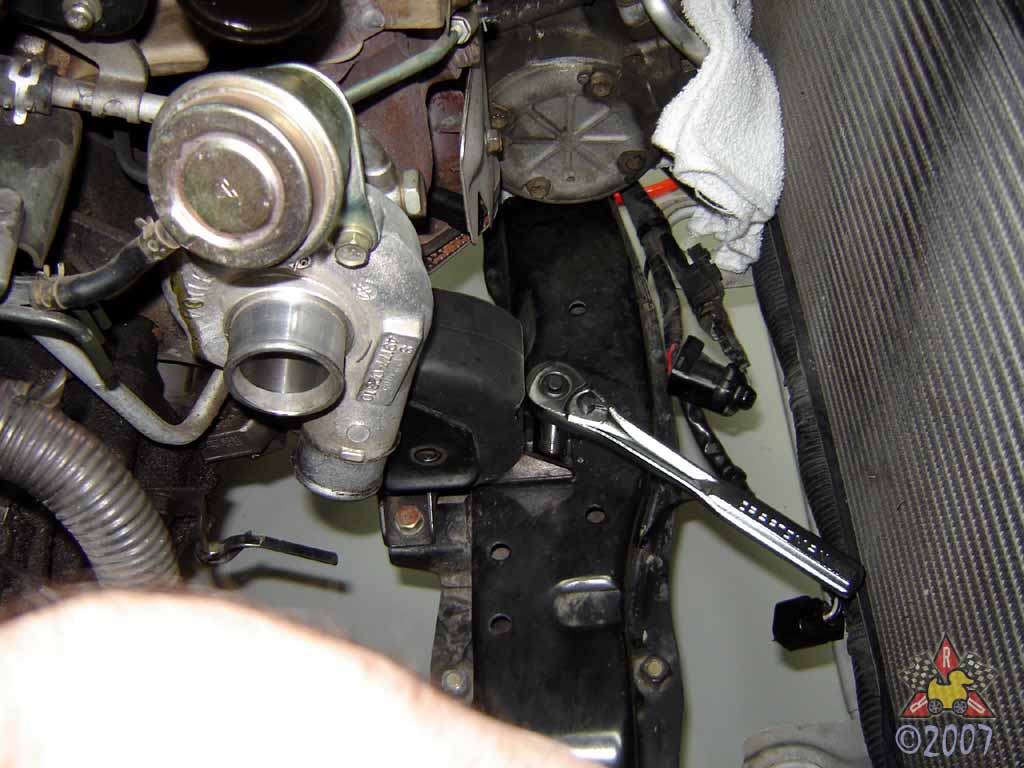
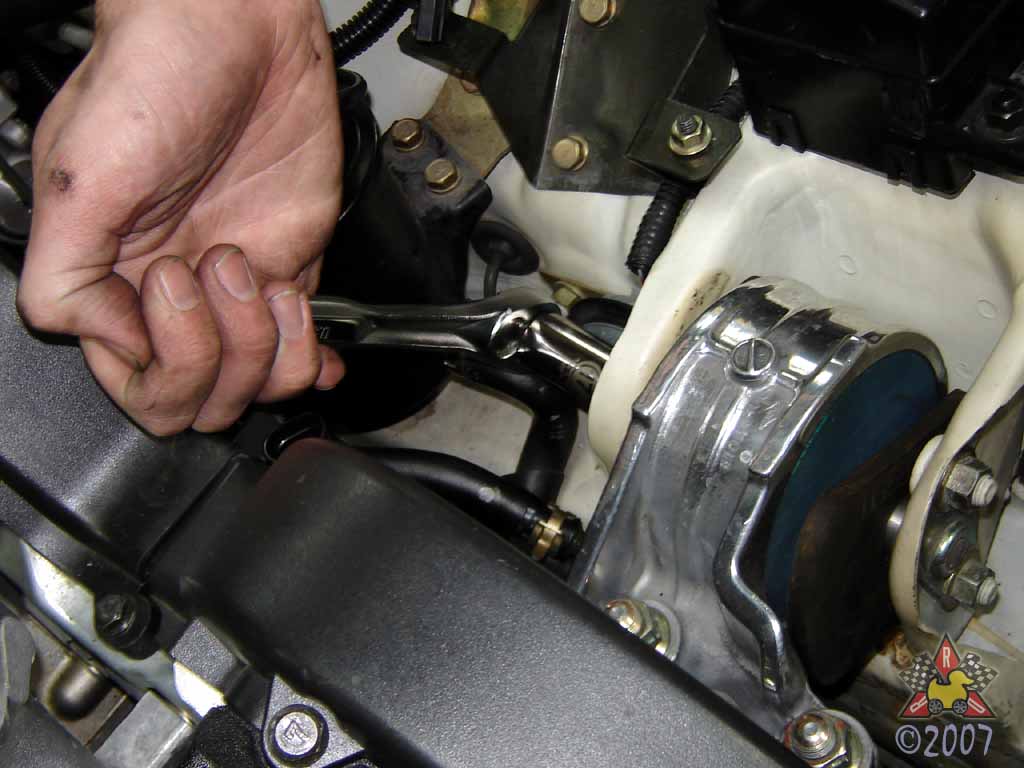
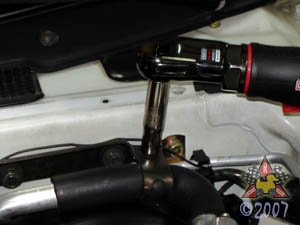
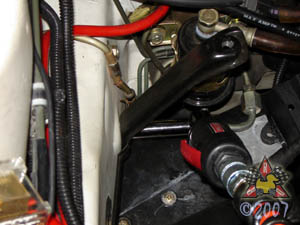
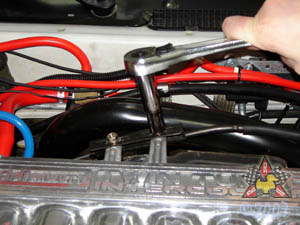
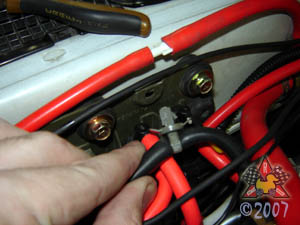
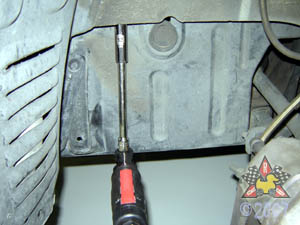
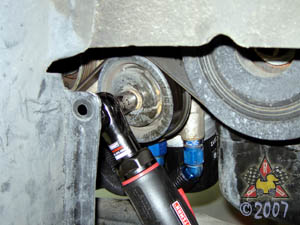
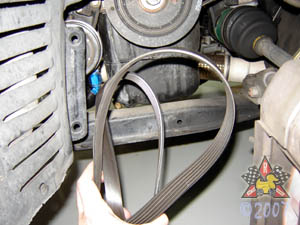
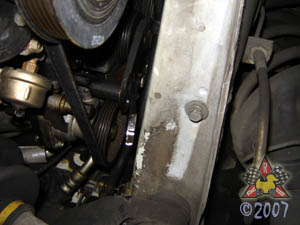
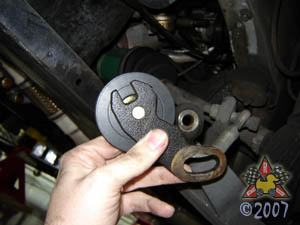
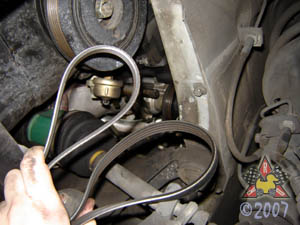
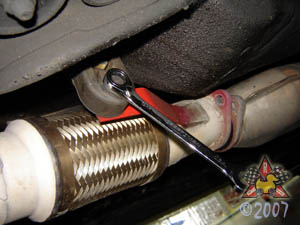
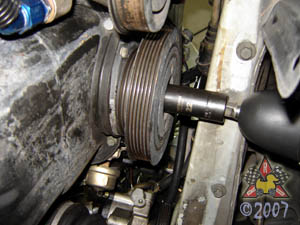
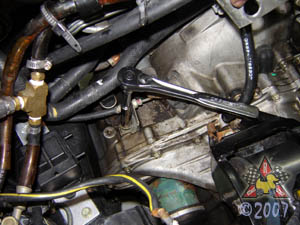
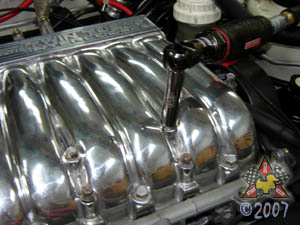
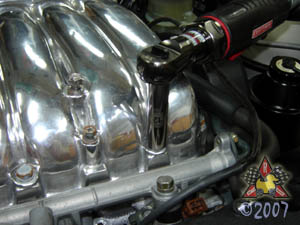
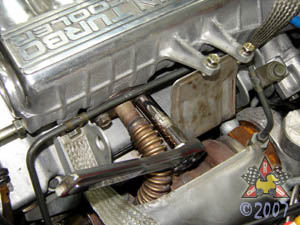
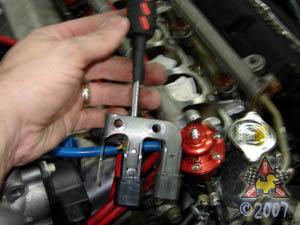
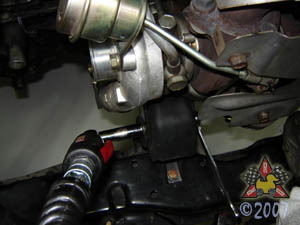
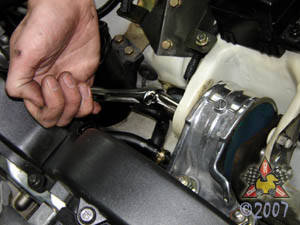
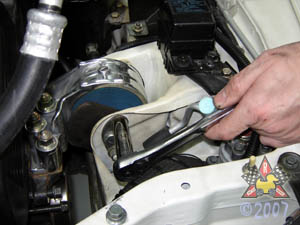
Loosen and Remove Alternator/AirConditioning Belt
|
|
|

|
|
|
At this point, you need to get the accessory belts off of the car. The outer one
drives the air conditioning compressor and the alternator. To relieve the tension
on the belt, you'll need to loosen the center bolt on the tensioner pulley (just a turn
or two) and then turn the adjusting bolt such that the tension on the belt is
released. It's darned-near impossible to get a camera in there, but there's a long bolt
above the pulley that you have to turn. The second picture shows how you'd get a ratcheting
wrench on the bolt to loosen it. Once the tension is off of the belt, you can remove it.
|
|
|
|
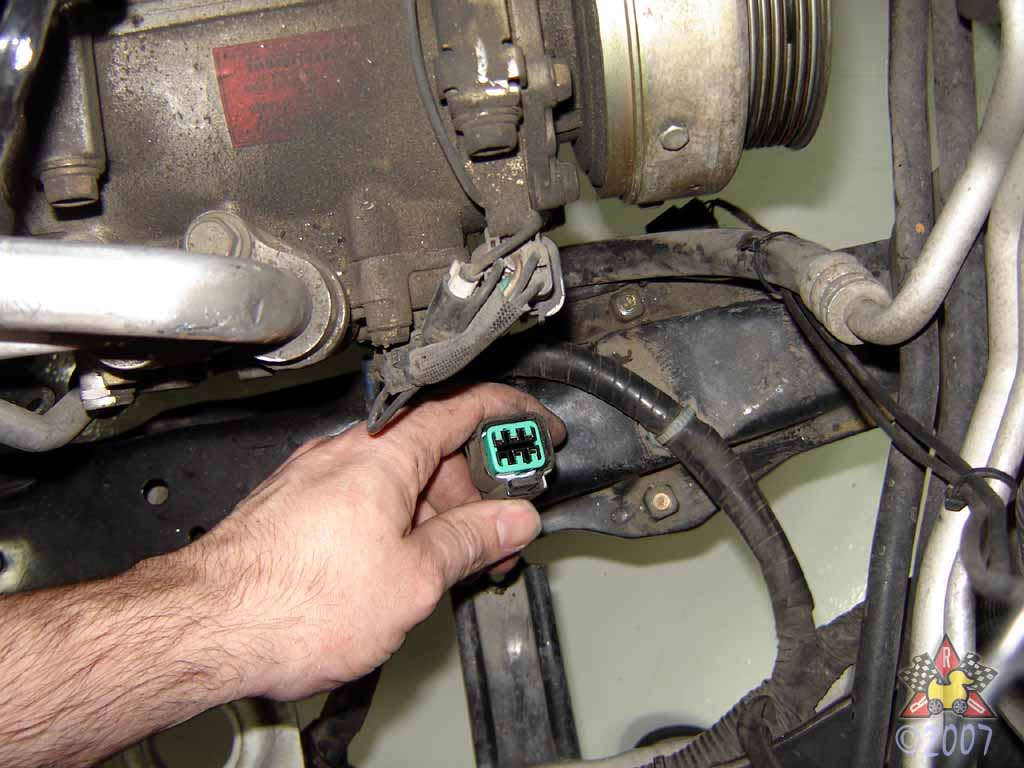
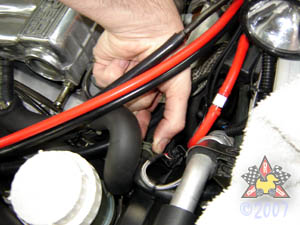
Disconnect Alternator Electrical Connections
|
|
|
|
|
|
There's a wiring harness, a ground cable, and a power cable that need to come off.
The positive cable is attached via a 10mm nut under the protective plastic cover.
The ground cable is attached by a 10mm bolt below the wiring harness and positive
connection.
You'll also need to remove the (reusable) ziptie by pulling out the release tab
and sliding the tie apart.
|
|
|
|
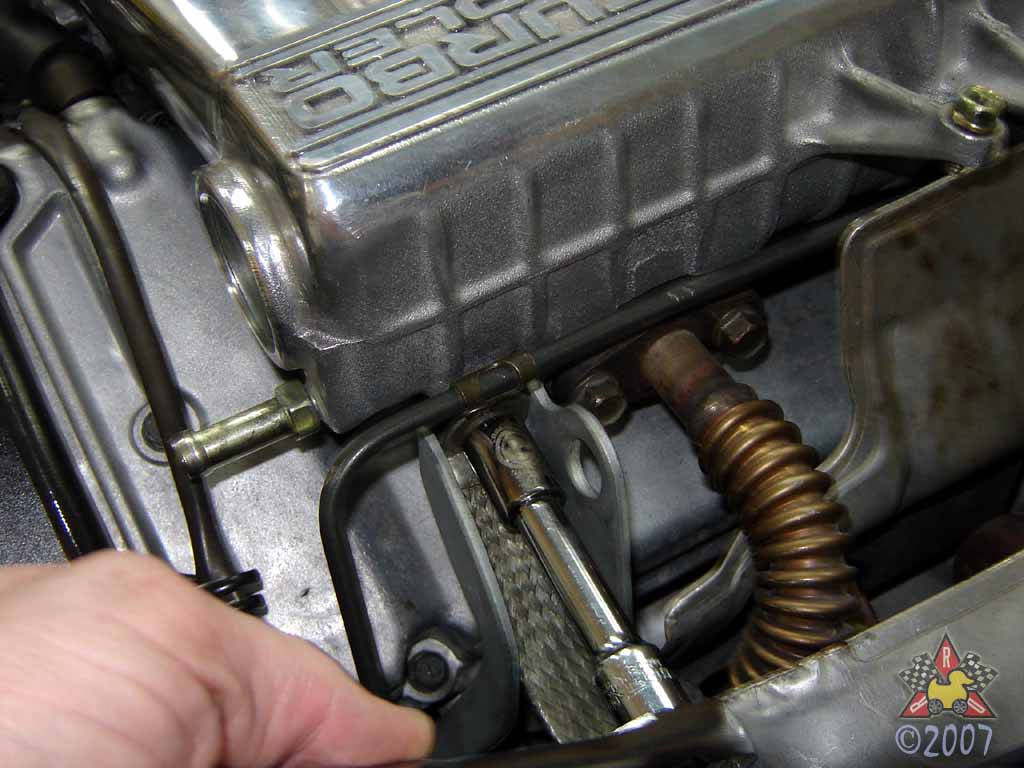
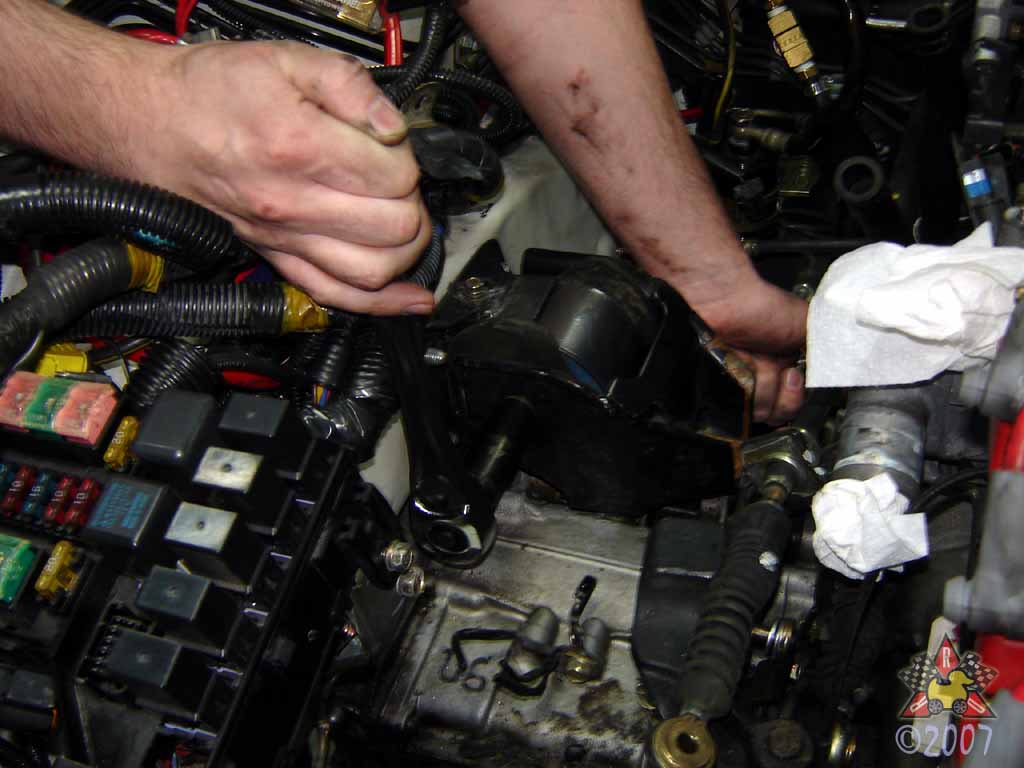
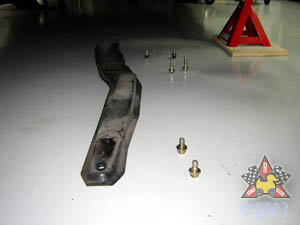
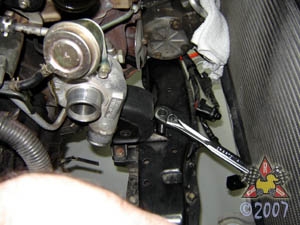
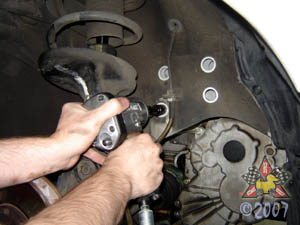
Unbolt and Remove Alternator
|
|
|
|
|
|
Start by removing the bracket for the front oxygen sensor (first picture) by
loosening its 10mm bolt. On the side of the upper alternator bracket (near
where the belts are), there are two 14mm bolts and a 12mm bolt that need to
be removed. They're shown in the next 3 pictures. Lastly, there
are two 12mm bolts on the top of the alternator bracket,
under the front of the front valve cover - shown in the 5th picture. In the
last picture you can see what the area looks like once you remove the
alternator from the engine bay. Once the alternatorbracket is unbolted, the
belt is removed, and the electrical connections are disconnected, the alternator
can be simply removed from the car.
|
|
|
|
Remove Clutch Booster Hose from Intake Plenum
|
|
|
|
|
|
Pinch the hose clamp with your fingers or pliers and slide it down the hose.
Then pull the hose off of the plenum; twisting the hose may help loosen it if
you haven't removed it recently.
|
|
|
|
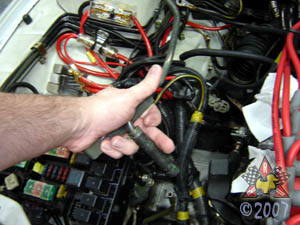
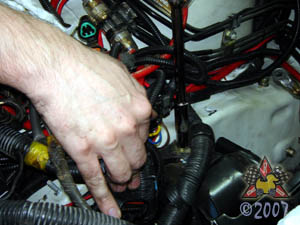
Disconnect Rear Oxygen Sensor Harness
|
|
|
|
|
|
Between the banks of the engine near the front injectors is the harness
for the rear bank oxygen sensor - disconnect it.
|
|
|
|
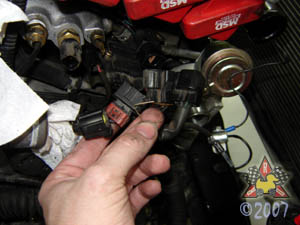
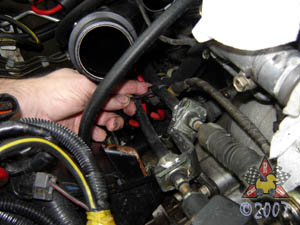
Disconnect OEM Water Temperature Sensor Harnesses
|
|
|
|
|
|
There are two coolant temperature sensors below the ignition coils.
Disconnect the sensors by pushing on the release tab and separating
the connector. Shown in the pictures is also my Defi aftermarket
temperature probe (far left sensor) - if you have one like this,
you'll need to disconnect it.
|
|
|
|
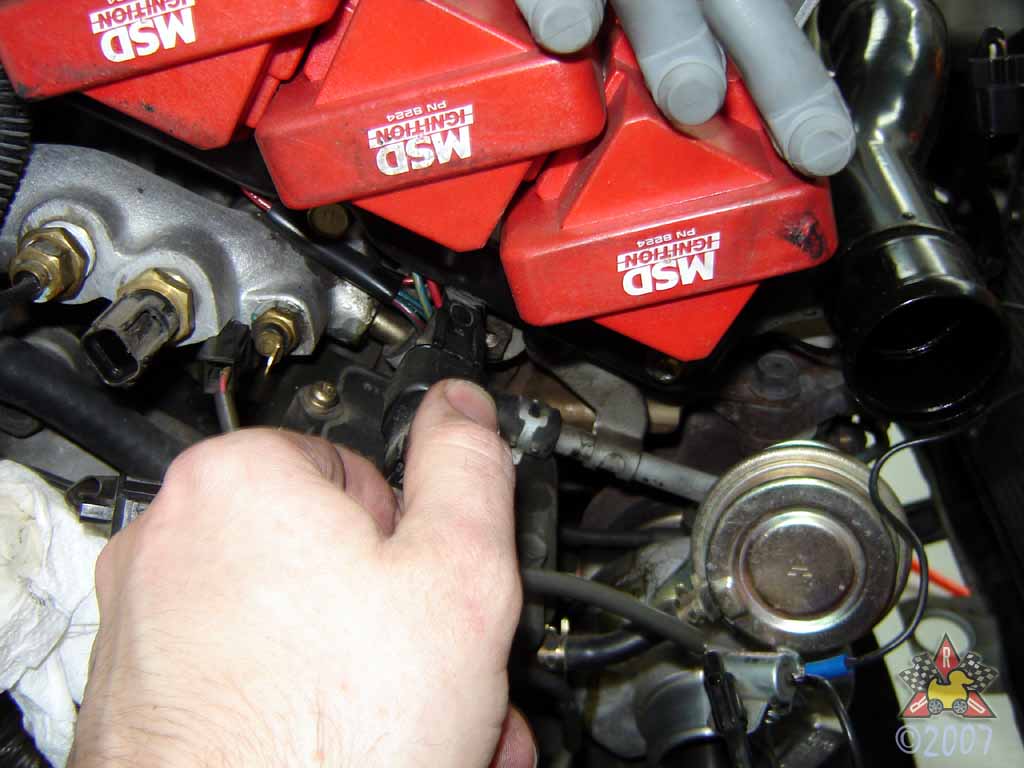
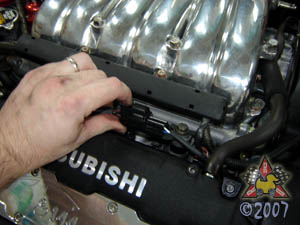
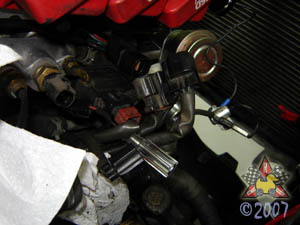
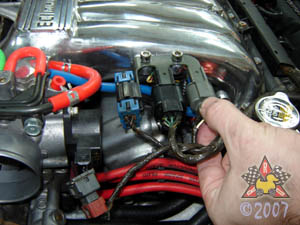
Disconnect Ignition Coil Harness
|
|
|
|
|
|
It's a standard harness connector - push the tab and pull.
|
|
|
|
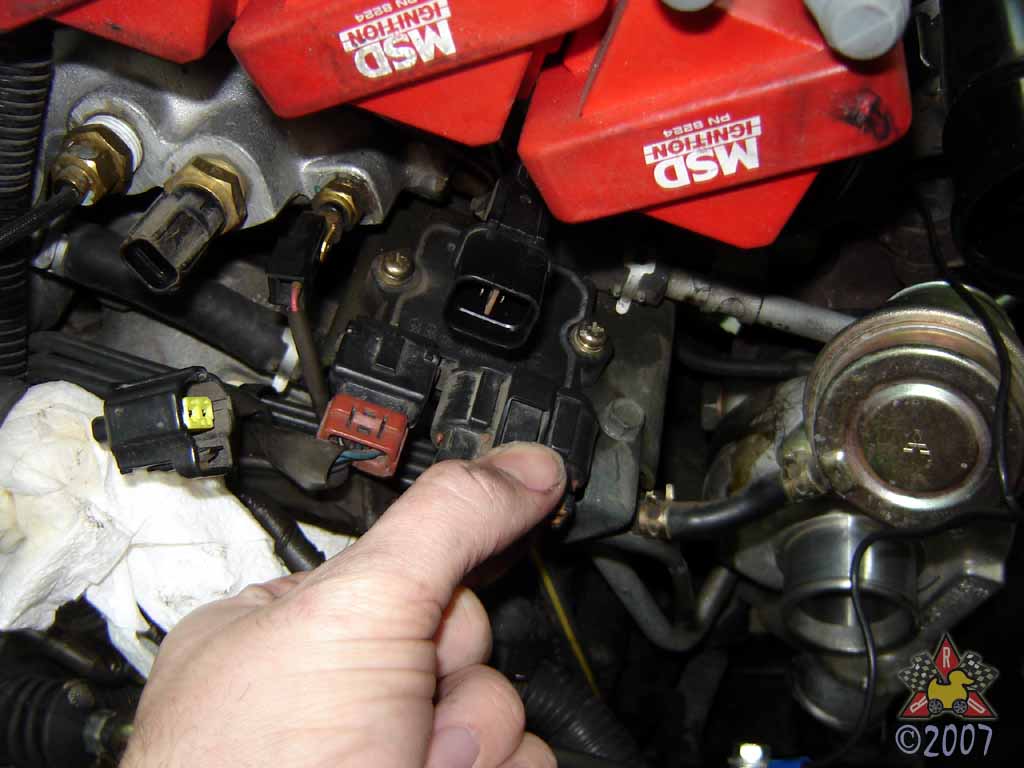
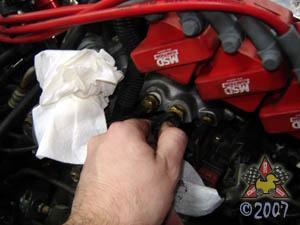
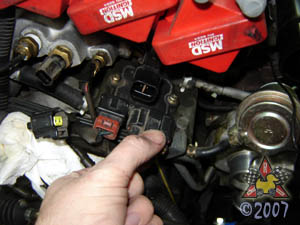
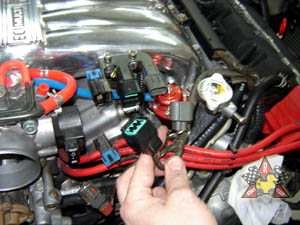
Disconnect Power Transistor Unit (PTU) Harness
|
|
|
|
|
|
There are two harnesses - one is removed by just pushing the release tab and pulling;
the other one has one of those annoying retaining clips on the harness.
|
|
|
|
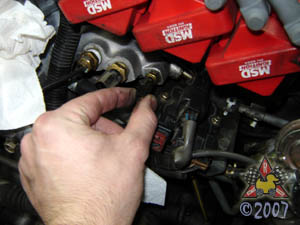
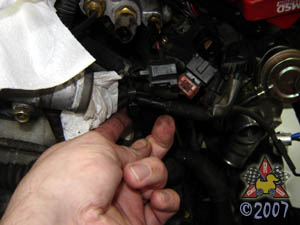
Disconnect Idle Speed Controller (ISC or IAC) Motor Harness
|
|
|
|
|
|
You should be really familiar with electrical harnesses at this point...
|
|
|
|
Disconnect Reverse Light Switch Harness
|
|
|
|
|
|
On the front of the transaxle, there is an electrical connection
for the reverse light. Disconnect this electrical harness.
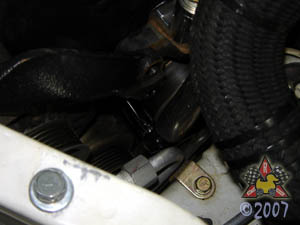
|
|
|
|
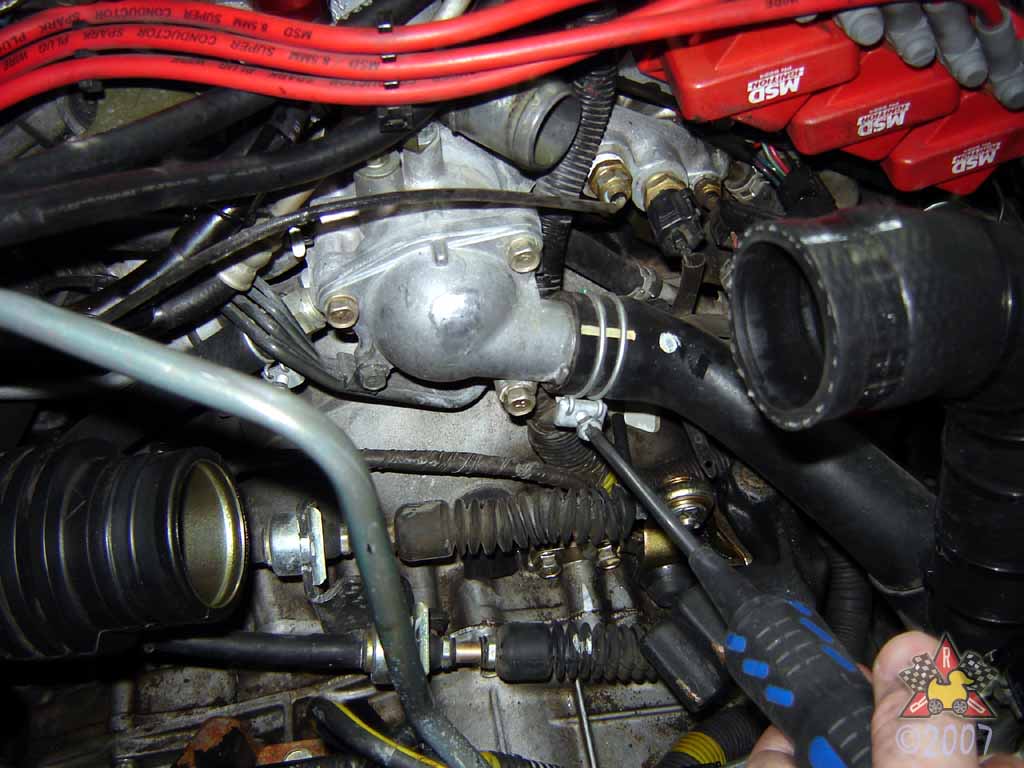
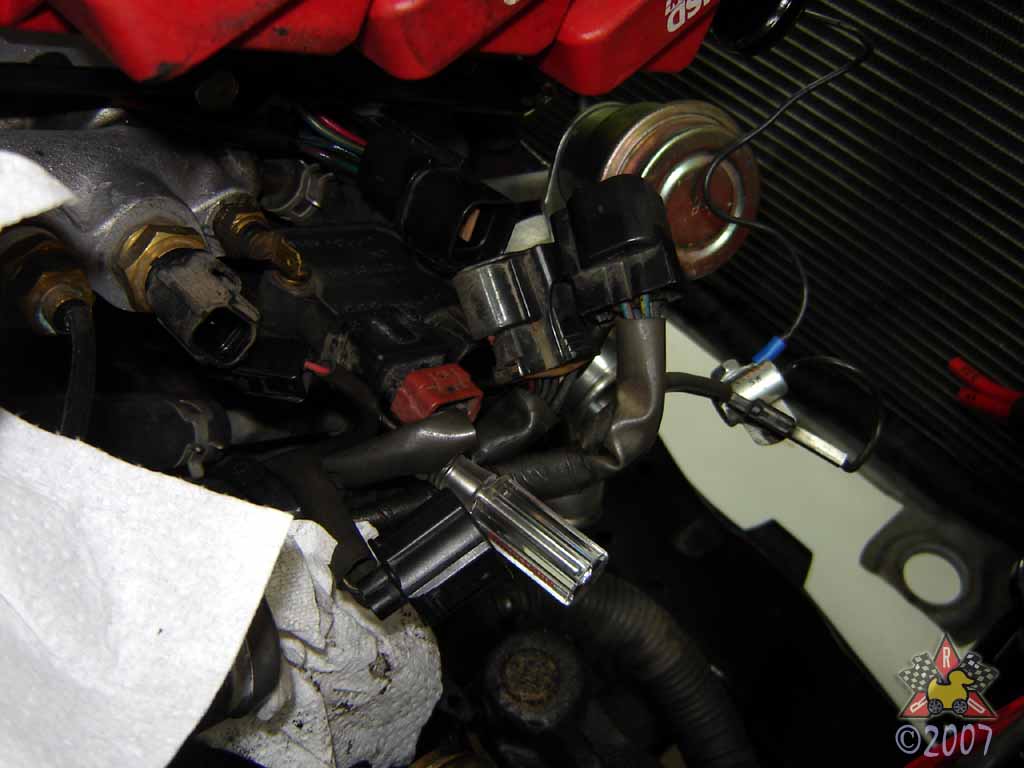
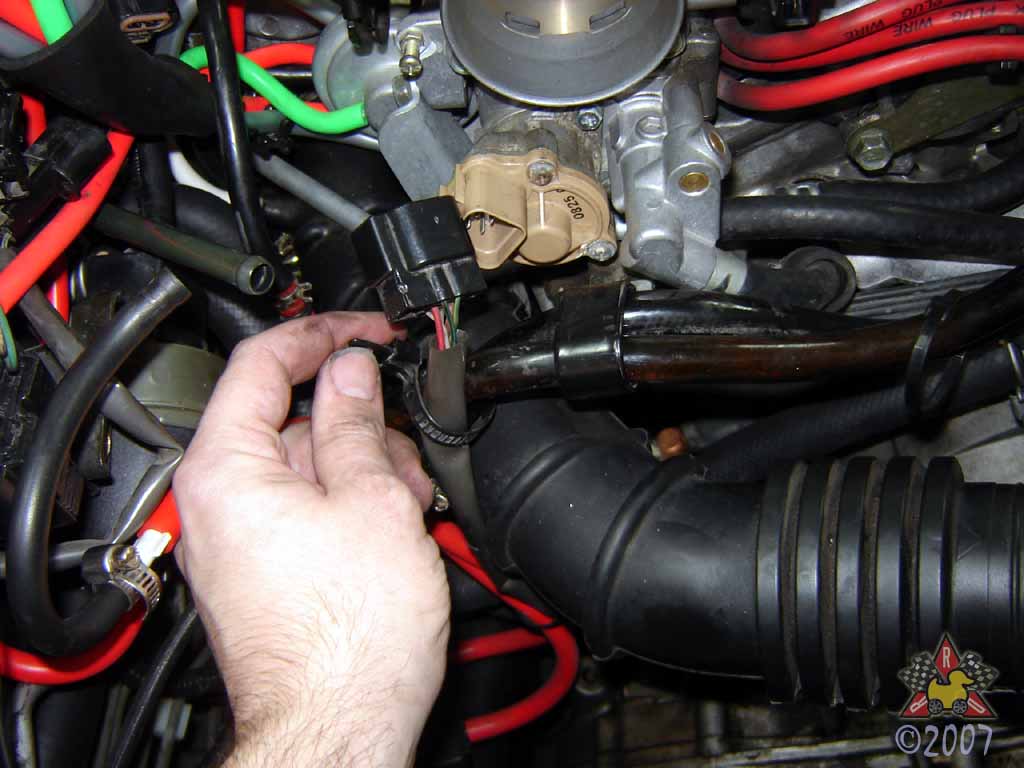
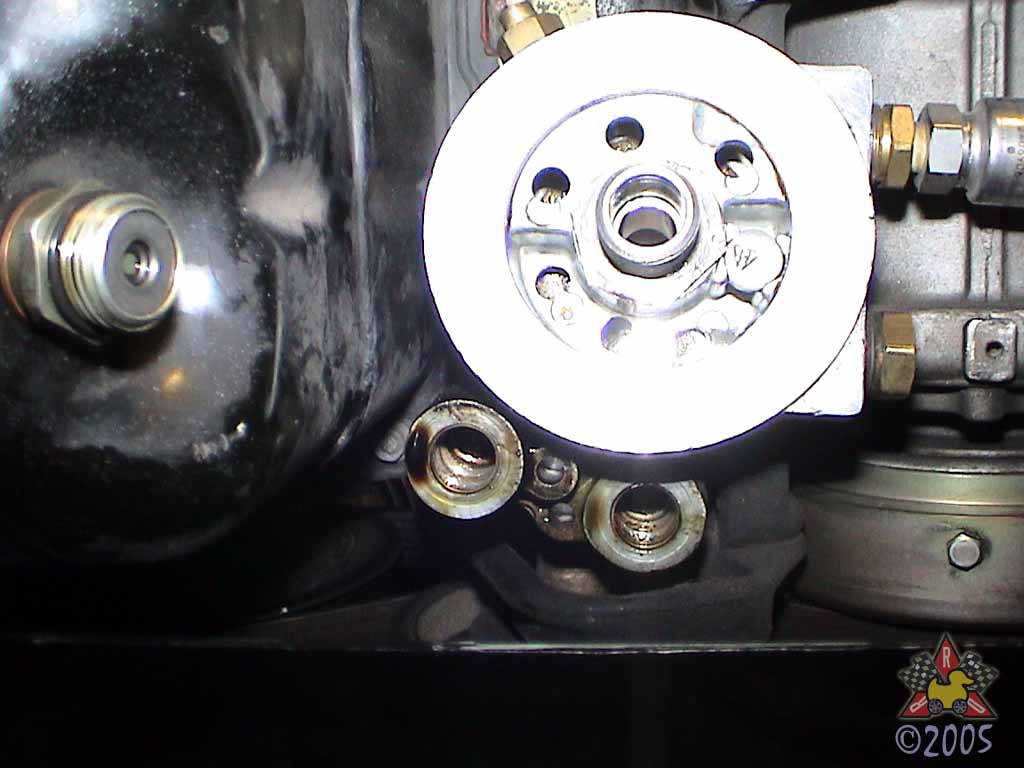
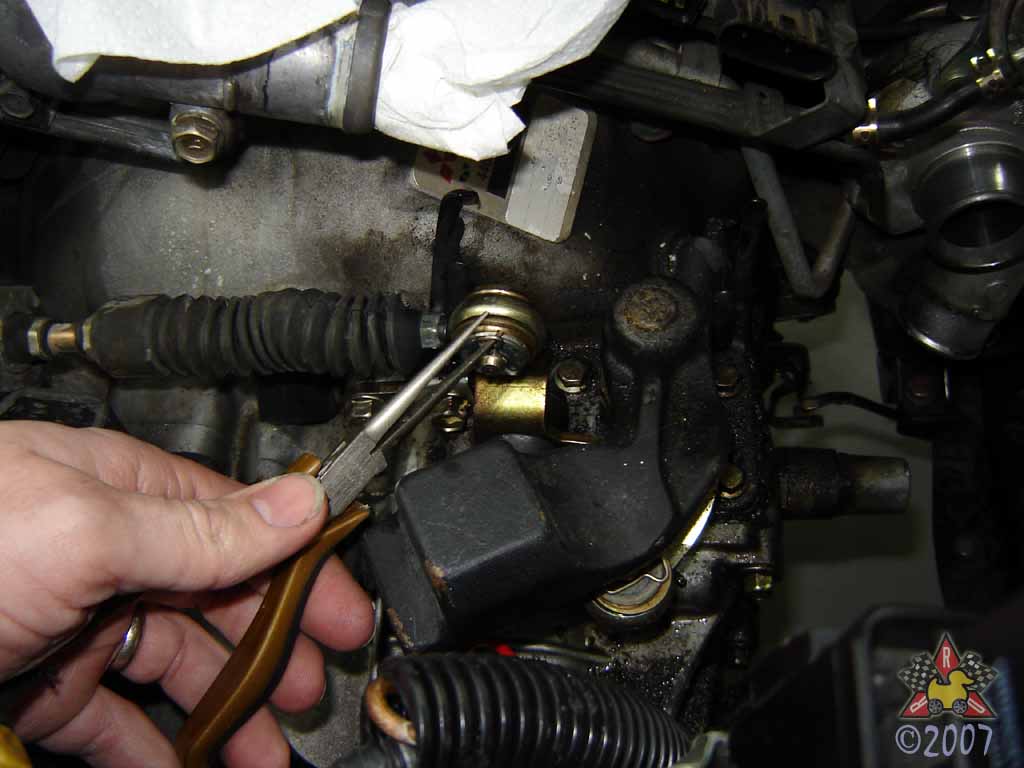
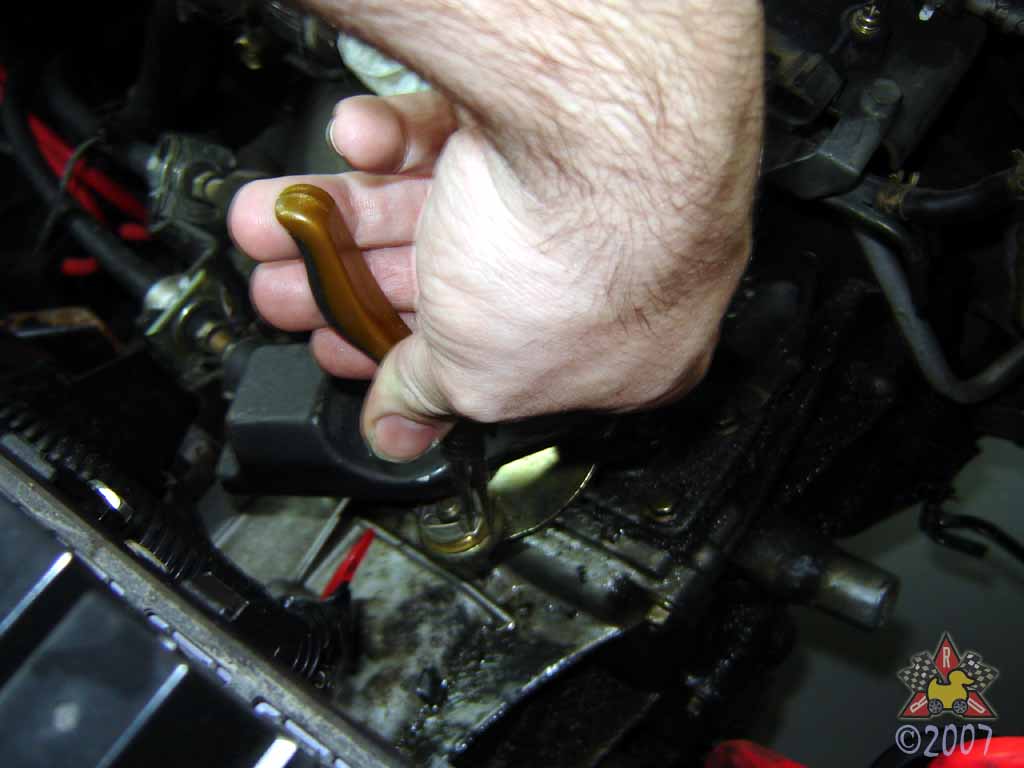
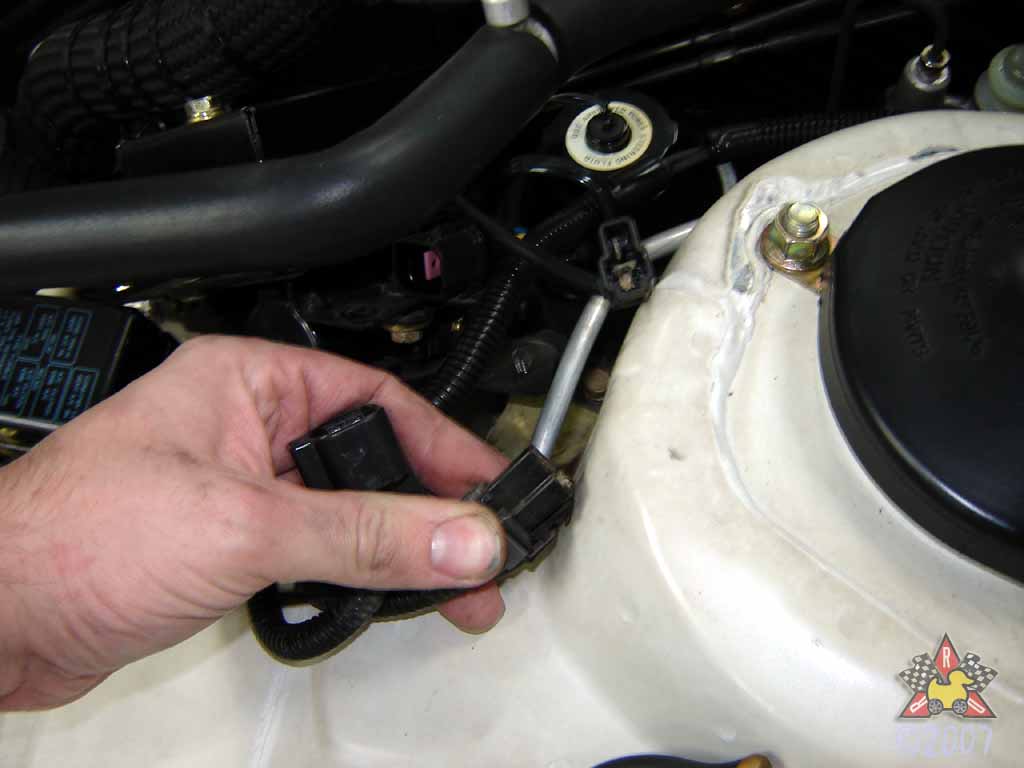
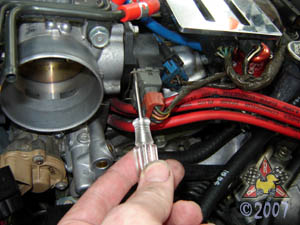
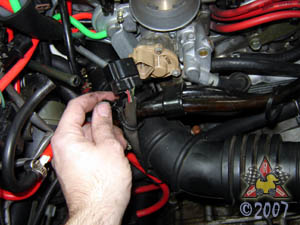
Disconnect Camshaft and Crankshaft Position Sensors
|
|
|

|
|
|
These two harnesses are on the driver's side of the engine near the power steering
fluid reservior.
|
|
|
|
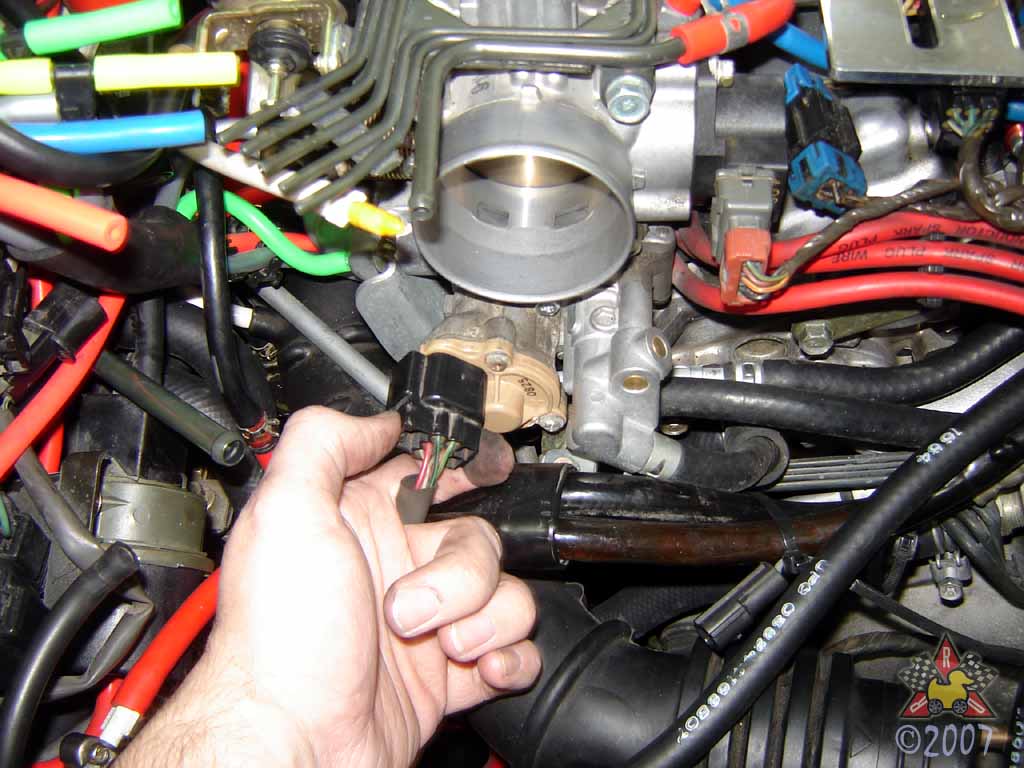
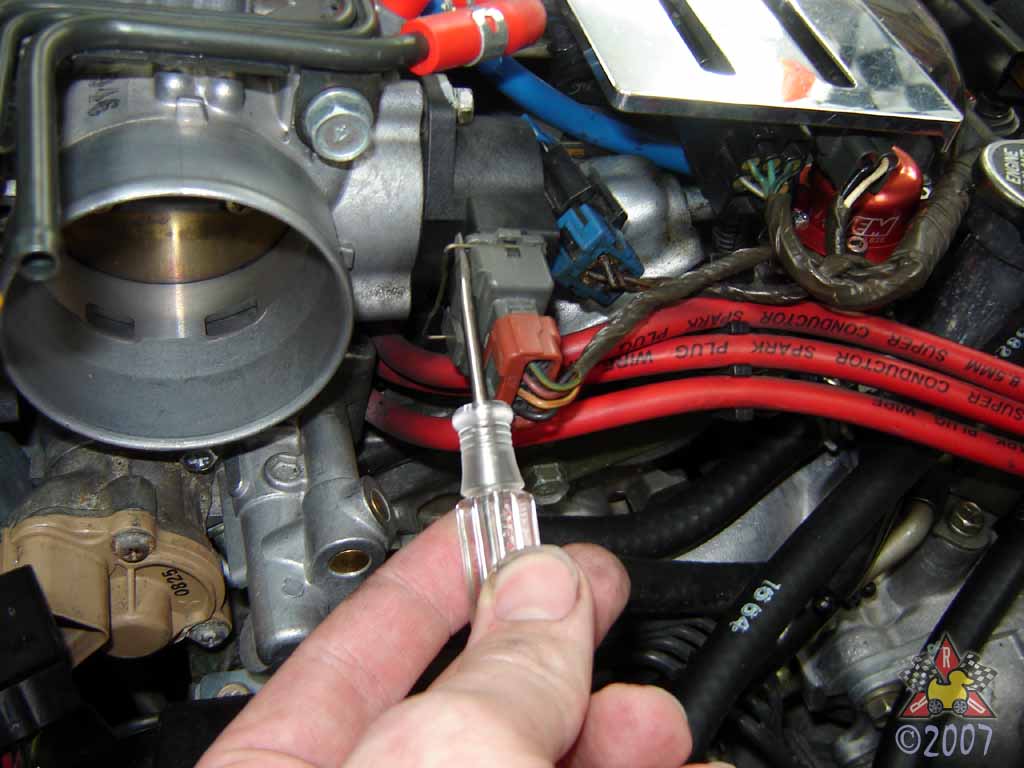
Disconnect Throttle Position Sensor (TPS) Harness
|
|
|
|
|
|
There's a little spring clip that you need to remove before you can
slide the electrical connector off. Be careful that the spring
clip doesn't fly off into the nether regions of the engine bay
when you pry it off. A small screwdriver or needlenose pliers
should work well.
|
|
|
|
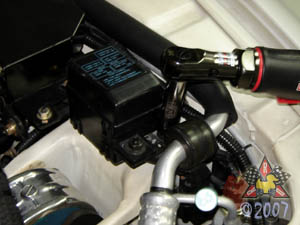
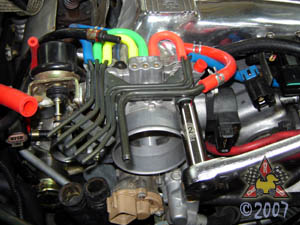
Remove Upper Plenum Electrical Harness Cover [if applicable]
|
|
|
|
|
|
I have a cover plate with two 5mm hex bolts in this location - you may
not need to do this.
|
|
|
|
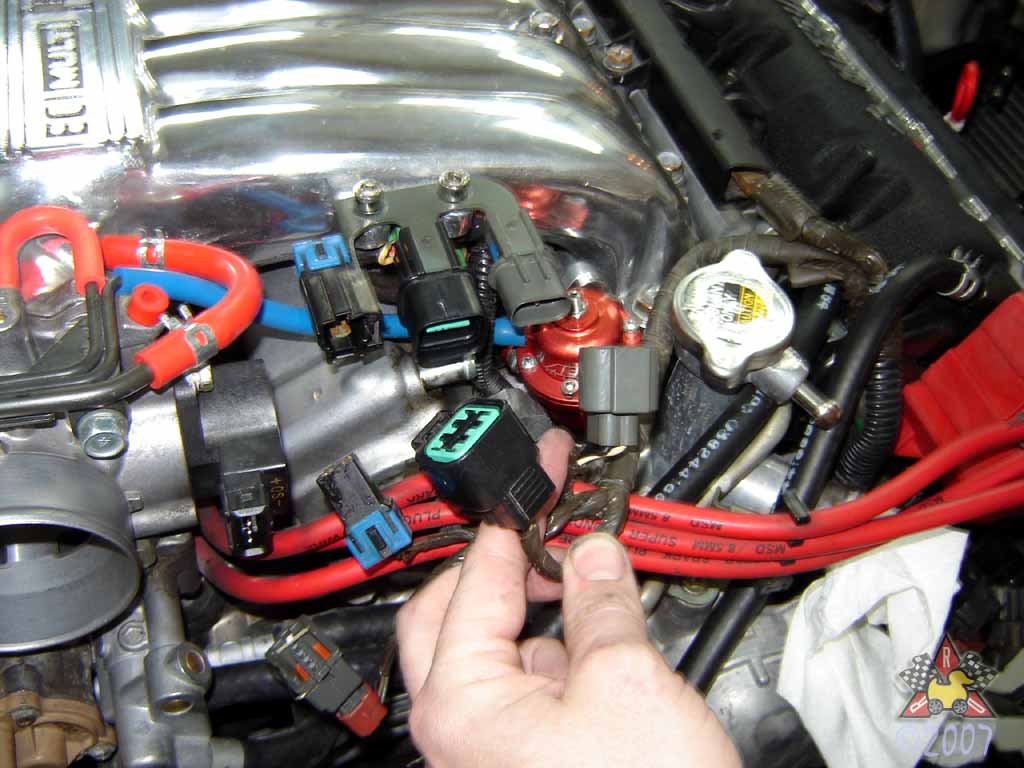
Disconnect Upper Plenum Electrical Harnesses
|
|
|
|
|
|
There are electrical harnesses for the rear bank injectors, the knock sensor, and the
rear oxygen sensor located here. Disconnect them.
|
|
|
|
Remove Wire Ties
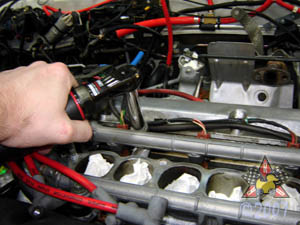
|
|
|
|
|
|
There are some wire ties that need to be removed in order to separate
the engine wiring harness from the engine.
|
|
|
|
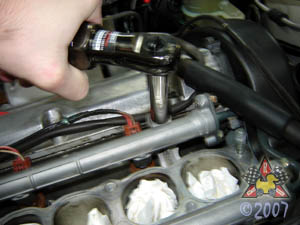
Disconnect Fuel Injector Wiring Harnesses
|
|
|
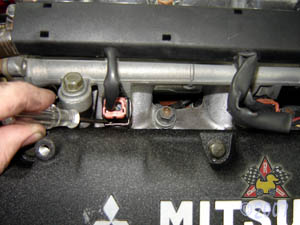
|
|
|
There are six of them, and the all have those pain-in-the-butt retaining clips.
|
|
|
|
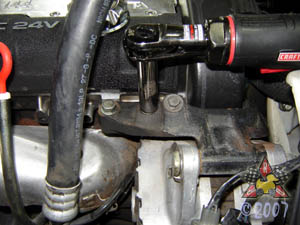
Unbolt Wiring Cover
|
|
|
|
|
|
Unbolt the two 10mm bolts that hold the wiring cover to the upper intake plenum.
|
|
|
|
Remove Wire Tie for IAC Motor Wiring
|
|
|
|
|
|
To remove the engine wiring harness, you'll need to remove the wiring tie
that holds the IAC wiring to the fuel supply lines.
|
|
|
|
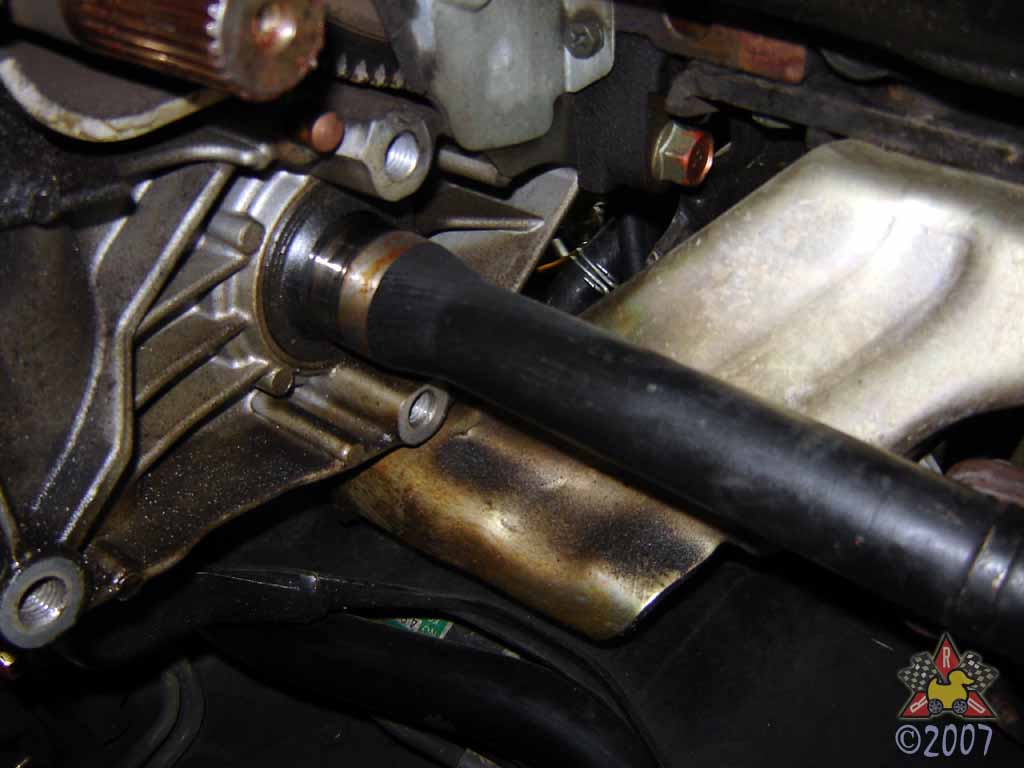
Disconnect Speed Sensor Harness
|
|
|
|
|
|
Again, ther is one of those stupid retaining clips on this harness. The sensor is located
on the top of the transaxle toward the firewall.
|
|
|
|
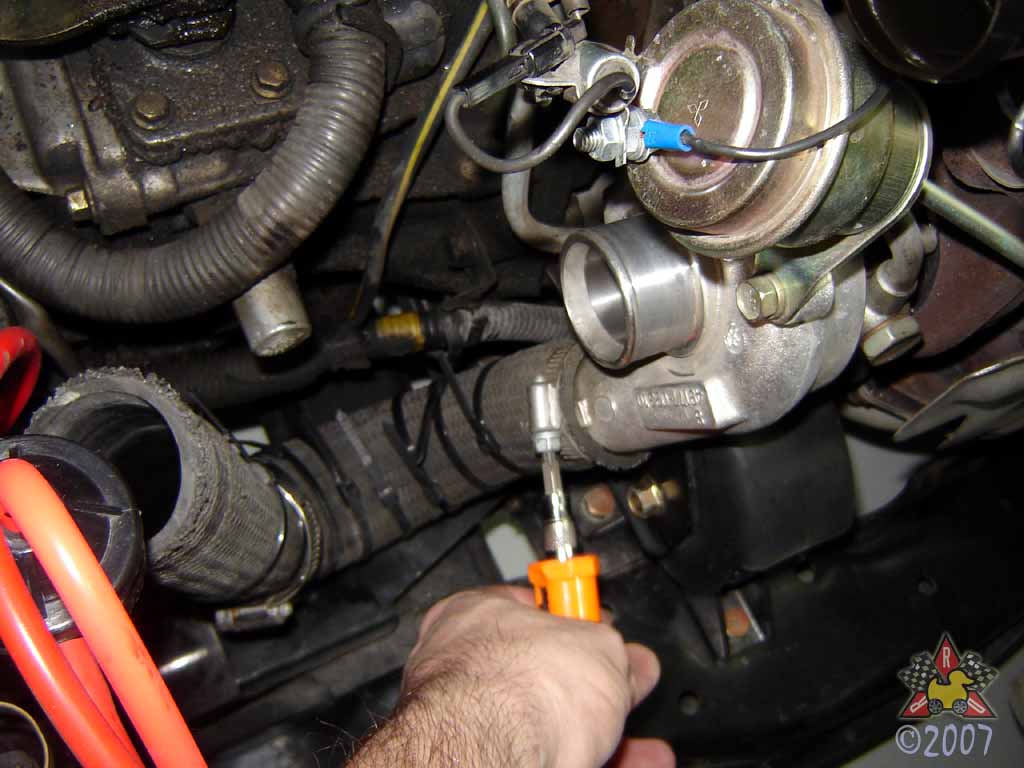
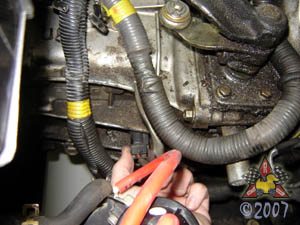
Disconnect Rear Turbo Compressor Inlet Hose
|
|
|
|
|
|
Use a 10mm socket to loosen the hose clamp, and then pull the hose off.
|
|
|
|
Loosen and Remove Power Steering Belt Tensioner Pulley and Belt
|
|
|
|
|
|
There are two 14mm bolts that need to be removed in order to remove the power steering
belt tensioner bracket and pulley. Once the belt is loose, you can remove it.
|
|
|
|
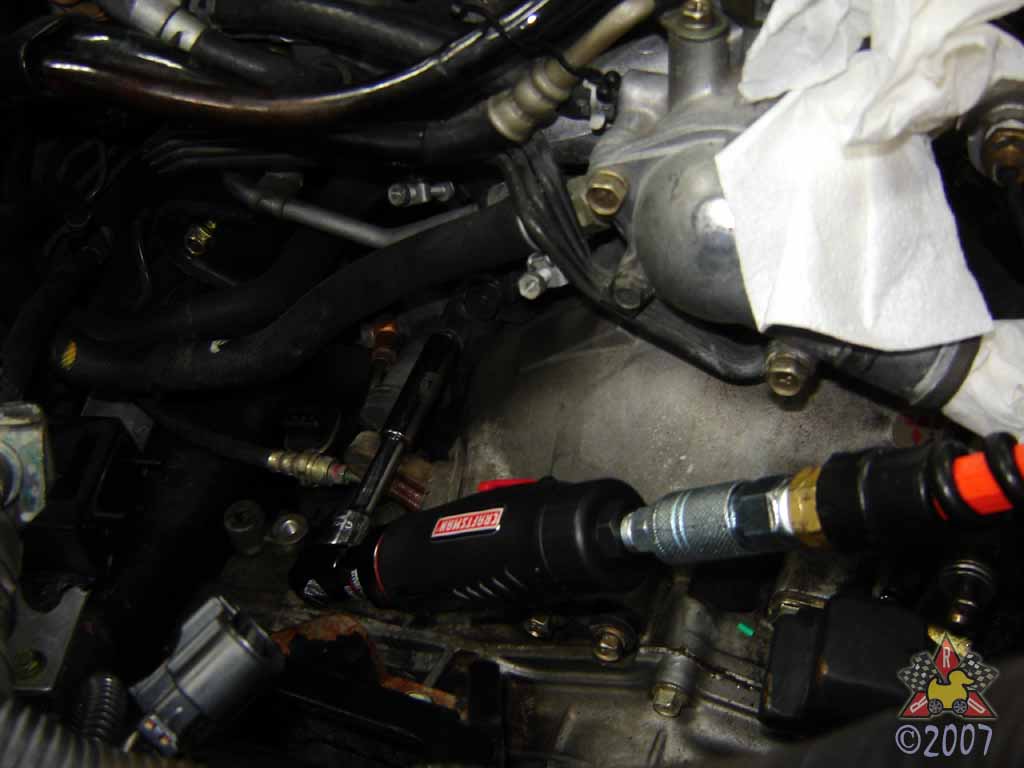
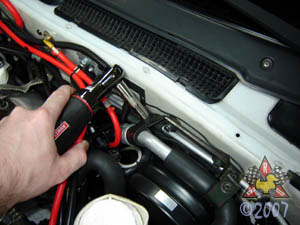
Remove Clutch [and/or Brake] Booster Hose(s)
|
|
|
|
|
|
I have my clutch and brake booster hoses combined, so I had to remove them together.
I needed some extra room in this area to get to the power steering pump loose -
you may be able to to get in there just removing the clutch hose, but you may
need to remove the brake booster hose as well.
|
|
|
|
Cap Off Brake Booster Inlet Hose
|
|
|
|
|
|
I did this as a precautionary thing - not required, but I'm OC...
|
|
|
|
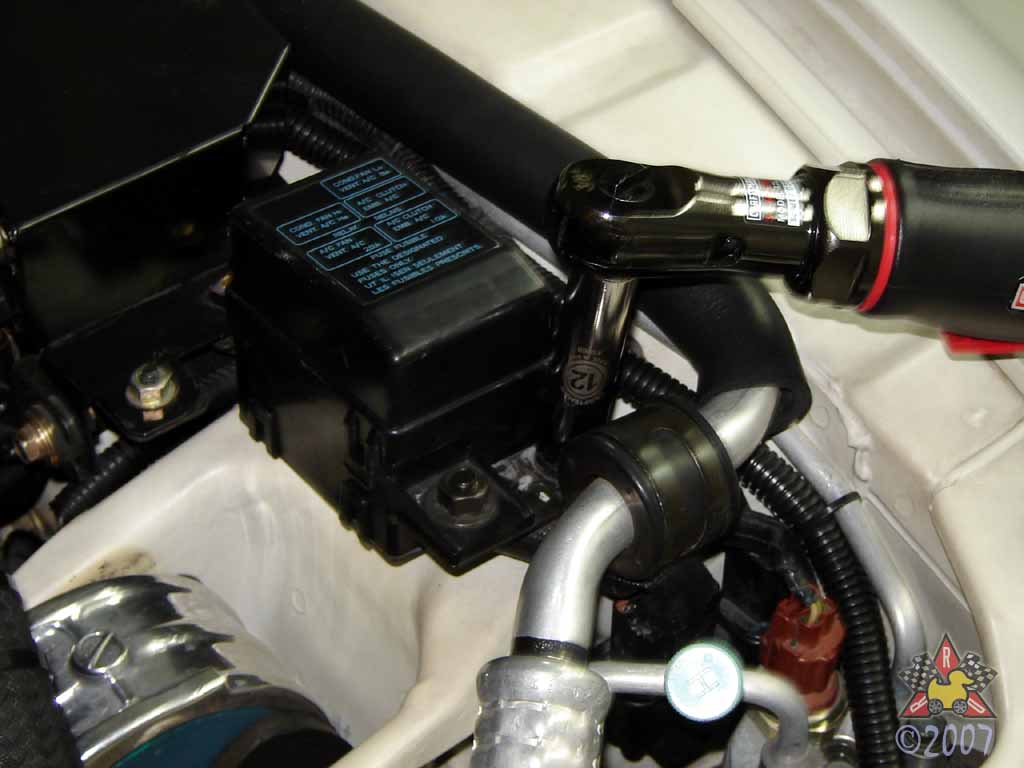
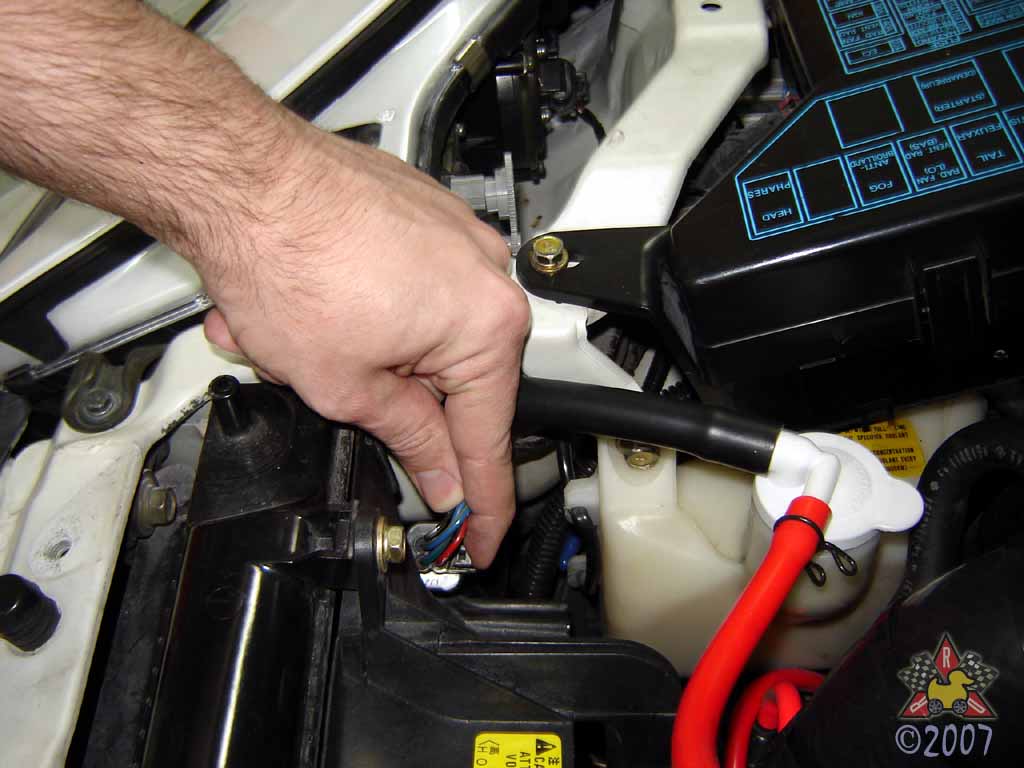
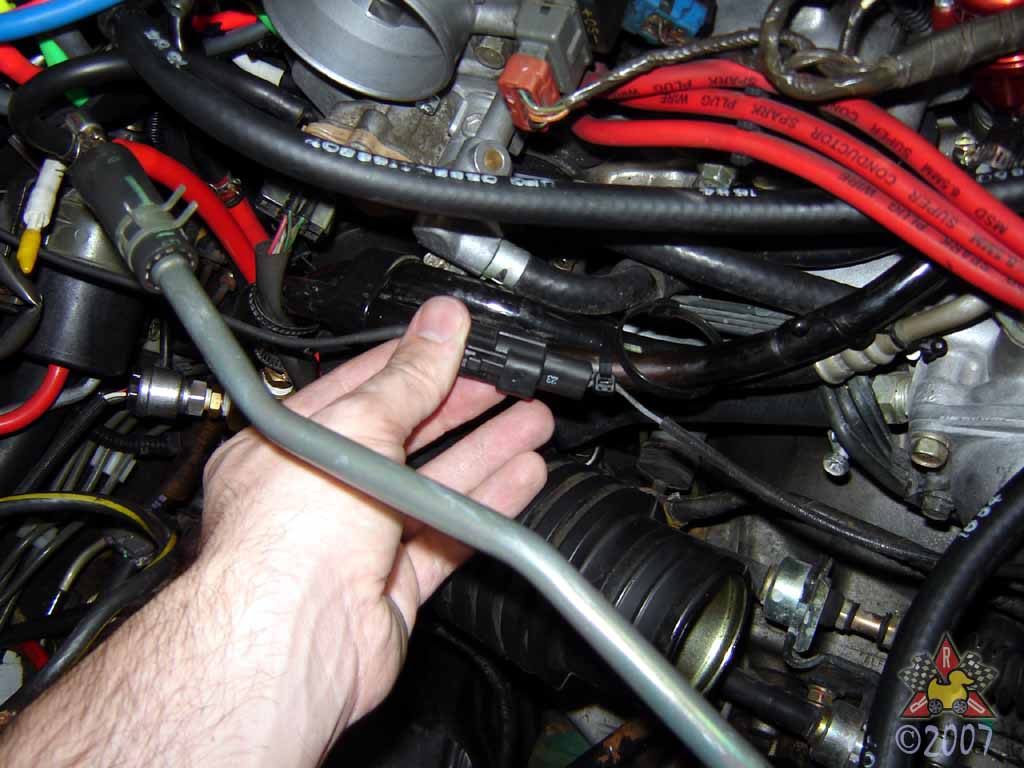
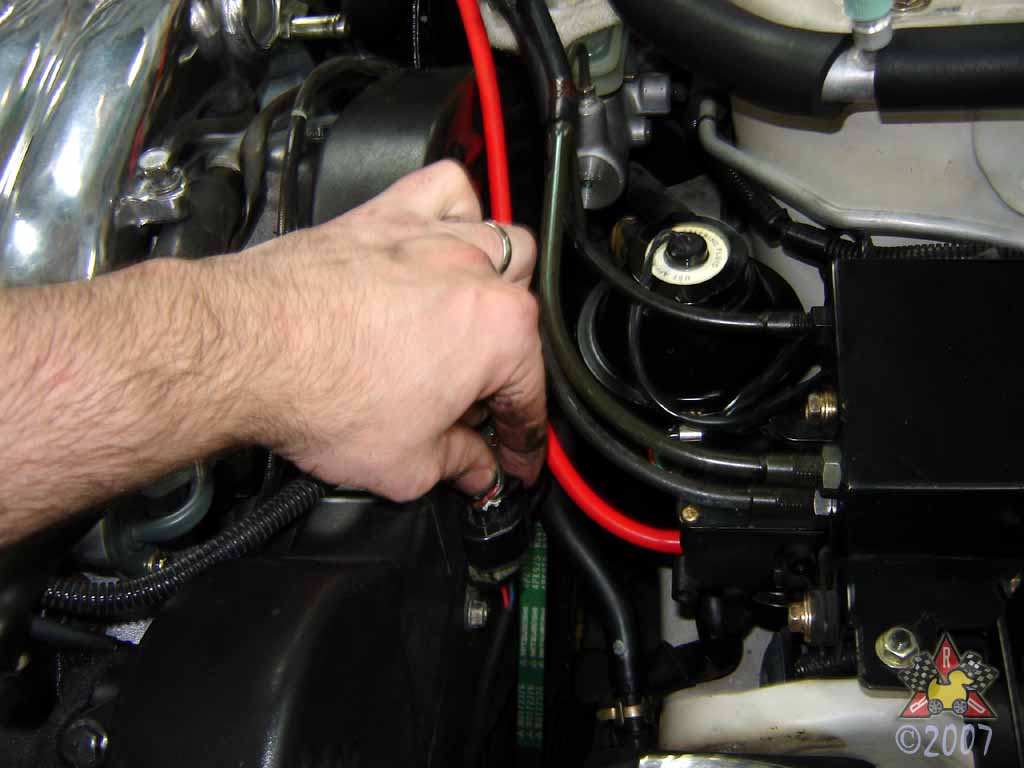
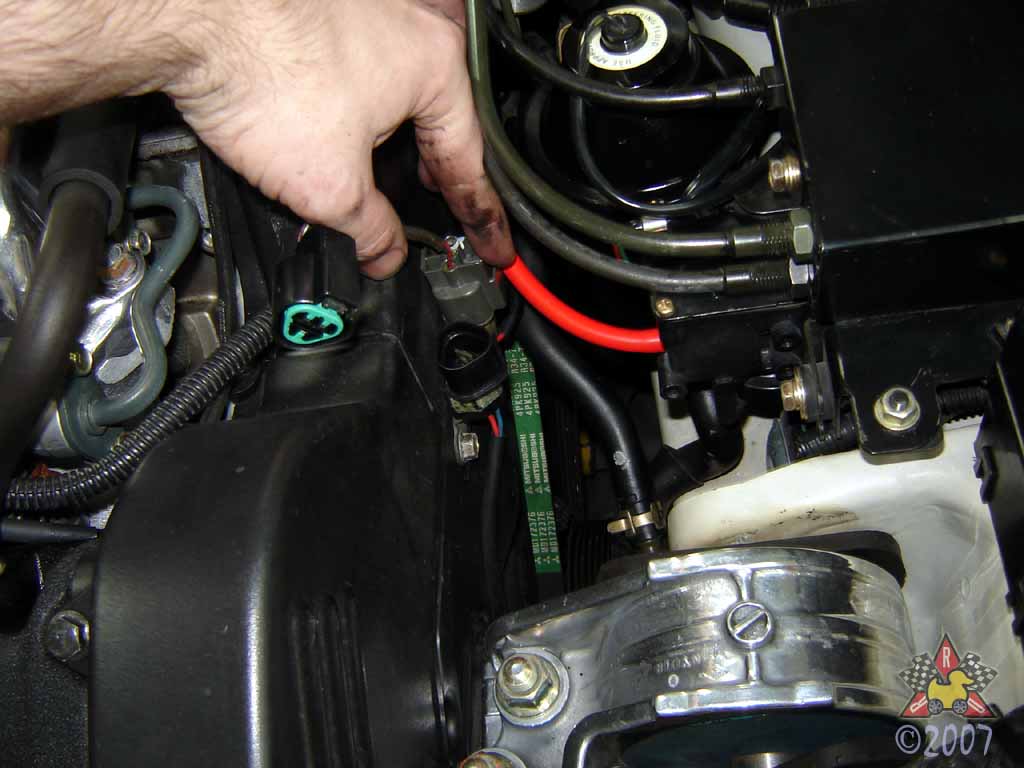
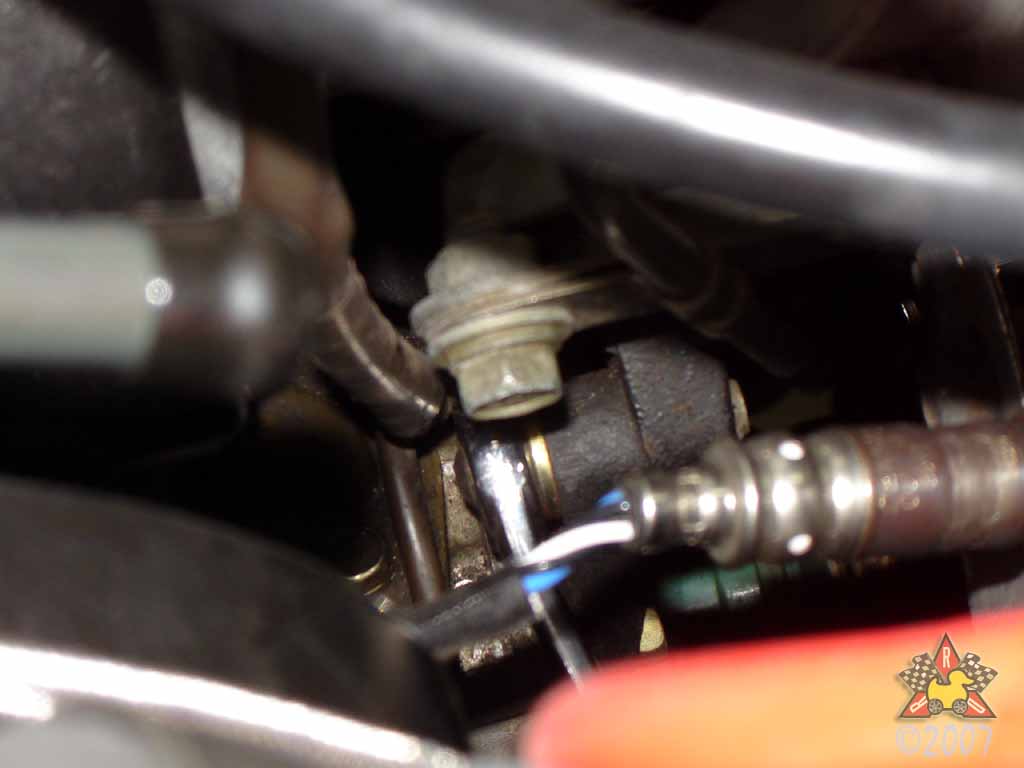
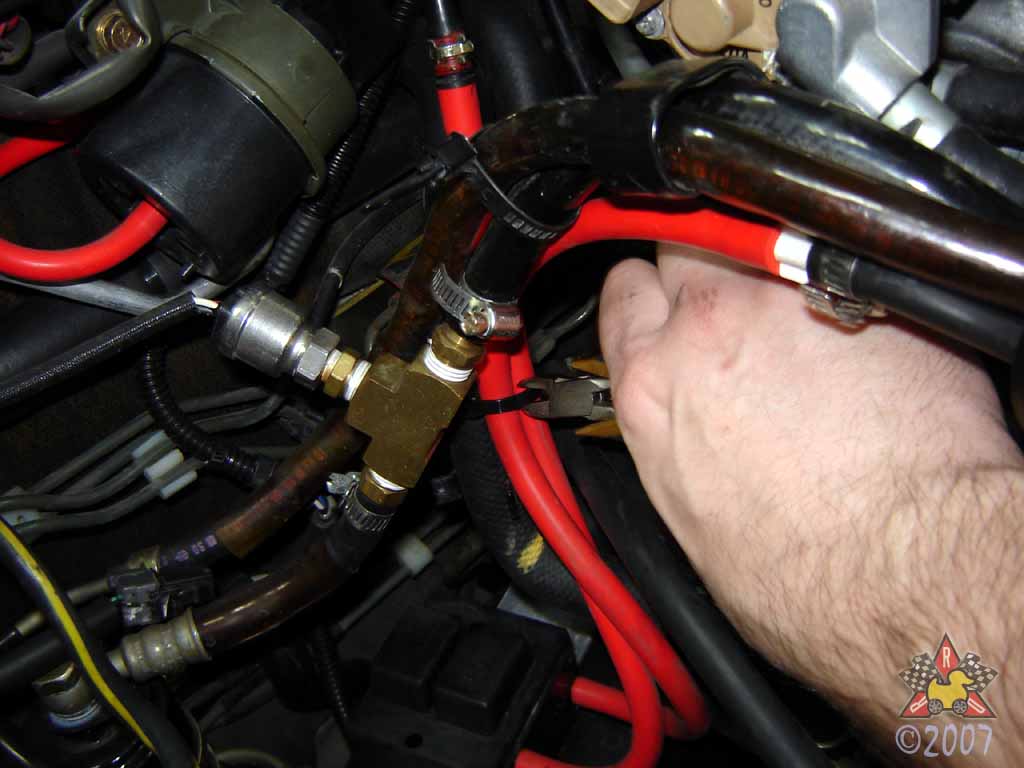
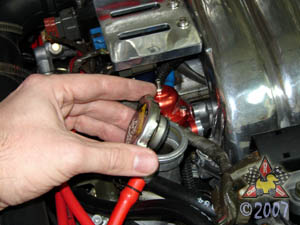
Disconnect EGT Sensor Harness [optional]
|
|
|
|
|
|
The harness for my EGT gauge is located here, so I needed to disconnect it to
remove the downpipe from the car. This sensor is aftermarket, so if your car
is stock, you don't have this...
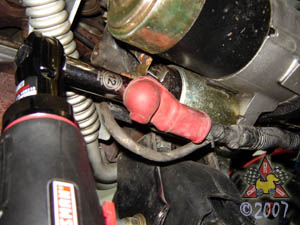
|
|
|
|
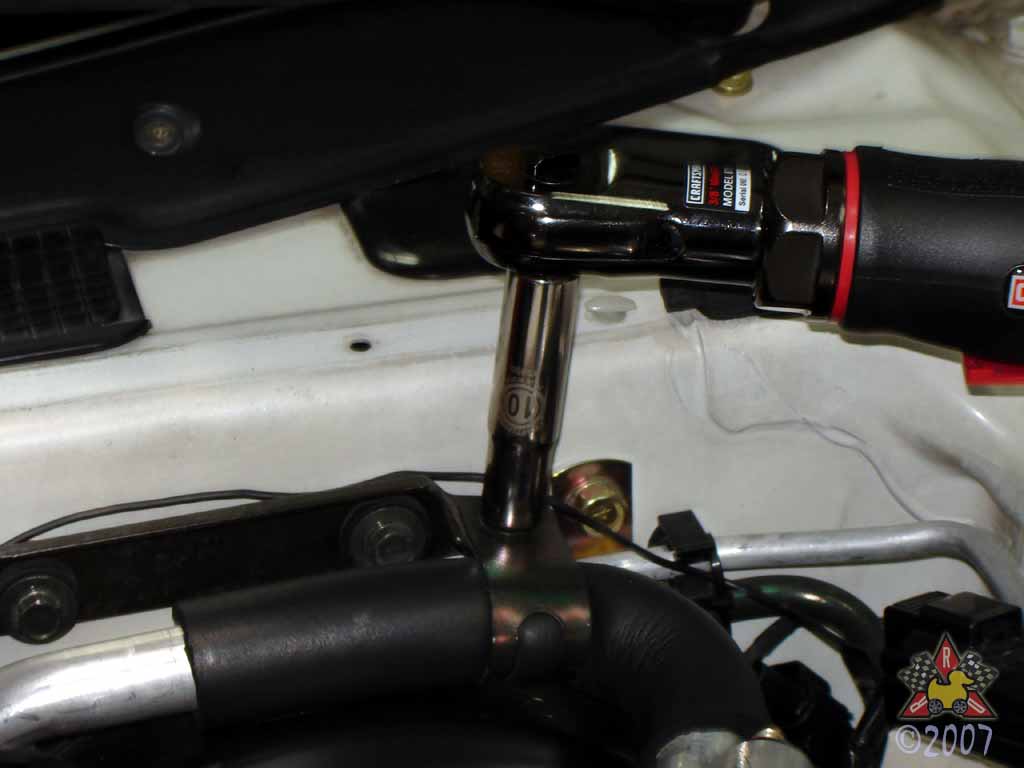
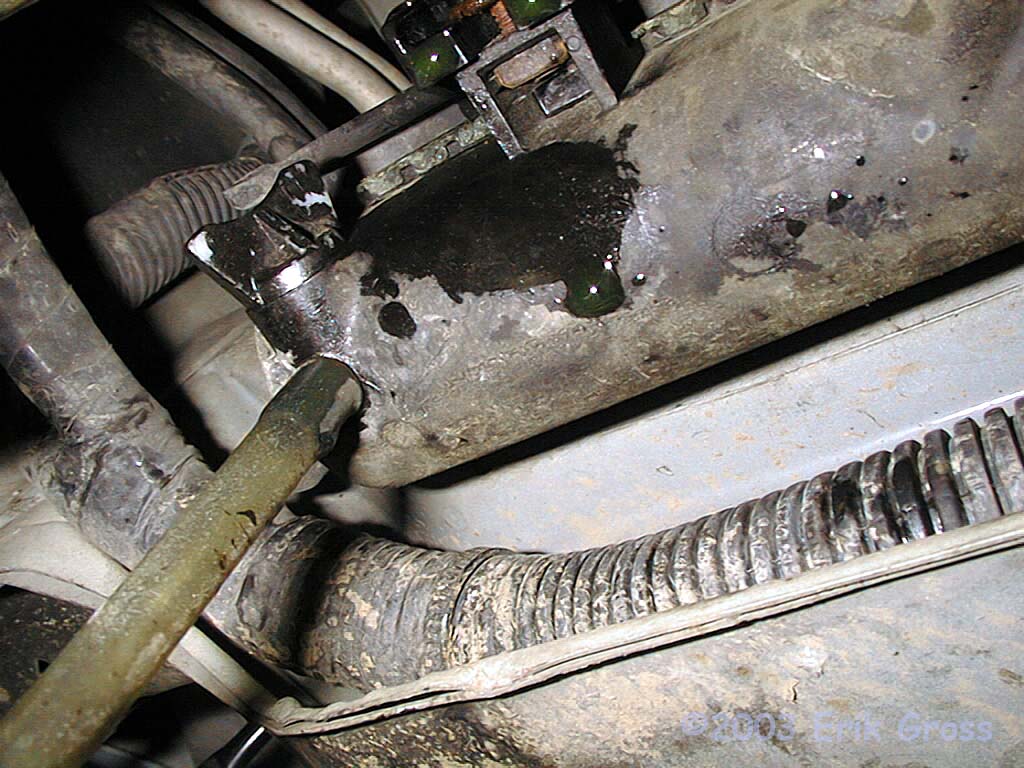
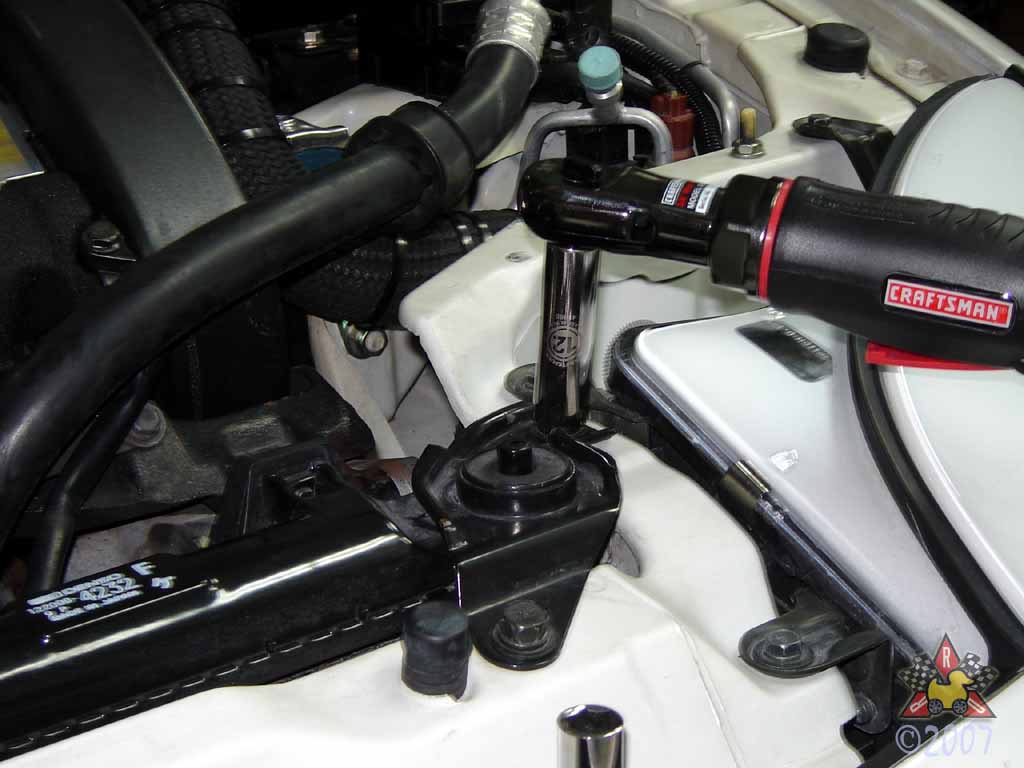
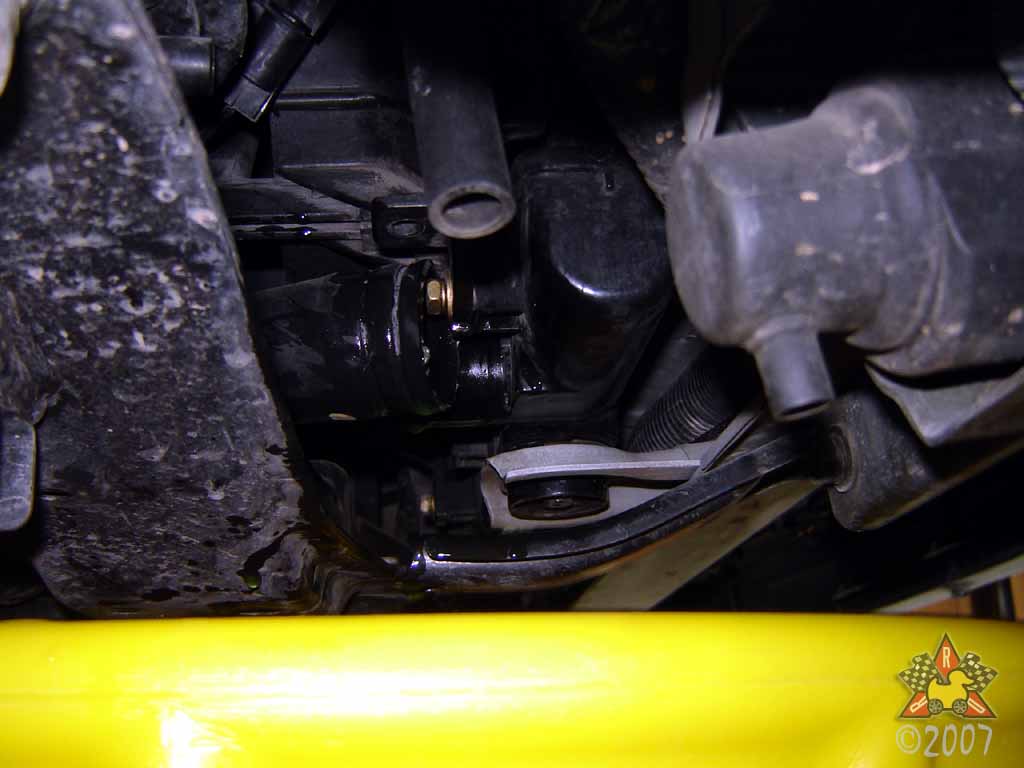
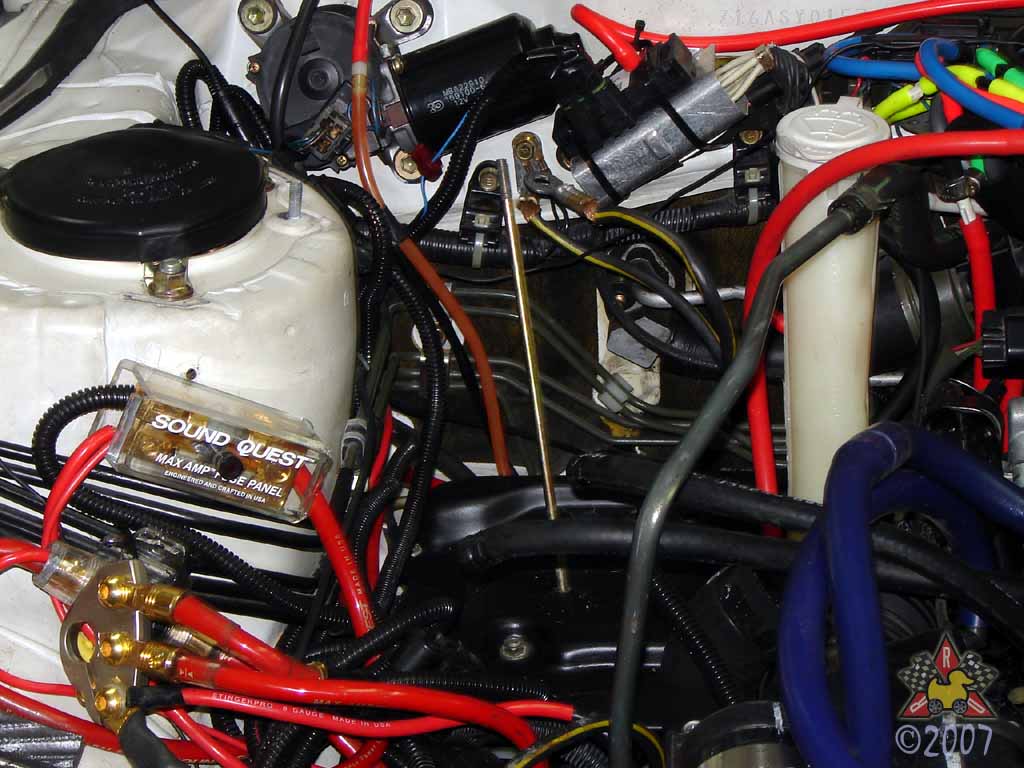
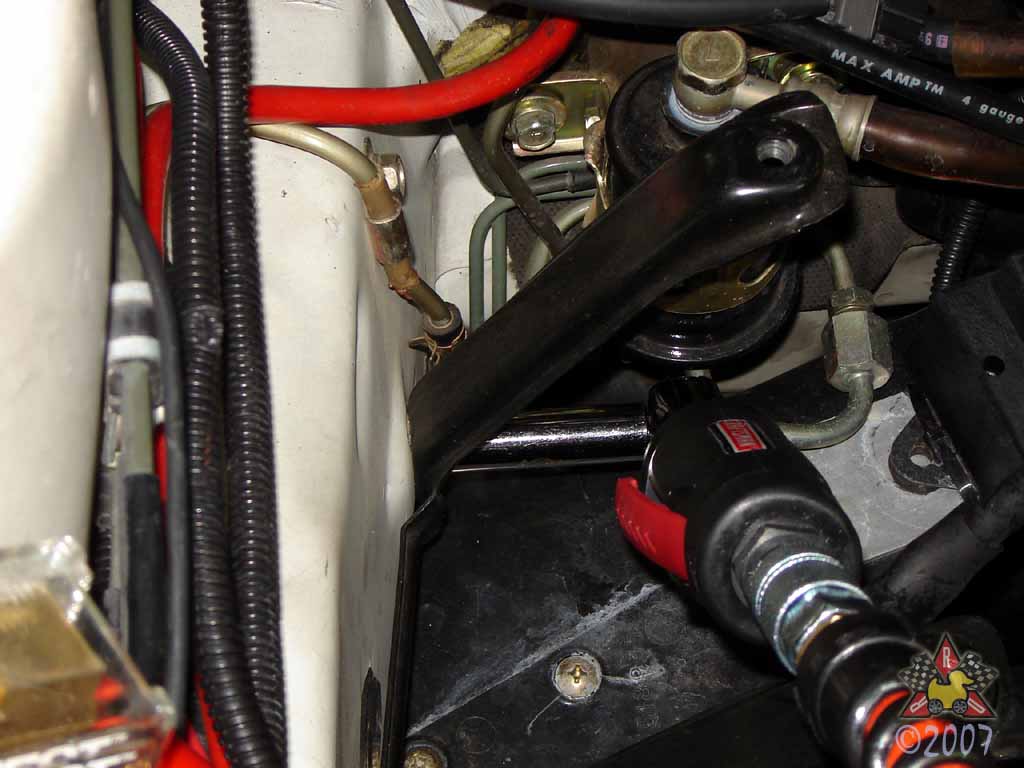
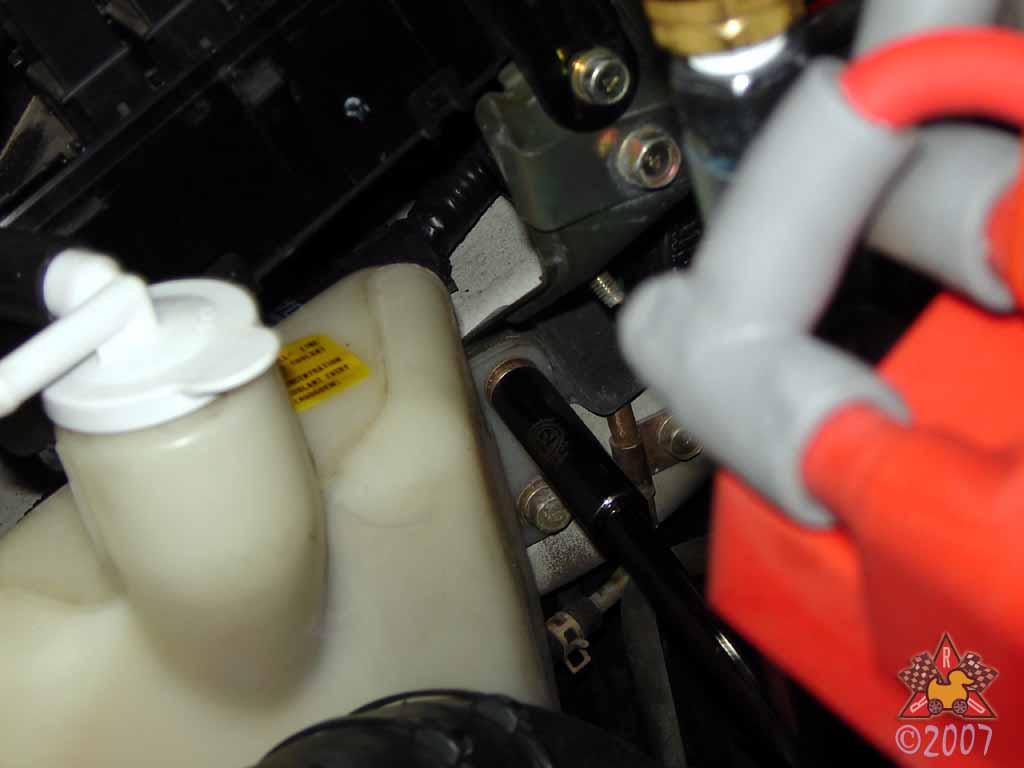
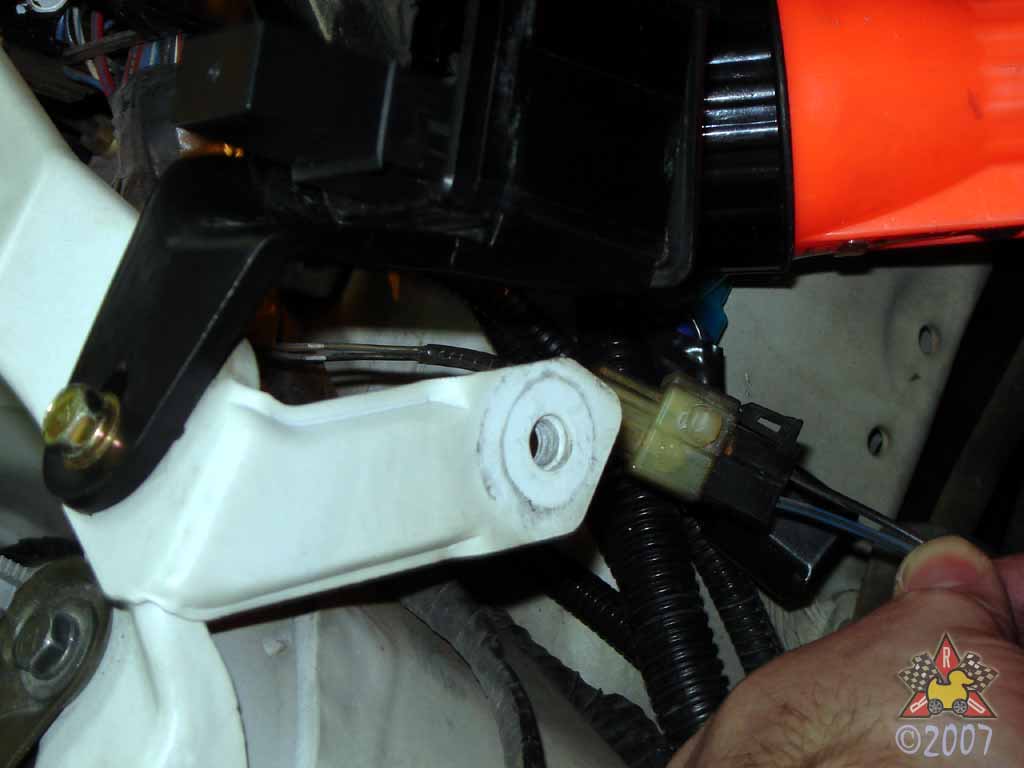
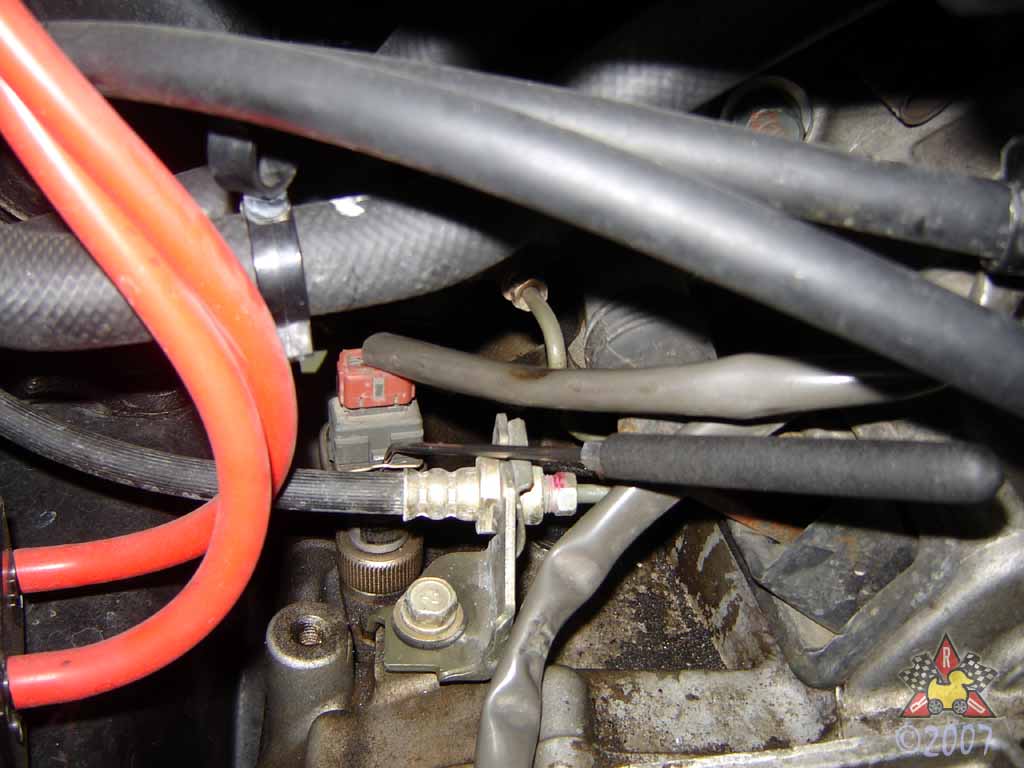
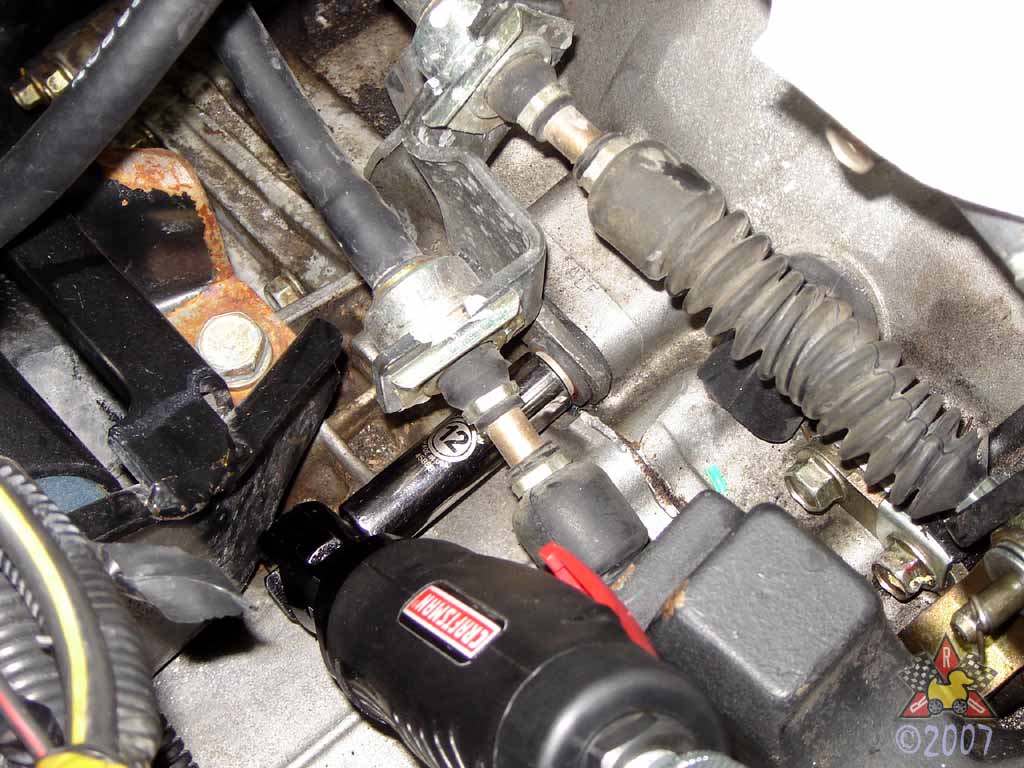
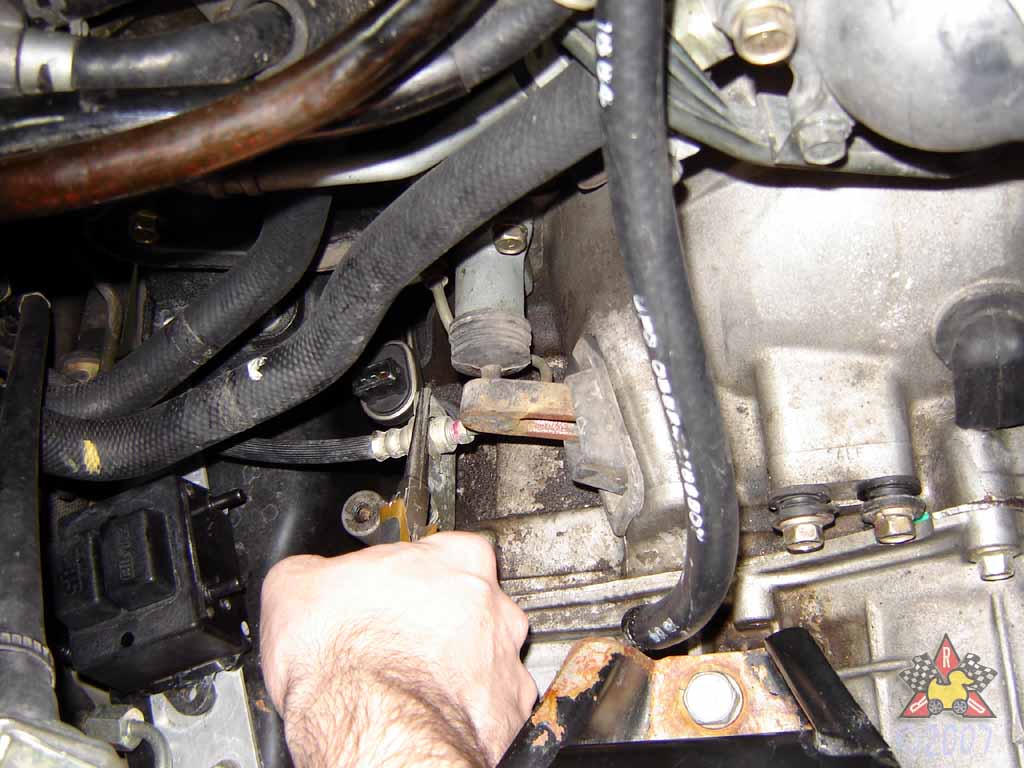
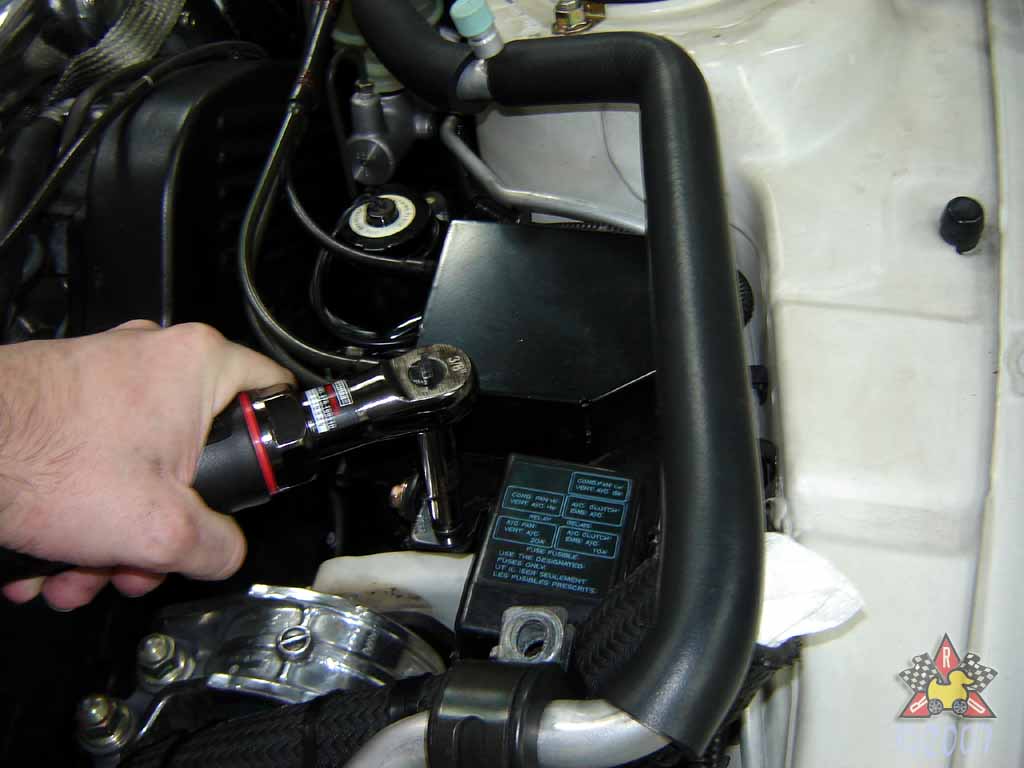
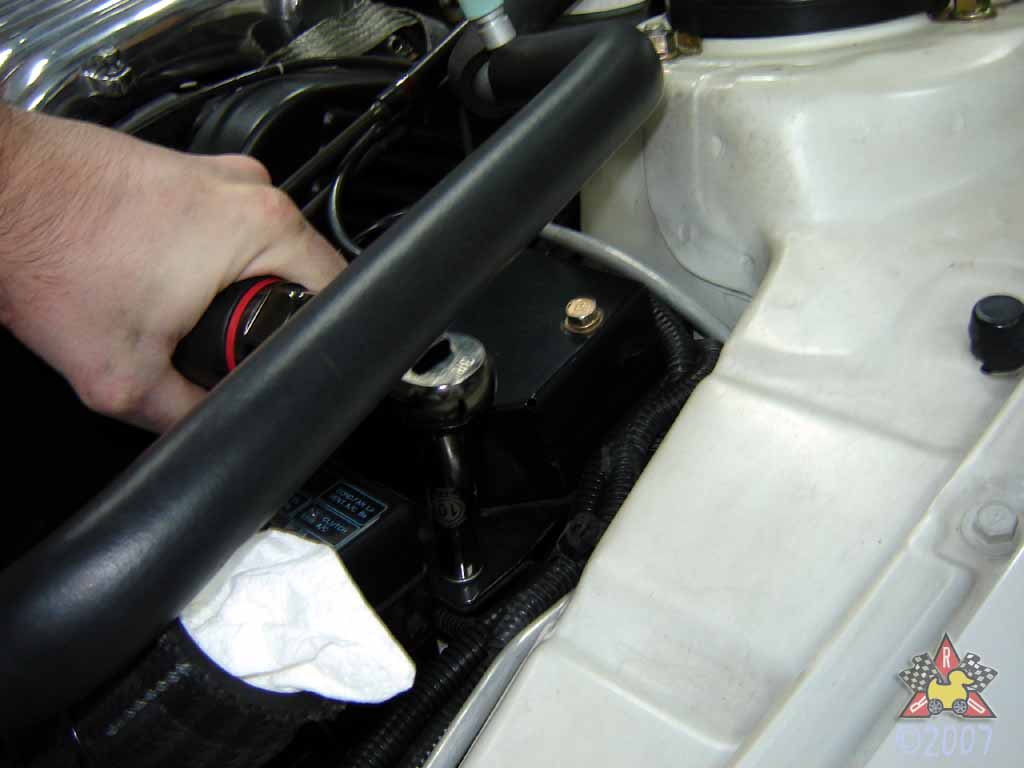
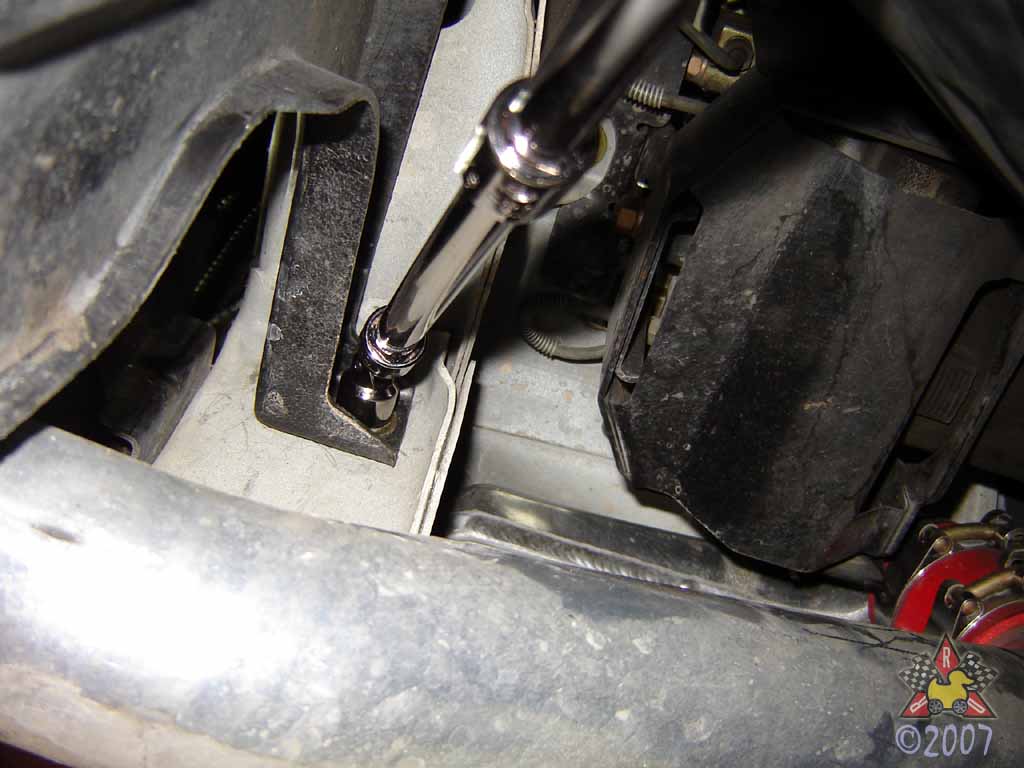
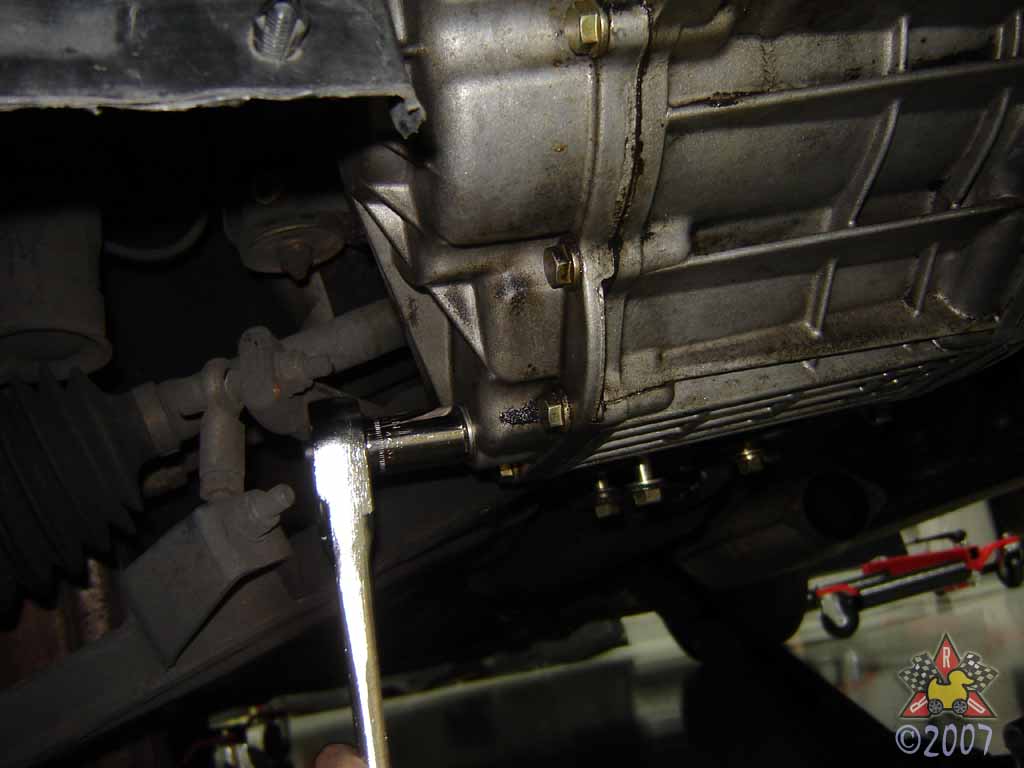
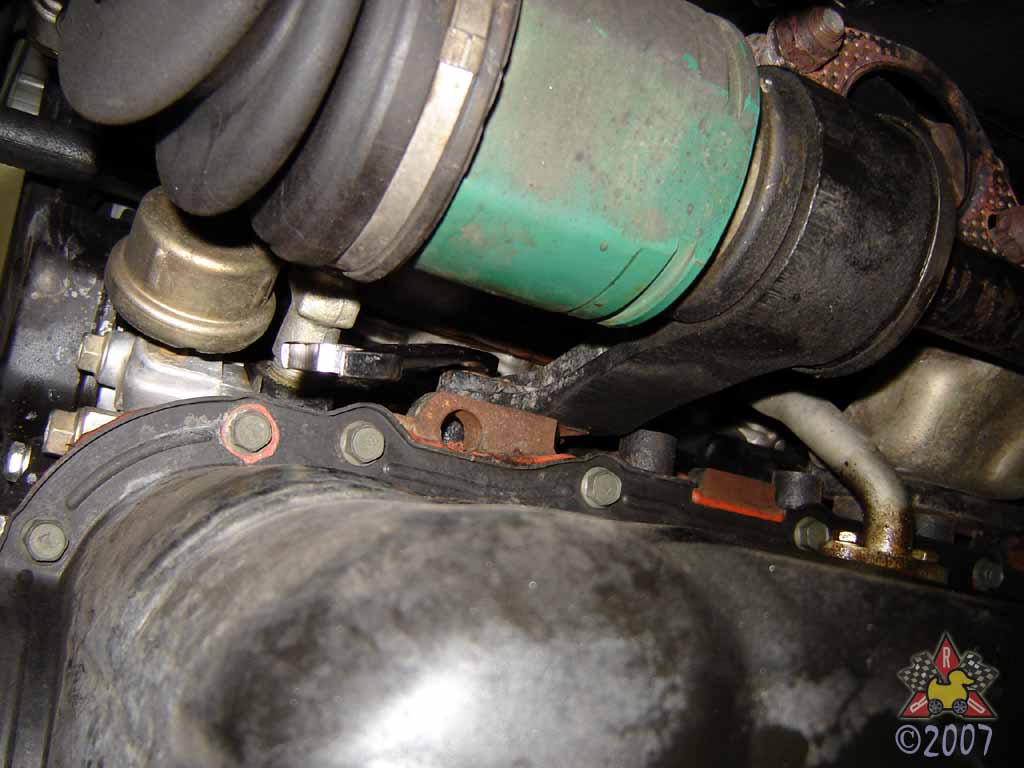
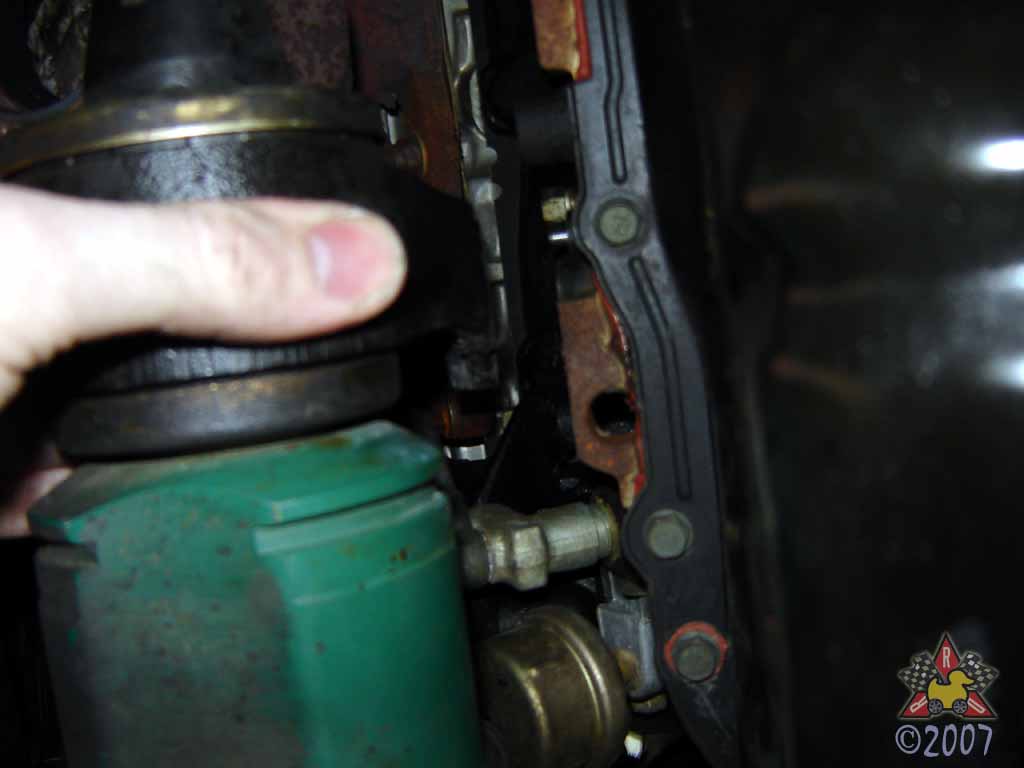
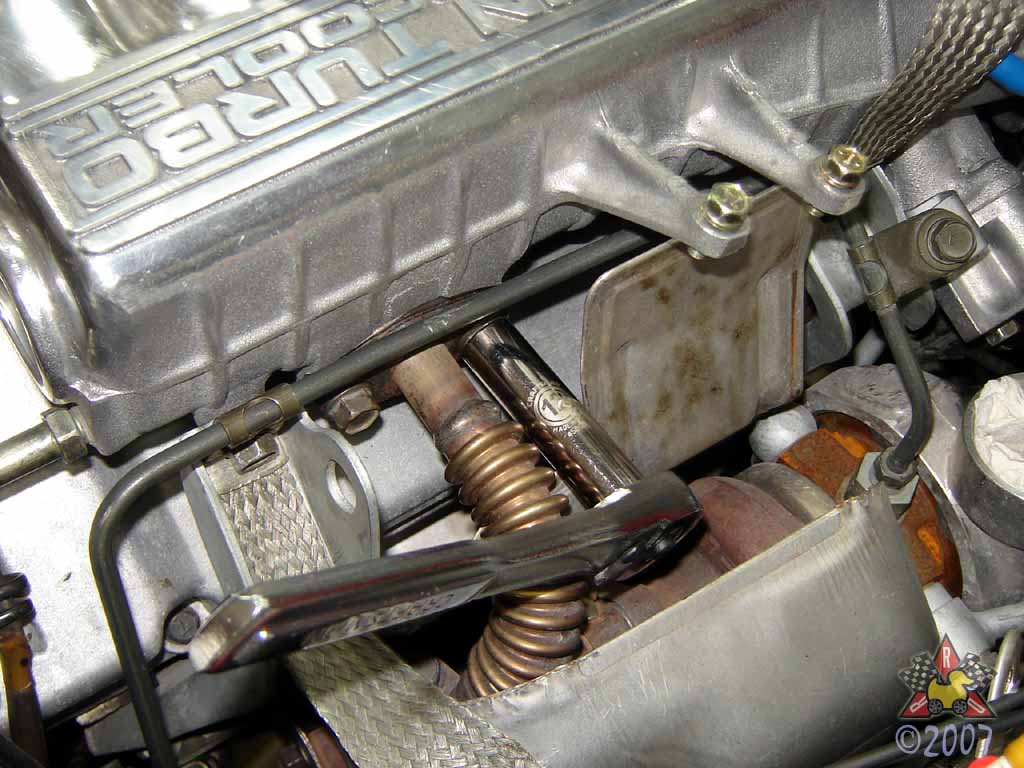
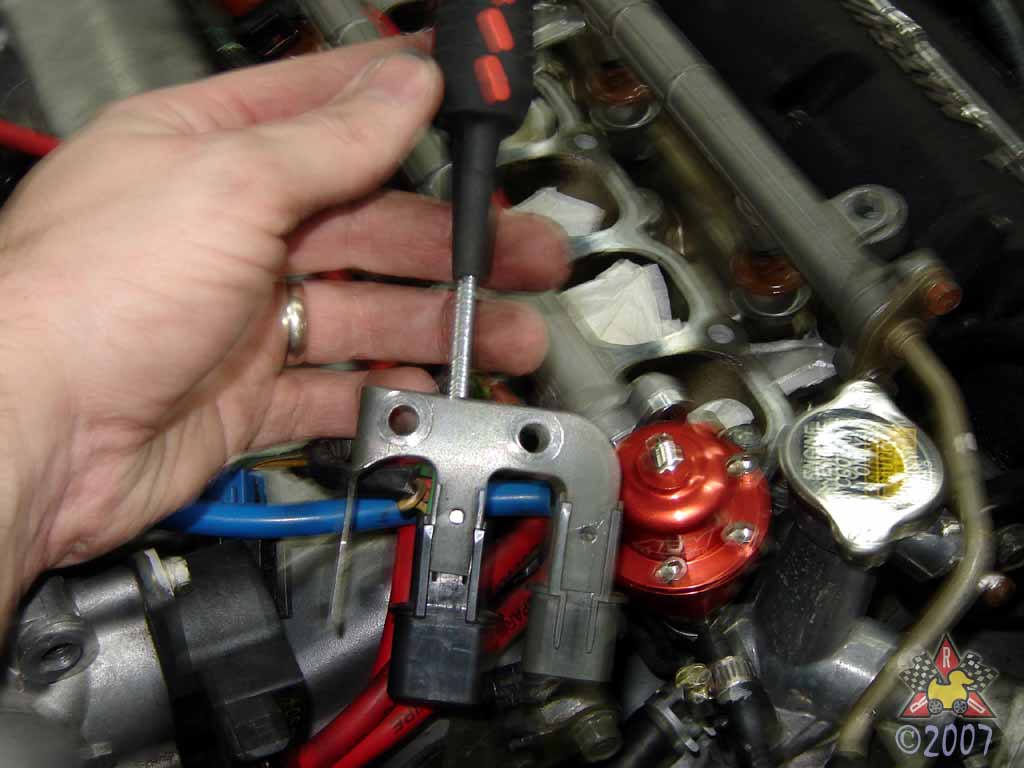
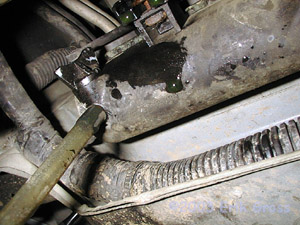
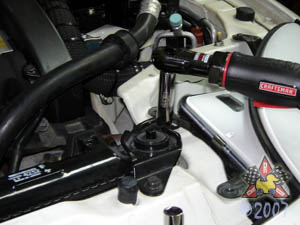
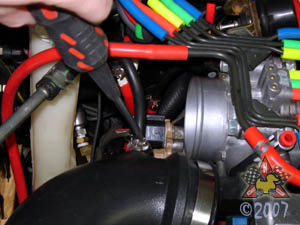
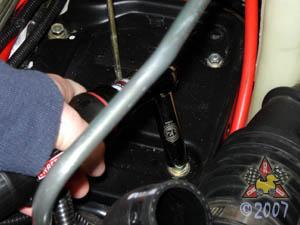
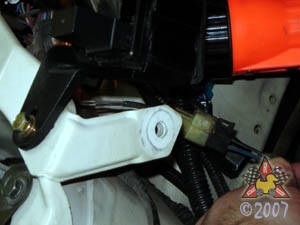
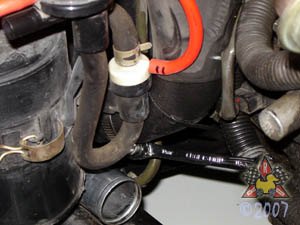
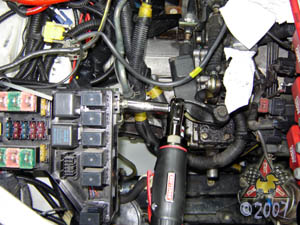
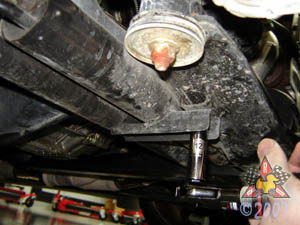
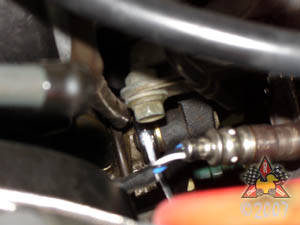
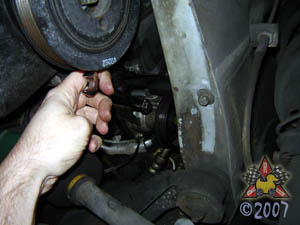
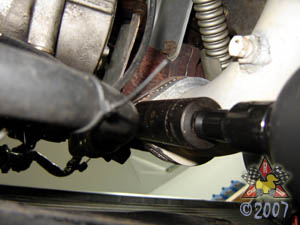
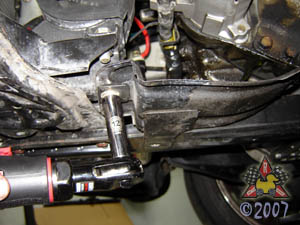
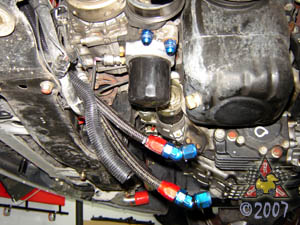
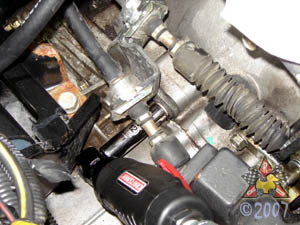
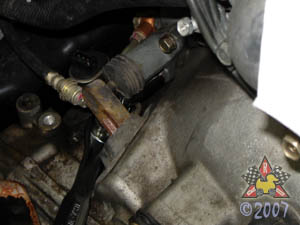
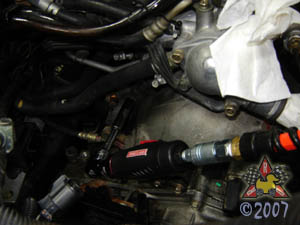
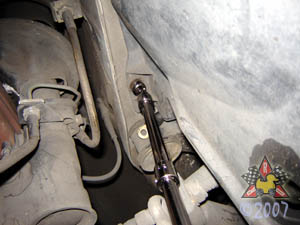
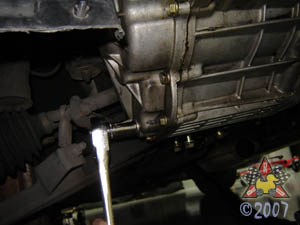
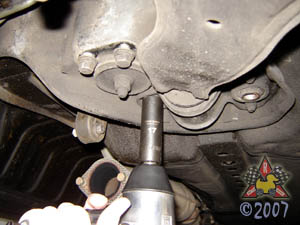
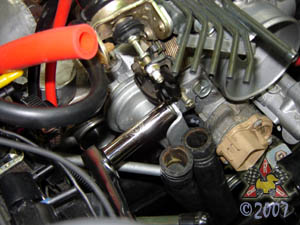
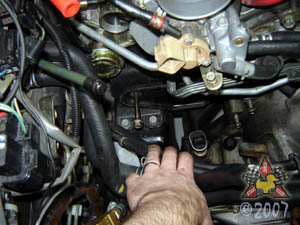
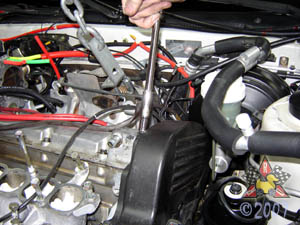
Remove Nut For Power Steering Pump
|
|
|
|
|
|
There's a 14mm nut that is one of the fasteners for the power steering pump -
it's toward the back of the engine, and it's near the rear oxygen sensor
(blue/black/white wires in picture). It's really hard to get a picture back there,
hence the not-so-great picture.
|
|
|
|
Disconnect Cruise Control Vacuum Line
|
|
|
|
|
|
There's a vacuum line that attaches to the bottom of the cruise control
box - remove it.
|
|
|
|
Unbold Rear Engine Grounding Strap
|
|
|
|
|
|
I have an aftermarket grounding strap here, but the stock one is remove the same
way - a 12mm bolt anchors it to the firewall.
|
|
|
|
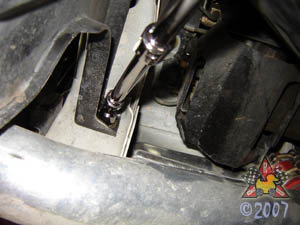
Remove Driver's Side Frame Member
|
|
|
|
|
|
There are six 14mm bolts that secure the left frame member - unbolt the
bolts and the member just drops down.
|
|
|
|
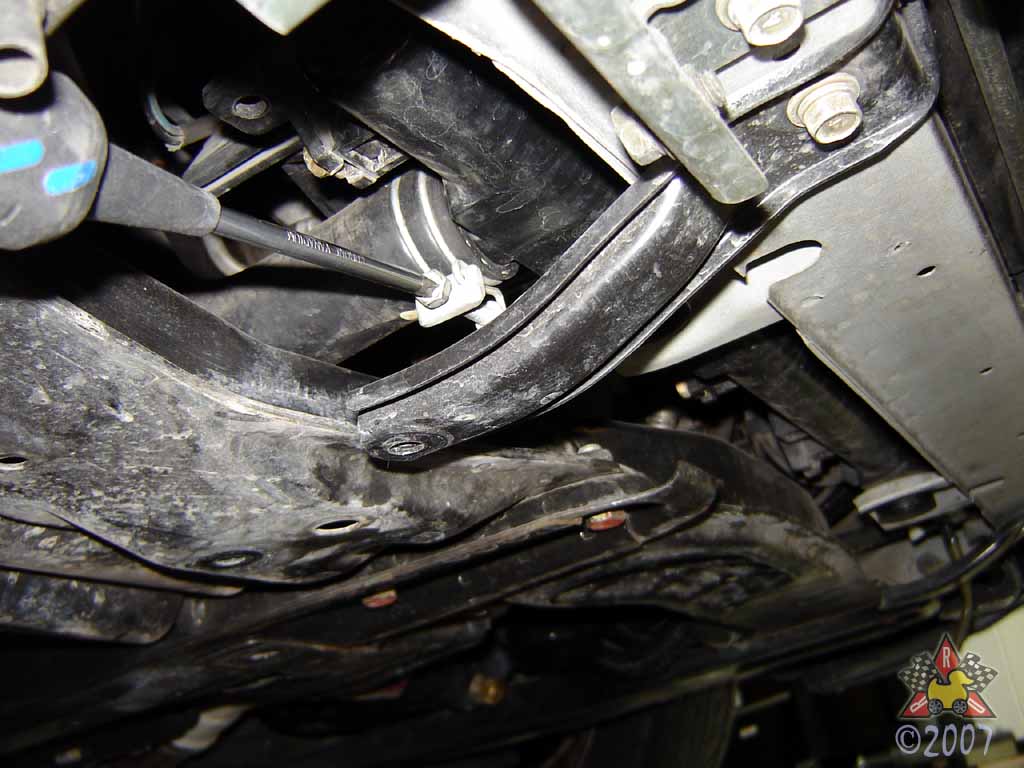
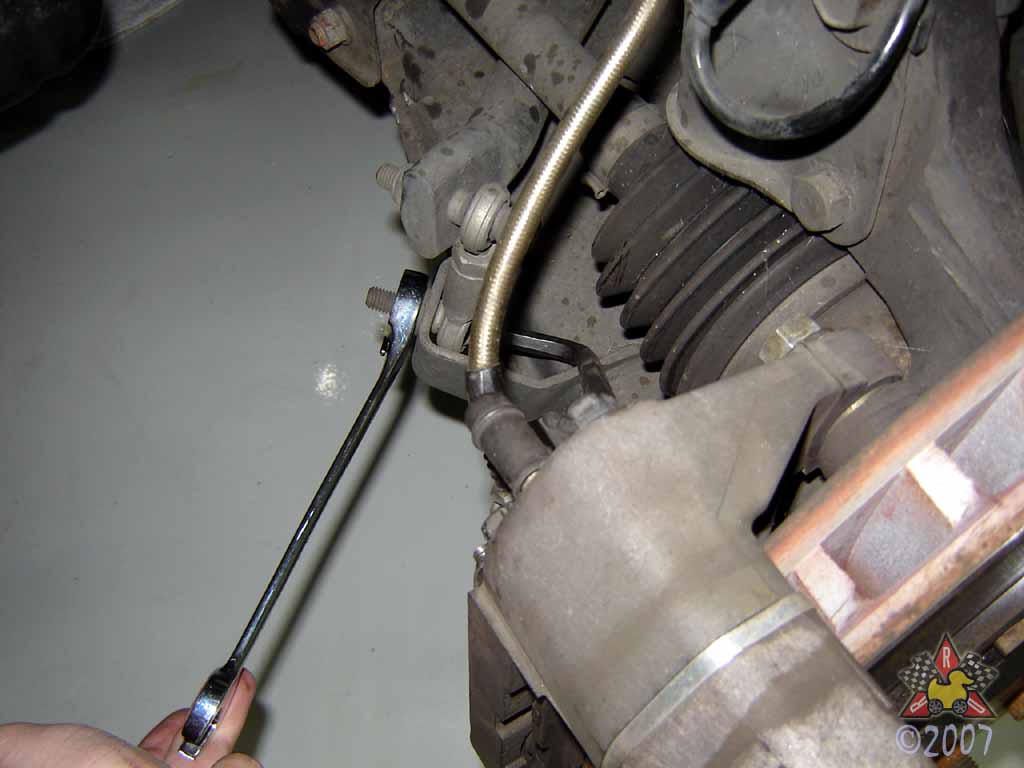
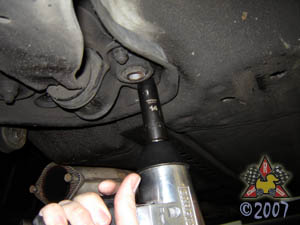
Remove Final Power Steering Pump Belt
|
|
|
|
|
|
There's one last bolt for the power steering belt, and it's accessed
from under the car. The bolt has an unusually long head.
|
|
|
|
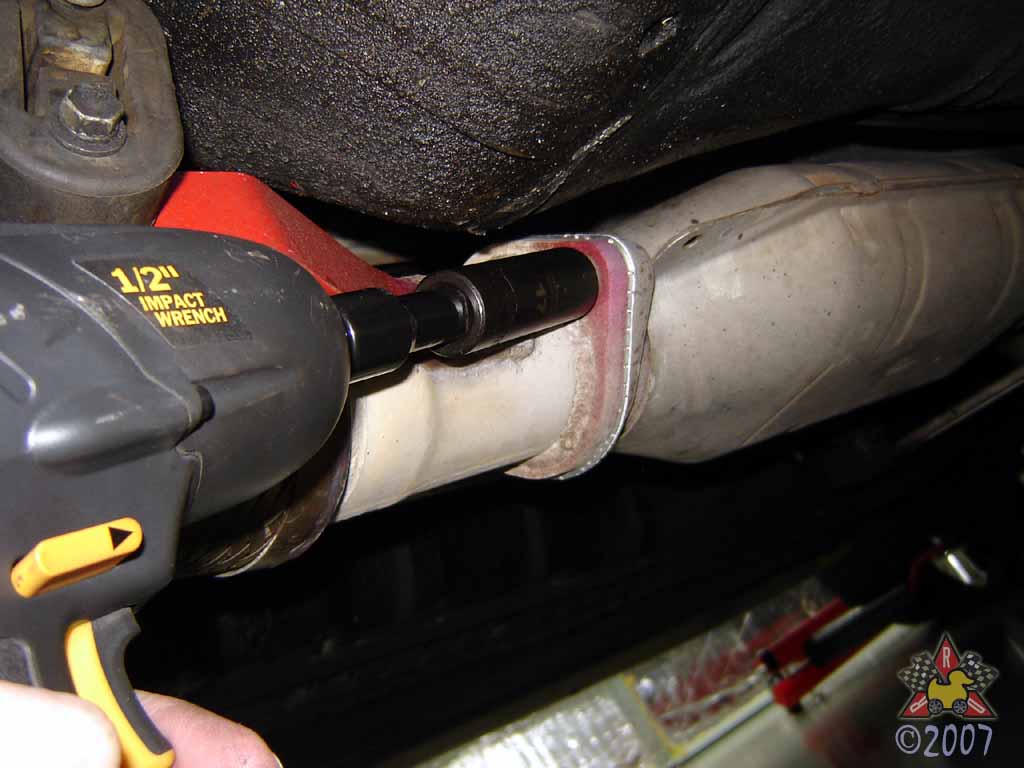
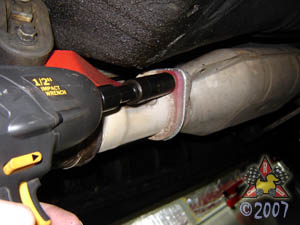
Remove Downpipe
|
|
|
|
|
|
You'll need a 17mm socket for the bolts that secure the rear flange
to the catalytic converter. The nuts securing the inlet flanges
to the oxygen sensor housings are 19mm, and there's a 12mm bolt
that holds the support bracket to the rubber mount. An impact
wrench will make the 17mm and 19mm connections easier to loosen.
Penetrating oil would also be useful if you've never had the
bolts/nuts off or not put anti-sieze on the threads.
|
|
|
|
Remove Front Oxygen Sensor Shield
|
|
|
|
|
|
There are two 12mm bolts that secure the oxygen sensor shield to the frame;
remove them and the shield.
|
|
|
|
Remove Passenger's Side Frame Member
|
|
|
|
|
|
There are eight 14mm bolts that secure the left frame member - unbolt the
bolts and the member just drops down.
|
|
|
|
Remove Starter Heat Shield
|
|
|
|
|
|
Gotta remove this shield to get at the starter's electrical connections. There are two 12mm
bolts that need to be removed.
|
|
|
|
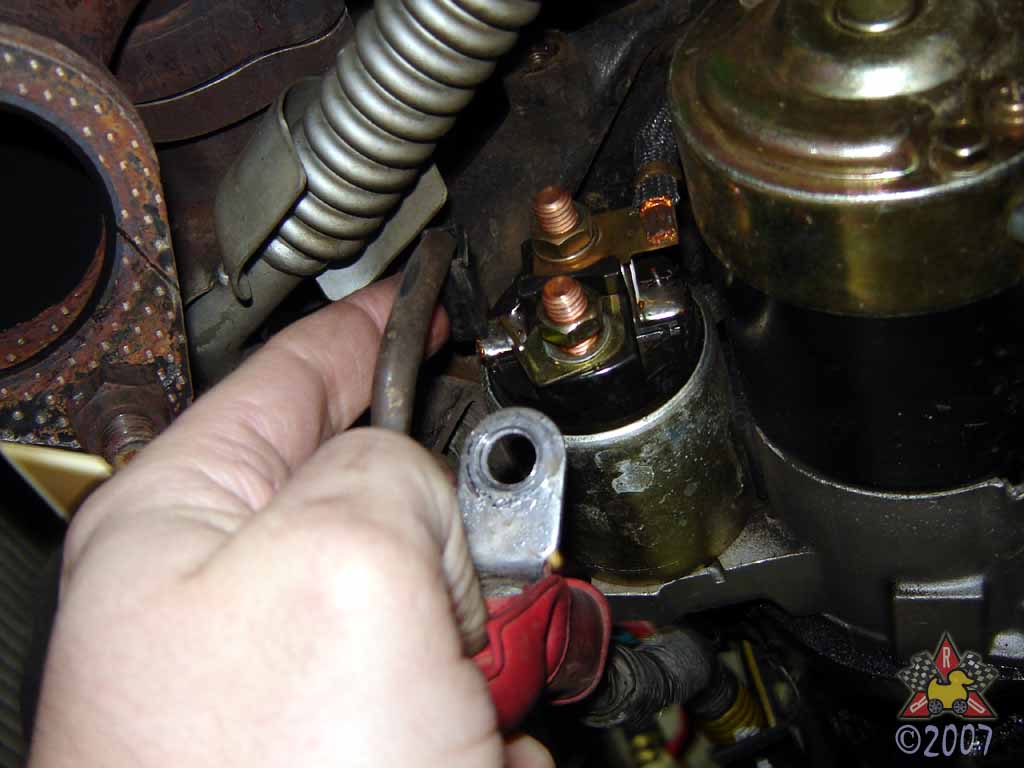
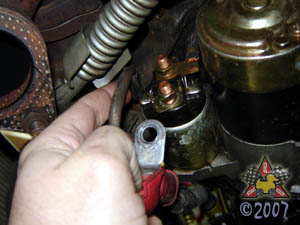
Disconnect Starter Electrical Connections
|
|
|
|
|
|
There's a 12mm nut and a wiring harness connector that need to be removed here.
|
|
|
|
Unbolt Engine Ground Wire
|
|
|
|
|
|
There's a ground wire attached to the engine block directly below the Power Transistor
Unit (PTU), which is below the ignition coils. Remove the 17mm bolt to remove the
ground wire.
|
|
|
|
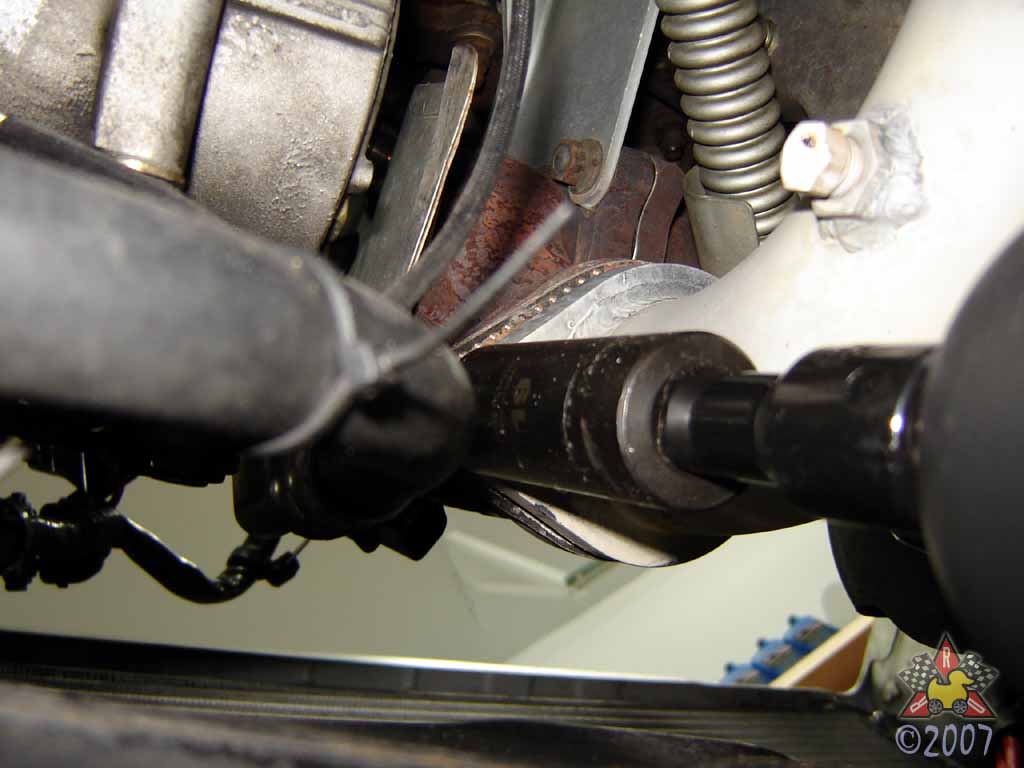
Remove Crankshaft Pulley
|
|
|
|
|
|
There are a couple of reasons you may want to do this now, and they all have to
do with the fact that the impact wrench you have (as shown in the picture)
may not be sufficient to get the 22mm bolt out of the crankshaft. It's often
stuck in there really tight, particularly if some idiot mechanic did your 60k
service and put the bolt back on with an impact wrench.
|
|
|
|
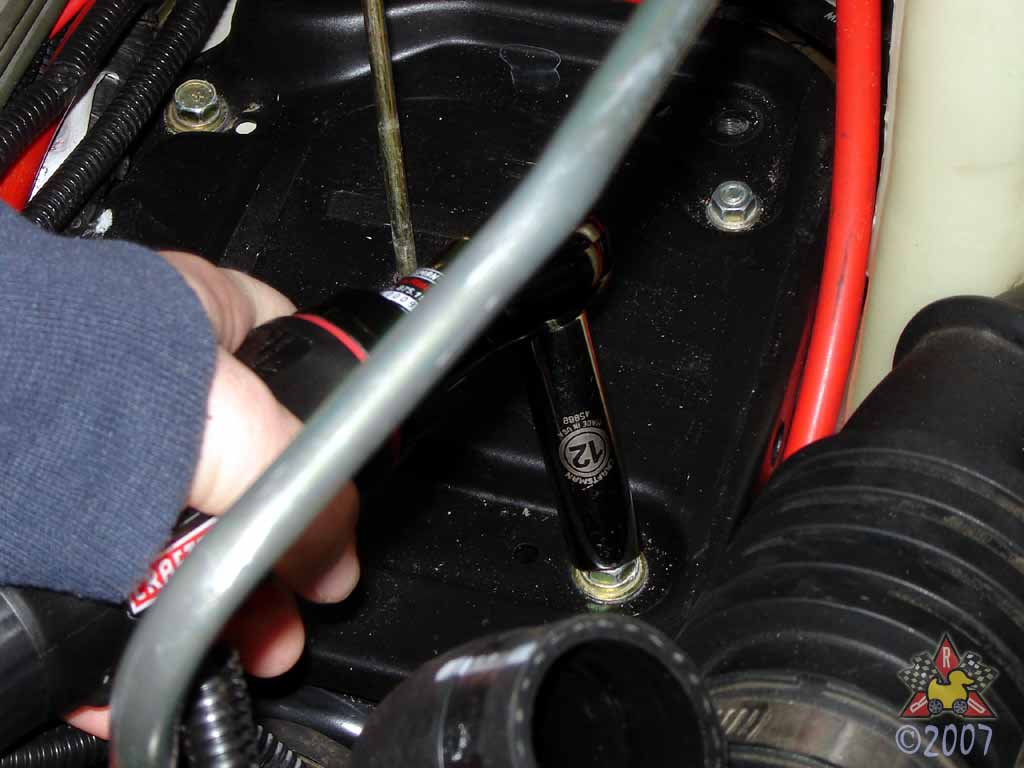
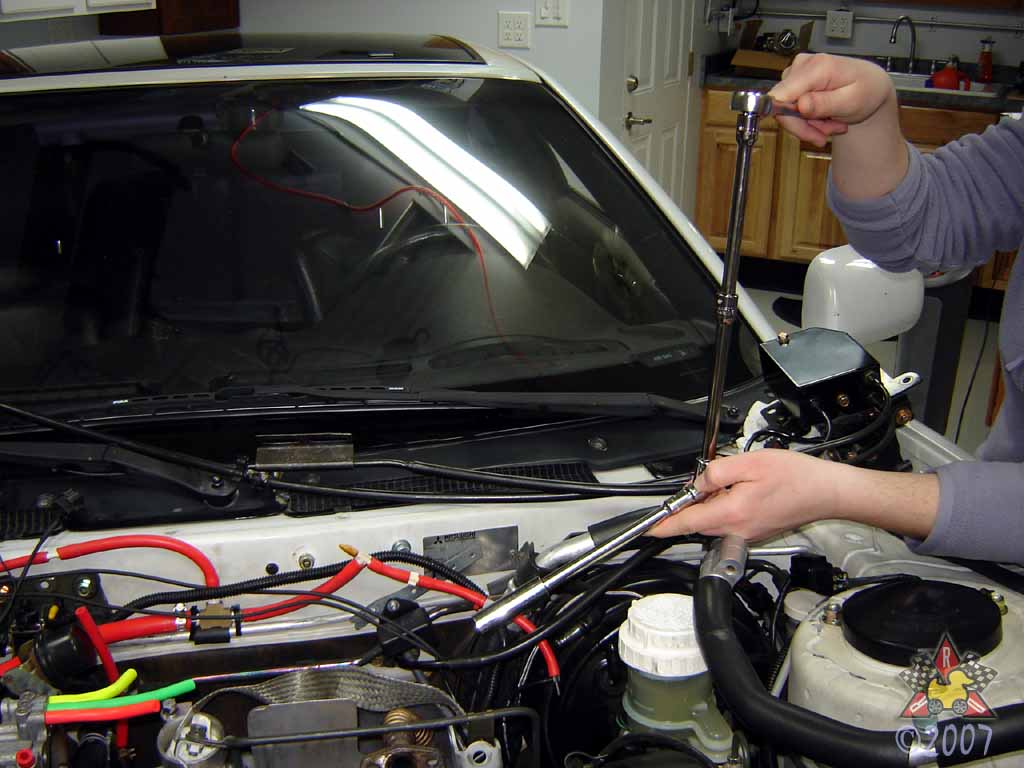
Remove Crankshaft Pulley (for real this time)
|
|
|
|
|
|
Since the engine is still in the car, it's easy to brace the crankshaft-pulley-holder-tool
(a.k.a. "end yoke holder") against the control arm to keep the crank from turning.
Alternately, you can put the car in gear and have someone step on the brake pedal.
Show that crank bolt you mean business (assuming your impact wrench doesn't quite
cut it) with your handy-dandy 4-foot cheater bar. I used a piece of 2.5" ABS drainpipe
to support the head of the ratchet as I pushed down on the cheater bar. Having a helper
to stabilize the head of the ratchet on the ABS pipe comes in handy, too.
|
|
|
|
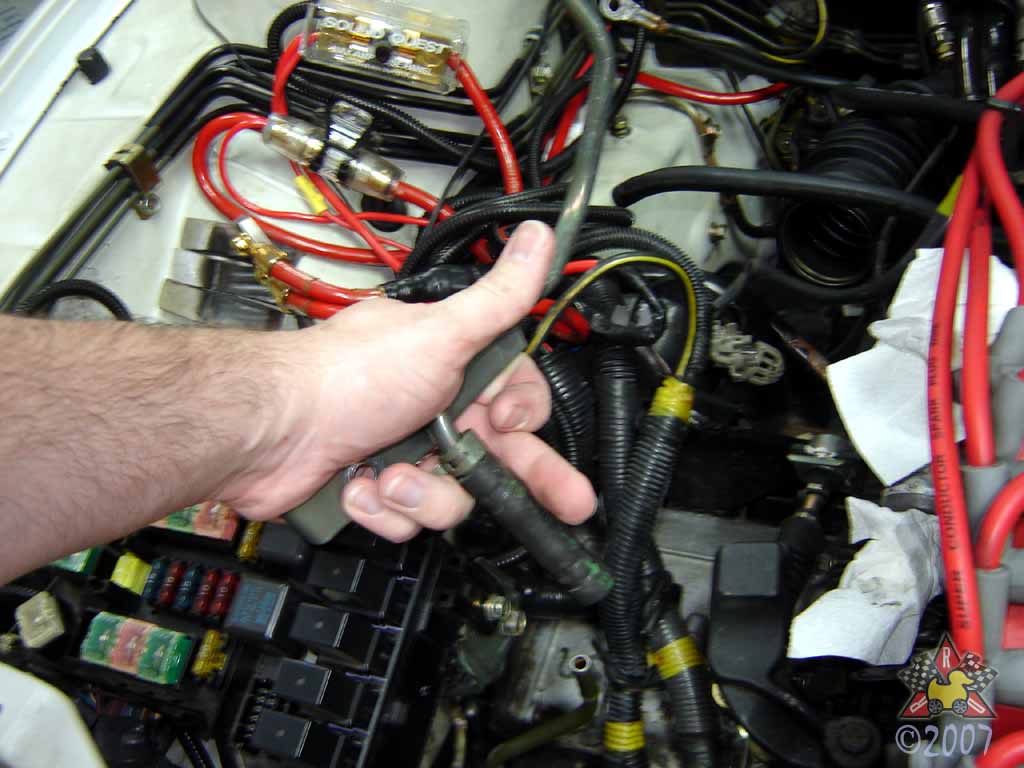
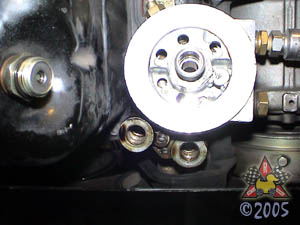
Disconnect Oil Cooler Lines
|
|
|
|
|
|
There are a pair of oil cooler lines attached to the oil filter housing;
since the oil cooler is attached to the chassis, you'll either have to
unbolt the oil cooler or disconnect the oil cooler lines from the engine.
The latter is much easier. Shown are the -AN lines I have for my upgraded
oil cooler. If you have the stock lines, you'll need a 19mm socket or wrench
to loosen the banjo bolts, as shown in the second picture.
|
|
|
|
Move Oil Cooler Lines Out of the Way
|
|
|
|
|
|
Shown are my aftermarket oil cooler lines - with stock lines, you'll probably
find some other creative way to keep the ends of the lines above the top of
the cooler so that oil doesn't leak out of them any more.
|
|
|
|
Disconnect Shifter Cables
|
|
|
|
|
|
There's a cotter pin that you have to remove (needle-nose pliers work well) in order
to get the cables off of the shafts on the transaxle. After removing the pins,
just pull upward to remove the cables.
|
|
|
|
[Optional] Remove Boost Controller Vacuum Lines
|
|
|
|
|
|
As you can see in the picture, I have the solenoid box for my boost controller
mounted on the front crossmember. I removed the vacuum lines to make sure
that they weren't damaged while removing the engine.
|
|
|
|
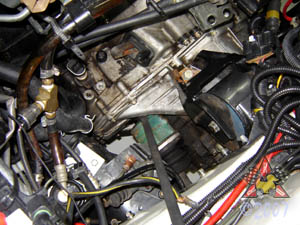
Unbolt Shifter Cables From Transaxle
|
|
|
|
|
|
The shifter cables are secured to the transaxle by a bracket, which you
can remove by loosening the 12mm bolt shown in the picture.
|
|
|
|
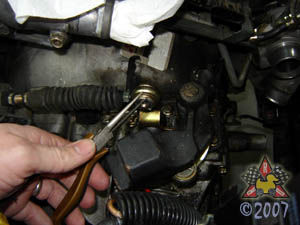
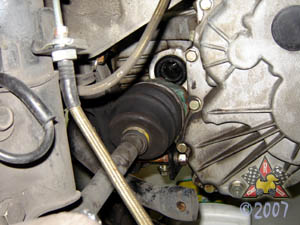
Disconnect Clutch Slave Line From Bracket
|
|
|
|
|
|
Remove the clip that secures the line to the bracket by pulling upwards
on it with some pliers.
|
|
|
|
Remove Clutch Slave Line Bracket
|
|
|
|
|
|
Removing this bracket will get you the clearance you need to
remove the bolts for the clutch slave cylinder. The bolt in
question is a 12mm one.
|
|
|
|
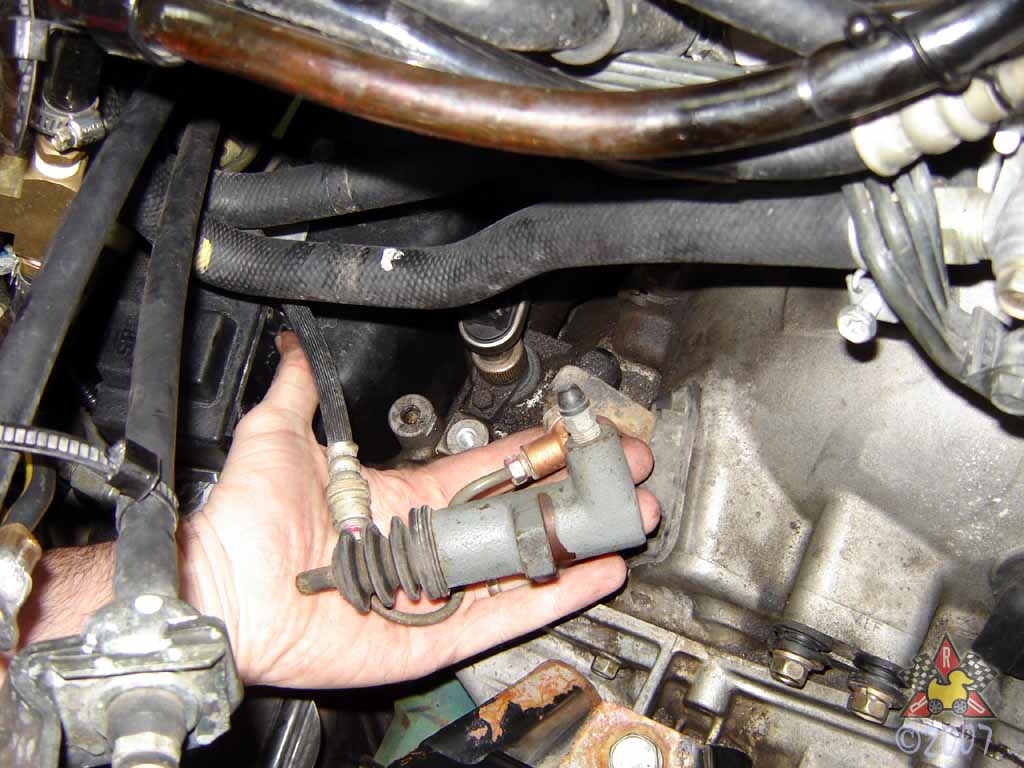
Unbolt Clutch Slave Cylinder
|
|
|

|
|
|
There are two 12mm bolts that secure the clutch slave cylinder
to the transaxle housing.
|
|
|
|
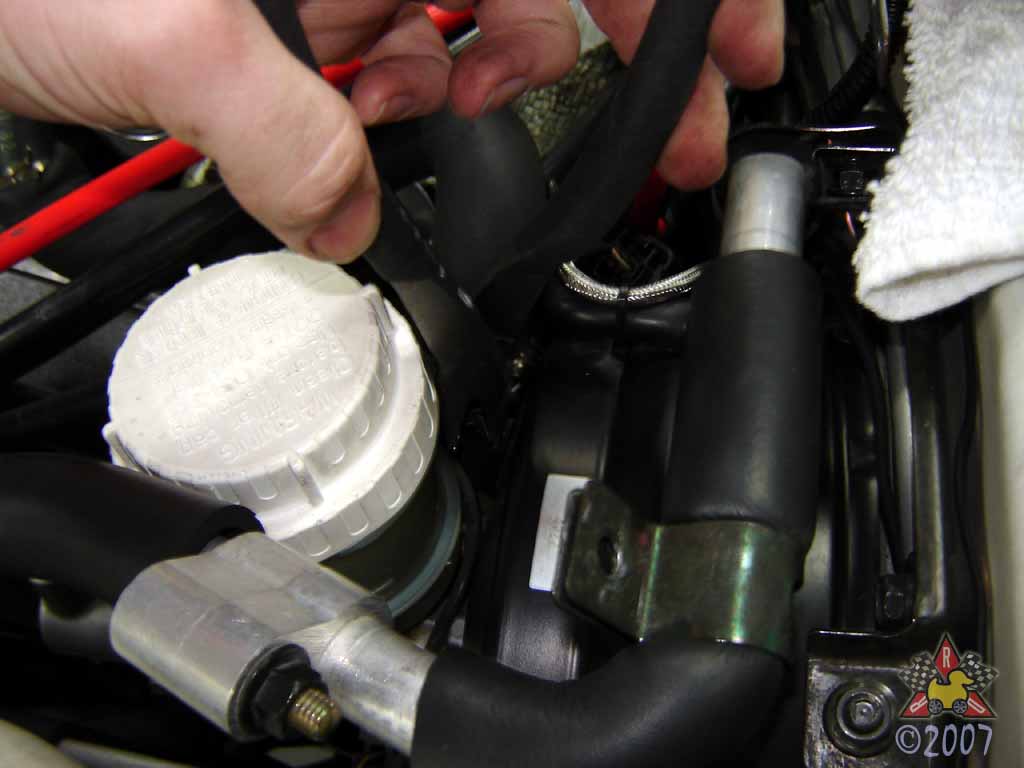
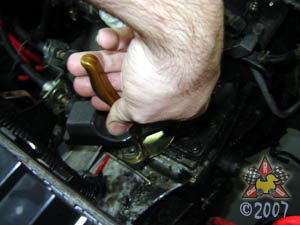
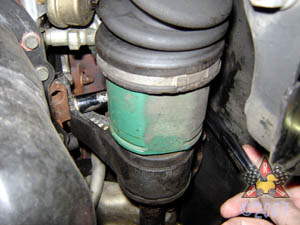
Disconnect Heater Hoses from Thermostat Housing
|
|
|
|
|
|
The OEM clamps have 10mm heads on the bolts, and the hoses will
likely need some coaxing to remove them.
|
|
|
|
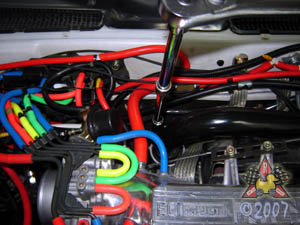
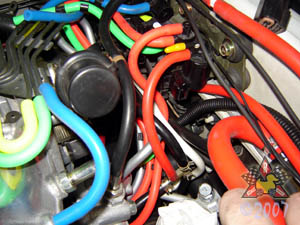
Remove Vaccum Lines
|
|
|


|
|
|
There are lots of vacuum lines that run around the throttle body,
and you'll need to remove many of them. I was planning to do a
vacuum hose reduction, so I went ahead and removed them entirely.
These pictures are mostly for my documentation of where to connect
things when I put the engine back together...
|
|
|
|
Unbolt Cruise Control Canister
|
|
|
|
|
|
There's a 10mm bolt that holds it to the firewall. Remove the bolt
so you can move the canister and its vacuum line out of the way.
|
|
|
|
Unbolt Ground Strap and Boost Sensor
|
|
|
|
|
|
This isn't stock, so you may not have this. The bolt is 12mm, in case you
have something bolted there.
|
|
|
|
Disconnect Compressor Wiring Harness
|
|
|
|
|
|
Self-explanatory...
|
|
|
|
Unbolt A/C Compressor from Engine
|
|
|
|
|
|
There are four 12mm bolts that you need to remove here. Once they are
removed, you can move the A/C Compressor out of the way, and you don't need
to disconnect the A/C lines.
|
|
|
|
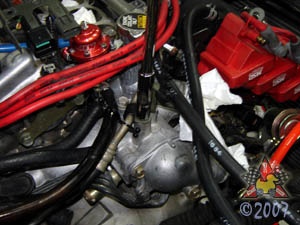
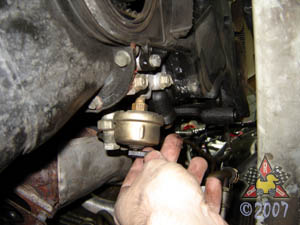
[Optional] Disconnect Oil Temperature and Pressure Sensors.
|
|
|
|
|
|
I have my oil temp and pressure sensors in a sandwich plate by the oil filter,
so I had to disconnect the sensors. These are not stock...
|
|
|
|
Move Cruise Control Box Out of the Way
|
|
|
|
|
|
By unbolting this box, you can move the cruise control box,
and all its associated hard piping, out of the way. There are
several 10mm bolts, and you'll need to move the power steering
fluid sensor harness out of the way.
|
|
|
|
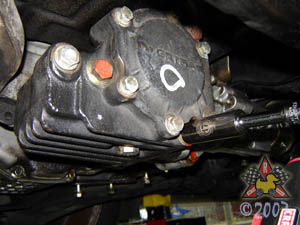
Unbolt Transfer Case
|
|
|
|
|
|
See the
Transfer Case R&R page
for more details...
|
|
|
|
Remove Passenger-Side Splash Guard
|
|
|
|
|
|
There are two 12mm bolts that hold it to the chassis.
|
|
|
|
Drain Transaxle
|
|
|
|
|
|
The drainplug is a 17mm bolt - loosen it and catch the fluid.
|
|
|
|
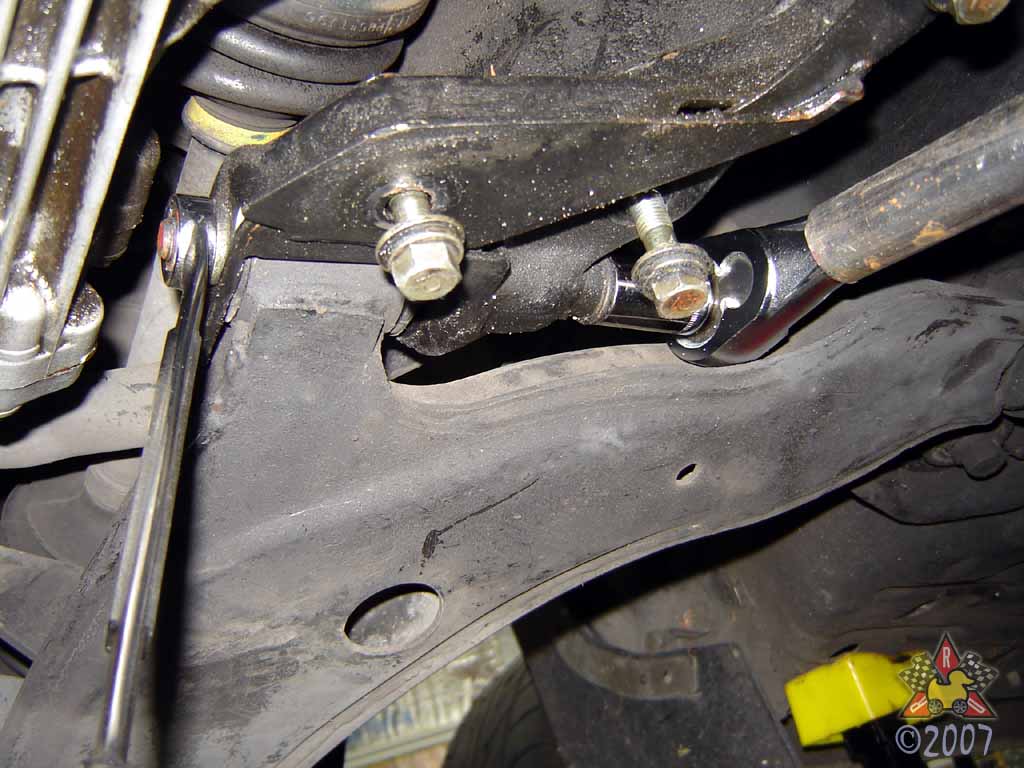
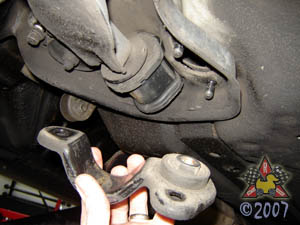
Unbolt Front Anti-Sway Bar End Links
|
|
|

|
|
|
I have the Saner bar on my car, so my end links will look a little
different if you have stock ones. Unbolt them on both sides of
the car.
|
|
|
|
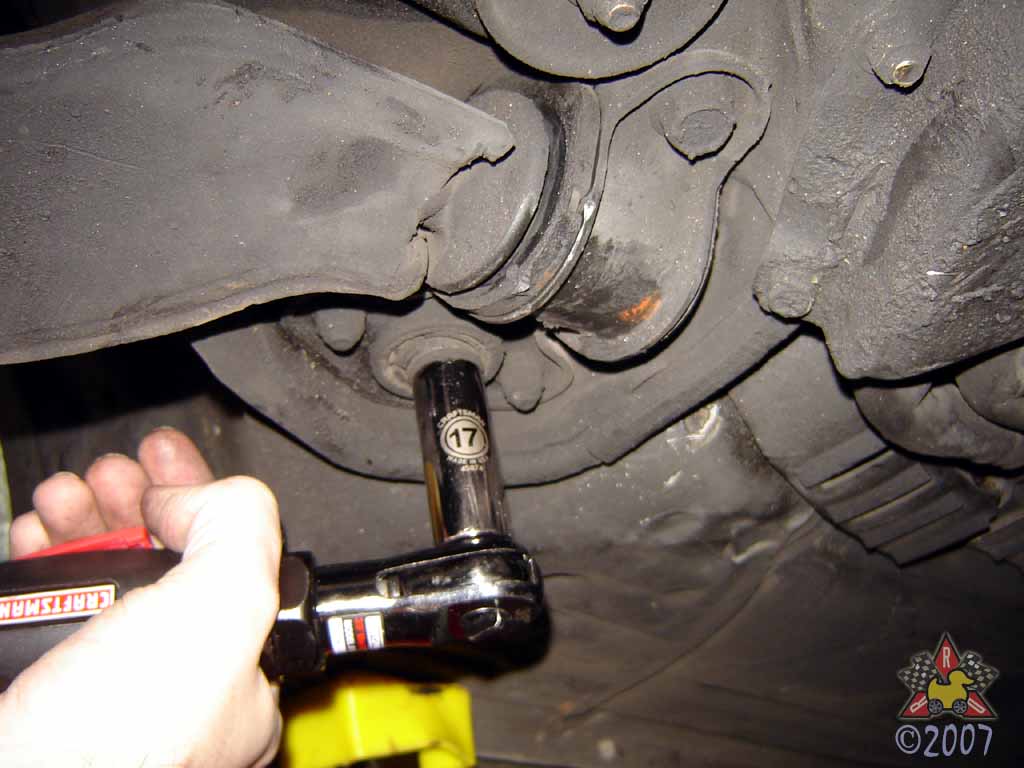
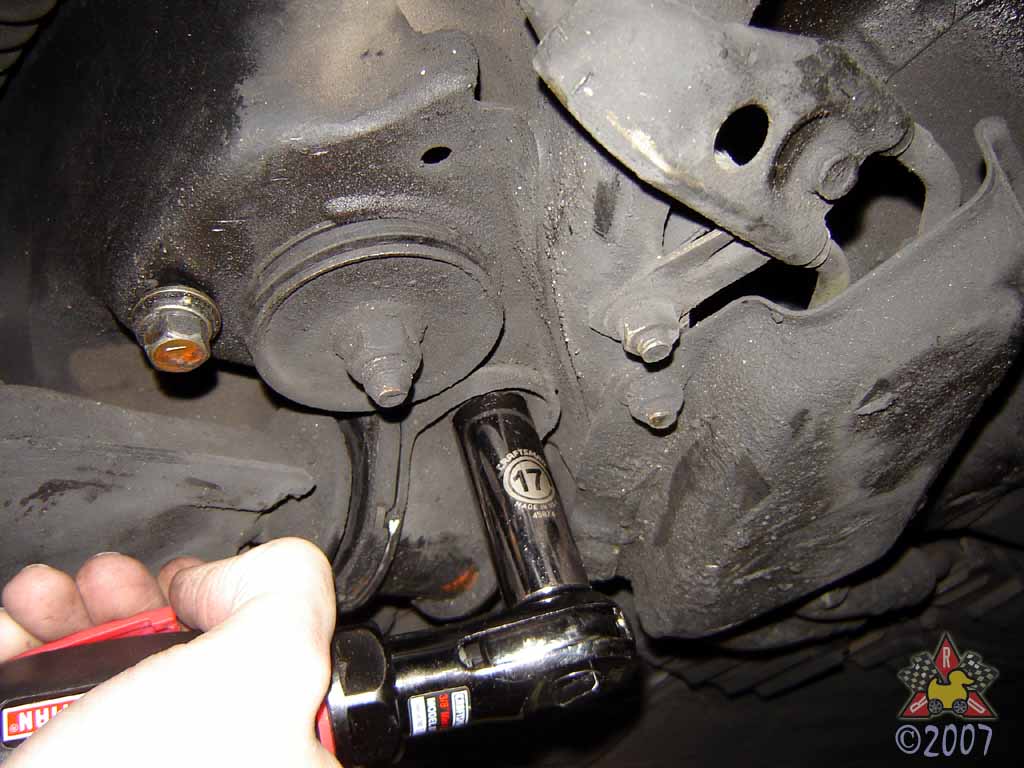
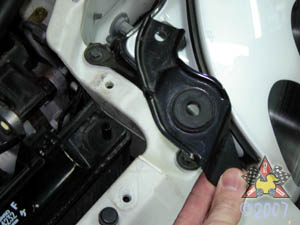
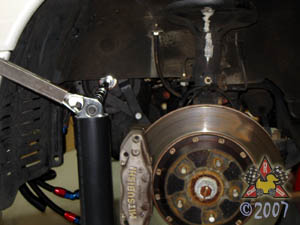
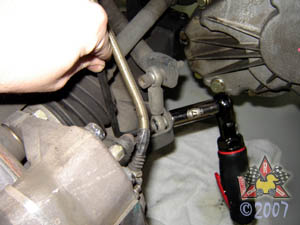
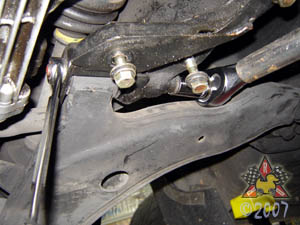
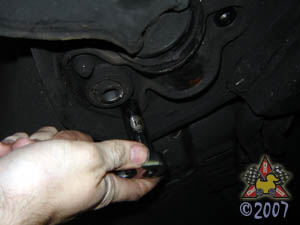
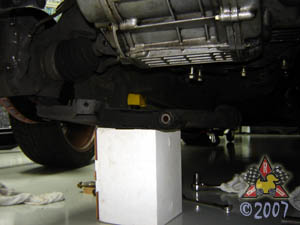
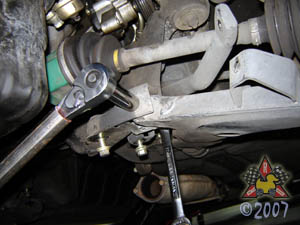
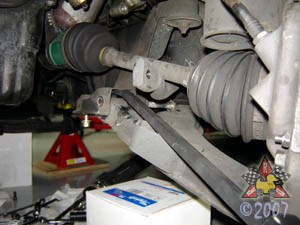
Unbolt Inboard Connections of Right Front Control Arm
|
|
|
|
|
|
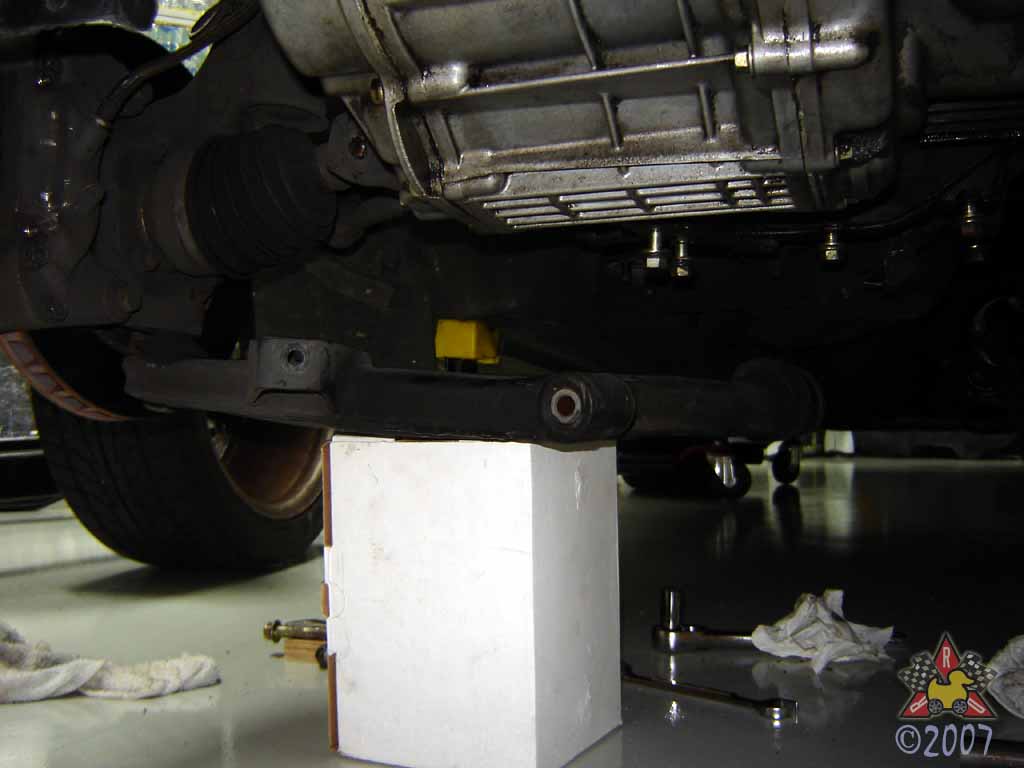
If you're careful, you can just unbolt the inboard side of the control arm
and not have to mess around with ball joints and other stuff on the outboard
side. There are a few 17mm and 14mm bolts you have to remove, and then
you can just pull the control arm down. The front conenction has a through-bolt,
so you'll need to stabilize one end with a wrench while you loosen the other end.
To loosen the control arm once it's unbolted, it may need some coaxing with a
prybar. You should also have something handy to support it once it's loose,
as shown by the brake caliper box in the picture.
Oh, and the air ratchet shown in the picture is just to fool you - it will take
either a big wrench or an impact wrench to get the bolts loose ;-)
|
|
|
|
Unbolt Driver's Side Control Arm
|
|
|
|
|
|
Same deal as the right-side one.
|
|
|
|
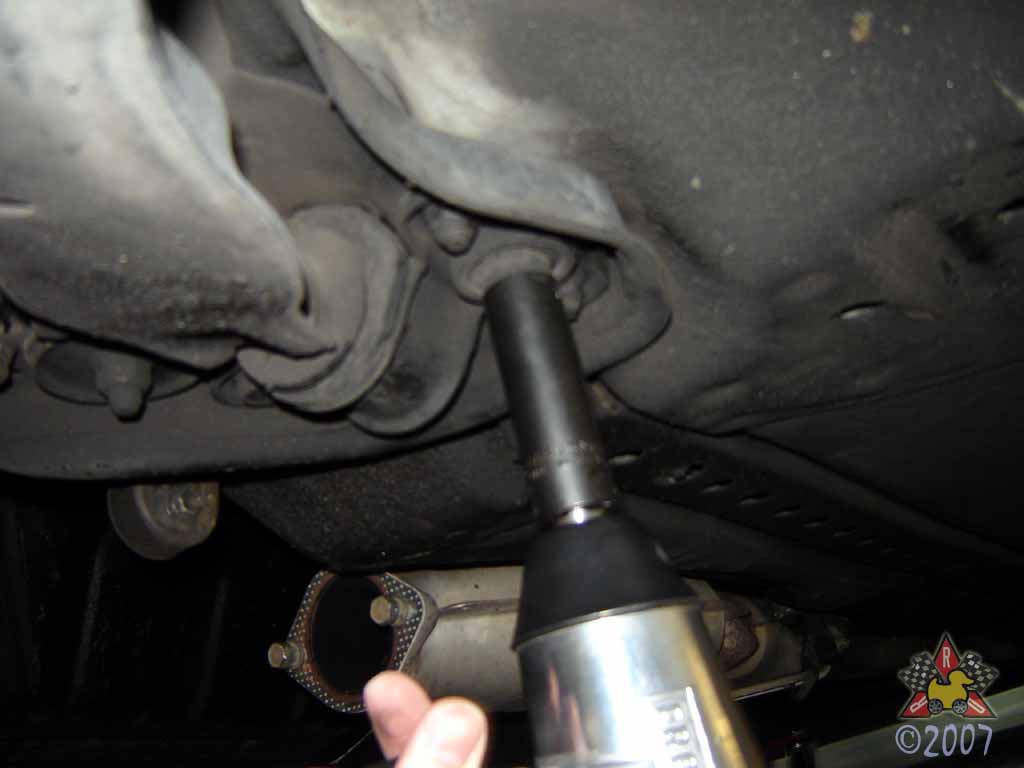
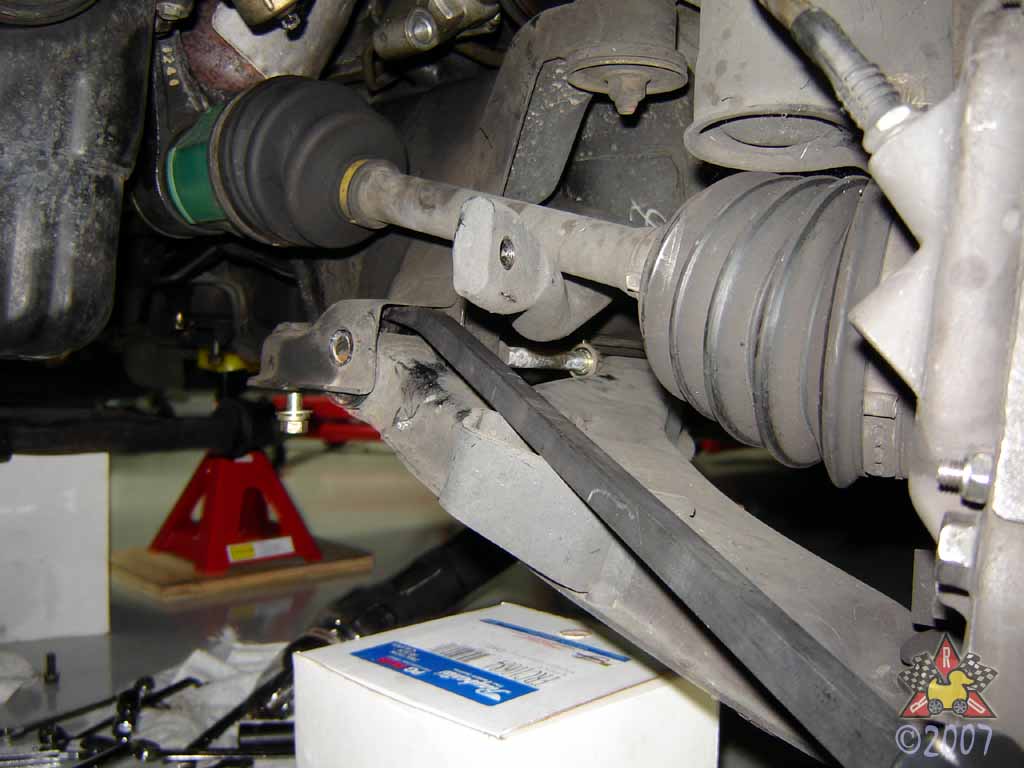
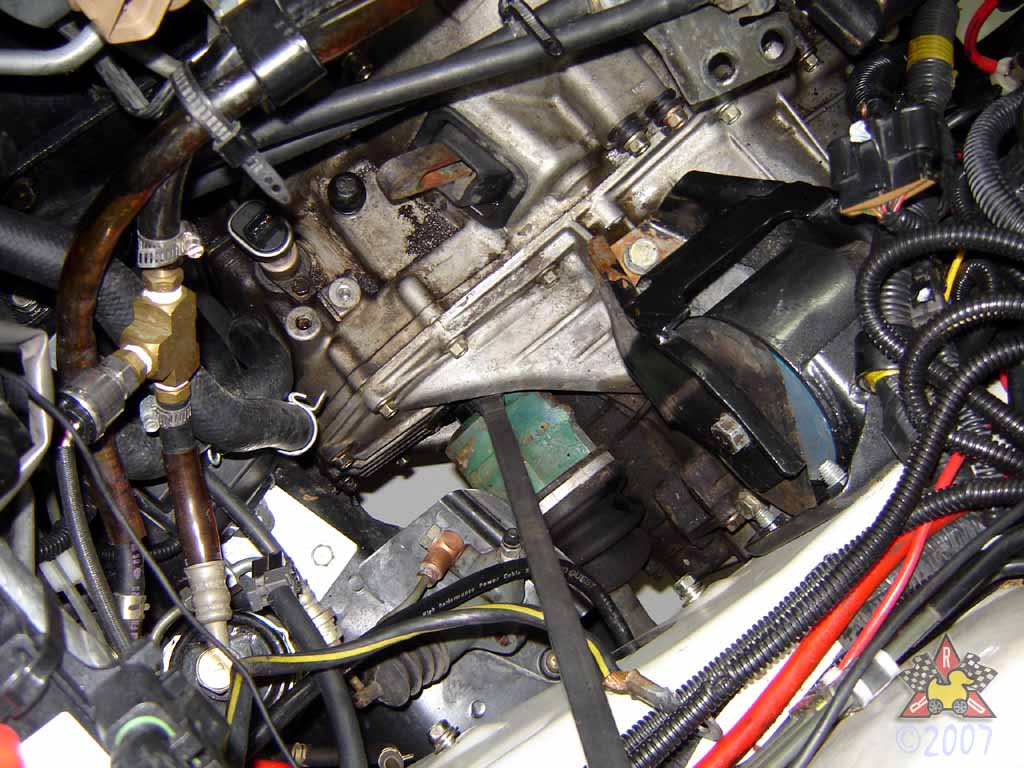
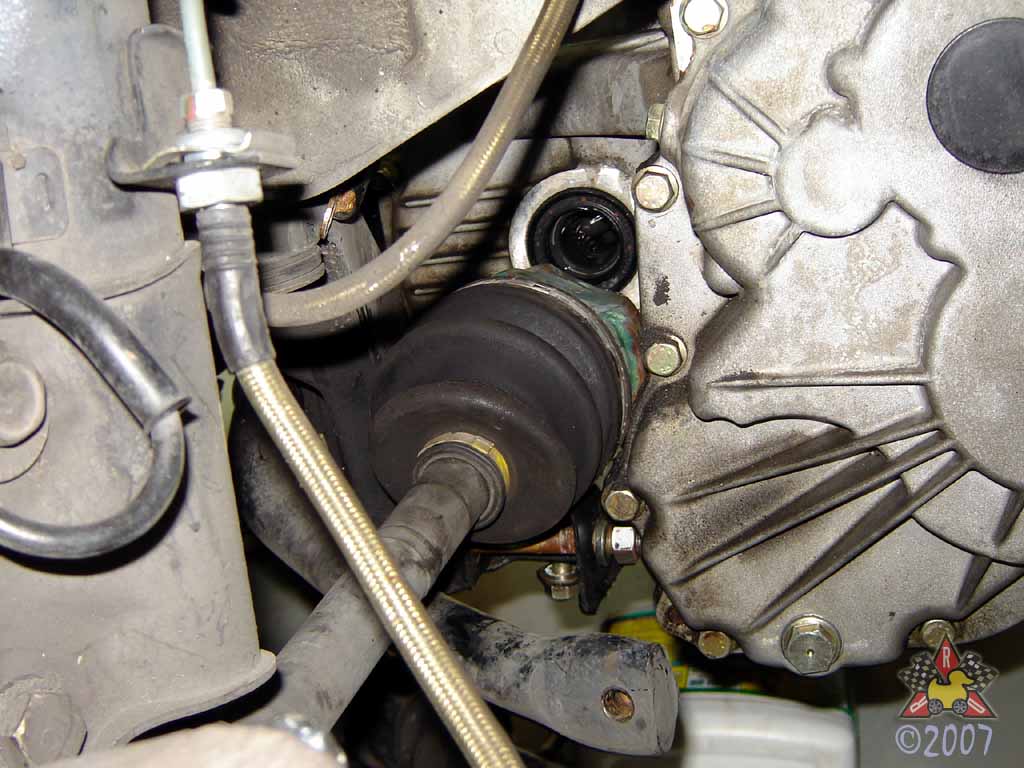
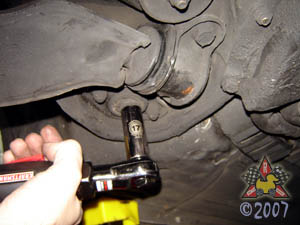
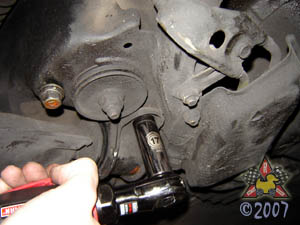
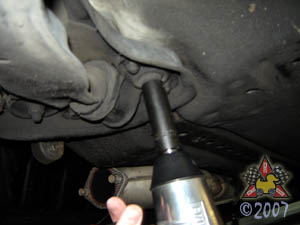
Loosen Passenger-Side Driveshaft
|
|
|
|
|
|
Stick a big 'ol prybar between the green part of the driveshaft and the
transaxle casing. Give it one good whack, and the driveshaft should pop
loose. Much less drama than I was expecting, based on what I'd read on
the interweb prior to doing it...
|
|
|
|
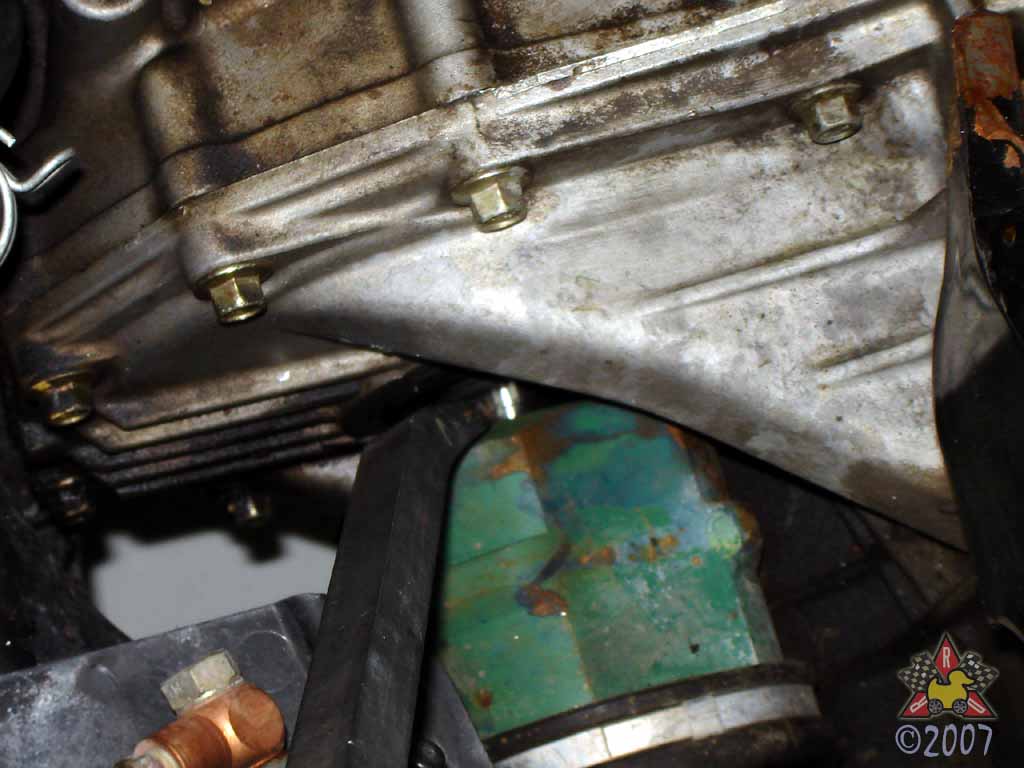
Unbolt Left Driveshaft Support Bracket
|
|
|
|
|
|
There's a support bracket for the [longer] driver's side front
driveshaft. It's bolted to the block via two 14mm bolts, one of
which is a pain to get to. The upper bolt in the second picture
was only accessible with a wrench (as shown), and no real room
to get any big leverage in there. Penetrating oil and strong
fingers are your friends.
|
|
|
|
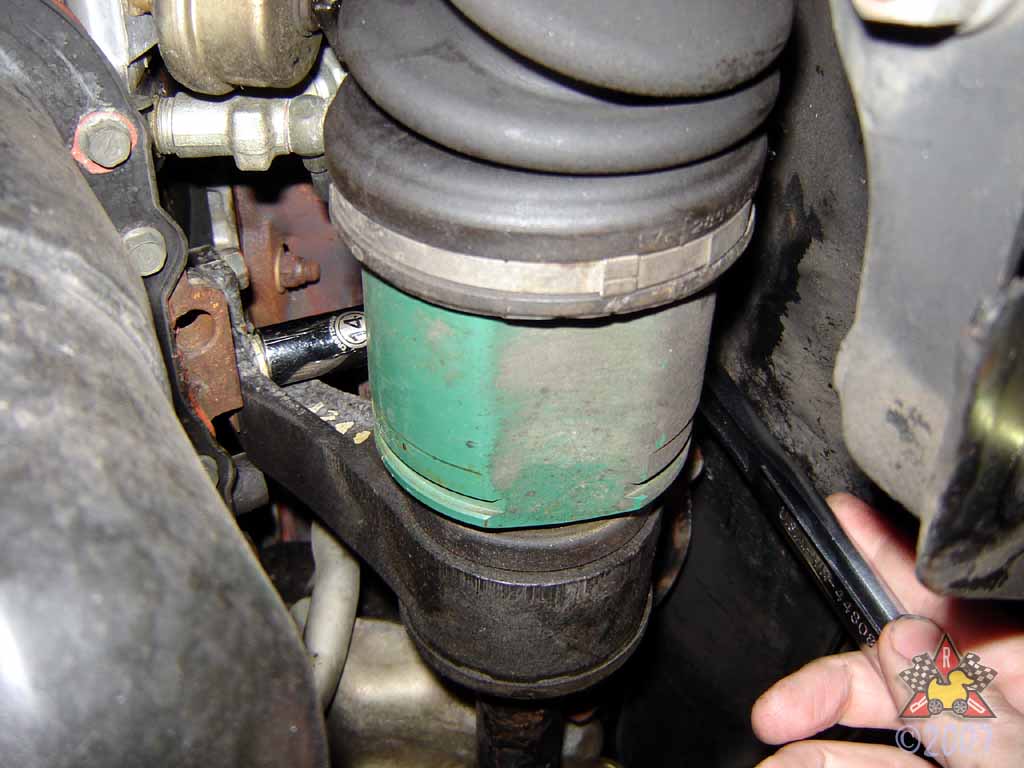
Loosen Driver's Side Front Driveshaft
|
|
|
|
|
|
Rotate the support bracket so the pins clear the block, and then
you can pull the driveshaft out of the transaxle.
|
|
|
|
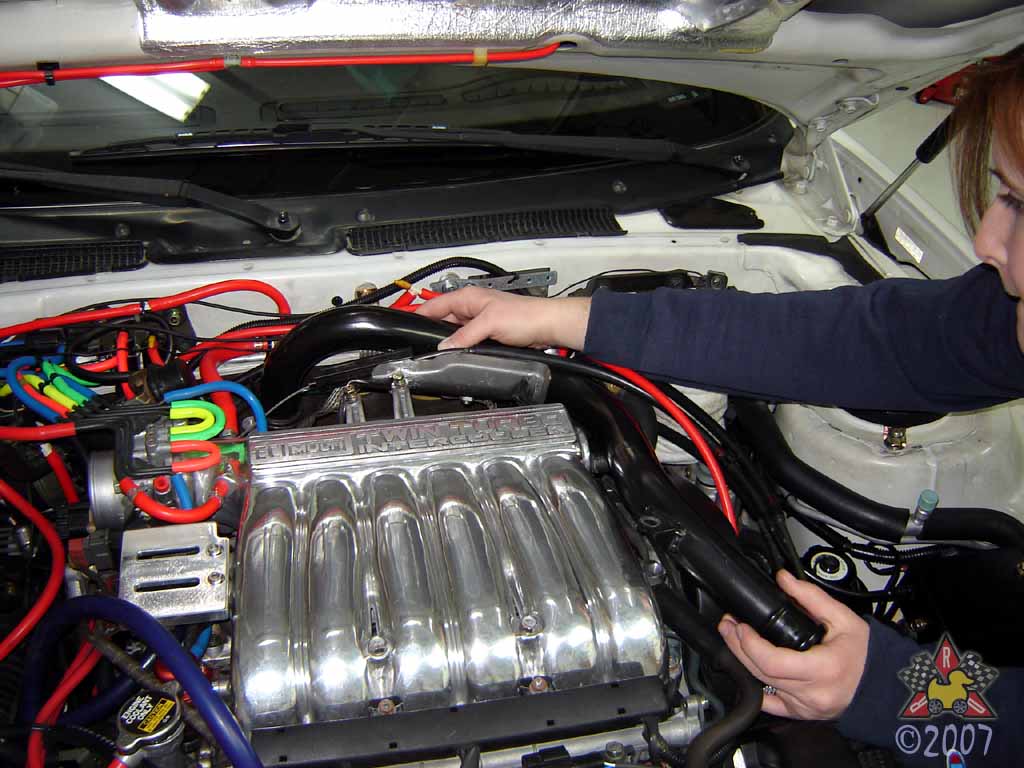
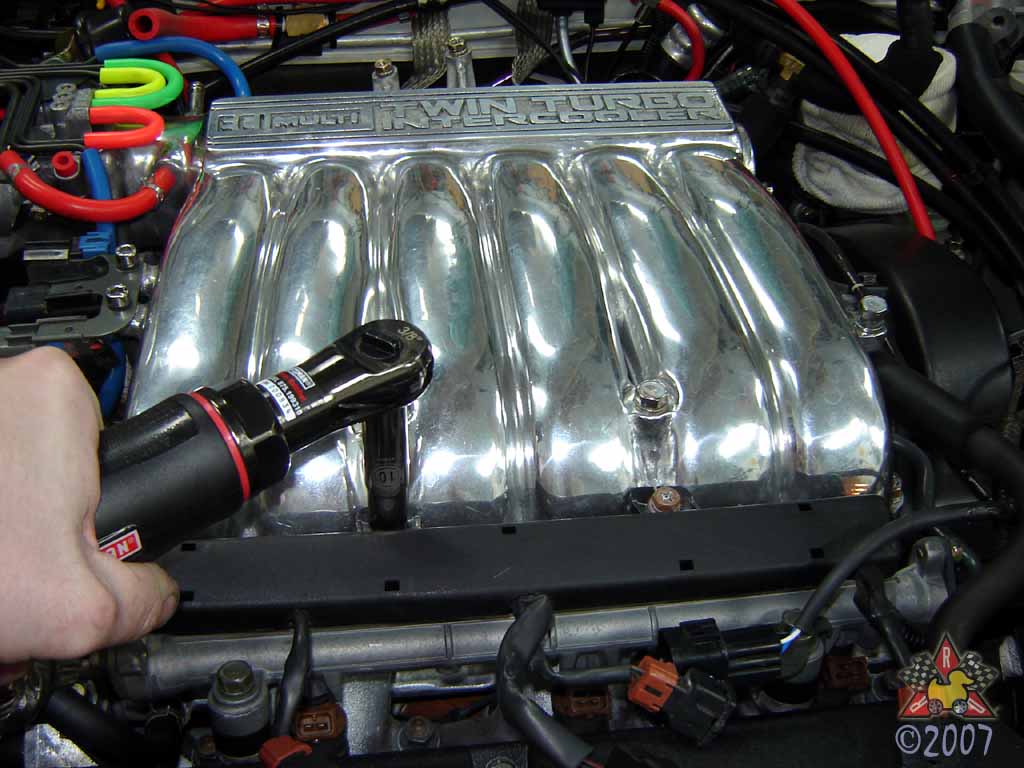
Unbolt Upper Intake Plenum
|
|
|
|
|
|
There are a bunch of 12mm bolts (and 2 nuts) that hold the upper plenum
to the lower plenum (in the front) and to the plenum stays (rear). Remove
all the bolts so that you can remove the plenum.
|
|
|
|
Unbolt EGR Pipe from Upper Intake Plenum
|
|
|
|
|
|
There are two 12mm bolts here - penetrating oil will be your friend
if you've never removed these bolts.
|
|
|
|
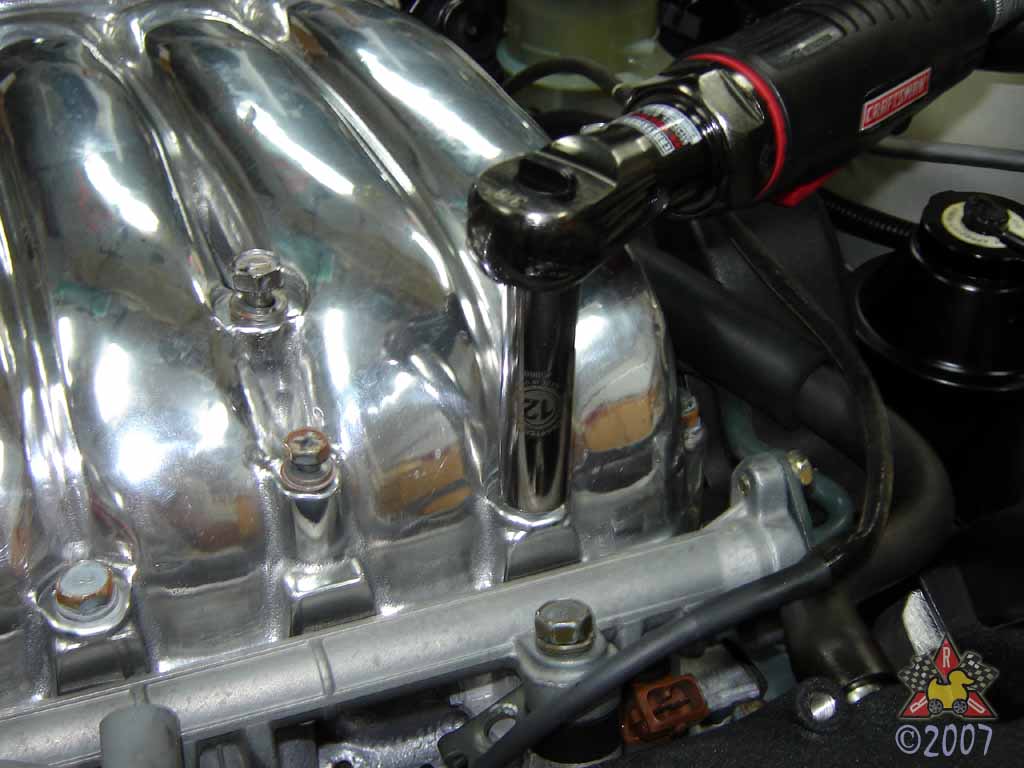
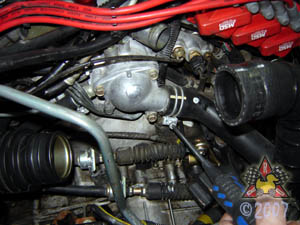
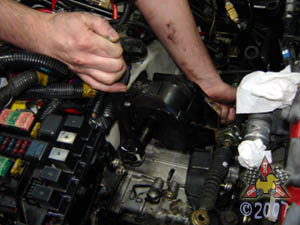
Remove Throttle Body
|
|
|
|
|
|
There a 12mm bolt holding it to the stay in the lower rear, and then there
are four 12mm bolts securing the throttle body to the upper intake plenum.
Finally, there is a wiring tie for the EGR valve that needs to be removed.
After that, you can pull the throttle body out of the way, being careful not
to damage the coolant lines.
|
|
|
|
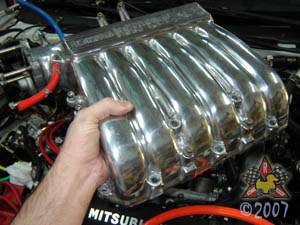
Remove Upper Intake Plenum
|
|
|
|
|
|
At this point, the upper plenum (with the EGR valve attached in the rear)
should be free of the engine. Just lift it upward off of the studs on the
lower plenum.
|
|
|
|
Unbolt Fuel Rails
|
|
|
|
|
|
Note, make sure your car has been sitting for at least a few hours
before doing this step. As you do this, you'll essentially be allowing the
injectors to be held onto the rails only by the upper o-rings. As long
as there's no fuel pressure in the lines, this will work fine, and you
don't have to worry about draining/catching fuel in the process of removing
your engine. If you've run the car recently or suspect ANY pressure at
all in the fuel rails, then drain the fuel from your rails before this step.
There are four 12mm bolts that secure the fuel rails to the lower
intake plenum - remove the bolts to free the rails.
|
|
|
|
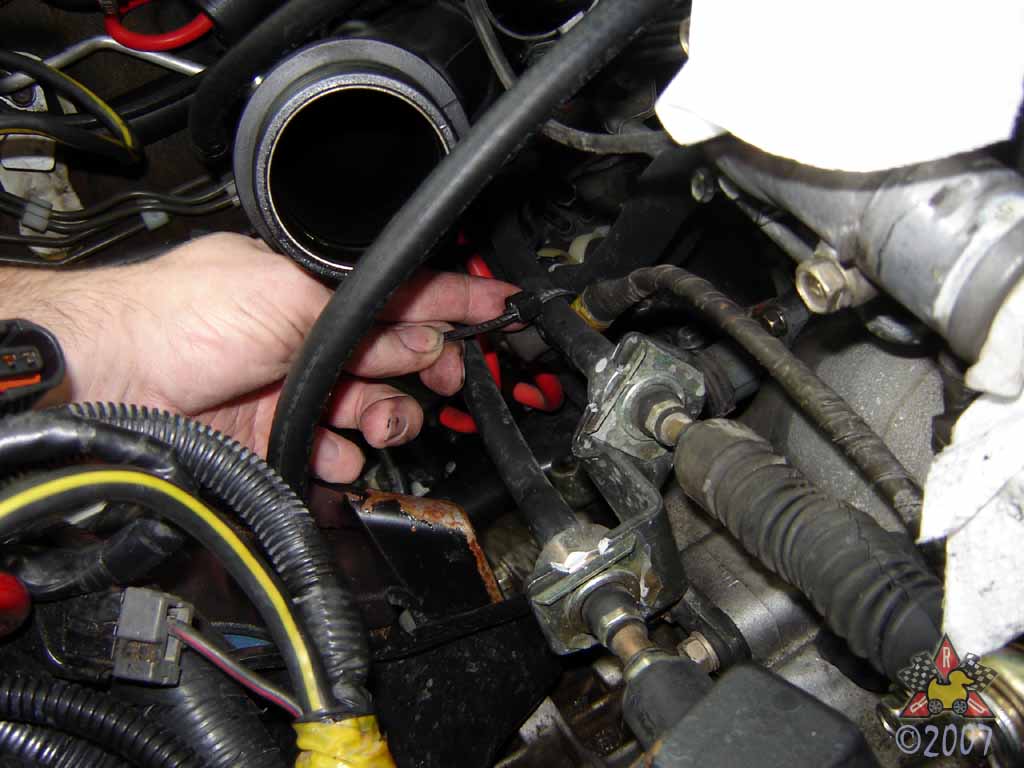
Unbolt Fuel Line Brackets
|
|
|
|
|
|
There are a couple of brackets that secure the feed/return lines for
the fuel rails, and you'll need to remove them to get enough slack in the fuel
lines to move the rails and injectors out of the way. The brackets are'
secured with 10mm bolts.
|
|
|
|
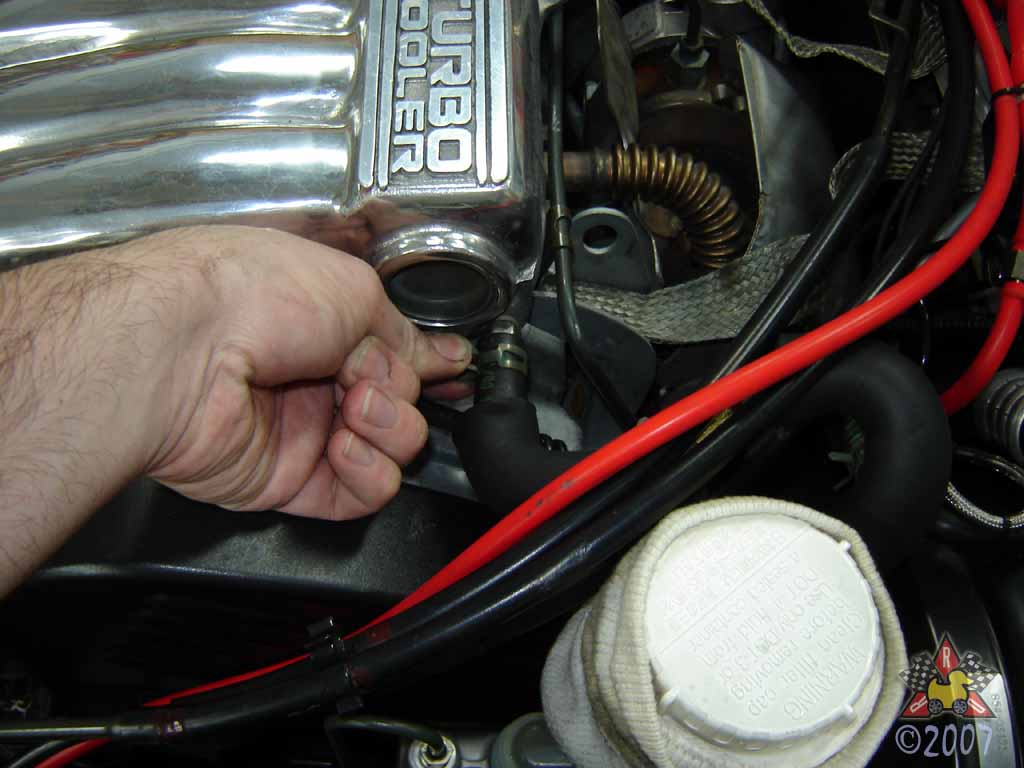
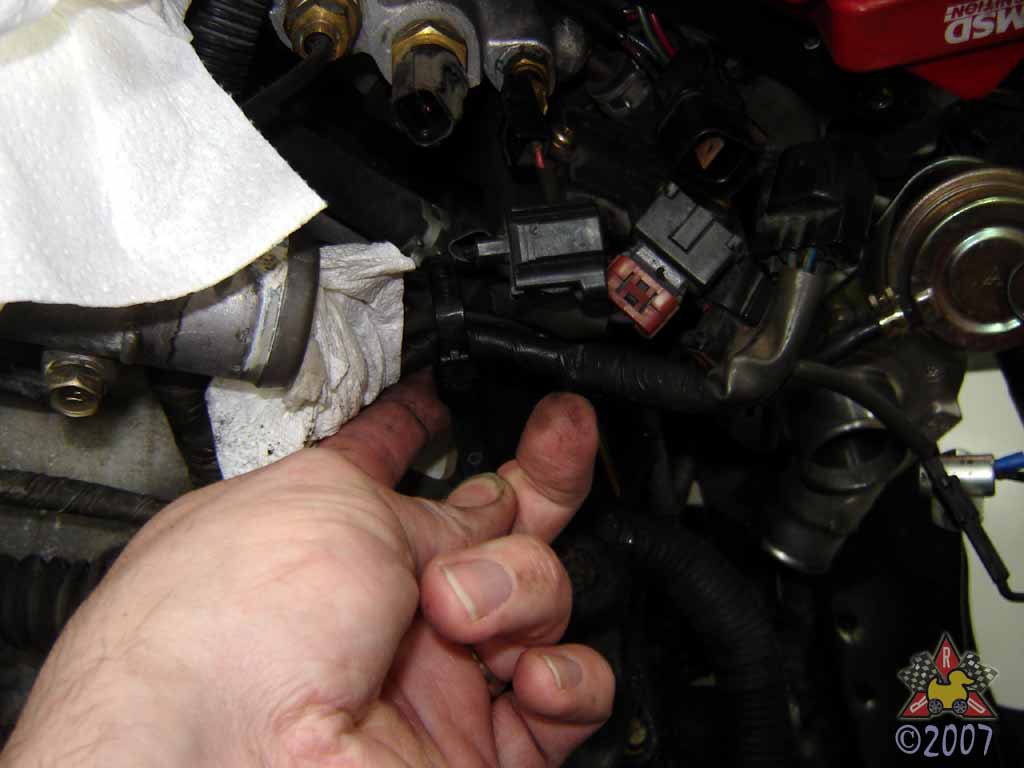
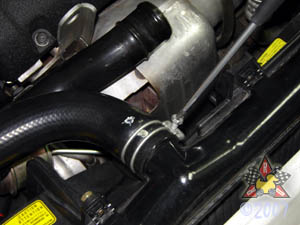
Remove Front-Rear Valve Cover Breather Hose
|
|
|
|
|
|
It should just pull off of both nipples.
|
|
|
|
Remove Wiring Harnesses From Bracket
|
|
|
|
|
|
You'll need to remove the injector harness from the bracket to get
enough slack to move the assembly out of the way. A small screwdriver
inserted between the bracket and the locking tab usually does the trick.
|
|
|
|
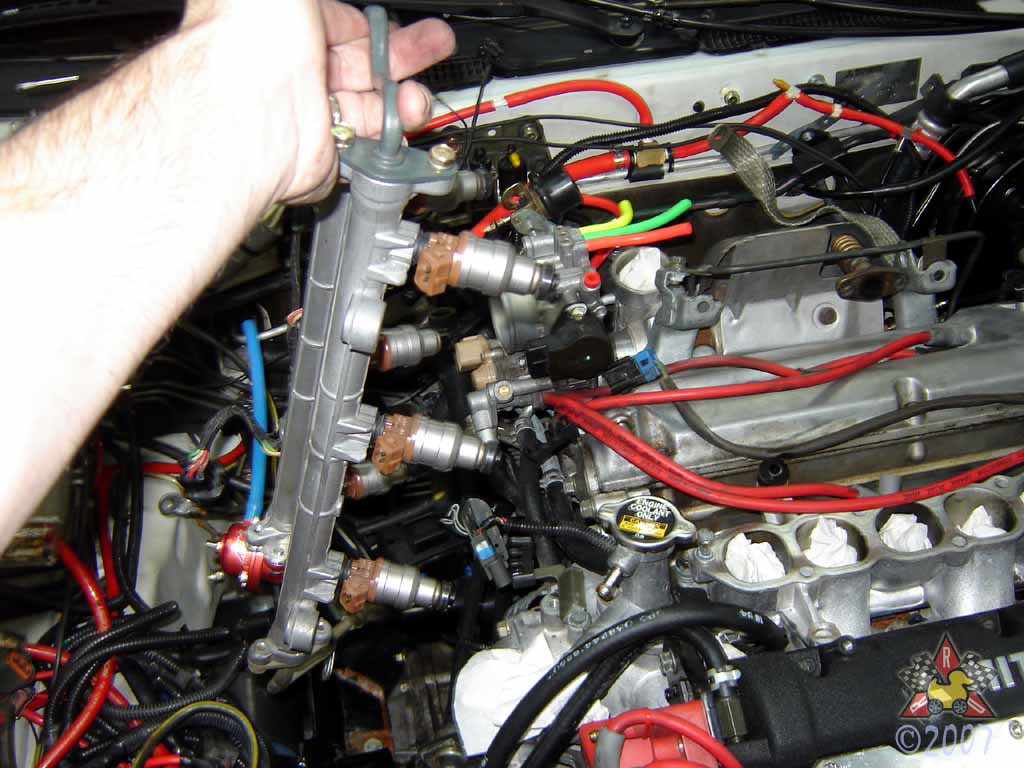
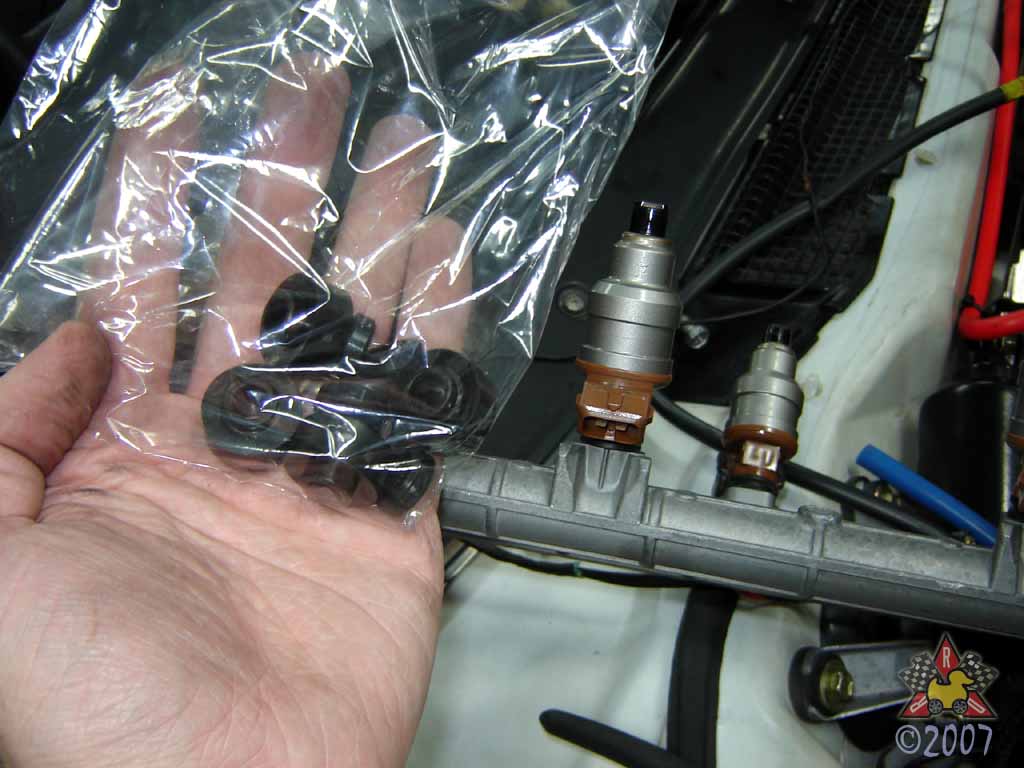
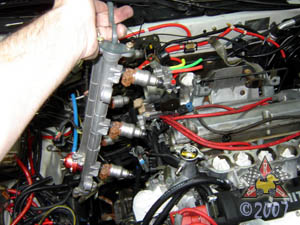
Move Fuel Rails Out of the Way
|
|
|
|
|
|
At this point, you can just grab your fuel rails, with the injectors
attached, and move them out of the way. No messy fuel spils and
no fumes or vapors. Also, keep the fuel rail spacers in a safe place, as
they have a nack for making their way into the nether regions of the
engine bay, never to be seen again.
|
|
|
|
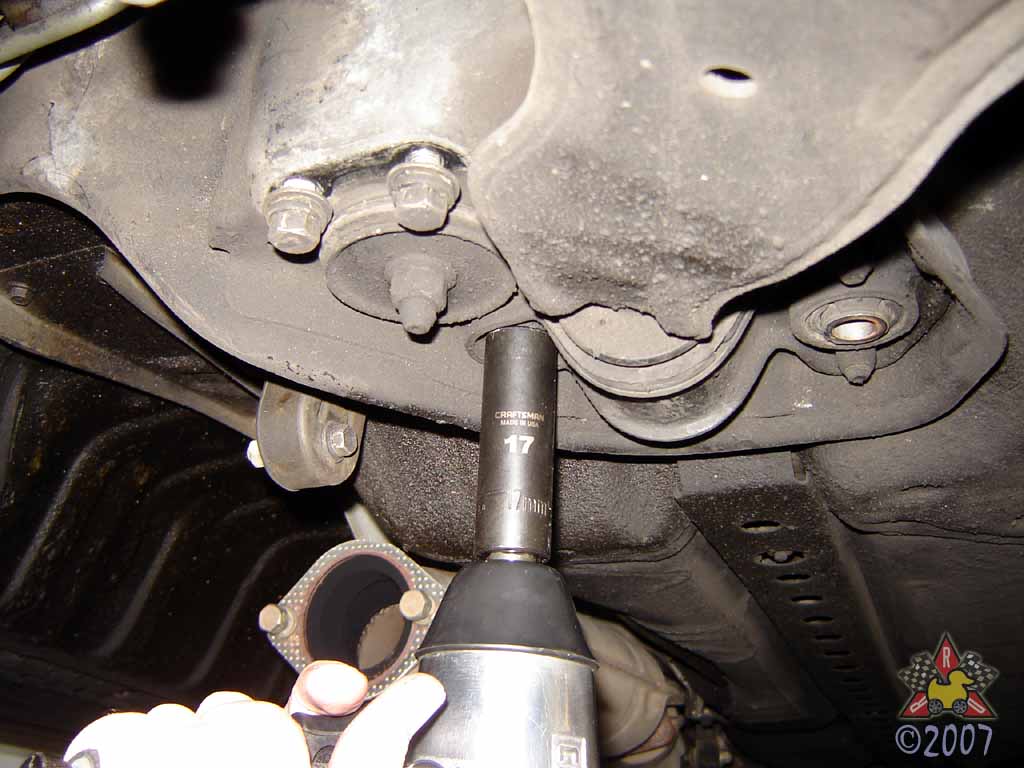
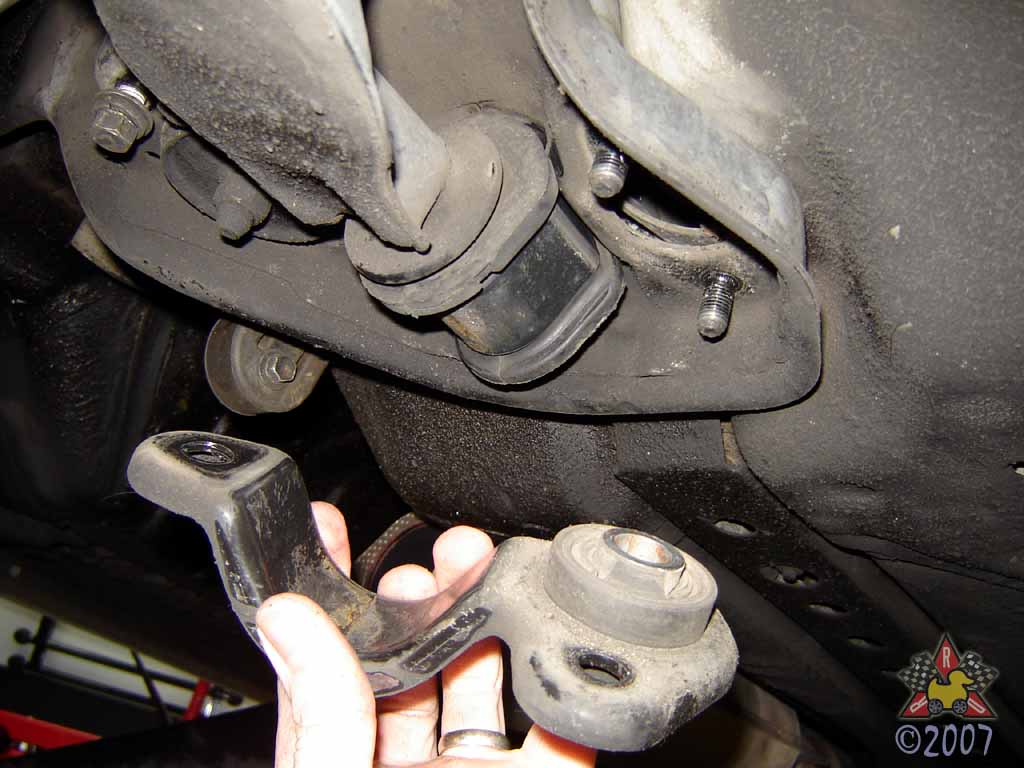
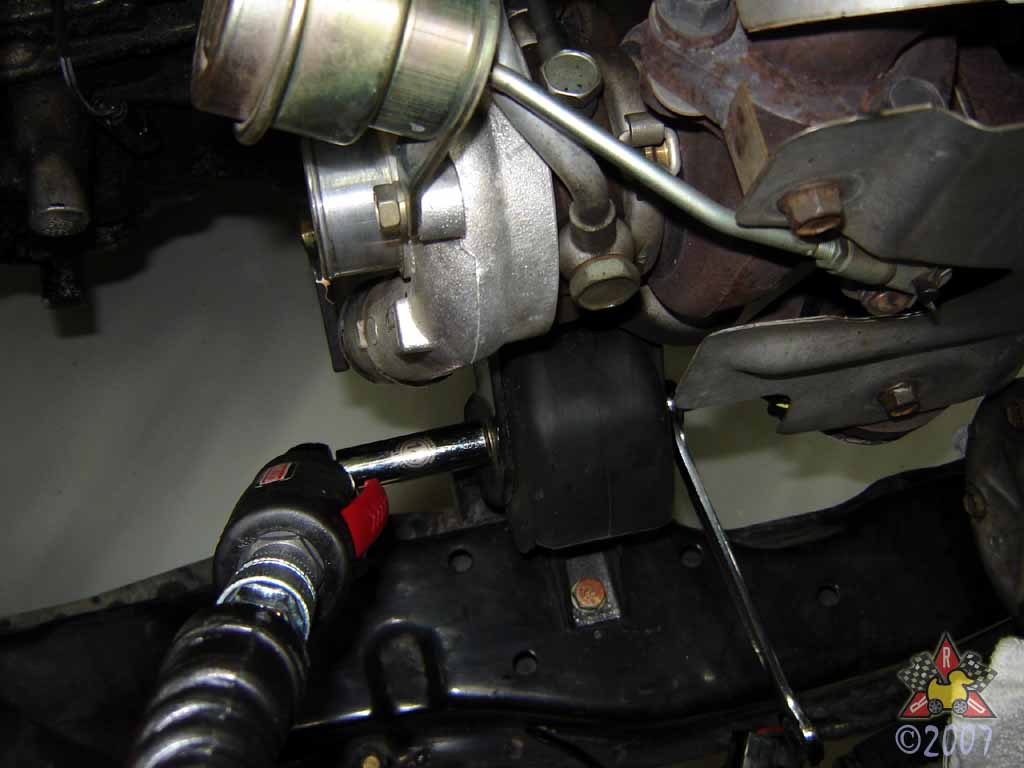
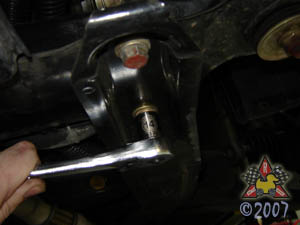
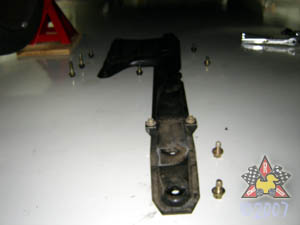
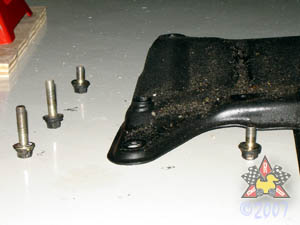
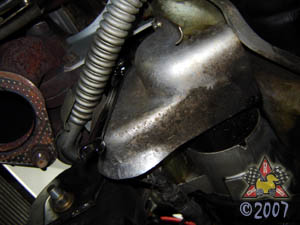
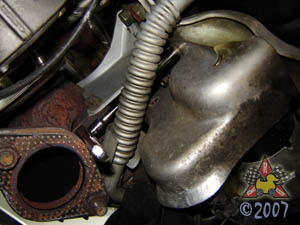
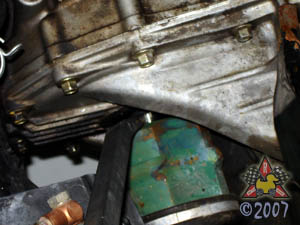
Remove Front Motor Mount (Roll Stopper)
|
|
|

|
|
|
If all is well with your engine and car, this roll stopper
should not have any tension/load on it at this point. Unbolt
the cross bolt (14mm nut/bolt) and then remove the three
14mm bolts that secure the mount to the chassis.
|
|
|
|
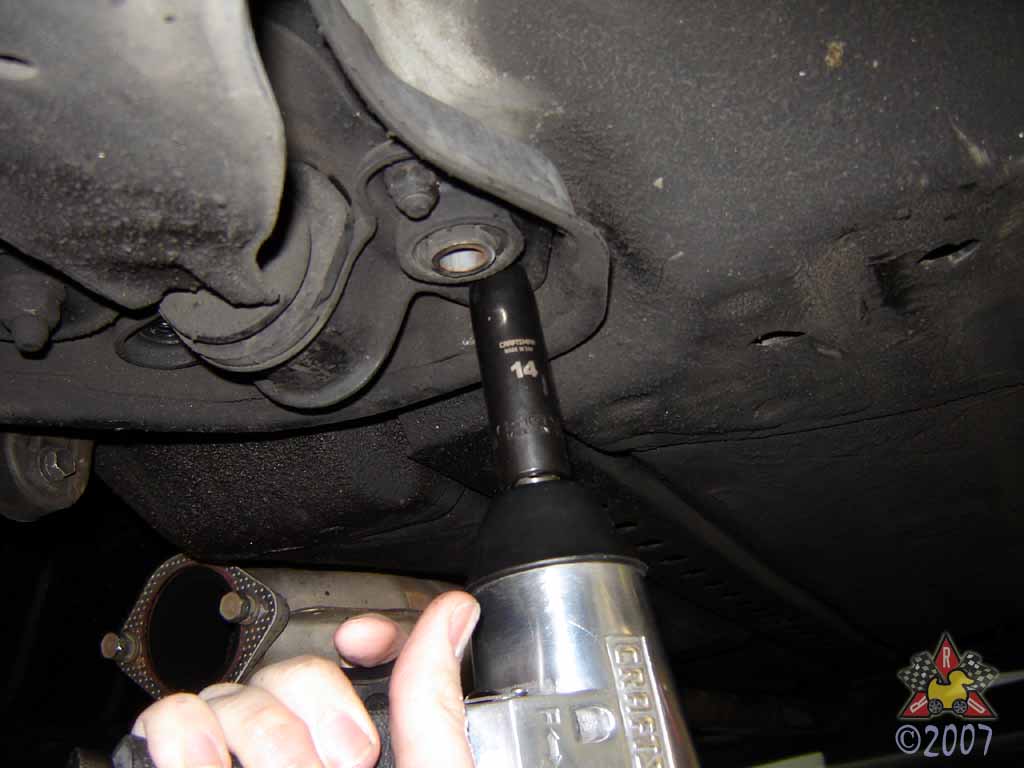
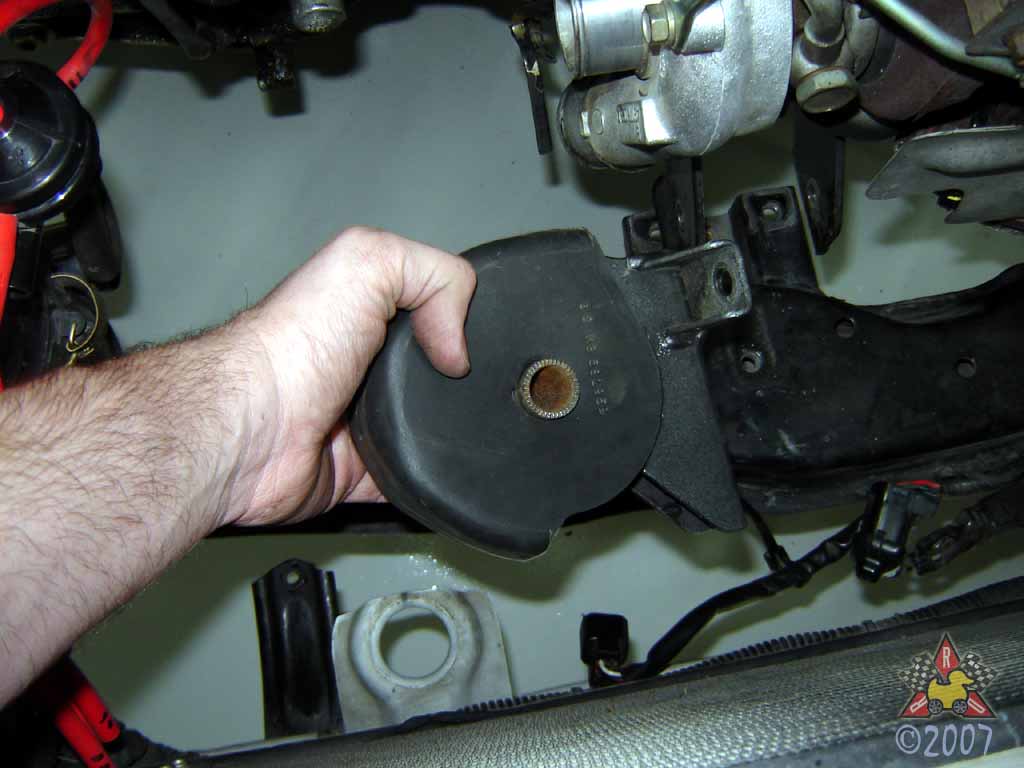
Remove Rear Motor Mount (Roll Stopper)
|
|
|
|
|
|
Same deal as the front one... except this one is harder to get to and
you only need to remove the cross bolt - leave the mount attached to
the chassis.
|
|
|
|
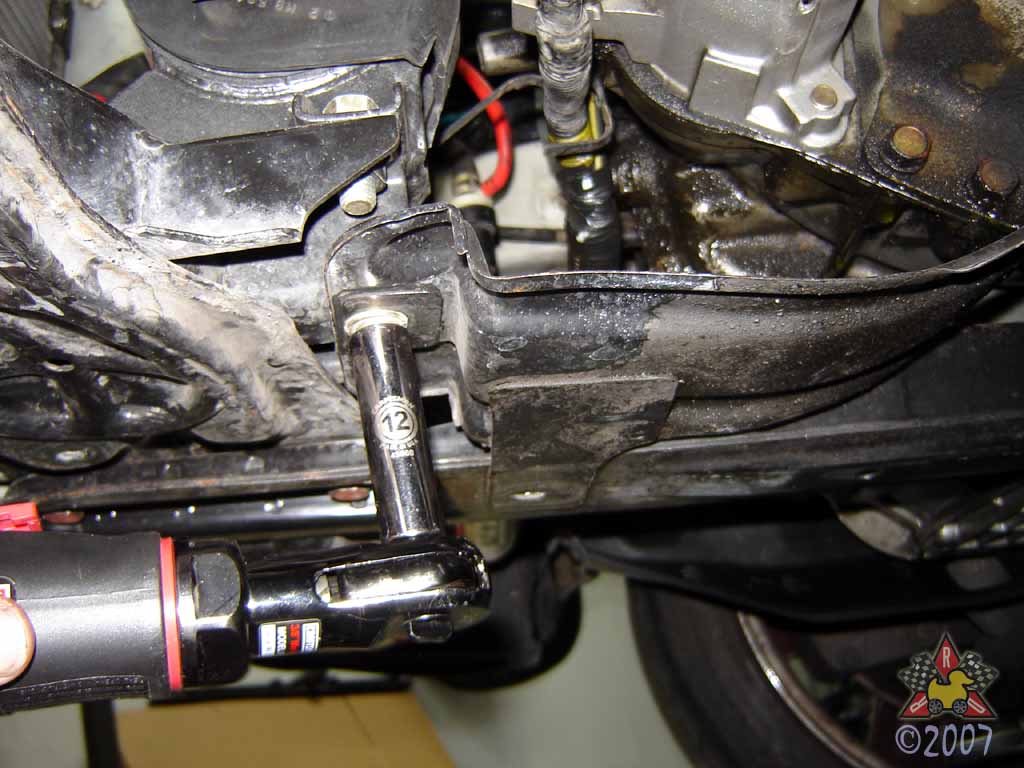
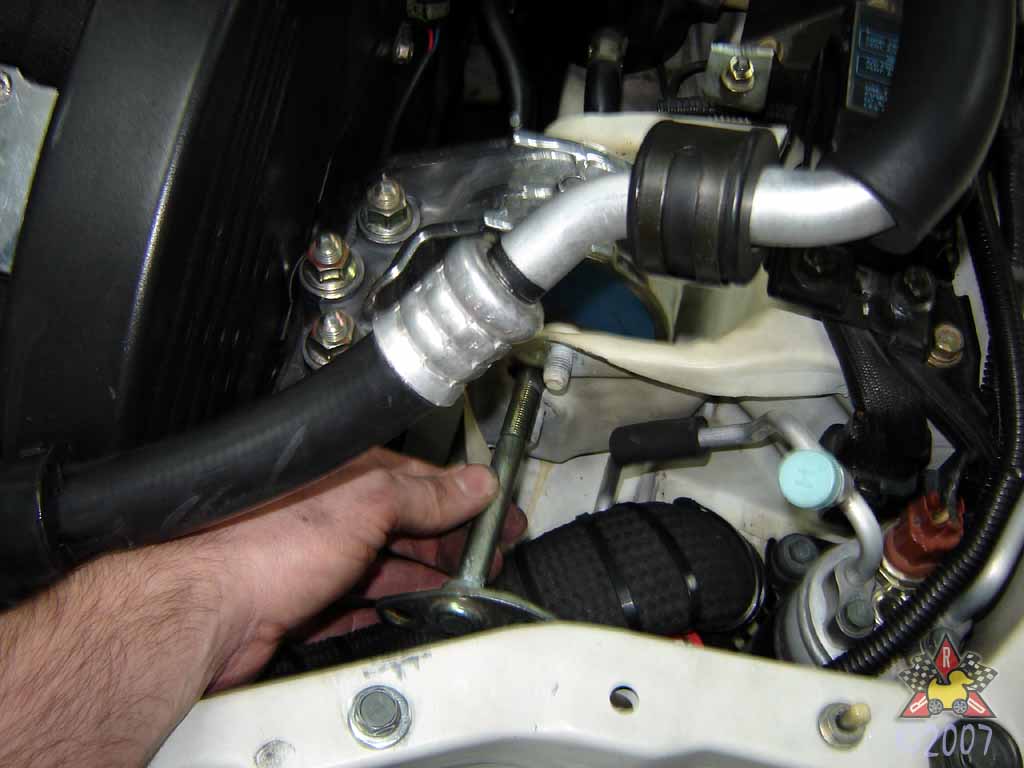
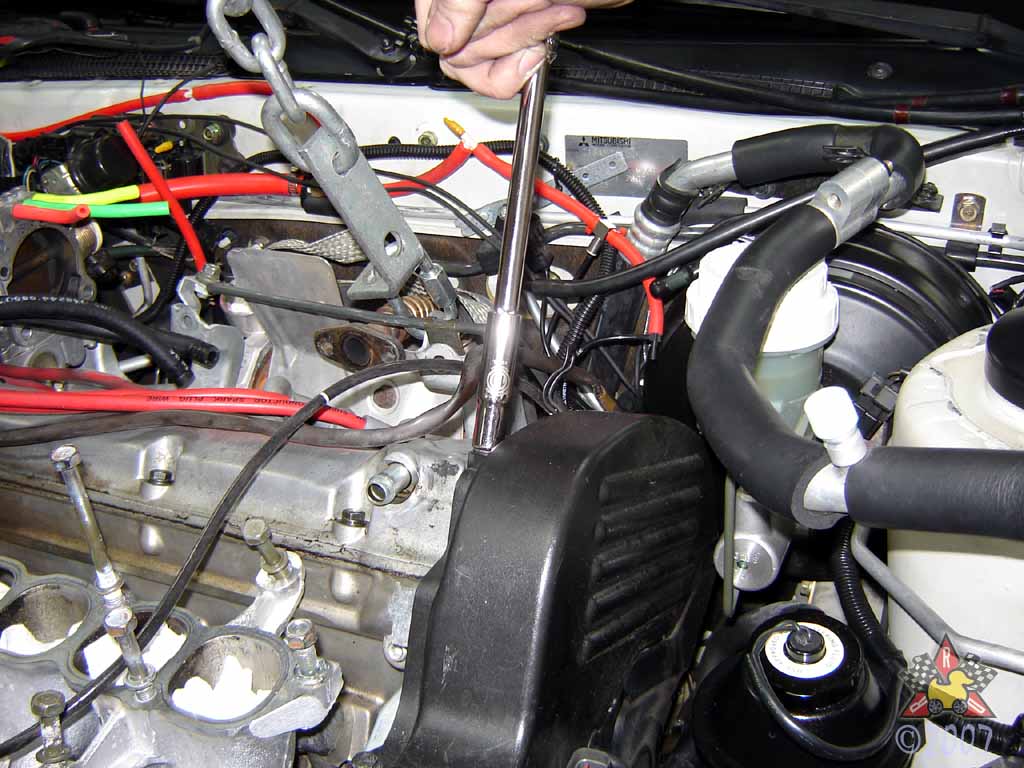
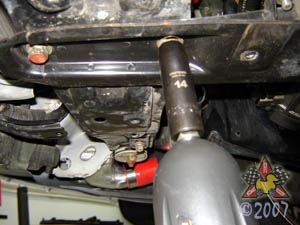
Loosen Engine Mount (LH) Through-Bolt
|
|
|
|
|
|
There's a 17mm nut on the rear side, and two 14mm nuts on the front
side - remove them, but don't try to slide the bolt out yet.
|
|
|
|
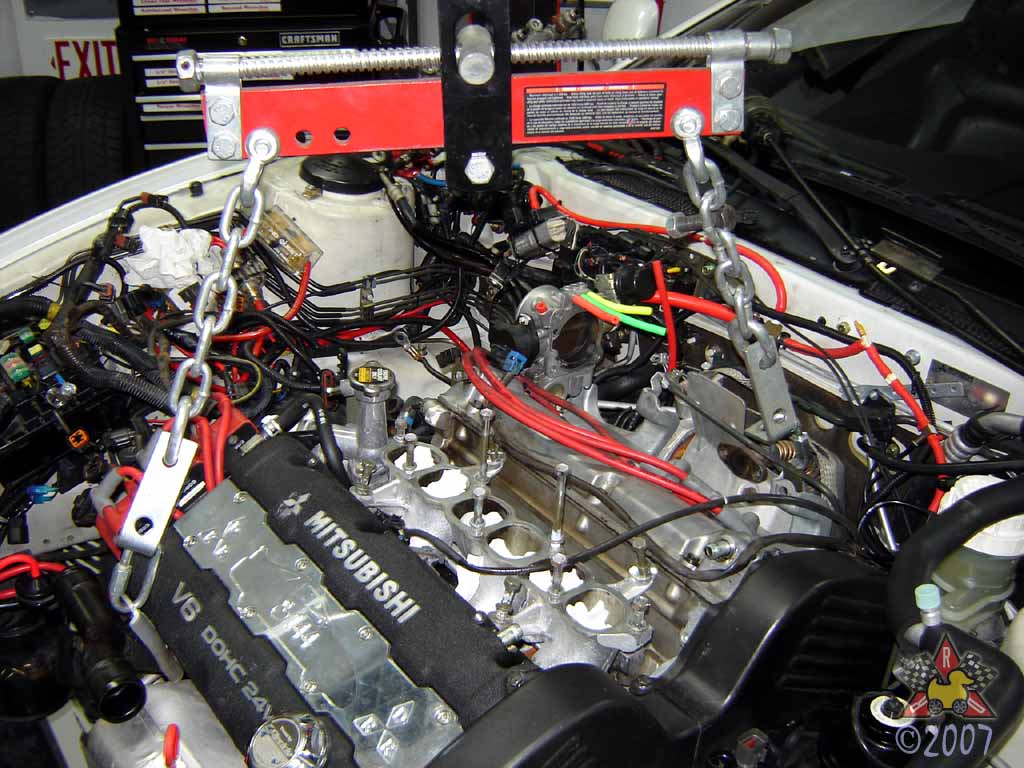
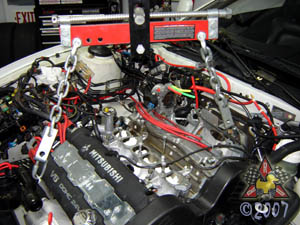
Connect Engine Hoist
|
|
|
|
|
|
A load-leveler will make things a lot easier here. The two lift
points are shown in the picture.
|
|
|
|
Remove Through-Bolt From LHS Engine Mount
|
|
|
|
|
|
Using the hoist, lift the engine slightly. Once the load is
removed from the cross-bolt, slide the bolt out.
|
|
|
|
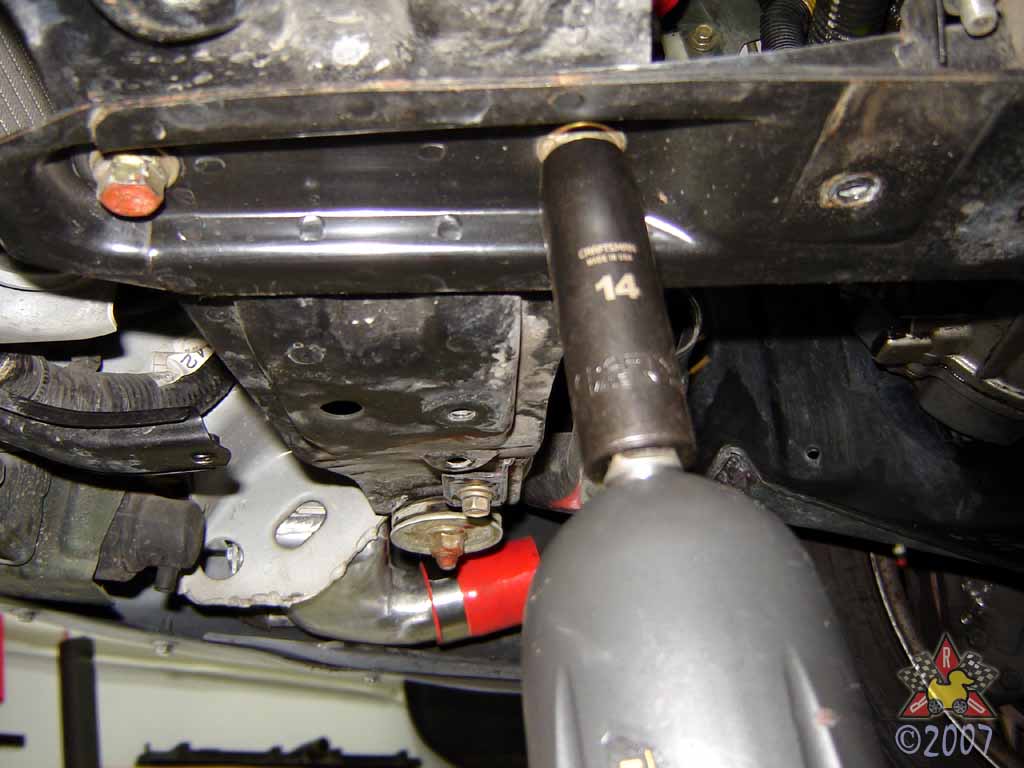
Remove Through-Bolt From RHS Transaxle Mount
|
|
|
|
|
|
Using the hoist, and maybe a floor jack from below, maneuver the
engine so that the load is removed from the transaxle bolt. You'll
likely need to remove the 10mm bolt on the top of the mount that
attaches one of the wiring looms in the area. The through-bolt
has a 17mm head and a 17mm nut on the other side.
|
|
|
|
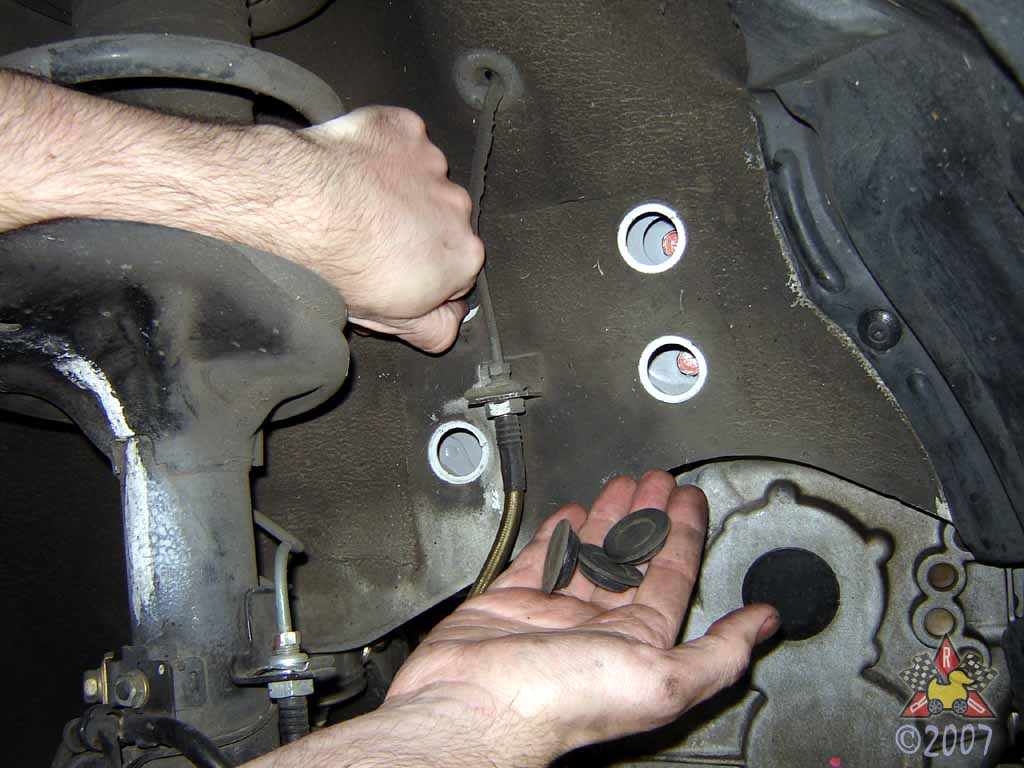
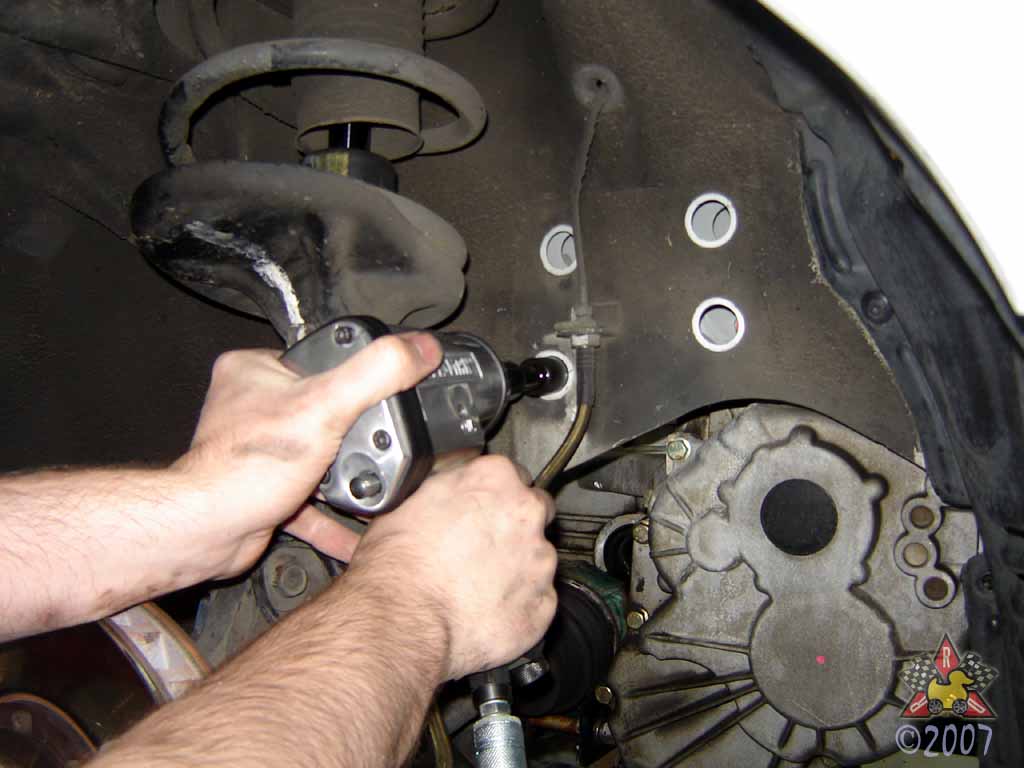
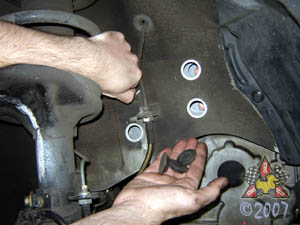
Remove Transaxle Mount
|
|
|
|
|
|
After removing the four rubber plugs in the passenger's side
wheel well, remove the four 14mm bolts that secure the transaxle
mount to the chassis. Then, you can remove the mount entirely.
|
|
|
|
Remove Rear Timing Belt Cover
|
|
|
|
|
|
I did this because the cover was hitting the brake fluid reservoir as
I tried to lift the engine. I didn't want to damage anything,
so I just removed the cover to get some extra clearance.
|
|
|
|
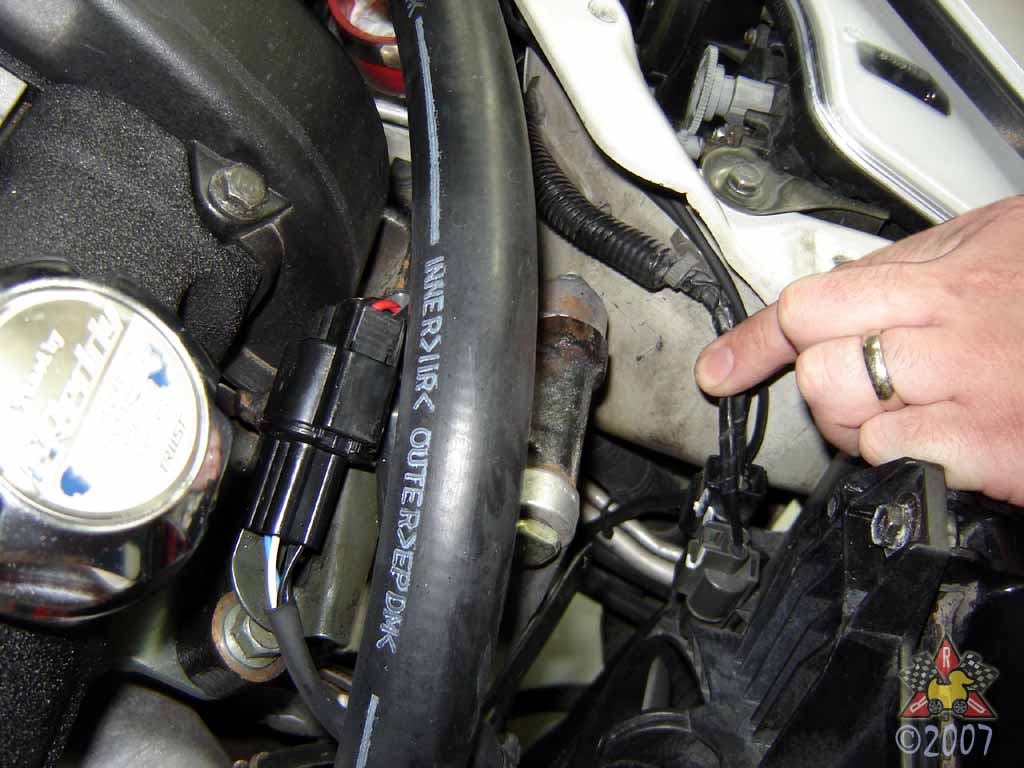
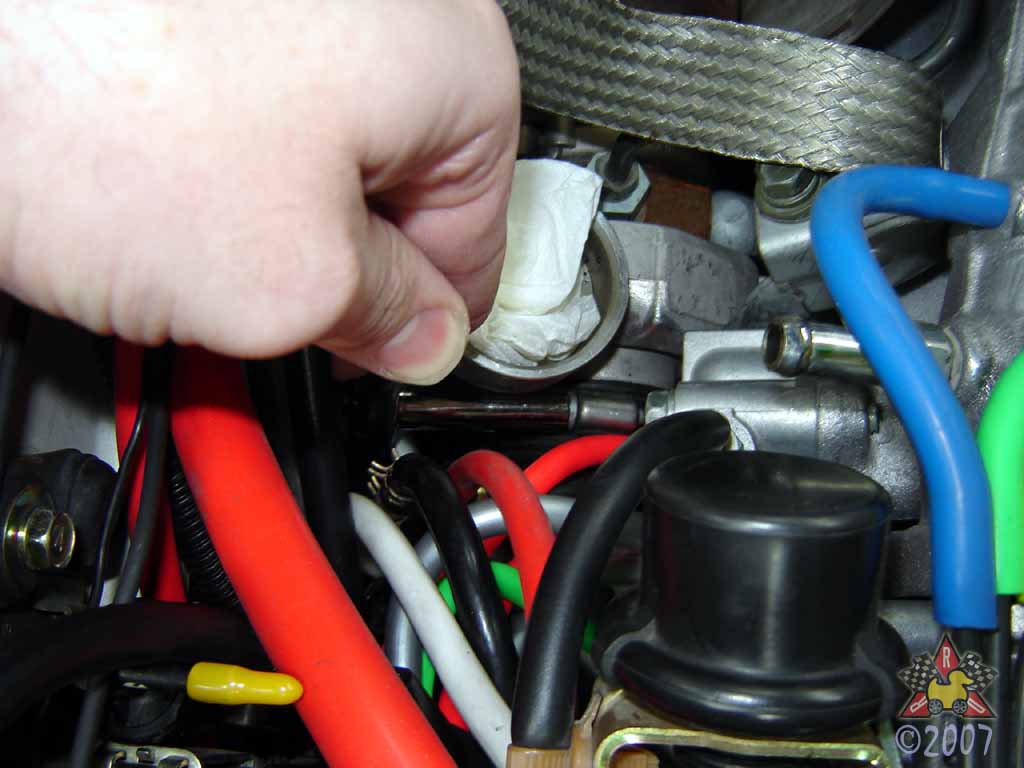
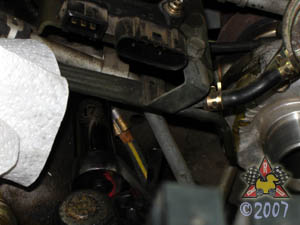
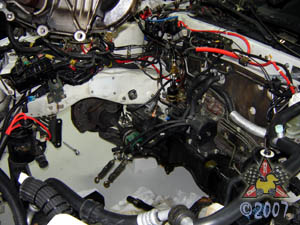
Disconnect OEM Oil Pressure Sensor and Switch
|
|
|
|
|
|
There are two little wiring harnesses that connect to these sensors
on the back of the block, on the driver's side. Remove the harnesses
so you don't break anything as the engine comes up...
|
|
|
|
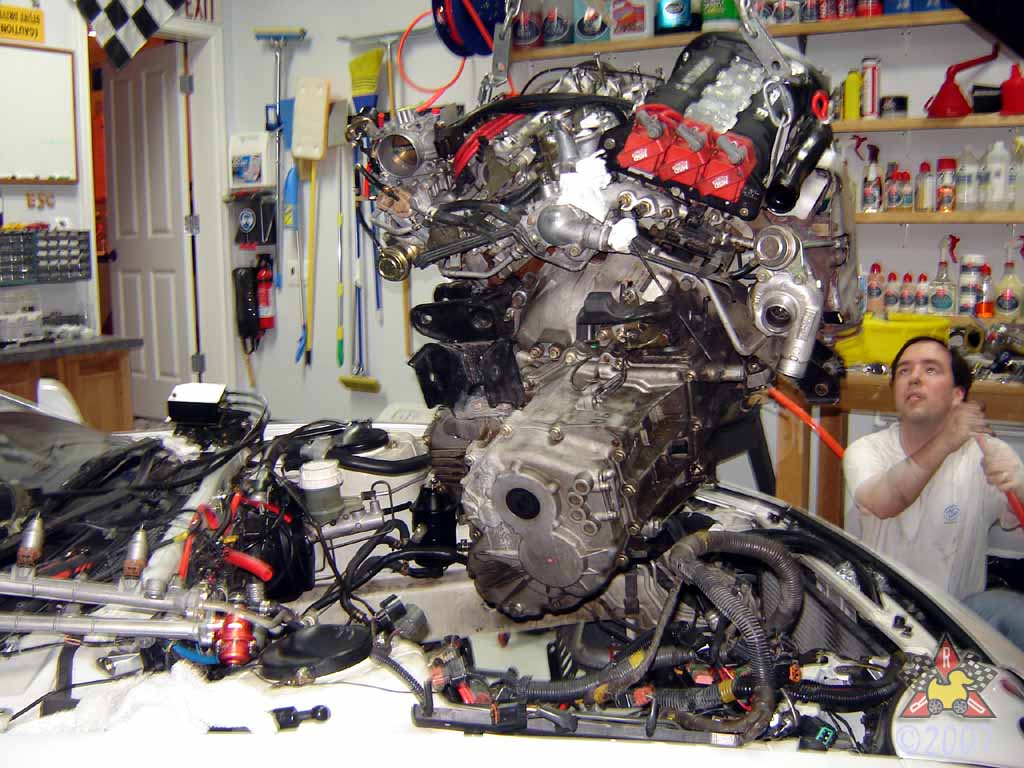
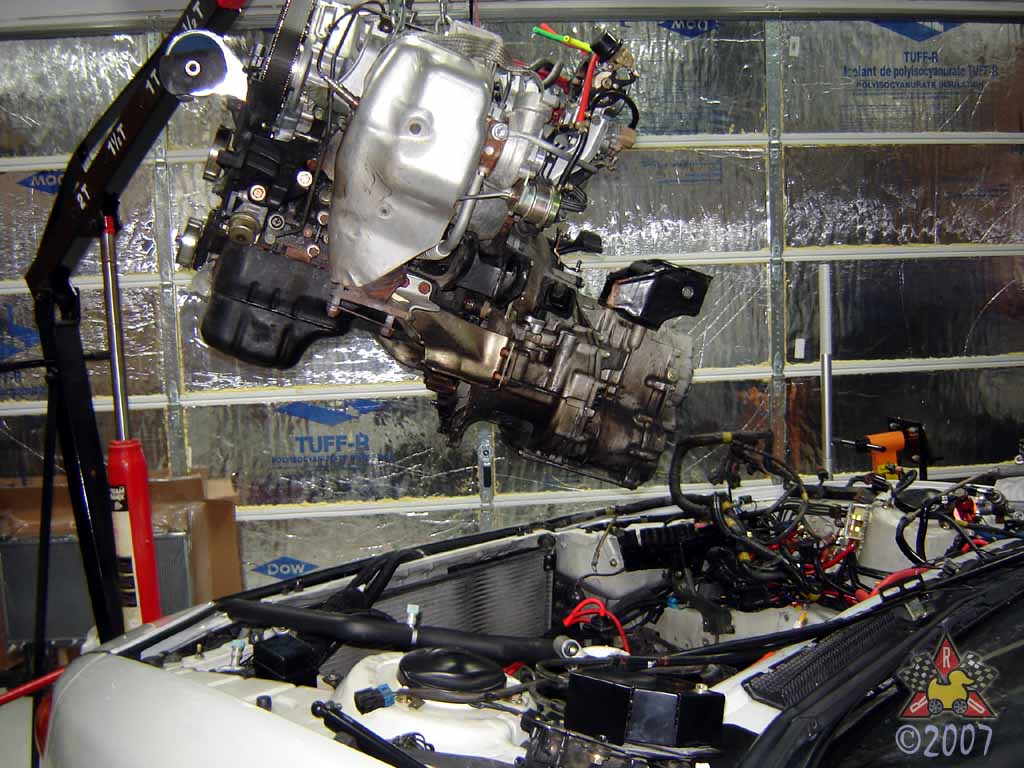
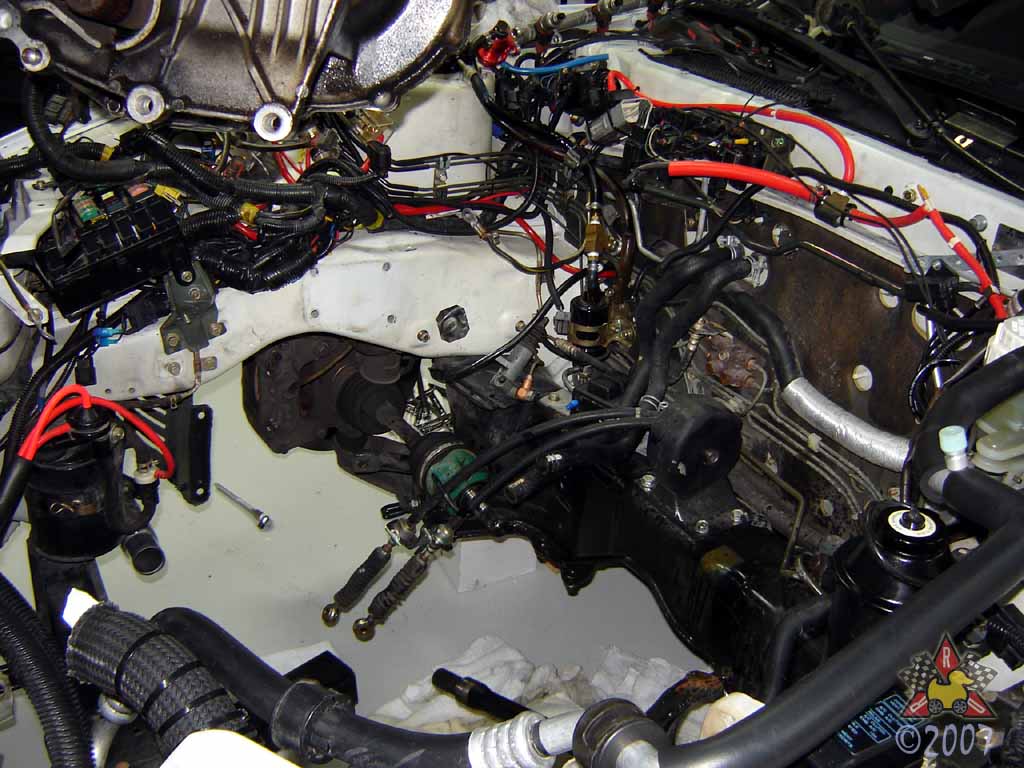
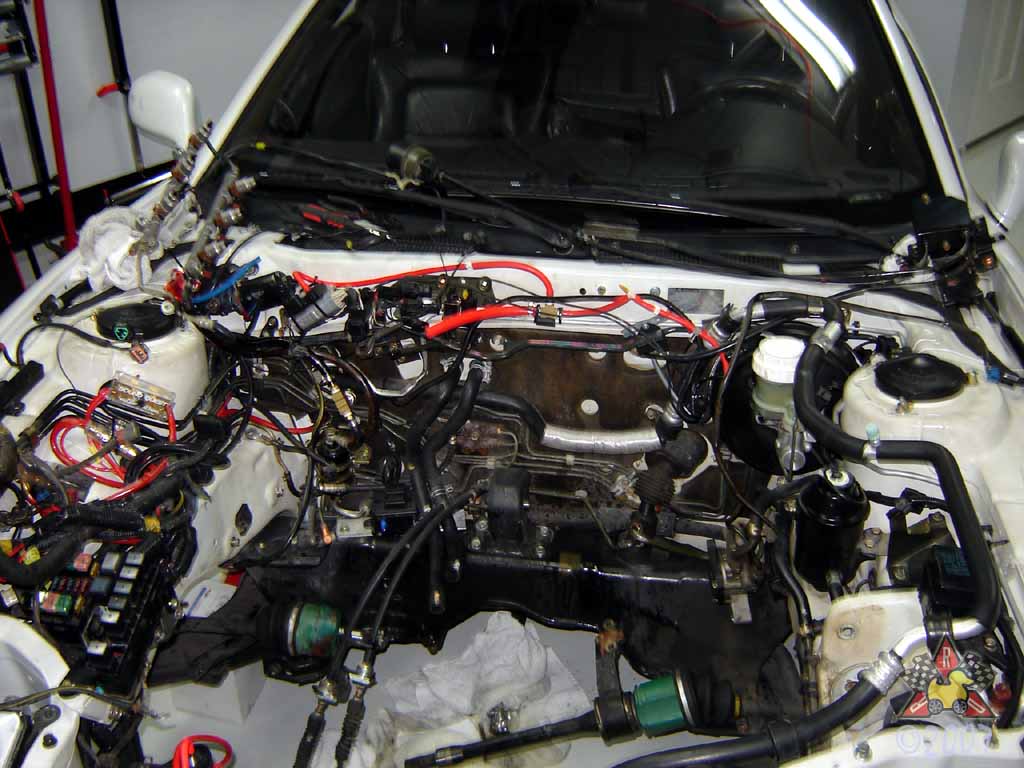
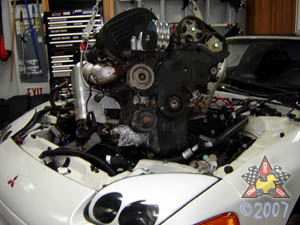
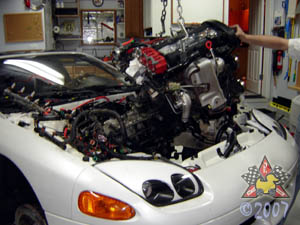
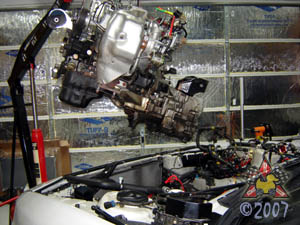
Remove Engine/Transaxle!
|
|
|
|
|
|
It's showtime, baby! The engine/transaxle assembly should
be free of the chassis at this point, supported only by the
engine hoist. Essentially, you want to slowly and carefully
lift the engine out of the chassis. Go slow, and make sure
you don't snag anything. Pay special attention to your shift
cables, your power steering lines, and anything else small or
fragile. Having a helper to inspect as you lift will help, too.
Also, I found that having a floor jack under the transaxle in
the beginning helped get everything to clear a little easier.
|
|